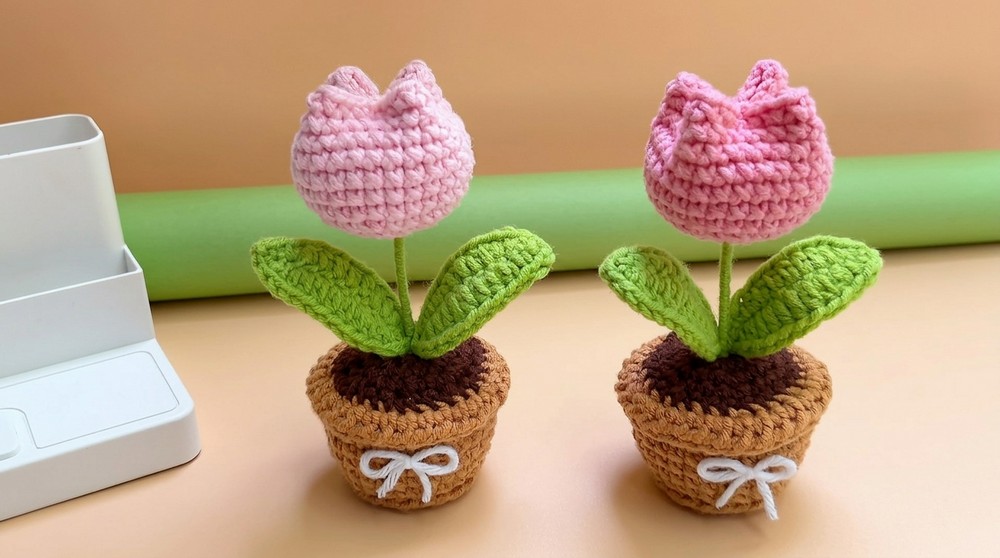
A tulip pot made with yarn can brighten any space with this free crochet mini tulip pot pattern that shows simple steps for a cute and colorful home decor piece.
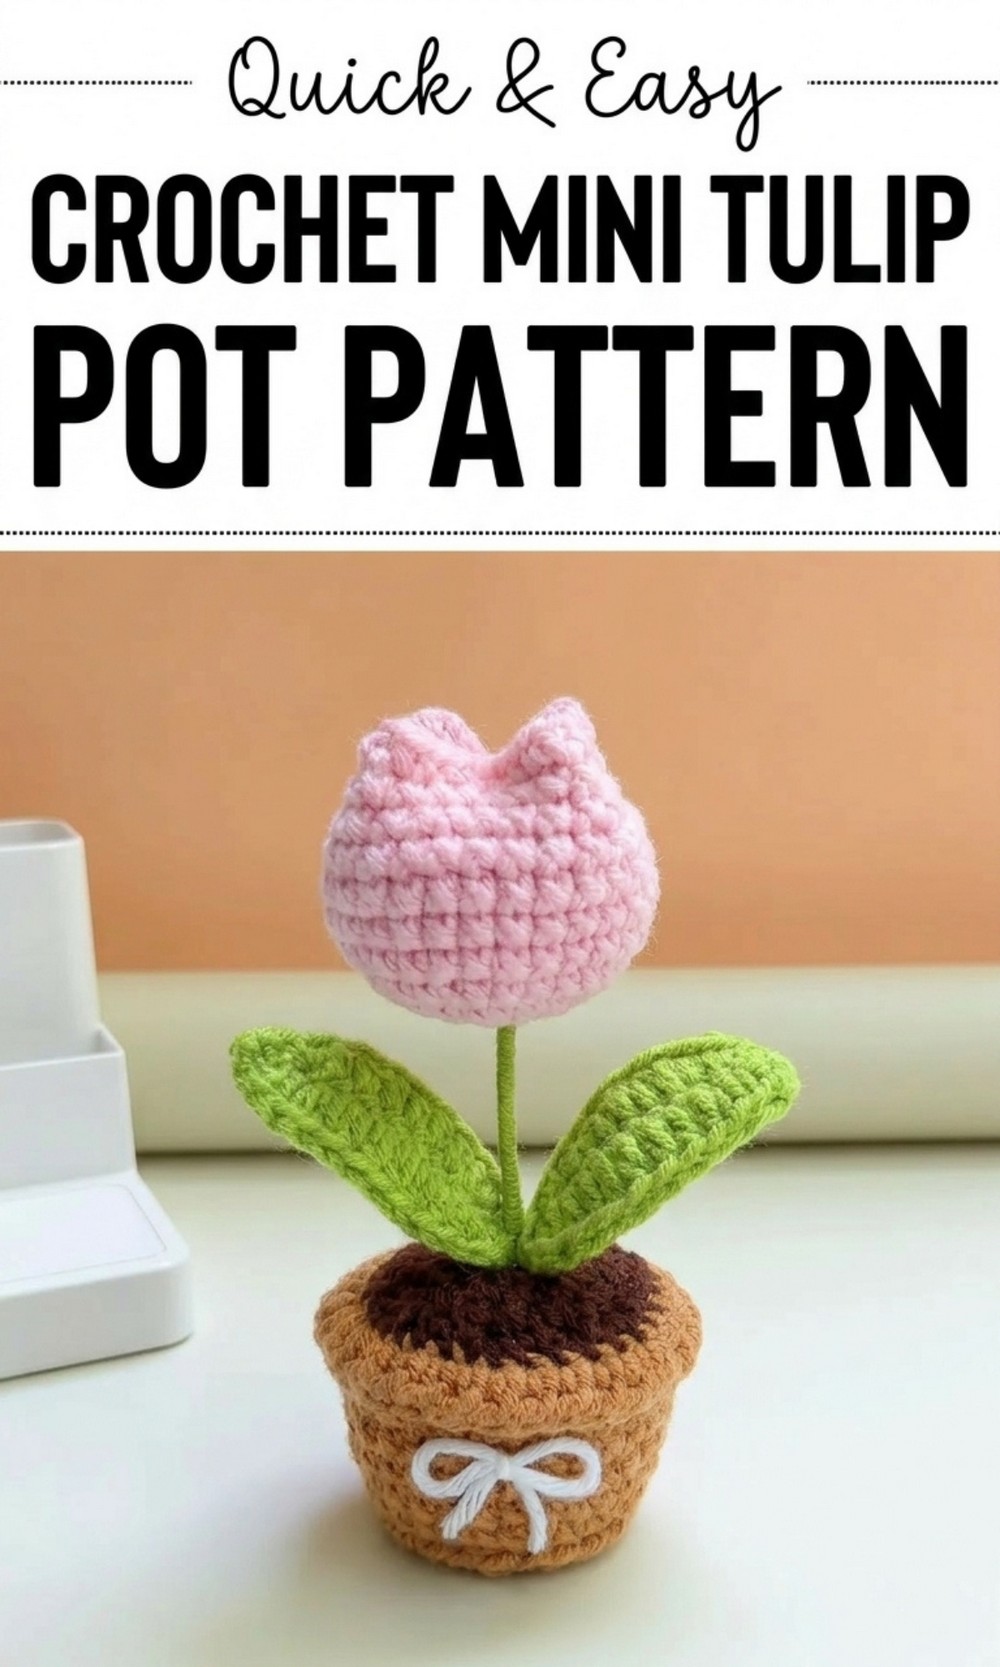
Free Crochet Mini Tulip Pot Pattern for Beautiful Handmade Decor
If you love flowers and crocheting, this free crochet mini tulip pot pattern is the perfect project for you. It helps you create a tiny, beautiful tulip plant made entirely out of yarn. The tulip is colorful, just like real flowers, and it sits in a cute little pot that looks like it’s holding soil.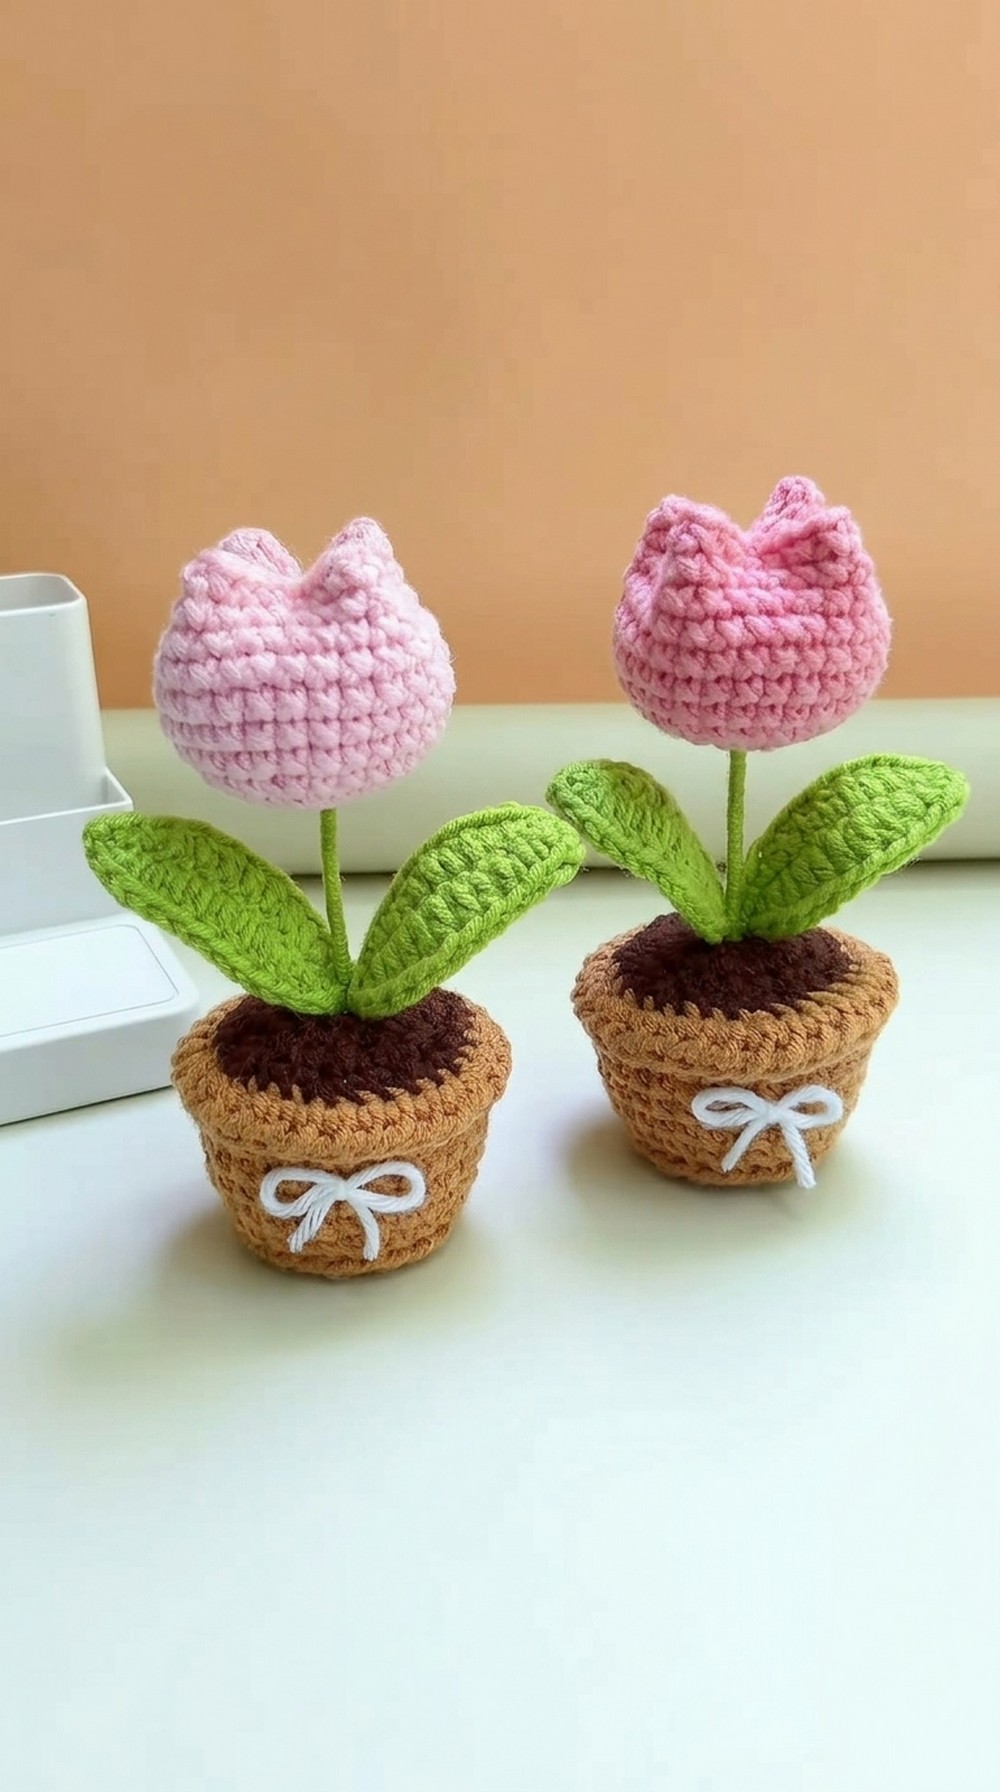
This project is great for decorating your desk, shelf, or study space. It can also be a thoughtful handmade gift for your friends or family. What makes this unique is how realistic it looks, from the tulip petals to the leaves and soil.
This pattern uses soft yarn and cotton stuffing, and you can even pick your favorite colors to match your space. It’s easy, fun, and a great way to create something beautiful with your own hands.
Rich Crochet Mini Tulip Pot Pattern
Finished Size
- Pot Diameter: Approximately 7 cm (2.8 in)
- Tulip Height (including pot): Approximately 14 cm (5.5 in)
Note: Size may vary based on yarn type, tension, and hook used.
Necessary Materials
- Yarn:
- 5-ply cotton yarn:
- Brown for the soil
- Your choice of color for the pot and tulip bud
- Green for leaves and branch
- Additional yarn for customization if desired.
- 5-ply cotton yarn:
- Crochet Hook:
- 2.5 mm crochet hook.
- Wire:
- A piece of 15 cm (6 in) flexible wire for the leaves.
- Tools:
- Stitch markers for tracking rows.
- Yarn needle for sewing.
- Scissors.
- Glue (hot glue is recommended for assembly).
- Fiberfill or Cotton Stuffing: For the pot and tulip bud.
Gauge
- 10 single crochets (sc) x 10 rows = 4 cm x 4 cm (1.6 in x 1.6 in) using a 2.5 mm crochet hook with 5 ply cotton yarn.
Exact gauge is not critical but maintaining a consistent tension throughout the project will ensure a neat finish.
Special Techniques
- Magic Ring (MR):
- Form a loop with your yarn; crochet the required stitches into the loop. Pull the tail tight to close the center.
- Continuous Rounds:
- Work in a spiral without joining each round. Use a stitch marker to mark the first stitch of each round.
- Back Loop Only (BLO):
- Crochet into the back loop of the stitch only for a ribbed or textured effect.
- Half Double Crochet (HDC):
- Yarn over, insert the hook into the stitch, yarn over again, pull through the stitch (3 loops on the hook), then yarn over and pull through all 3 loops.
- Crab Stitch (Optional):
- A reverse single crochet stitch worked in the opposite direction, often used for edging.
Pattern Instructions
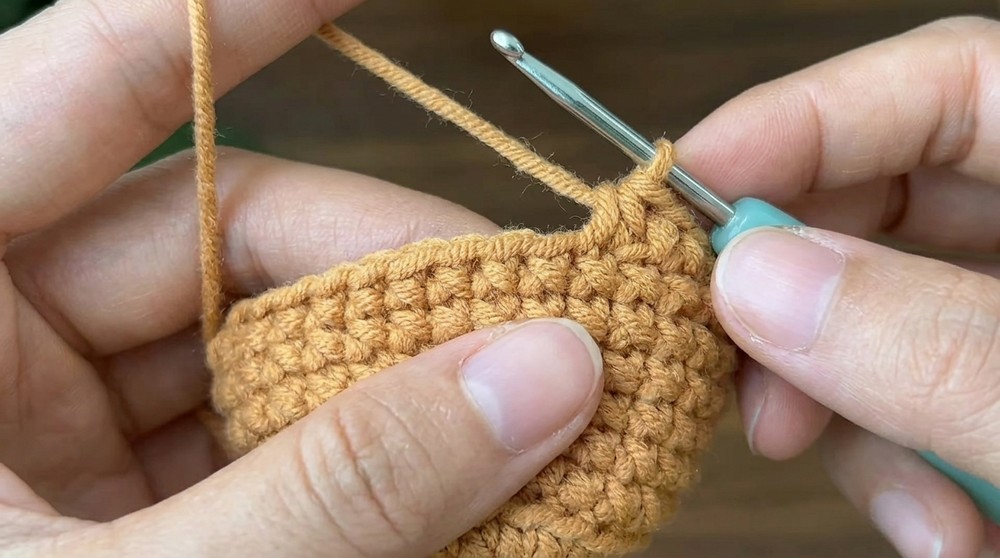
1. Pot
- Row 1: Begin with a magic ring. Crochet 6 single crochets (sc) into the ring. Tighten the ring and slip stitch (sl st) into the first stitch to join.
- Row 2: Chain 1 (ch 1). Work 2 sc into each stitch around (increase in each stitch). You’ll have 12 stitches. Join with a sl st.

- Row 3: Ch 1. Sc in the first stitch, 2 sc in the next stitch. Repeat this pattern around 6 times to reach a total of 18 stitches. Sl st to the first stitch to join.
- Row 4: Ch 1. Sc in the first 2 stitches, 2 sc in the next stitch. Repeat this pattern around 6 times (24 stitches in total). Sl st to join.
- Row 5: Ch 1, crochet in Back Loop Only (BLO) for this row. Make 1 sc in each of the 24 stitches (no increases). Sl st to join.
- Rows 6–11: Ch 1. Work 1 sc into both loops of each stitch (24 sc per row). Sl st to join at the end of each row.
- Row 12: Ch 2. Work 1 half double crochet (HDC) in Front Loops Only (FLO) for each stitch of this row (24 stitches). Join with a sl st.
- Finishing: Fasten off and weave in the ends using a yarn needle.
2. Soil
- Follow the pattern for Rows 1 to 4 of the pot exactly.
- When fastening off, leave a small hole in the center of the magic ring (this will be used to insert the tulip branch).
- Leave a long tail after fastening off to sew the soil to the pot.
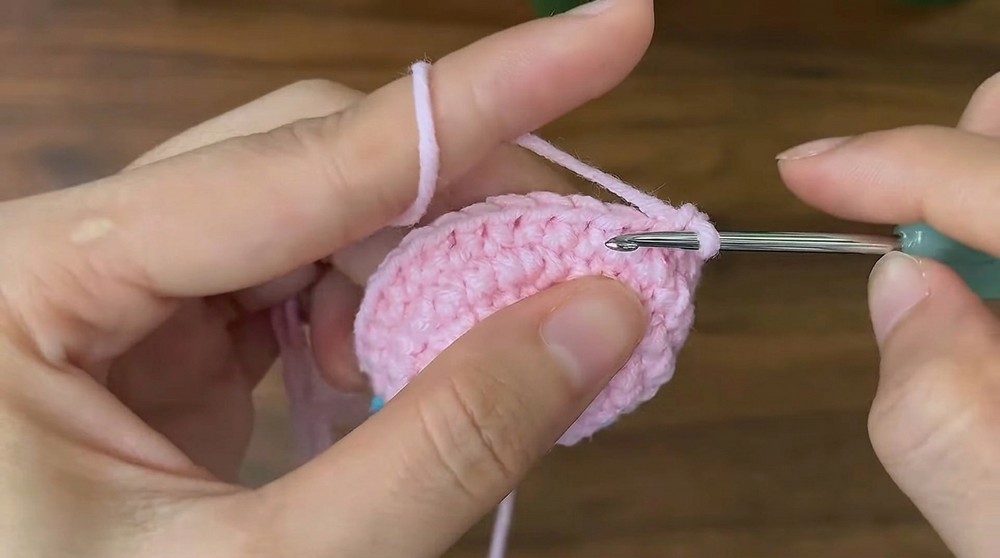
3. Tulip Bud
- Row 1: Begin with a magic ring. Crochet 7 sc into the ring. Tighten the ring.
- Row 2: Work 2 sc in each stitch around (7 increases). You’ll now have 14 stitches.
- Row 3: Sc in the first stitch, 2 sc in the next stitch. Repeat this pattern around (21 stitches).
- Row 4: Sc in the first 2 stitches, 2 sc in the next stitch. Repeat 7 times (28 stitches).
- Rows 5 to 11: Work 1 sc in each stitch around (28 stitches per row).
- Finishing: Fasten off and leave a long tail for sewing. After stuffing the tulip bud, sew a cross stitch pattern across the last row to close the top and secure the shape.
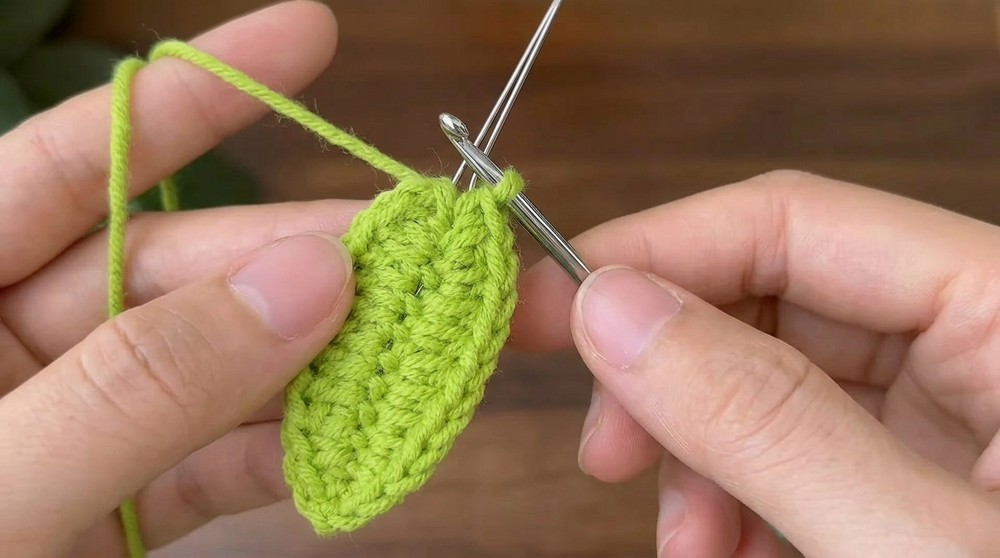
4. Leaves
- Create a slip knot and ch 12.
- Insert the crochet hook into the second chain from the hook:
- Sc in the first 2 chains.
- HDC in the next 7 chains.
- Sc in the last 2 chains.
- Ch 2, turn, and work along the opposite side:
- Sc in the first 2 chains.
- HDC in the next 7 chains.
- Sc in the last 2 chains.
- Cut a piece of flexible wire (15 cm). Place it along the back of the leaf as you crochet for structure, and bend it slightly to match the curves of the leaf.
- Wrap green yarn around the wire to hide it. Repeat to create 2 leaves.
5. Assembly
- Pot and Soil: Stuff the pot lightly with cotton or fiberfill, then sew the soil securely on top.
- Tulip Bud and Branch:
- Apply glue to a 10 cm (4 in) piece of wire.
- Wrap green yarn around the wire, leaving one end exposed to insert into the tulip bud. Secure the bud in place with glue or sewing.
- Attach Leaves:
- Tie or glue the two leaves to the base of the tulip branch. Wrap green yarn around the base to hide any exposed wire.
- Final Assembly: Insert the branch into the hole in the soil and secure with glue.
Tips for Customization
- Color Choices: Use vibrant or pastel colors for the tulip to match decor themes.
- Multi stem Tulip Pot: Create additional tulips and leaves to make a multi flower arrangement.
- Decorative Touches: Add embellishments like beads, ribbon, or embroidery on the pot.
- Size Variations: Use thicker yarn or a larger hook for a bigger pot and tulip.
Conclusion and Final Remarks
Your mini tulip pot is now complete, This delicate project is an excellent way to bring a splash of color and charm to any desk, shelf, or gift. Its realistic shape, thanks to the structured leaves and bloom, makes it a stunning piece for decoration.
For long lasting results:
- Handle with care to maintain its shape.
- Spot clean gently if needed.
Enjoy your creation, and don’t hesitate to experiment with colors and designs to make each project unique.