
Hang a lovely decoration with the Crochet Beautiful Angel Free Pattern, a sweet idea for Christmas trees, festive windows, and family gifts.
Кристина Богданова shares a wonderful tutorial that guides you through making a Crochet Beautiful Angel. Her clear and creative instructions make this project accessible and enjoyable for crocheters of all skill levels.
Mini Crochet Beautiful Angel Free Pattern To Decorate Your Home
This Crochet Beautiful Angel is a delicate figure crocheted from soft yarn, featuring a rounded head, elegant wings, and a gently flared gown. The angel’s charm lies in its simplicity and the serene, graceful presence it brings. It’s perfect for decorating your home during the holidays or as a meaningful handmade gift for loved ones.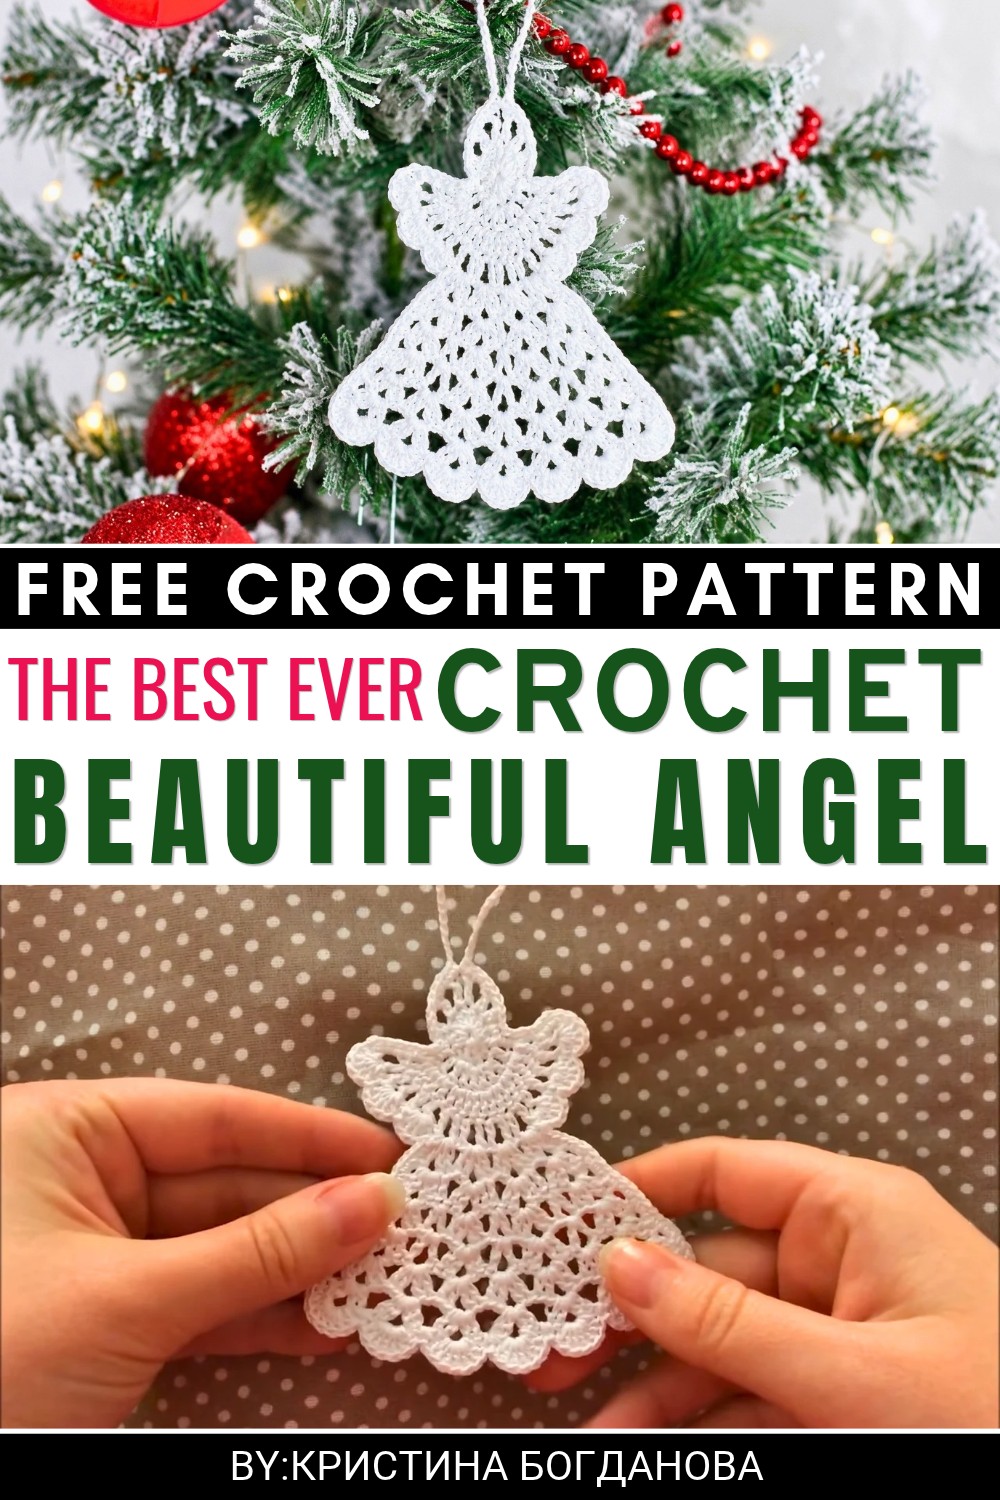 What makes this project unique is the opportunity to customize it. Using classic white yarn gives a traditional angelic look, while pastel or even sparkly yarns add a personal and whimsical touch. You can also embellish the angel with beads, embroidery, or tiny crochet details to make each piece truly one of a kind.
The steps are straightforward and beginner-friendly. Begin by crocheting the head and body with basic stitches, then shape the wings by increasing and decreasing stitches to achieve gentle curves. Finally, assemble the parts with care and finish the angel with optional decorations.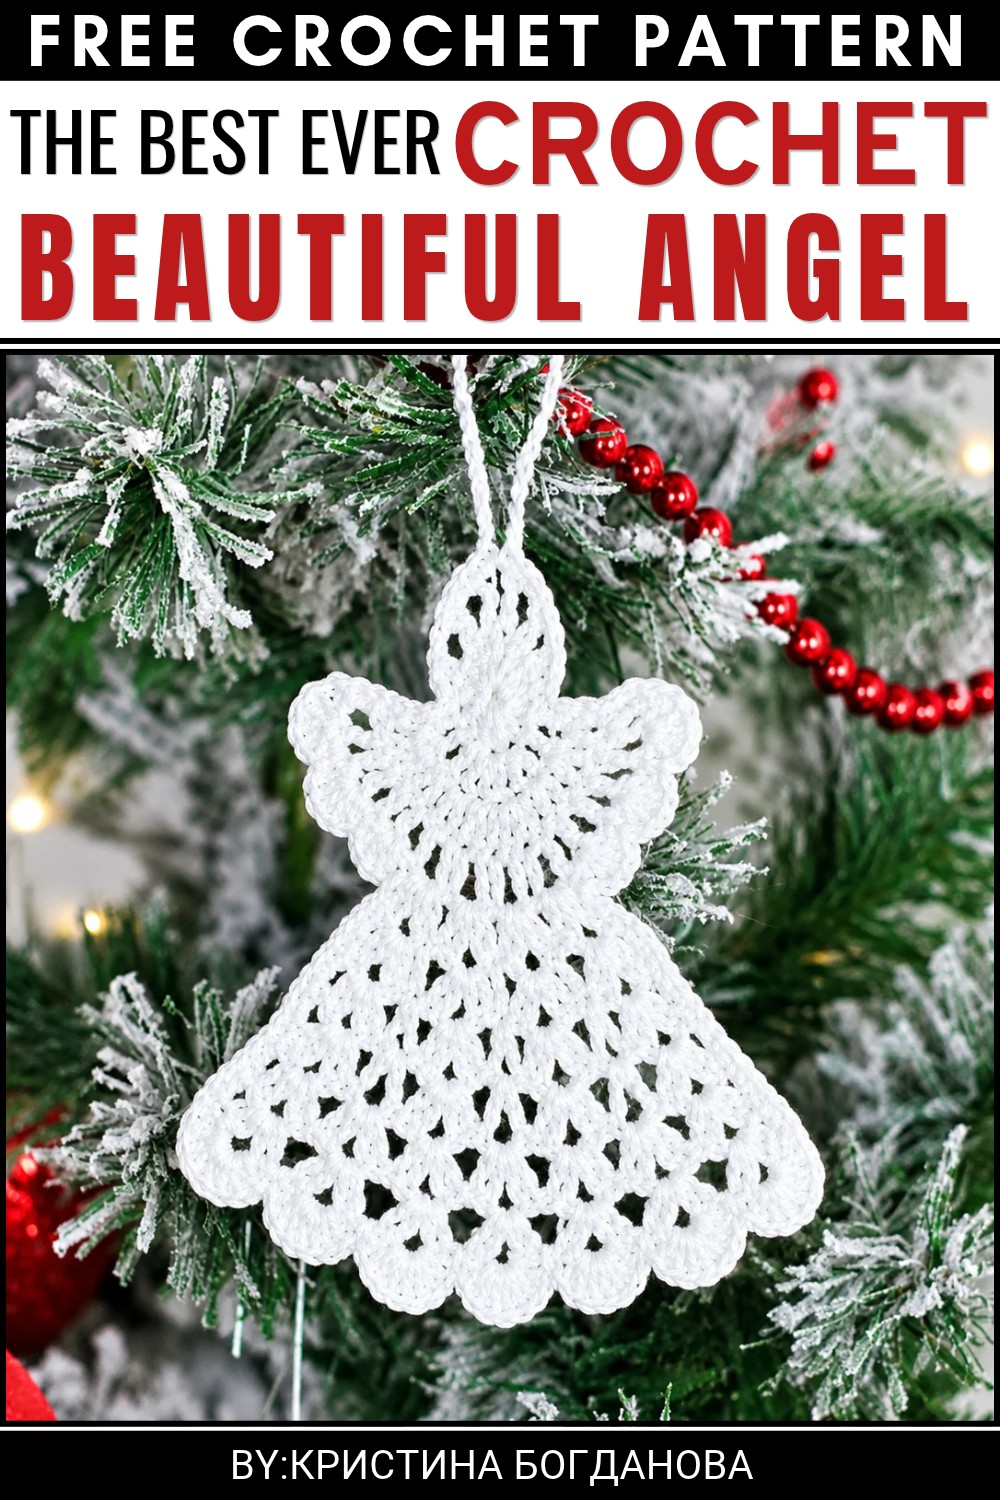 Thanks to Кристина Богданова’s inspiring tutorial, creating the Crochet Beautiful Angel is a joyful way to add handmade beauty and heartfelt charm to any setting.
About the Pattern
The crochet angel motif captures serenity and delicate craftsmanship through defined shaping and intricate stitchwork. crocheted seamlessly in rounds and rows from the top down, the angel’s structure features a rounded head, lacy wings that transition effortlessly into a decorative halo, and an elegant V-stitch skirt that creates a soft, flowing effect. Fine cotton thread and a small hook create a lightweight, fabric-like finish, making this angel ideal for ornaments, gift-toppers, or festive décor.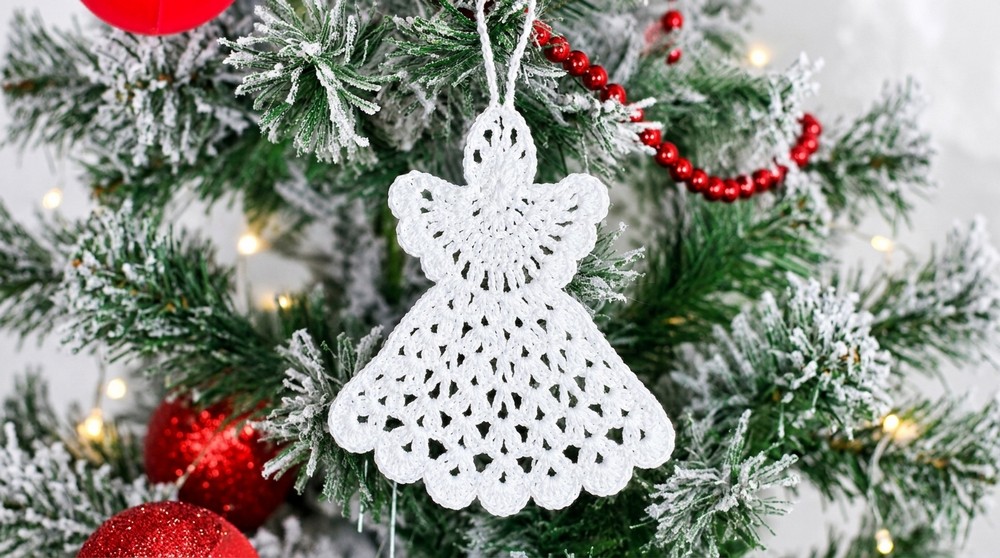
Pattern at a Glance
- Construction: Begins with a magic ring for the head, then works in expanding rounds to form the face and openings for the wings.
- Wings and Halo: Formed in an arc directly from the headbase, with the halo completed in the same section for continuity.
- Skirt: Built outward in shells and V-stitches for graceful drape.
- Finishing: Features a built-in hanging loop and stiffening for professional presentation.
Important Notes
- Use fine cotton thread and a small steel hook for crisp stitch definition.
- Maintain even tension, as any slack will reduce definition in the delicate elements, especially the wings and skirt.
- Stiffening (using PVA glue) after assembly is essential for holding shape and giving the motif a finished, crisp appearance.
- Blocking before stiffening helps maintain symmetry and accurate proportions, especially in the wings.
Difficulty Level
Intermediate: Proficiency in basic stitches (single, double, treble, half-double crochet), increasing in the round, and simple shaping techniques is required. Some experience with V-stitch and fan (shell) clusters is beneficial.
Supplies Needed
- Yarn/Thread: Fine cotton crochet thread (e.g., Pekhorka), approximately 10–15g.
- Hook Size: 1.3mm steel crochet hook.
- Tapestry Needle: For weaving in ends.
- Small Scissors
- Pins & Blocking Mat: For shaping after crochet.
- Iron or Steamer: For light blocking.
- PVA Glue & Brush: For stiffening.
- Measuring Tape: For checking size if desired.
Size & Measurements
- Finished angel measures approximately 7–8 cm tall (from base of dress to top of halo).
- Wingspan (side to side) is about 6 cm, depending on tension and blocking.
Gauge & Stitch Details
Although exact gauge is not crucial for this motif, a swatch of 10 dc × 5 rows should measure about 2 cm × 2 cm using specified thread and hook size.
Crochet Abbreviations
| Abbreviation | Meaning |
|---|---|
| ch | chain |
| sc | single crochet |
| dc | double crochet |
| tr | treble crochet |
| hdc | half double crochet |
| sl st | slip stitch |
| sp | space |
| MR | magic ring |
| rep | repeat |
Special Stitch Guide
- Magic Ring (MR): Loop thread to form a circle, work desired number of stitches into ring, tighten by pulling yarn end.
- V-Stitch: (2 dc, ch 2, 2 dc) in same stitch or space.
- Fan (Shell) Cluster: 5 dc in a single stitch or space.
Complete Crochet Pattern
The Head
1 Round :
- Begin with a magic ring (MR).
- Ch 3 (counts as first dc), work 9 dc into the ring (10 dc total).
- Join with sl st to top of ch-3.
2 Round :
- Ch 3, work 1 dc in the same stitch.
- 2 dc in each stitch around. (20 dc)
- Join with sl st to first dc.
3 Round :
- Ch 4 (counts as dc + ch 1), skip 1 stitch, 1 dc in next st.
- [Ch 1, skip next st, 1 dc in next]; repeat around until you have 20 dc separated by ch-1 spaces.
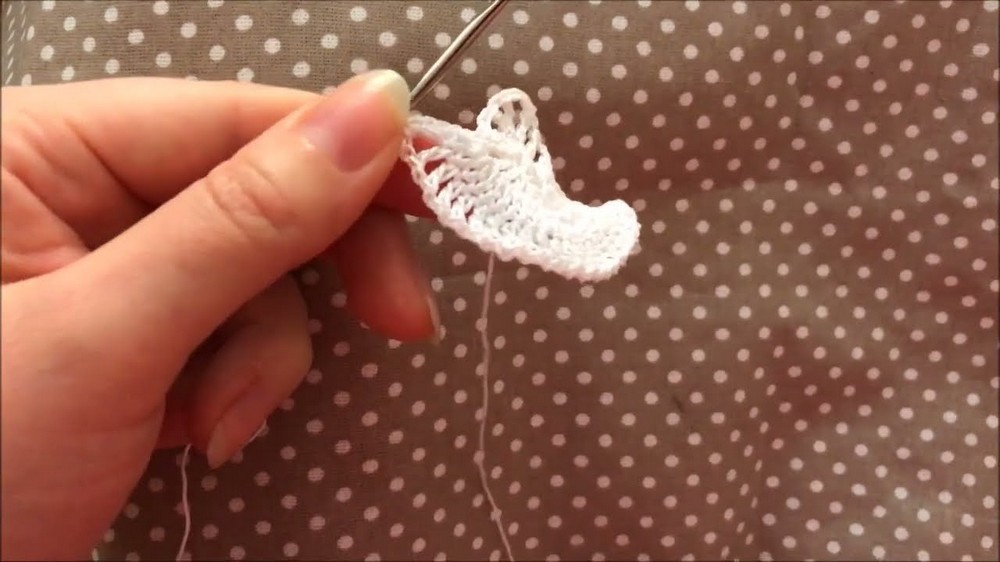
- Join with sl st to the 3rd chain of starting ch-4.
The Wings and Halo
Wings Side 1:
- Into each ch-1 space, 2 sc. Continue around one half (10 ch-1 sps, 20 sc).
- Sl st into base of the circle (between last stitch and first of the round) to anchor and begin halo.
The Halo:
- Ch 2, 1 dc in next space, ch 2, 1 dc, ch 2,
- 2 dc with two-trebles in between, separated by ch 2 after each,
- ch 2, 1 dc, ch 2, 1 dc,
- hdc (half-double crochet) to bring halo arc to a close,
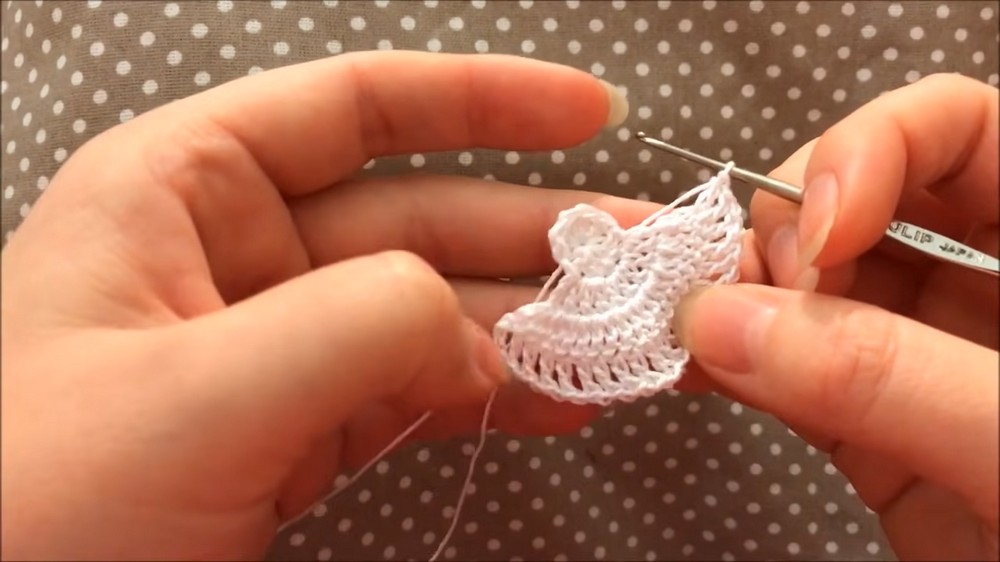
- Join to starting point with sl st to complete circular halo on top of head.
Wings Side 2:
- Continue by working 2 sc in each base stitch along the opposite side (mirroring first wing).
- Add 3 “fan” clusters evenly spaced:
- 5 dc in one stitch, 1 sc in next, repeat for three fans across the wing base.
The Dress (Skirt)
Row 1:
- Work into the lower edge of the wings/base:
- In the designated starting point, (2 dc, ch 2, 2 dc) (first V-stitch shell), skip 2 sts.
- (2 dc, ch 2, 2 dc) in next st, skip 2, repeat across the base edge.
Row 2:
- In each ch-2 space of previous row, (2 dc, ch 2, 2 dc).
- Continue placing shells directly into each ch-2 gap, skipping stitches in between as needed for shaping.
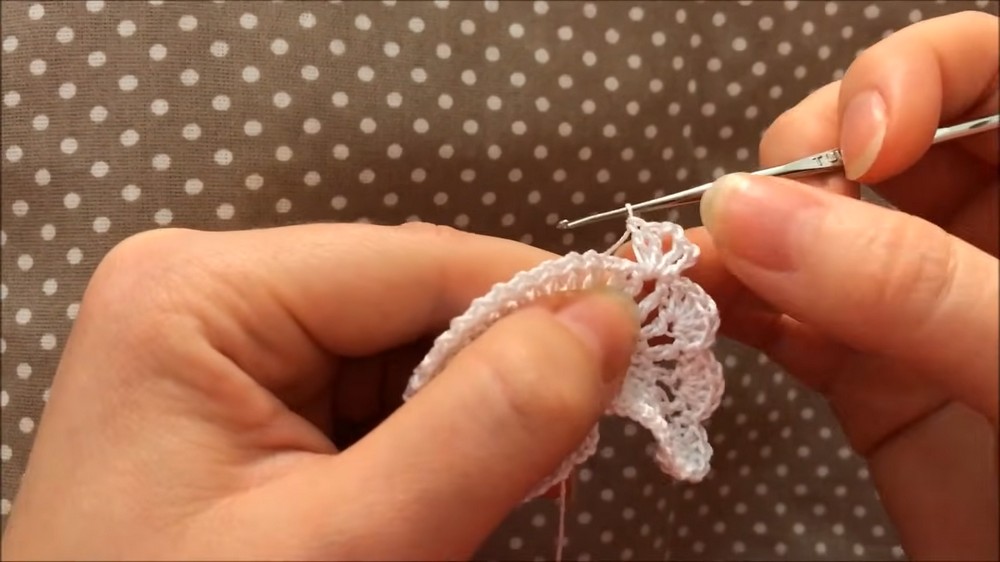
- Continue placing shells directly into each ch-2 gap, skipping stitches in between as needed for shaping.
Rows 3+:
- Continue working shells in each ch-2 gap, but actively increase by adding a (dc, ch 1, dc) into centers of shells on even rows to add fullness.
- This creates a gentle bell shape as the skirt grows.
- Work as many rows as needed to achieve desired drape (generally 3–5 rows total for the skirt).
Final Edging:
- For the border, work a round of fan shells (5 dc in between each V-stitch shell gap).
- Work into spaces between V-stitches from the previous row.
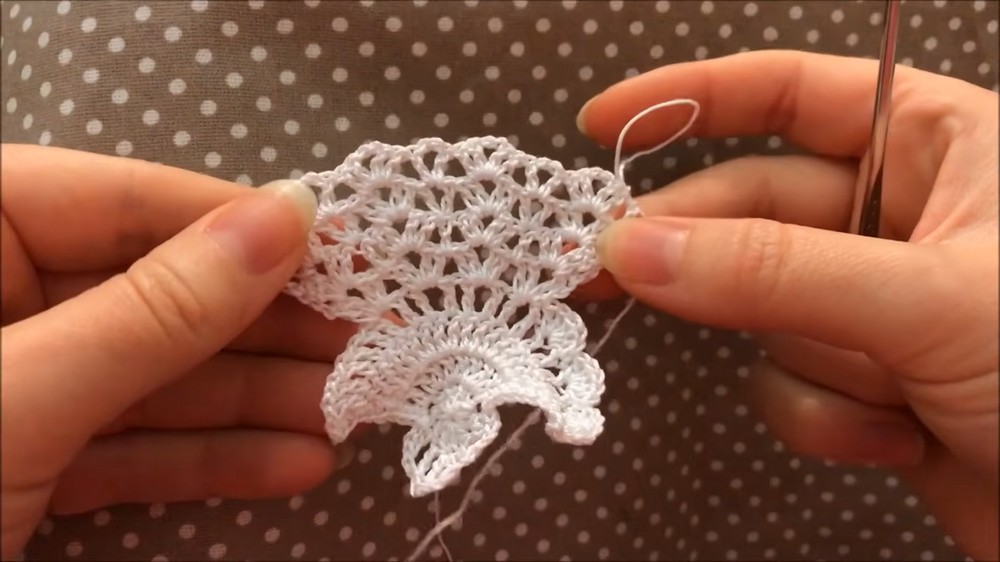
- Fasten off and weave in ends.
Assembly and Finishing
Second Wing Cluster:
- On the opposite side, complete another set of 3 fan clusters (5 dc each, separated by 1 sc).
Hanger:
- Slip stitch up to the top of the halo.
- Ch 30 tightly, sl st back to base to form a loop for hanging.
Final Block and Stiffen:
- Block angel motif: Pin out gently on a blocking mat and press lightly with steam.
- Allow to dry partially, remove from board.
- Using a brush, coat the back of the angel with PVA glue, giving particular attention to the wings and skirt for maximum hold.
- Lay flat on a protected surface until completely dry.
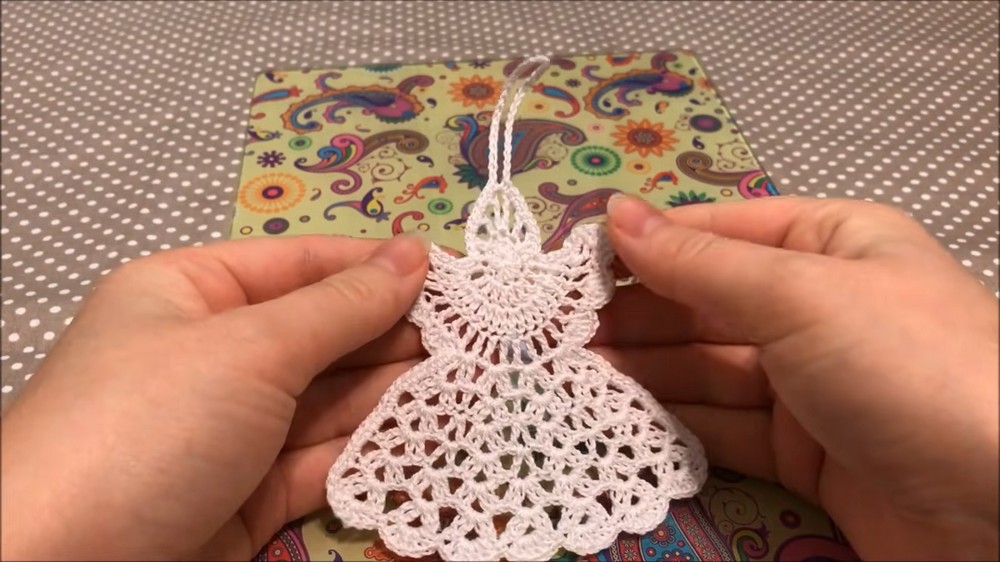
Assembly & Finished Size
The motif should measure around 7–8 cm from skirt to top of halo after blocking and stiffening. Fans, V-stitches, and the halo should maintain crisp, defined shapes especially after glue stiffening.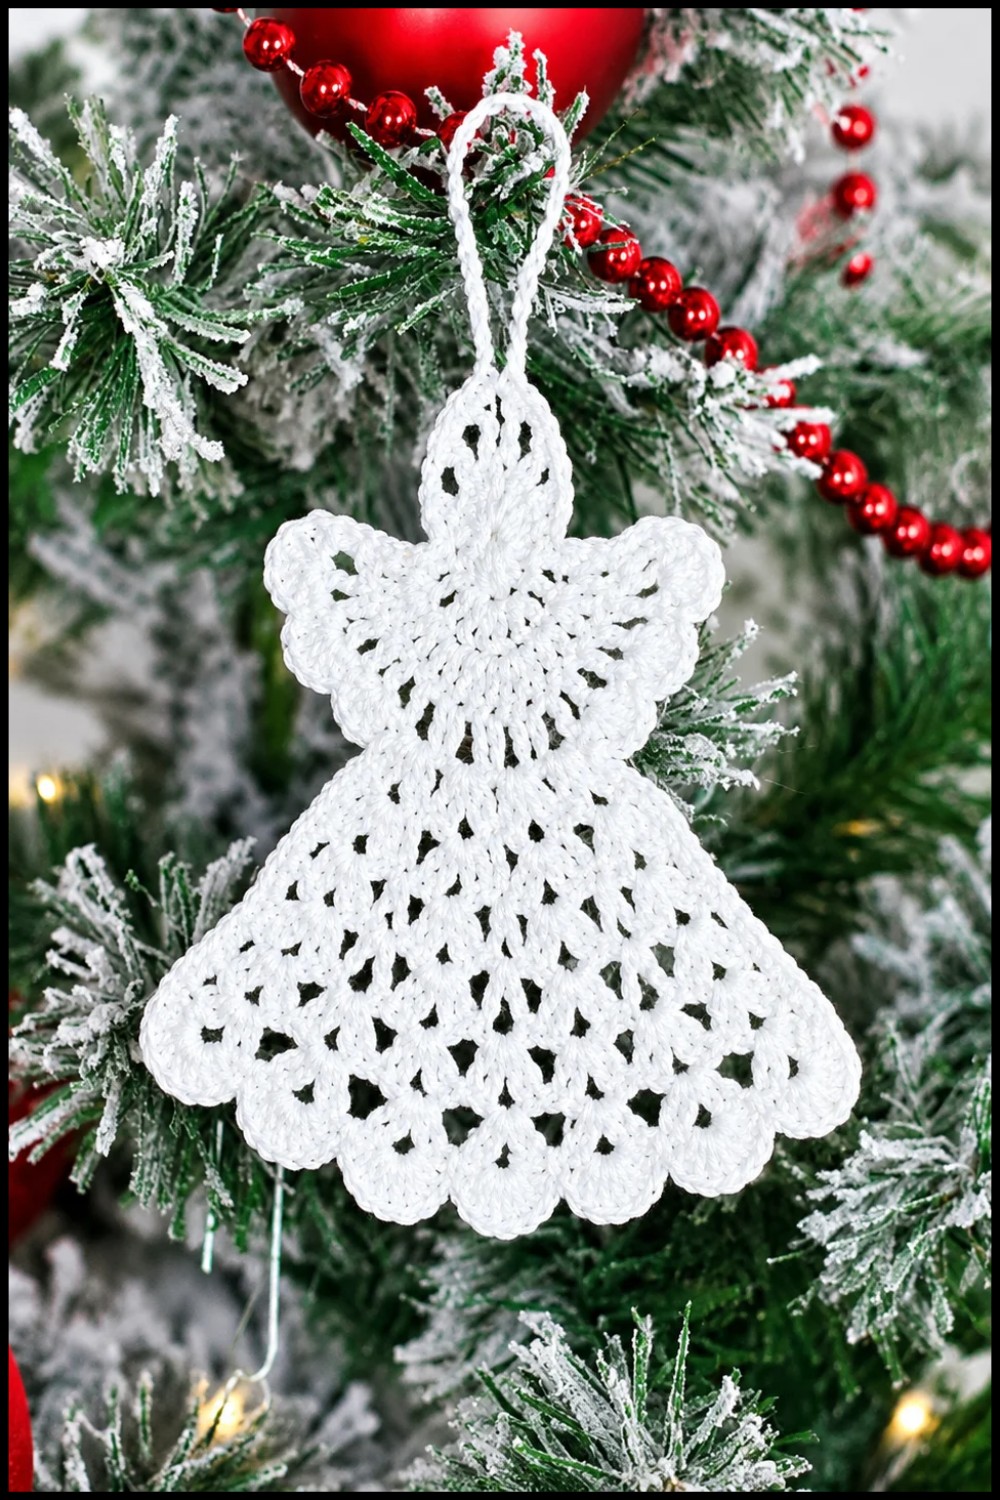
Conclusion and Ending Words
The completed crochet angel blends lacy openwork and compact shaping, capturing both visual delicacy and structural style. Its scaling, stitch variety, and methodical assembly make it an expressive project with practical applications from ornaments to heirloom gifts. Precision and careful finishing enhance the motif’s impact and durability, showcasing the versatility of fine-thread crochet.
