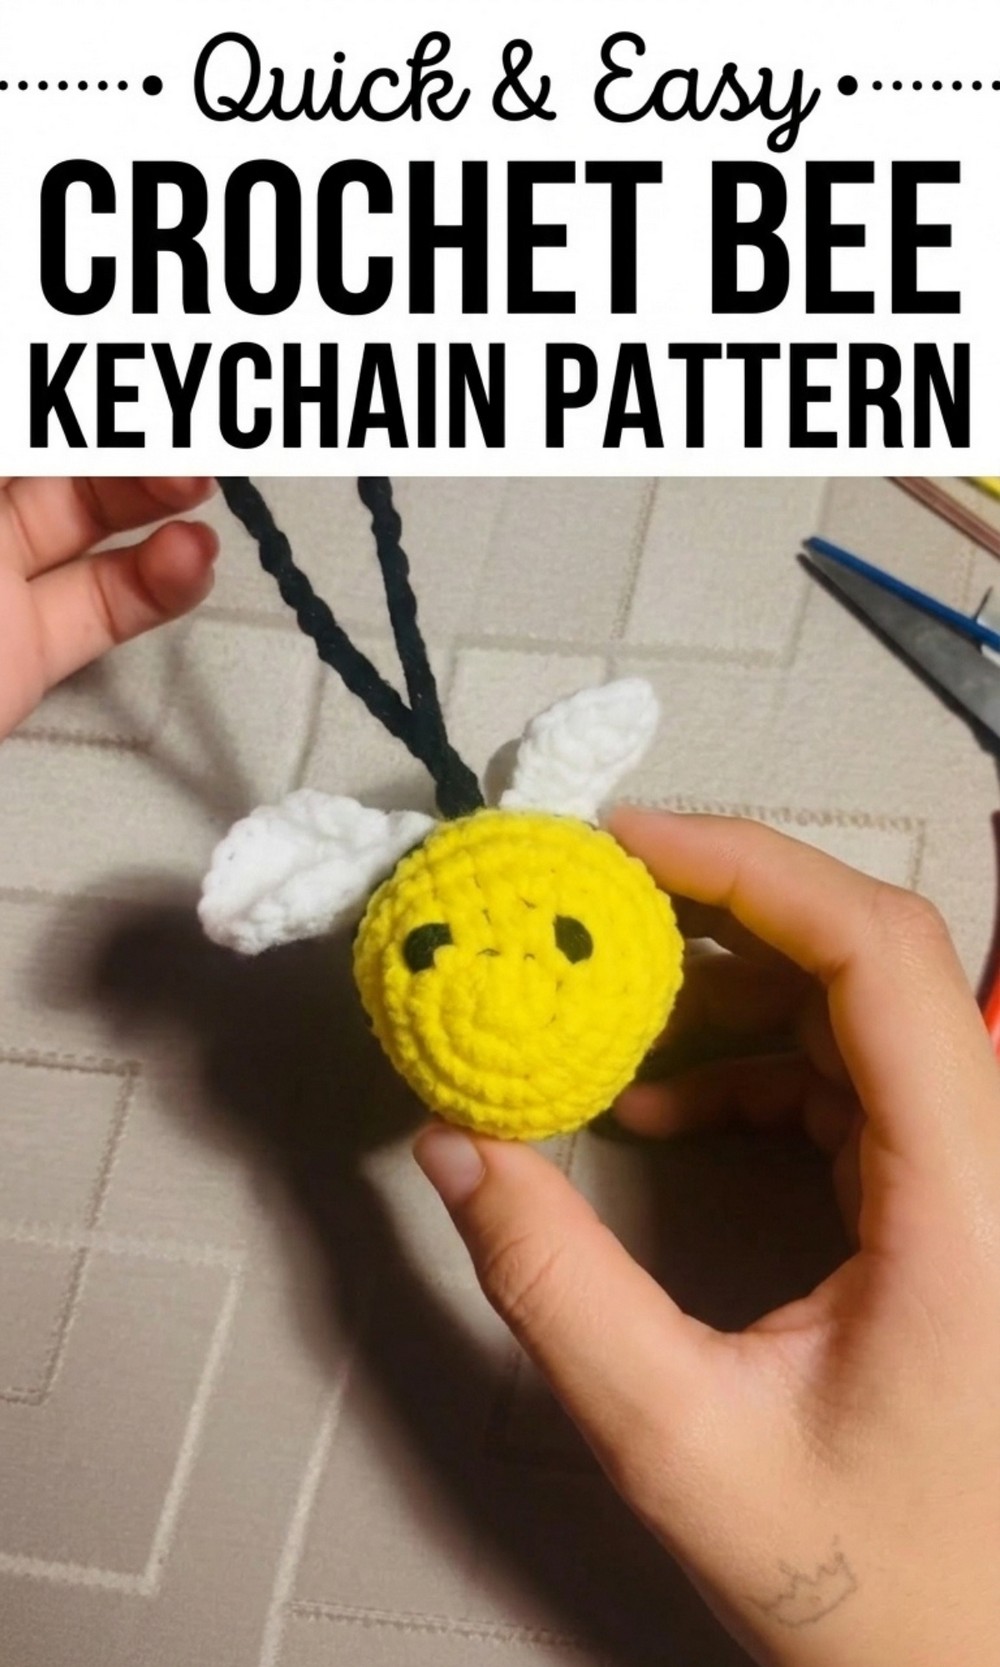
Glow with handmade magic using this free crochet bee keychain pattern to make an adorable bee accessory that adds charm and joy everywhere.
Who wouldn’t love a tiny, buzzing bee that can tag along with you everywhere? This bee keychain Pattern is all about fun, cuteness, and simplicity. With its bright yellow and black stripes, soft round body, and tiny white wings, this little bee will make you smile instantly. It’s small enough to fit perfectly on your keys, bag, or even as a cute charm for your pencil case. The sweet little face of this bee is full of charm. You can even give it a happy smile or add expressive little eyes. Its soft, squishy body makes it the perfect mini companion wherever you go.
Crochet Your Own Bee Keychain with This Free Pattern
This bee isn’t just about looking adorable—it’s incredibly useful, too. Use it to brighten up your backpack, decorate your favorite spaces, or gift it to someone special. It’s a simple and thoughtful handmade gift that kids, teens, and even adults will love to keep around.
This crochet bee keychain is more than an accessory—it adds happiness and a little bit of personality to your everyday items. Whether it’s for you or someone you care about, this tiny bee is sure to bring joy wherever it buzzes.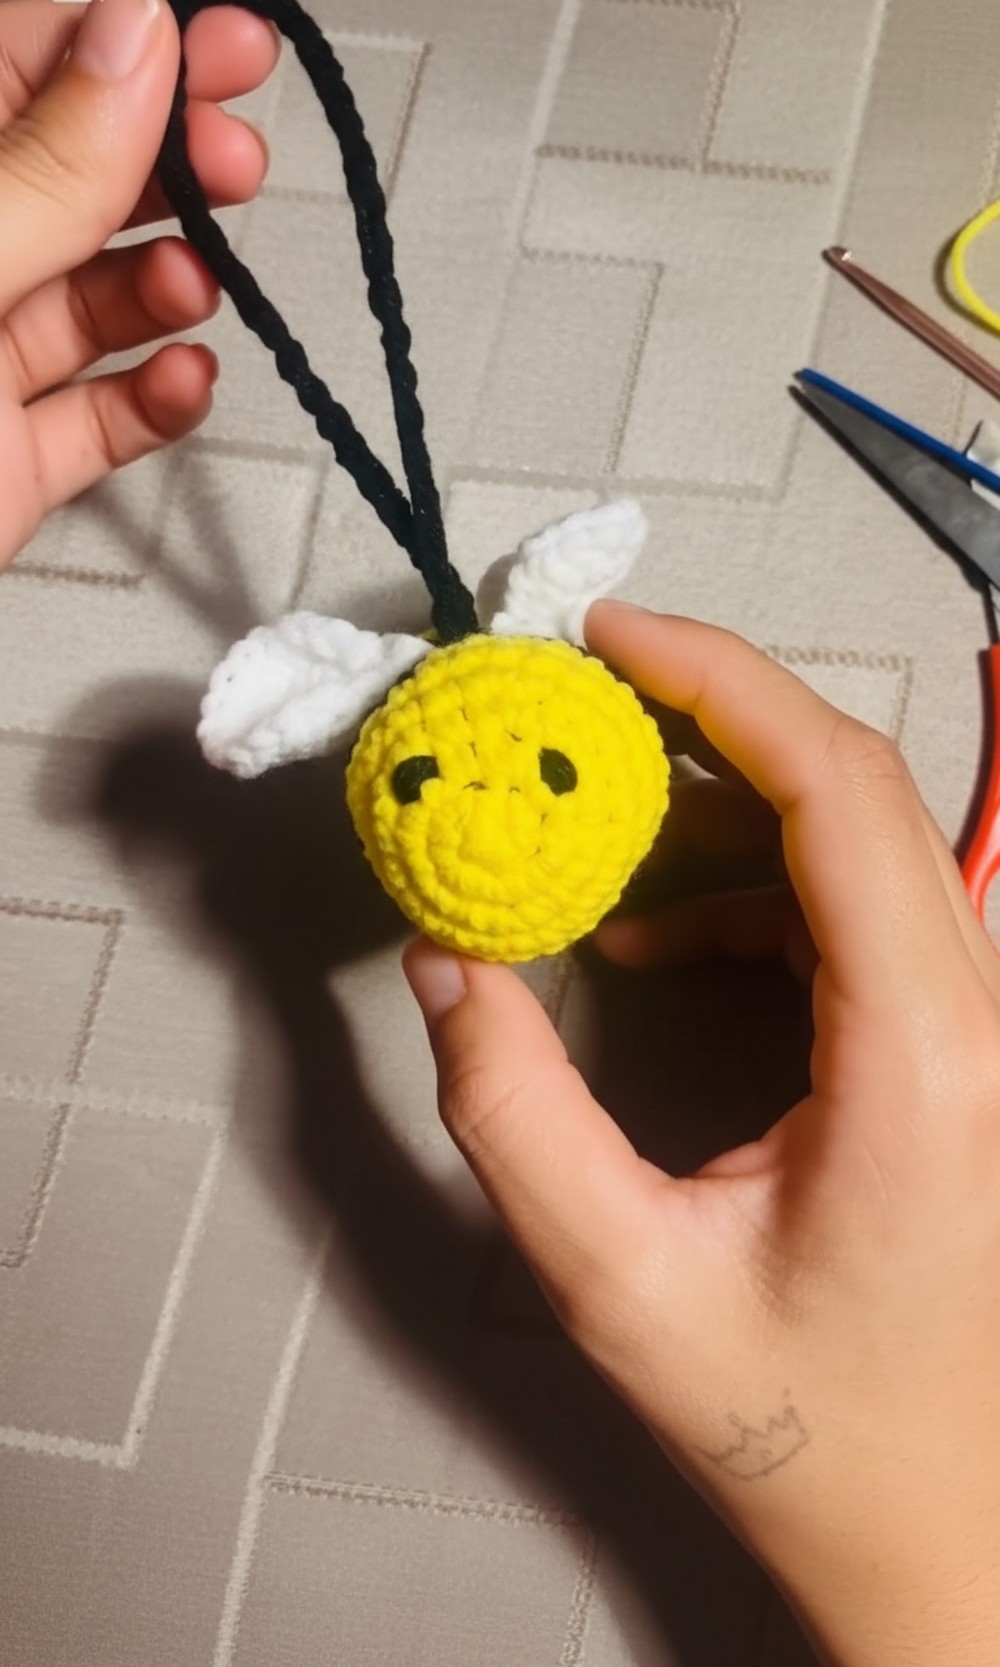
Crochet Bee Keychain Pattern
Materials Needed
Before starting, gather all the essential materials:
- Yarn: Choose double knit yarn in three colors:
- Yellow: Used for the body of the bee.
- Black: Works for the stripes and details.
- White: Ideal for the wings.
- Hook Size: Use a 3.5 mm crochet hook. This size works perfectly to create neat stitches and hold the structure of the bee.
- Additional Tools:
- Fiberfill stuffing: Gives the bee a rounded, plush shape.
- Scissors: You’ll need this to trim yarn ends cleanly.
- Darning needle: Essential for sewing wings and facial features.
- Stitch marker: Helps track the start of each round.
Pattern Gauge
- Gauge is optional for this project, but maintaining consistency in stitch tension will ensure your bee is proportional. Work approximately 5 single crochets per inch.
Finished Size
The completed bee measures 3 to 4 inches in length, making it the perfect size for keychains, toys, or decorations.
Special Techniques Used
Crocheting a bee involves some helpful techniques:
- Magic Ring: The center method used to start crocheting in the round, perfect for ensuring a neat and closed base.
- Invisible Increase: Expands the shape uniformly without noticeable gaps.
- Slip Stitch Finish: Creates a seamless edge when completing parts like the wings.
Step by Step Instructions
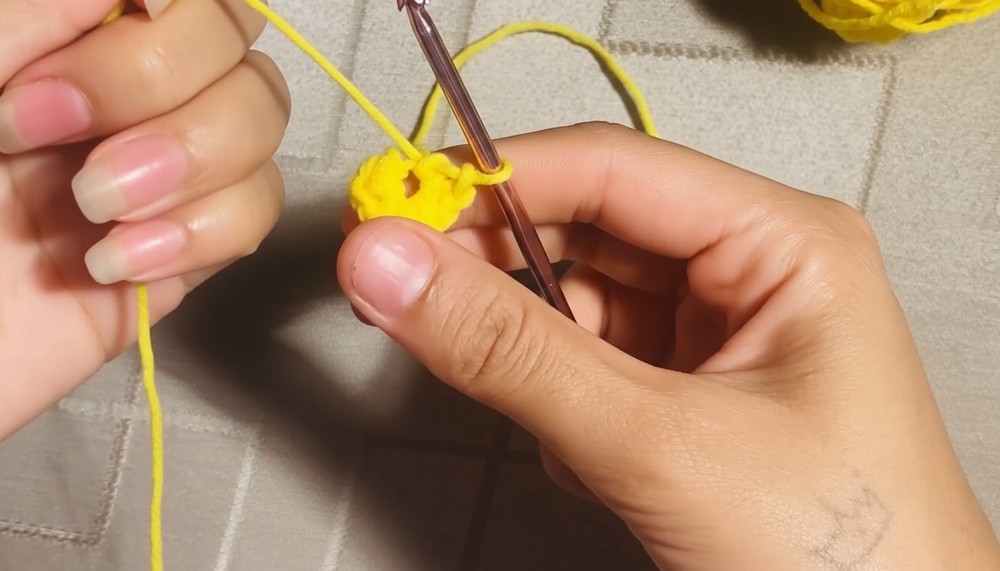
1. Crochet the Body
Start with Yellow Yarn:
- Begin by creating a magic ring or chain 2 if you prefer a simpler start.
- Round 1: Work 6 single crochets (sc) into the magic ring or the second chain from the hook. Pull the yarn tail tightly to close the ring. (6 stitches total).
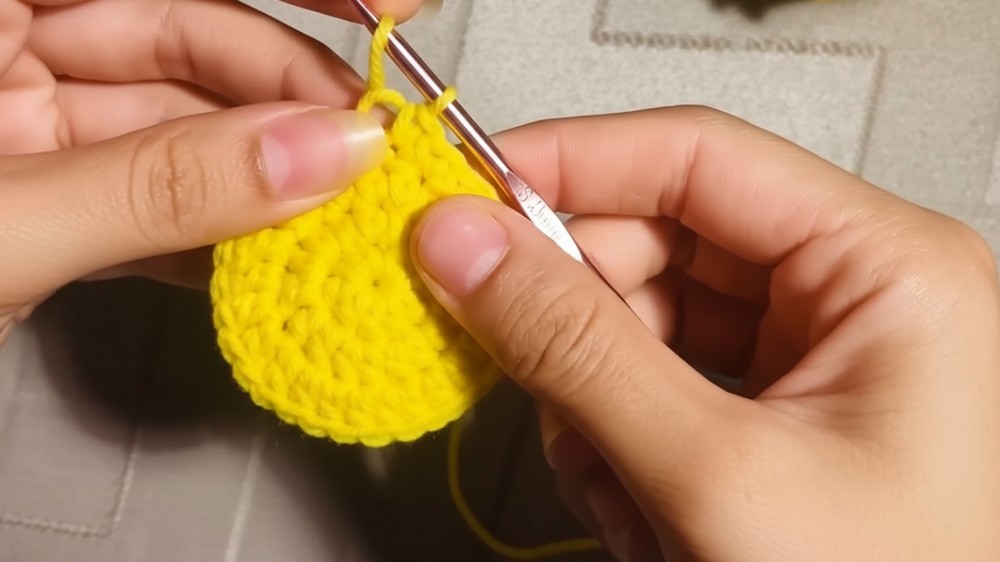
- Round 2: Work 2 sc into each stitch around. This increases the number of stitches. (12 stitches total).
- Round 3: Work 1 sc in the first stitch, then 2 sc into the next stitch (increase). Repeat this process around. (18 stitches total).
- Round 4: Work 1 sc into the next 2 stitches, then 2 sc in the next stitch (increase). Repeat this around. (24 stitches total).
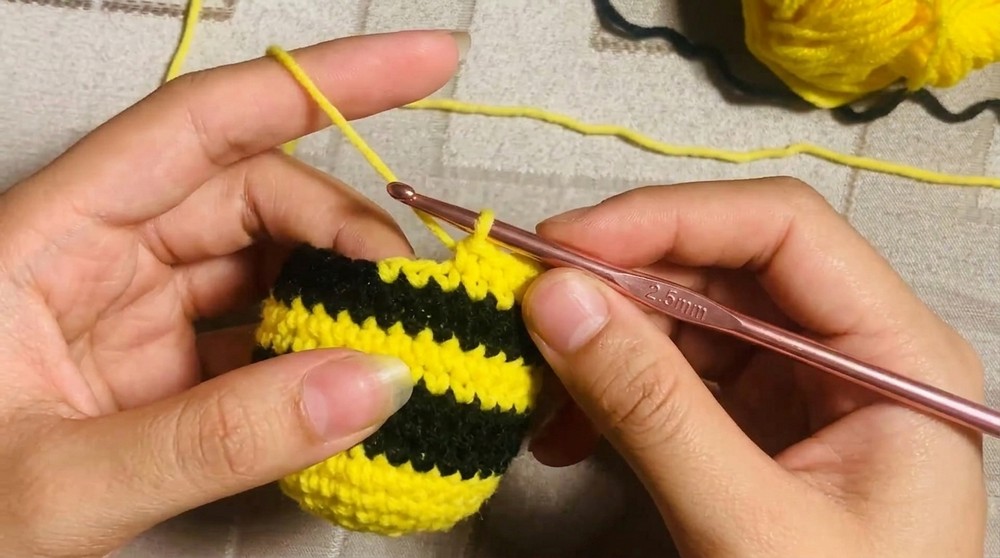
Add Stripes:
- Rounds 5–7: Switch to black yarn and work 1 sc in each stitch around for two rounds.
Alternate Between Yellow and Black Yarn:
- Continue alternating colors every two rows to create even stripes across the bee’s body.
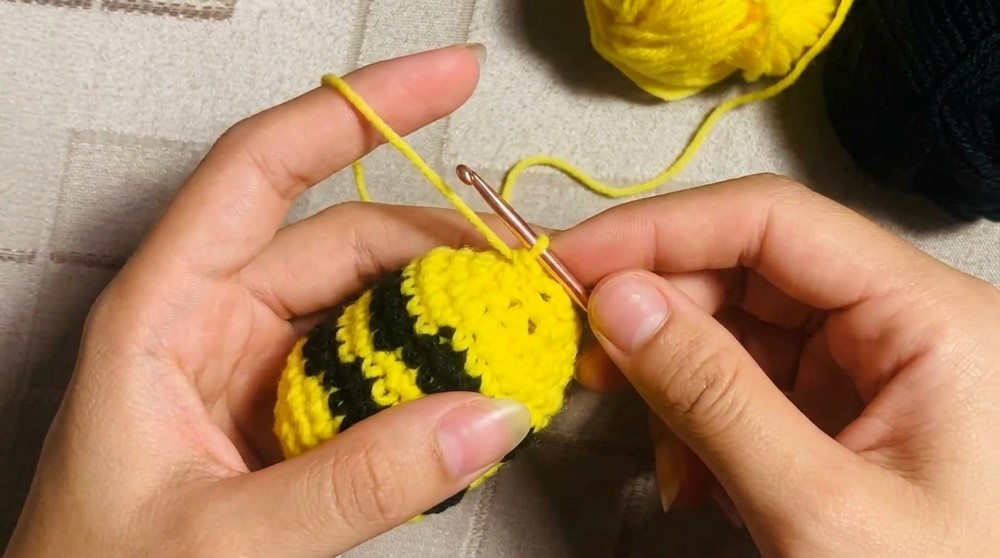
Shape the Bee:
- Round 8: Start decreasing the stitches as you shape the bee into its final rounded form:
- Work 1 sc into the first stitch, then sc two stitches together (sc2tog). Repeat this around to decrease by 6 stitches.
- Continue decreasing rounds until the stitches reduce to 12 total.
Stuff the Body:
- Before completing the final row, fill the bee tightly with fiberfill stuffing. Shape the stuffing evenly to give the bee a smooth, rounded body.
- Complete the last round and fasten off the yellow yarn using a slip stitch, leaving a small tail to sew the hole shut neatly.
2. Crochet the Wings
Use White Yarn:
Make two identical wings:
- Create a magic ring or chain 2.
- Round 1: Work 6 sc into the magic ring. Pull tightly to close.
- Round 2: Work 2 sc into each stitch around (12 stitches total).
- Round 3: To shape the wings more prominently, work 1 sc into the first stitch, 2 sc in the next stitch (increase). Repeat this around (18 stitches total).
- Round 4: Finish with a slip stitch around, creating a neat edge.
Attach the Wings:
- Once both wings have been created, position them symmetrically on the bee’s back.
- Use the long tails to stitch the wings securely using a darning needle, ensuring the stitches are tight.
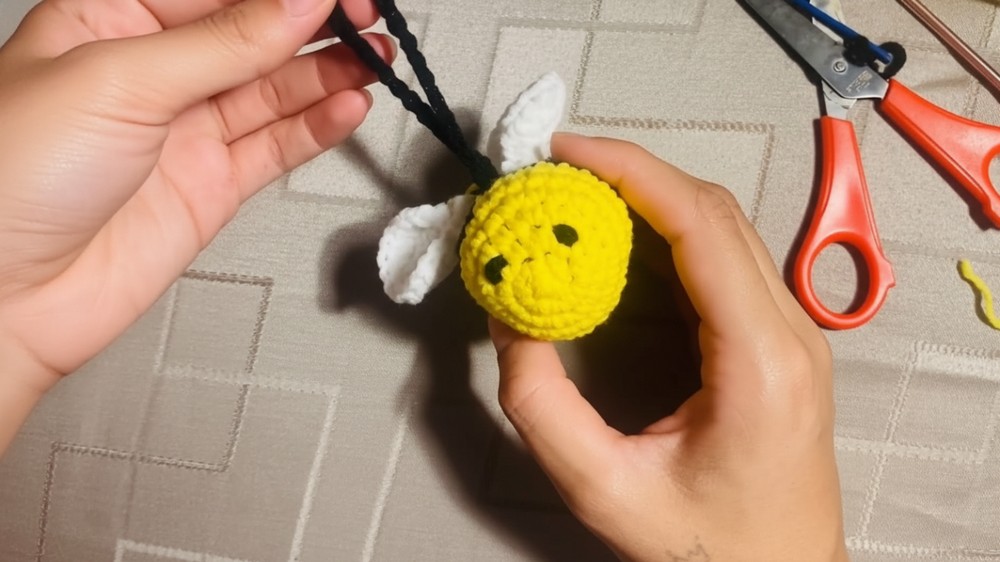
3. Add Facial Features
Use Black Yarn:
- To create the bee’s face, use a darning needle and black yarn to embroider two oval-shaped eyes on the front yellow section of the bee.
- Below the eyes, embroider a small smile or facial expression. Be creative with the face. You can lean towards a playful, happy, or sleepy look depending on your desired theme.
4. Finishing Touches
- Secure Loose Ends: Use the darning needle to weave in any remaining tails of yarn. Trim off any excess yarn for a polished look.
- Massage and Shape: Use your hands to even out the fiberfill stuffing and smooth out any lumps. This will ensure the bee maintains a rounded and proportional shape.
Tips to Customize and Maintain Your Pattern
- Experiment with Colors: Get creative by using light pink stripes instead of black, or rainbow colors to make a multicolored bee.
- Add Accessories: Attach a keyring or ribbon loop to the bee’s back, converting it into a cute bag accessory.
- Larger Bees: Use thicker yarn and a larger hook to create an oversized bee that works as a plush toy or pillow.
- Wing Alternatives: If white yarn isn’t available, try using felt, fabric, or lace for the wings. These alternatives can give the bee a completely unique and decorative style.
- Care Instructions: Clean your crochet bee gently with a damp cloth. Avoid machine washing to preserve its texture.
Conclusion
Your crochet bee is complete. This adorable bee is perfect for brightening up your workspace, gifting as toys or trinkets, or using as decorative elements on bags or keychains. The cheerful stripes, cuddly round body, and neat handmade wings make this project a joy to crochet and share.
Crocheting projects like this bee are excellent for honing your skills, experimenting with creative designs, and indulging in the therapeutic process of working with yarn. Whether you’re making one bee or an entire hive, you’ll surely enjoy this satisfying and rewarding crochet.
Take pride in your handmade creation, and don’t hesitate to add your personal touch. Whether that’s glitter detailing, googly eyes, or small embellishments, like embroidery or ribbon, it’s about making the bee uniquely yours. Share it with loved ones or keep it for yourself—it’s guaranteed to bring smiles and sunny vibes everywhere it’s displayed.
Final Words
Crochet projects don’t have to be complicated to be beautiful and meaningful. This crochet bee, with its sunny personality and simple charm, represents the joy of handmade projects. Keep experimenting and crocheting—and don’t forget to smile when your bee takes its first flight as a finished piece.