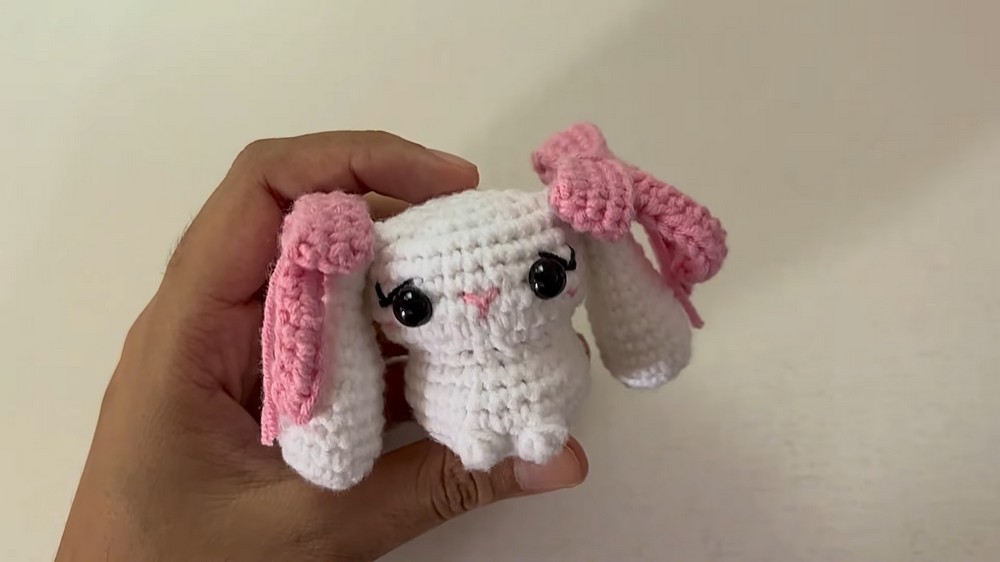
Bring a bunny to life with yarn and a hook using this fun Crochet Bunny Bow Pattern that’s simple to follow and perfect for creating adorable decorations.
Lovely Free Crochet Bunny Bow Pattern for Bunny Lovers
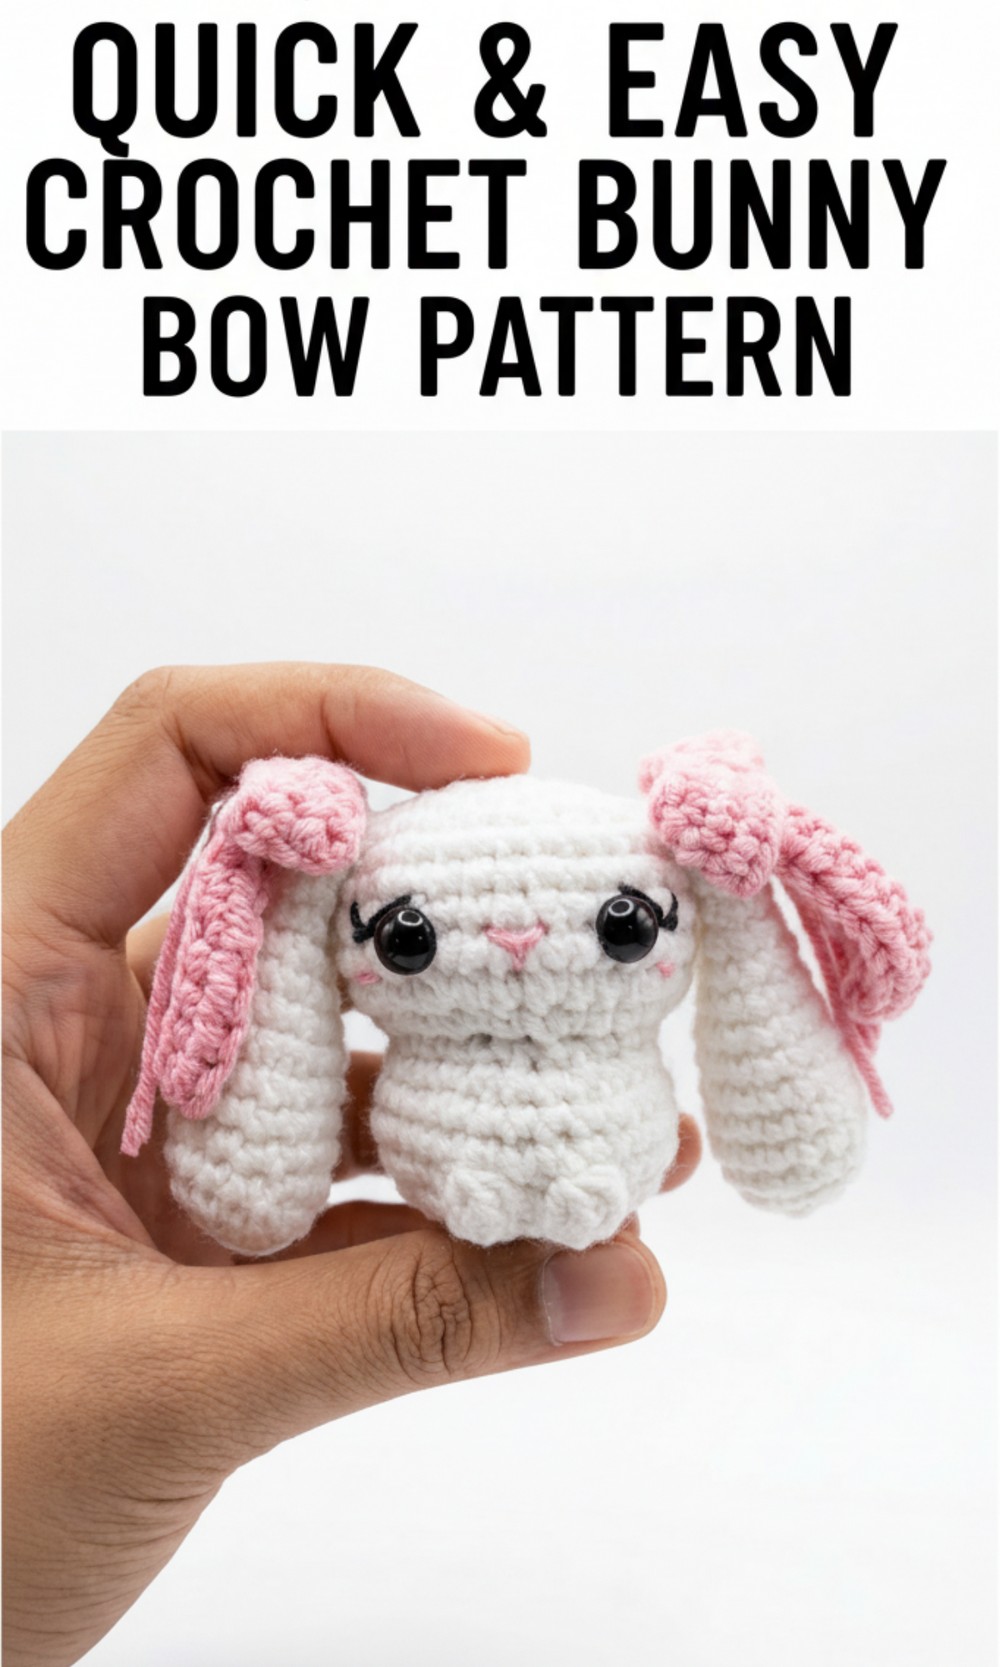
Learn how to make an adorable crochet bunny with a cute bow using this free and simple pattern. This bunny is soft, cuddly, and perfect for gifting or decorating your space. You can make it in two unique sizes, depending on the yarn and hook you choose—a small keychain bunny or a large plush bunny. The small bunny is made from milk cotton yarn with a 2.5mm hook, while the larger version uses chenille yarn with a 5mm hook.
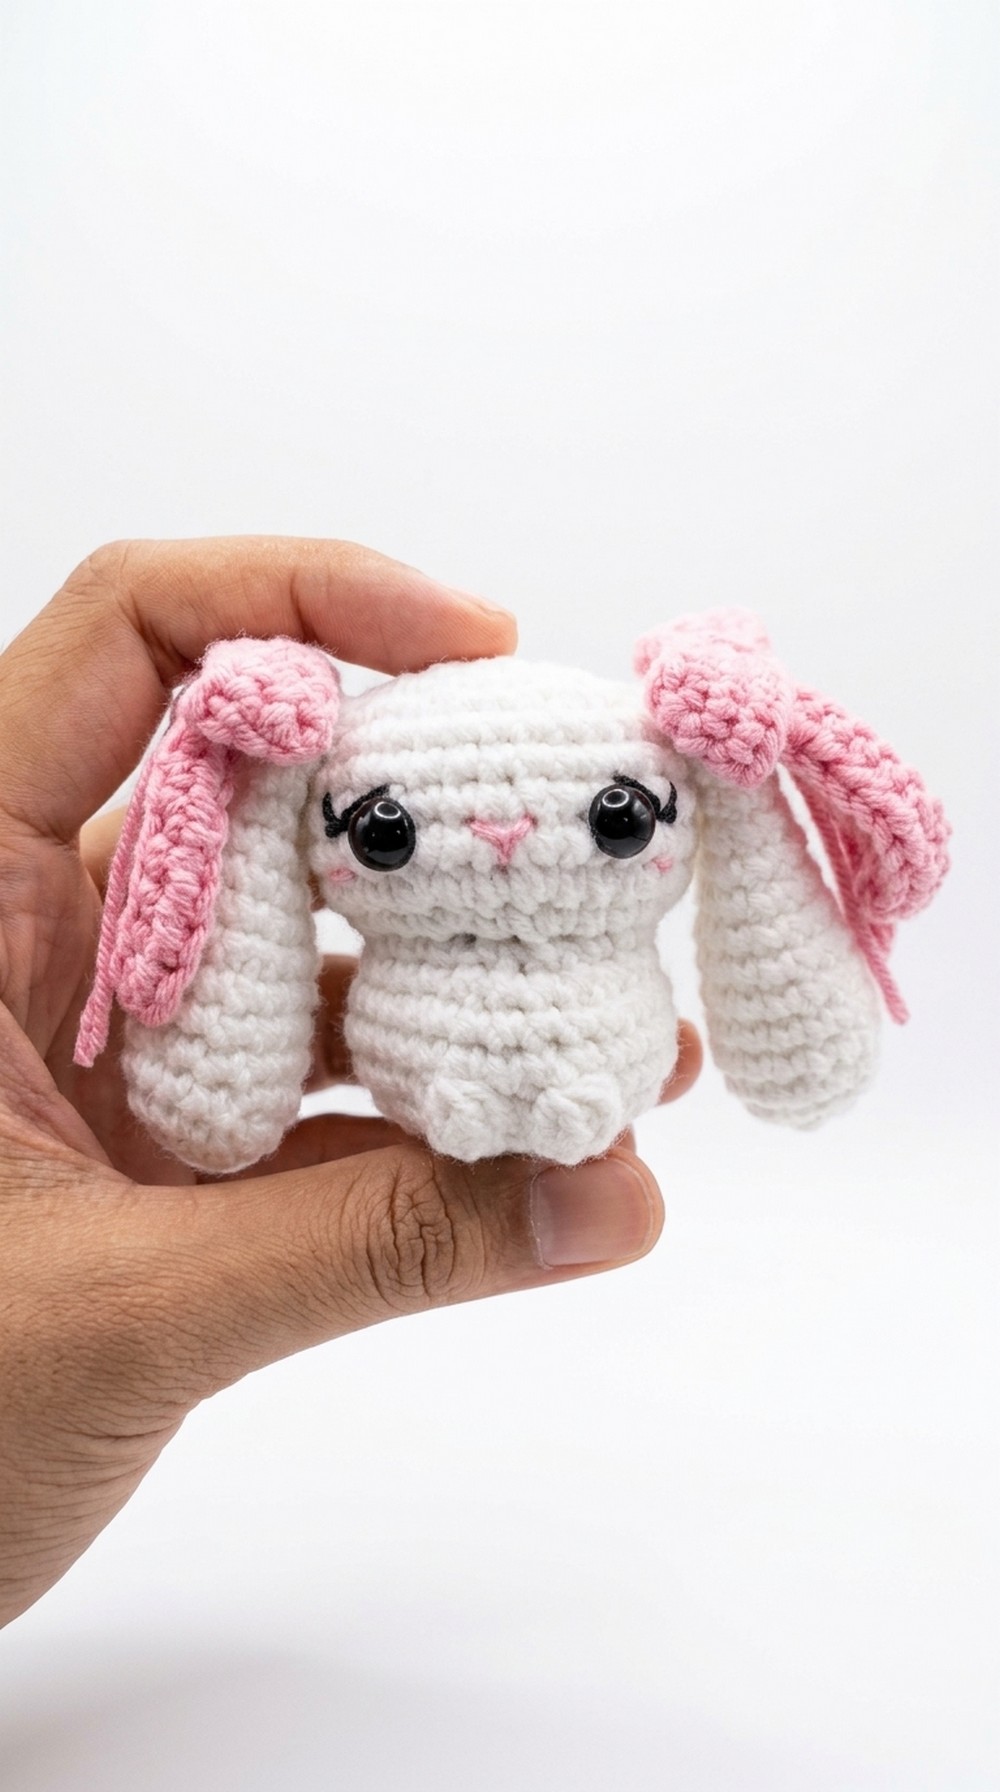
The crochet bunny bow pattern features a round fluffy body, floppy ears, a sweet pink nose, delicate embroidered eyelashes, and a stylish bow. Its bow adds charm and can be customized with favorite colors. This project is beginner friendly and ideal for creating personalized gifts for kids’ toys, Easter decorations, or special occasions. Whether big or small, the crochet bunny is a delightful creation that everyone will love.
Crochet Bunny Bow Pattern
Materials Needed
To crochet your bunny with a bow, gather the following materials:
For Small Bunny (Keychain Size):
- Yarn: Milk cotton yarn
- Crochet Hook: 2.5mm
- Plastic Safety Eyes: 5mm diameter
- Black Cotton Yarn: For eyelashes
- Pink Cotton Yarn: For the nose and blush
- Other Supplies:
- Stitch markers
- Tapestry needle
- Scissors
- Craft glue (for attaching eyes)
For Large Bunny (Flushy Size):
- Yarn: Chenille yarn
- Crochet Hook: 5mm
- Plastic Safety Eyes: 10mm diameter
- Black Cotton Yarn: For eyelashes (use the complete strand)
- Pink Cotton Yarn: For the nose and blush
- Other Supplies:
- Stitch markers
- Tapestry needle
- Scissors
- Craft glue (for attaching eyes)
Pattern Overview
This pattern is worked in rounds, starting with a magic ring. The bunny consists of three main components:
- Body and Head: Made using single crochet (sc) and basic shaping.
- Ears: Crocheted separately and sewn to the head.
- Bow: A decorative bow, made in two parts and affixed to the ears.
Abbreviations
- ch: Chain
- sc: Single crochet
- st(s): Stitch(es)
- inc: Increase (2 sc in one stitch)
- dec: Decrease (invisible decrease using front loops only)
- sl st: Slip stitch
- yo: Yarn over
Step by Step Instructions
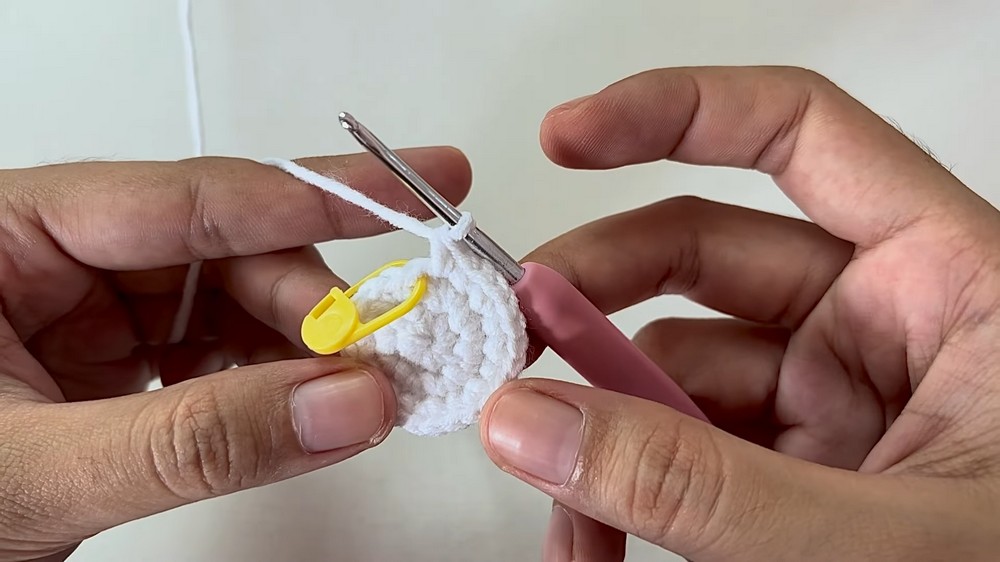
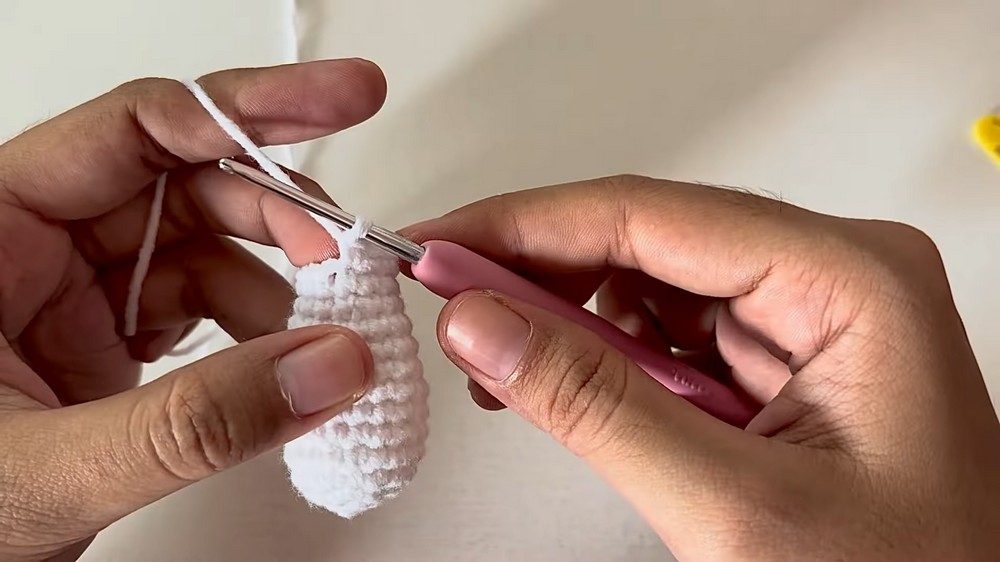
1. Body and Head
Rounds 1–9: Body
- Round 1: Make a magic ring and work 8 sc into it. (8 sts)
- Use a stitch marker to mark the first stitch of each round.
- Round 2: Inc in every st around. (16 sts)
- Round 3: (1 sc, inc) 8 times. (24 sts)
- Round 4: (2 sc, inc) 8 times. (32 sts)
- Round 5: Create the bunny’s distinct design:
- 4 triple crochet clusters in the first st.
- 13 sc in the next sts.
- 1 four double crochet cluster.
- 2 sc in the next 2 sts.
- 1 four double crochet cluster.
- 14 sc to complete the round.
- Round 6: Make 1 sc in each st around. (32 sts)
- Round 7: Shaping: (2 sc, dec) 8 times. (24 sts)
- Round 8: More shaping: (1 sc, dec) 8 times. (16 sts)
- Round 9: Work 9 sc, then 2 dec, and finish with 9 sc. (14 sts)Tip: Stuff the body at this stage using fiberfill or the stuffing material of your choice.
Rounds 10–13: Head
- Round 10: Work sc in front loops only, (1 sc, inc) 10 times. (20 sts)
- Round 11: (2 sc, inc) 10 times. (30 sts)
- Round 12: Work 1 sc in each st around. (30 sts)
- Round 13: (3 sc, dec) 8 times. (24 sts)Continue stuffing the bunny’s head as you crochet.
Rounds 14–18: Shaping the Top of the Head
- Round 14: (2 sc, dec) 8 times. (16 sts)
- Round 15: (1 sc, dec) 8 times. (12 sts)
- Round 16: Stuff the head fully, then work 8 decreases to close. (8 sts)
- Fasten off: Leave a long tail, thread with a tapestry needle, and sew through the final stitches to close the hole securely.
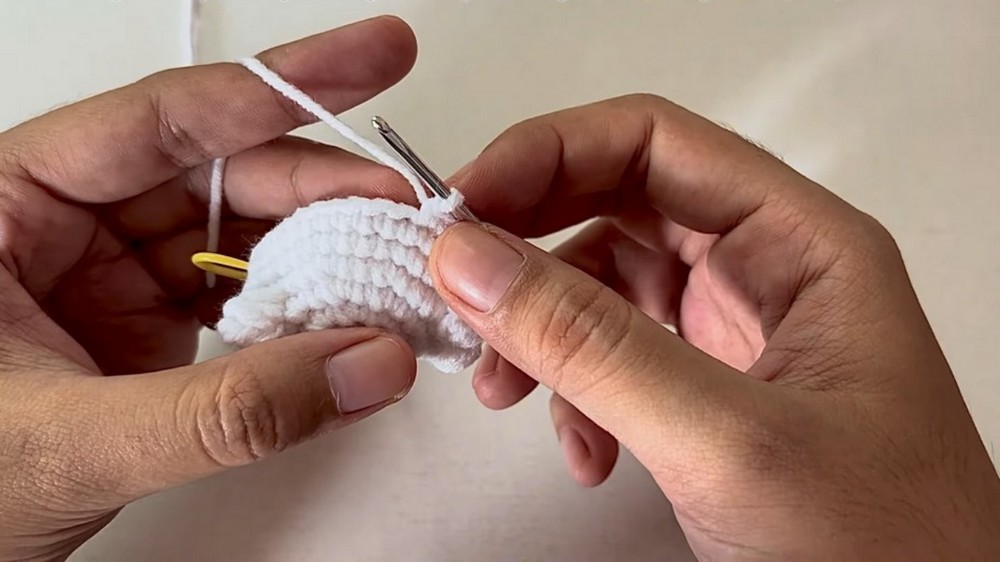
2. Ears (Make 2)
- Round 1: Make a magic ring and work 6 sc into it. (6 sts)
- Round 2: Inc in each st around. (12 sts)
- Round 3: (1 sc, inc) 6 times. (18 sts)
- Rounds 4–7: Work 1 sc in each st around. (18 sts)
- Round 8: (4 sc, dec) 3 times. (15 sts)
- Round 9–10: Work 1 sc in each st around. (15 sts)
- Round 11: (3 sc, dec) 3 times. (12 sts)
- Round 12–13: Work 1 sc in each st around. (12 sts)
- Round 14: (2 sc, dec) 3 times. (9 sts)
- Fasten off: Leave a long tail for sewing. Flatten the ear and sew it closed at the base.
Attach the ears: Sew the ears symmetrically onto the head, leaving about 11 stitches apart.
3. Bow
Part 1: Loop
- Follow the instructions for Part 1 in the transcript to create a closed loop of 20 stitches with 3 rows of single crochet. Leave a long tail for sewing.
Part 2: Band
- Work 22 chains, then work 20 half double crochet stitches (hdc) in each chain starting from the third chain from the hook. Fasten off and weave in the ends.
Assembly
- Place the second part in the center of the first to form a bow shape.
- Wrap yarn tightly around the center 4–5 times and secure the tail with a knot.
- Sew the bow to one ear.Optional: Add “tails” to the bow by attaching small pieces of yarn to the bottom and knotting them.
4. Face and Finishing
- Eyes: Attach safety eyes between Rounds 12 and 13, 6 stitches apart.
- Eyelashes: Use black cotton yarn to embroider eyelashes as described, threading through the top and sides of each eye.
- Nose: Use pink yarn to embroider a small triangle nose between the eyes, covering about 2 stitches.

- Blush: Create subtle blush marks beside each eye using pink yarn.
Tips to Maintain the Pattern
- Consistency: Keep your tension consistent throughout the project to achieve a smooth and polished finish.
- Stuffing: Stuff firmly but avoid overstuffing to maintain shape without distorting the stitches.
- Customization: Experiment with yarn colors and textures to give your bunny a unique personality.
- Cleaning: Wash the finished bunny gently by hand to maintain its appearance.
Final Words
You’ve now completed a charming crochet bunny with a bow, Whether making the smaller keychain variation or the larger plush version, this adorable creation is sure to bring joy. Don’t hesitate to try different yarn combinations or add your custom touches to make this project uniquely yours.