
Create a charming crochet giraffe with this free pattern that guides you step by step to make a cute and soft handmade toy easily.
This charming crochet project makes a delightful handmade toy inspired by the gentle nature of giraffes. The Crochet Giraffe tutorial was thoughtfully created by Hooks & Needles By Mita, whose clear and friendly instructions help both beginners and intermediate crocheters enjoy making this beautiful piece.
Mini Crochet Giraffe Free Pattern For Small Toys
The finished giraffe is about 8 to 10 inches tall, perfect for cuddling, decorating a nursery, or gifting to a loved one. Its main features include a long neck, cute little horns and ears, and attractive spots that give it a lifelike appearance. The project involves simple crochet stitches and basic shaping, making it accessible for those still learning new skills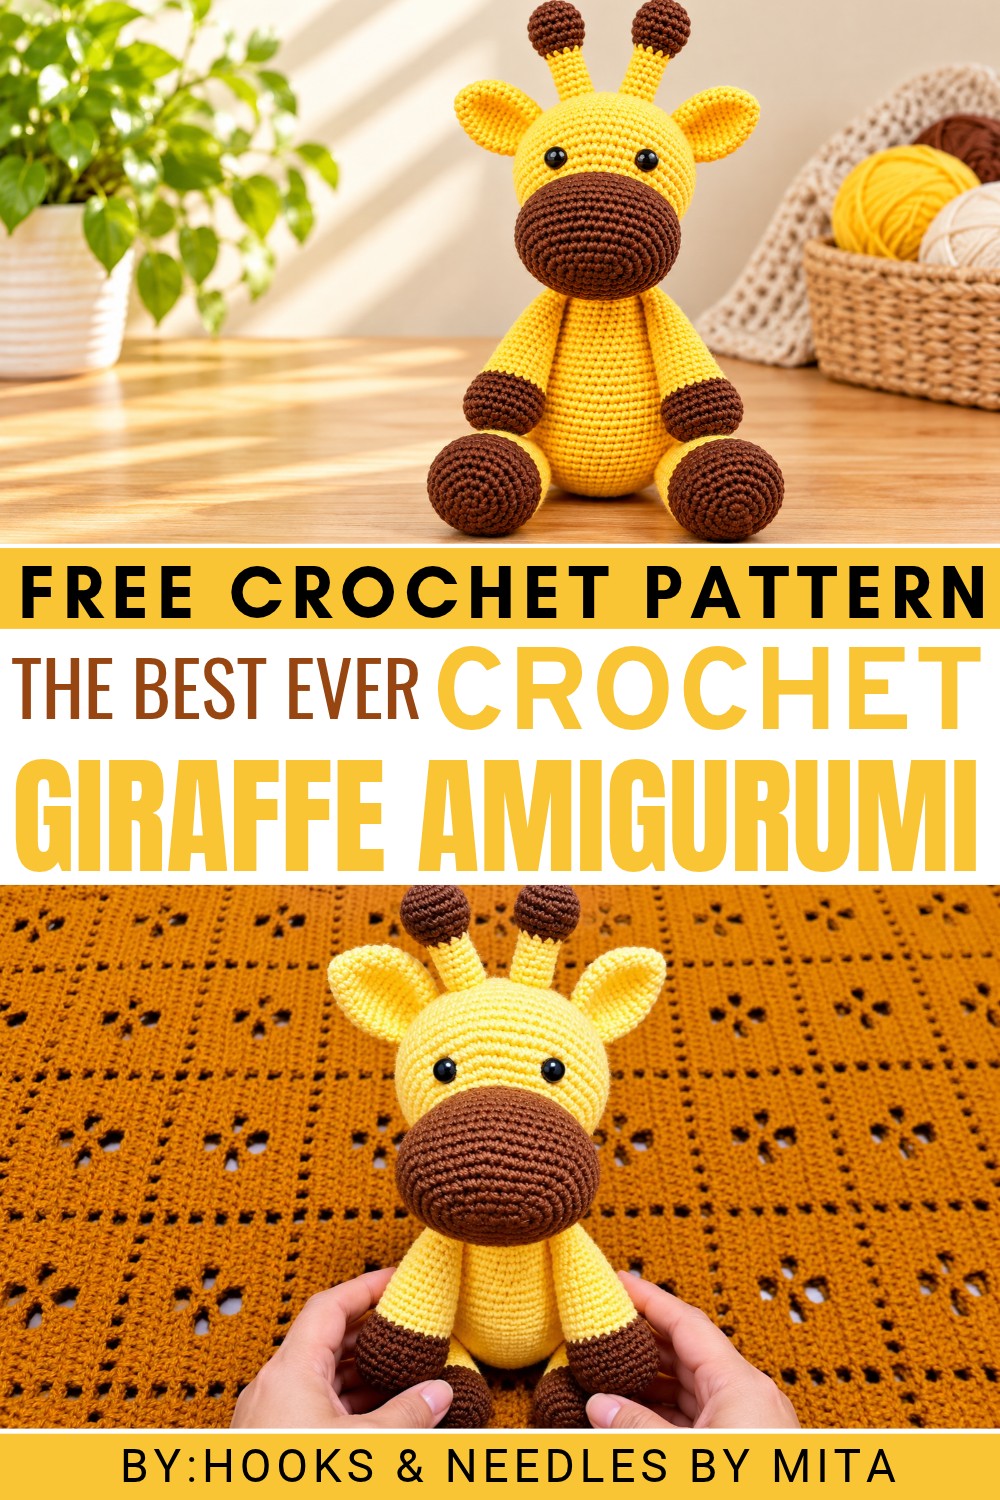 You’ll love this project because it introduces important techniques like crocheting in rounds, increasing and decreasing stitches, and sewing individual parts like the legs, ears, and tail neatly onto the body. Working through these steps is enjoyable and rewarding, as you see the giraffe take shape bit by bit.
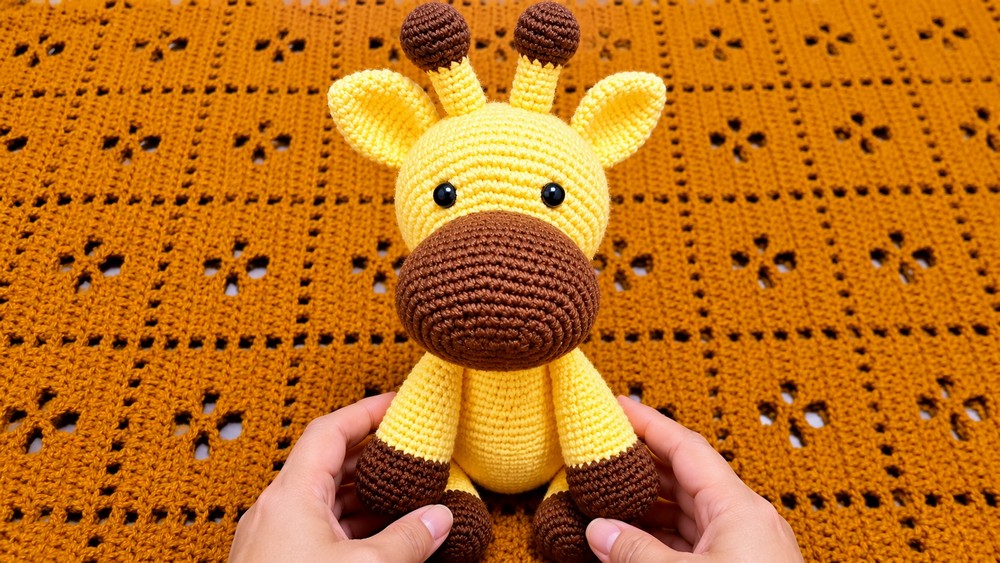
This soft and adorable giraffe is a wonderful creation for children to play with or a lovely cozy decoration. If you’re looking for a fun and friendly crochet project that builds your skills and results in a charming toy, this is the perfect choice.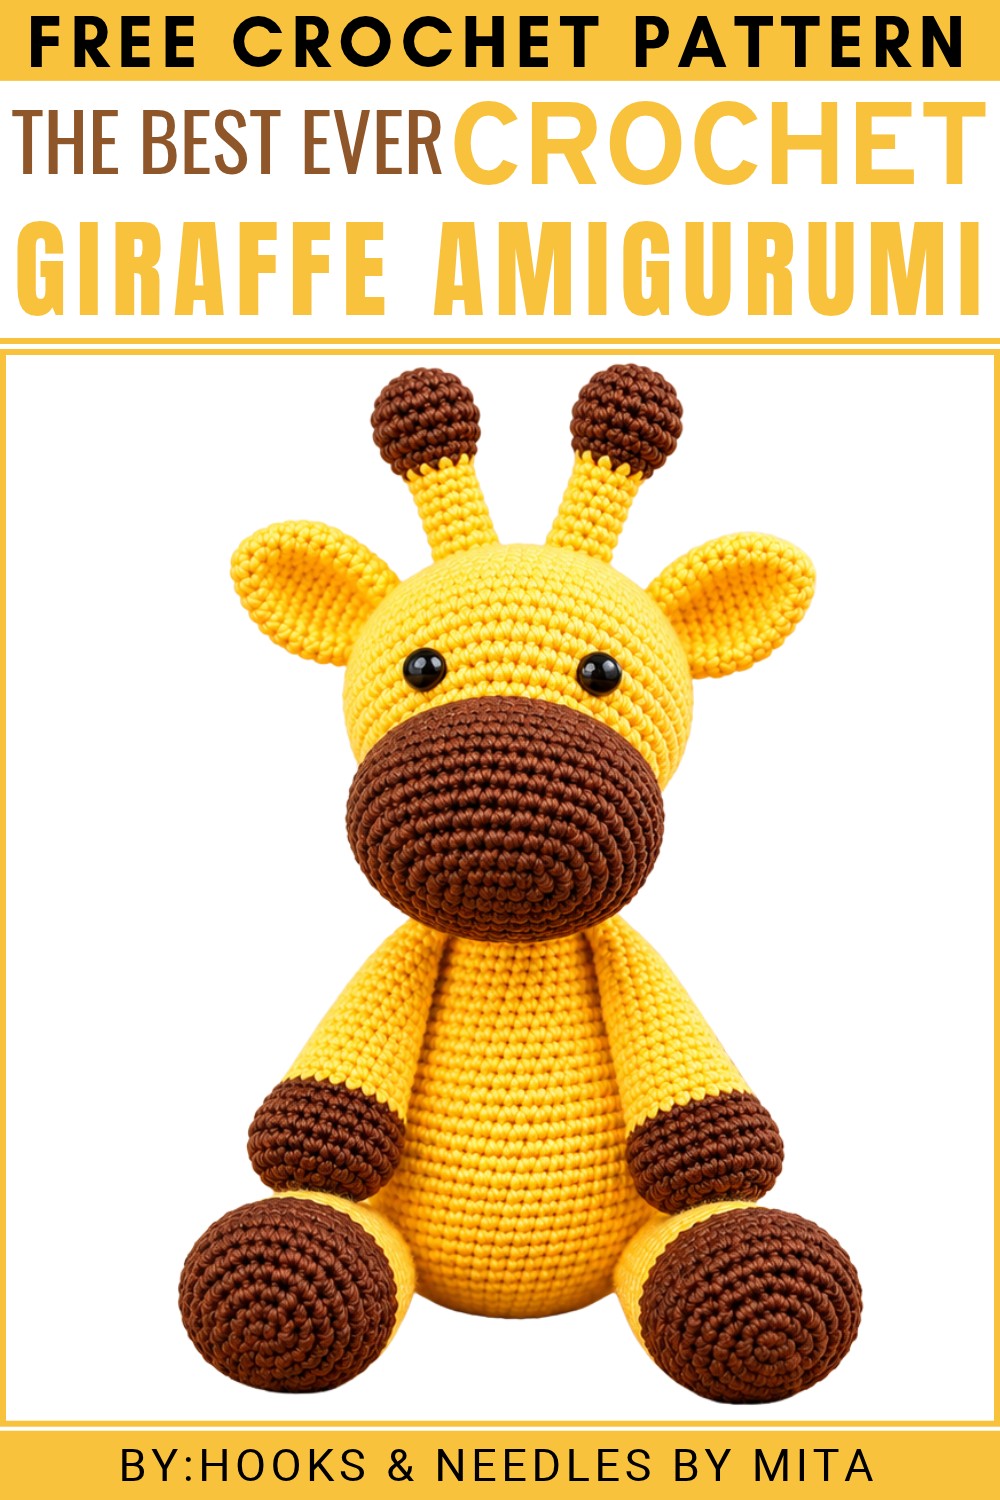 Give this free pattern a try and watch your very own crochet giraffe come to life with each stitch!
About the Pattern
The crochet giraffe is a classic amigurumi project that blends vivid coloration, whimsical shaping, and detailed assembly. Each component is meticulously planned for anatomical accuracy, from the elongated neck and distinct horns, to the playful tail and robust legs. The pattern emphasizes gradual increases and decreases, realistic proportions, and precise placement of features to produce a gentle, characterful giraffe. The assembly process ensures sturdy structure, stable limbs, and expressive facial details suitable for decoration, gifting, or imaginative play.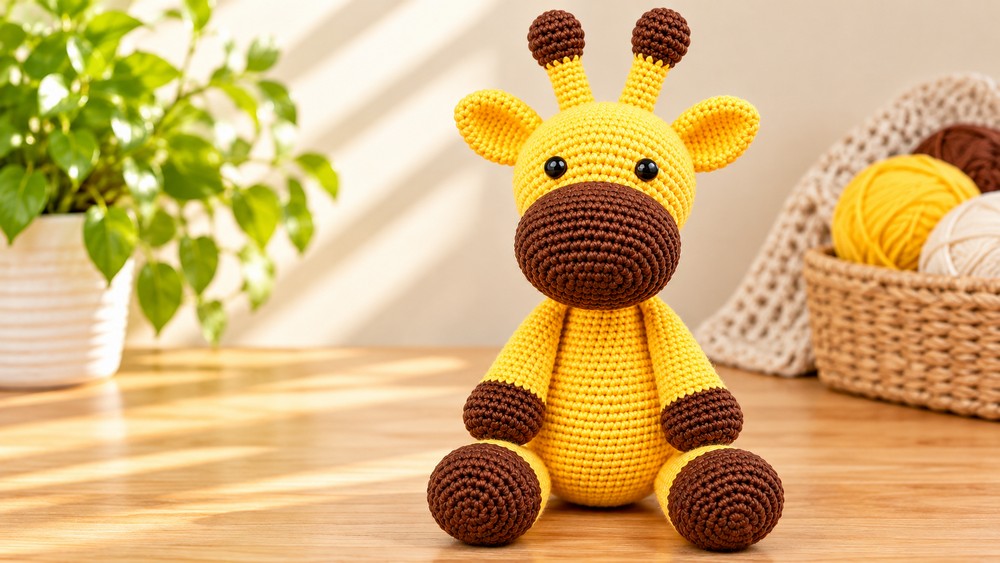
Pattern at a Glance
- Project Type: Seated amigurumi giraffe
- Main Features: Extended neck, movable limbs, expressive ears, tonal color transitions, classic muzzle and horns
- Sections: Head, body, ears, horns, arms, legs, tail, and assembly
Important Notes
- Use a stitch marker to track rounds, especially during increases and decreases.
- Stuff as you go to maintain shape consistency and create a firm, well-supported figure.
- Color transitions add authenticity; change yarn carefully for neat joins.
- Safety eyes are recommended for durability.
Difficulty Level
Intermediate: This pattern combines key amigurumi techniques, including increasing, decreasing, working in the round, color changes, and detailed assembly. Familiarity with back loop and seamless joins helps ensure neat finishing.
Supplies Needed
- Worsted weight yarn: yellow (main), brown (hooves, muzzle, horns, spots)
- 4.0 mm (G) crochet hook or size needed for gauge
- Safety eyes or black yarn for embroidered eyes
- Yarn needle for sewing and embroidery
- Stitch marker
- Polyester fiberfill stuffing
- Scissors
Size & Measurements
- Finished giraffe is approximately 12–14 inches (30–36 cm) tall seated
- Body width: about 5 inches (13 cm)
- Limb length: 5–6 inches (12–15 cm)
- Tail length: 4 inches (10 cm)
Gauge & Stitch Details
- Gauge: 16 single crochet (sc) and 18 rows = 4″ (10 cm)
- Main stitch: Single crochet in continuous rounds
- Techniques: Increases, decreases, back loops only, color changes
Crochet Abbreviations
- ch – chain
- sc – single crochet
- inc – increase (2 sc in same stitch)
- dec – decrease (sc two together)
- bl – back loop
- sl st – slip stitch
- MR – magic ring
Special Stitch Guide
- Magic Ring (MR): Begin round work with a closed center; ideal for starting limbs and head.
- Invisible Decrease (dec): Insert hook through front loops of two stitches, yarn over, pull through both, yarn over again, pull through two.
- Working in back loop only (bl): Insert hook through back loop for a ridged effect or subtle shaping.
Complete Crochet Pattern
Head
- Round 1: Ch 9, sc in 2nd ch from hook, sc across (8 sc). Turn.
- Rounds 2–7: Continue working in rounds around foundation, increasing to form a cylindrical base. Increase evenly to reach 48 sc by Round 7.
- Rounds 8–12: Sc in each st around (54 sc).
- Rounds 13–15: (Sc 7, dec) around; decrease evenly to 36 sc by end of Round 15.
- Transition: Change to yellow yarn, join and secure.
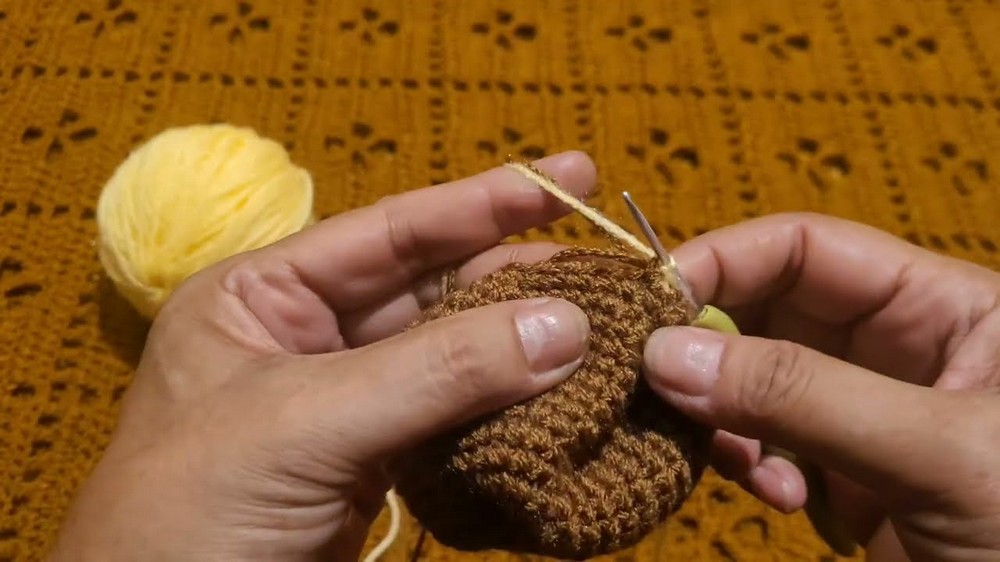
- Rounds 16–19: (Sc 8, inc) around; increase to 60 sc by end of Round 19.
- Rounds 20–27: Sc in each st around (60 sc). Place safety eyes between rounds as indicated.
- Rounds 28–36: (Sc 8, dec) around; decrease down to 12 sc by Round 36.
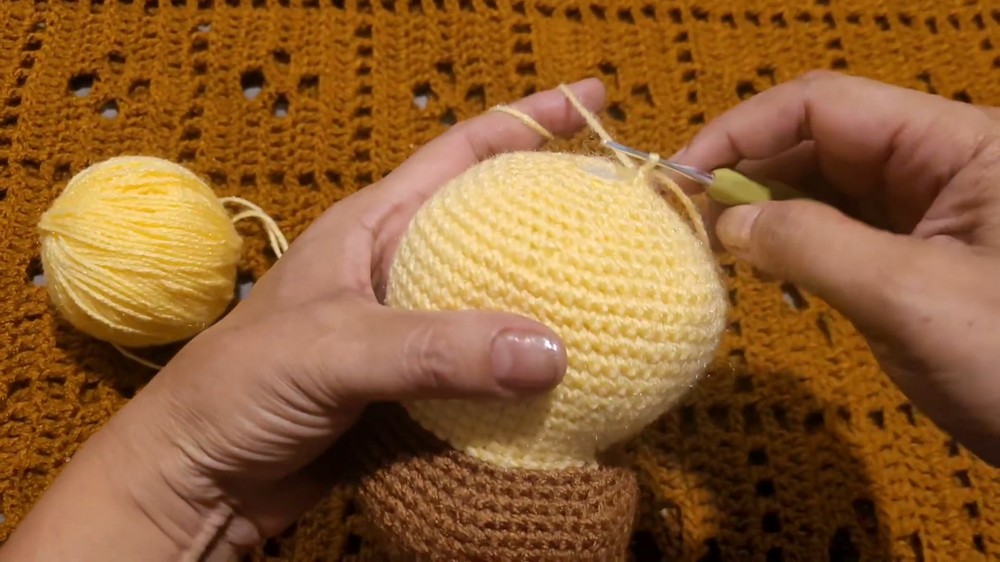
- Fasten off, leave a tail for sewing.
Body
- Round 1: MR, 6 sc.
- Round 2: Inc in each st (12 sc).
- Rounds 3–10: Increase (sc 1, inc) around each round to reach 60 sc.
- Rounds 11–20: Sc in each st around (60 sc).
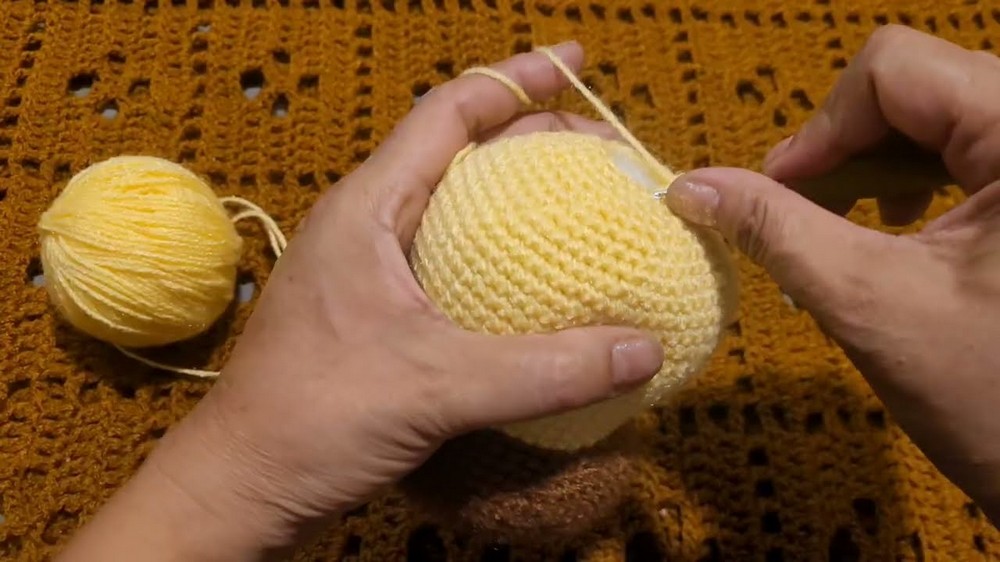
- Rounds 21–41: (Sc 8, dec) around, gradually decreasing over 21 rounds to 18 sc. The last rounds should continue straight for neck shaping.
- Fasten off, leave tail for joining.
Ears
- Round 1: MR, 6 sc in white or yellow.
- Round 2: Inc in each st (12 sc).
- Round 3: (Sc 1, inc) around (18 sc).
- Round 4: (Sc 2, inc) around (21 sc).
- Rounds 5–7: Sc in each st (21 sc).
- Rounds 8–10: (Sc 1, dec) around each round; decrease to 12 sc.
- Flatten, fold in half, and sew together. Make two.
Horns
- Round 1: MR, 6 sc in brown.
- Round 2: Inc in each st (12 sc).
- Round 3: (Sc 1, inc) around (18 sc).
- Rounds 4–6: Sc in each st (18 sc), then decrease to 9 sc.
- Switch to yellow (32:08)
- Rounds 7–13: Sc in each st (9 sc).
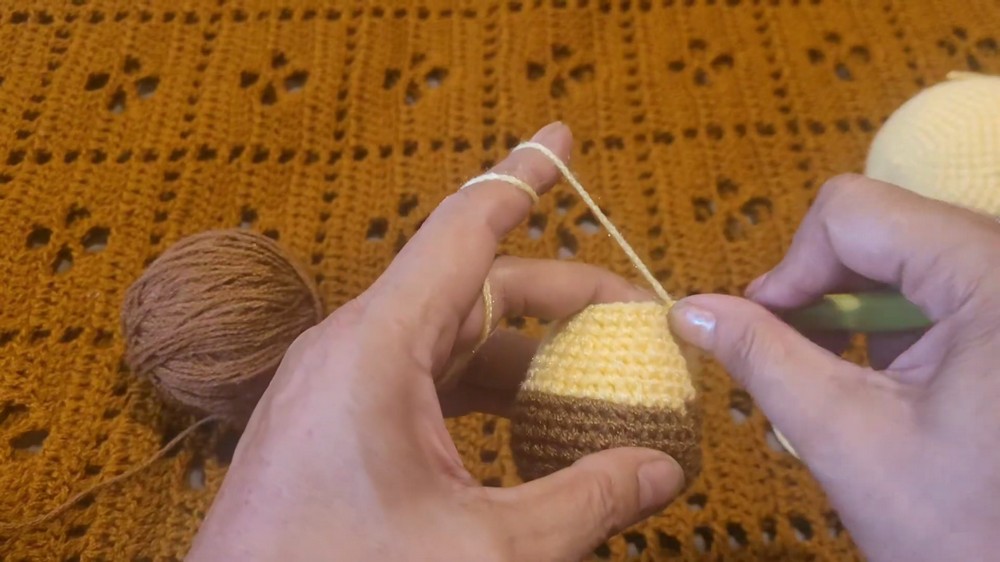
- Fasten off, leave tail. Make two.
Arms
- Round 1: MR, 6 sc in brown.
- Round 2: Inc in each st (12 sc).
- Rounds 3–6: (Sc 1, inc) around to reach 30 sc.
- Round 7: Work 30 sc in back loops only (bl) for a subtle ridge at paw.
- Rounds 8–14: Sc in each st (30 sc) in yellow.
- Rounds 15–18: (Sc 3, dec) around; decrease evenly down to 12 sc.
- Fasten off, stuff, and leave tail. Make two.
Legs
- Round 1: MR, 6 sc in brown.
- Round 2: Inc in each st (12 sc).
- Rounds 3–8: (Sc 2, inc) around to reach 36 sc.
- Round 9: Work 36 sc in back loops only (bl) to form ankle.
- Rounds 10–14: Sc in each st (36 sc) in yellow.
- Rounds 15–21: Decrease to 12 sc by working (Sc 4, dec) and further decrease rounds.
- Fasten off, stuff, and leave tail. Make two.
Tail
- Round 1: MR, 6 sc in brown.
- Round 2: Inc in each st (12 sc).
- Round 3: (Sc 1, inc) around (15 sc).
- Rounds 4–6: Sc in each st (15 sc).
- Rounds 7–9: (Sc 2, dec) around; decrease to 9 sc.
- Switch to yellow (48:23)
- Rounds 10–19: Sc in each st (9 sc).
- Fasten off, leave tail.
Assembly & Finished Size
- Ears: Sew each ear to the head 8 rows above the outer corners of the eyes; fold flat and secure for symmetry.
- Horns: Attach both horns 7 stitches from the eyes, slightly forward of the ears.
- Head: Join the head to the neck of the body, using whip stitch for a firm seam.
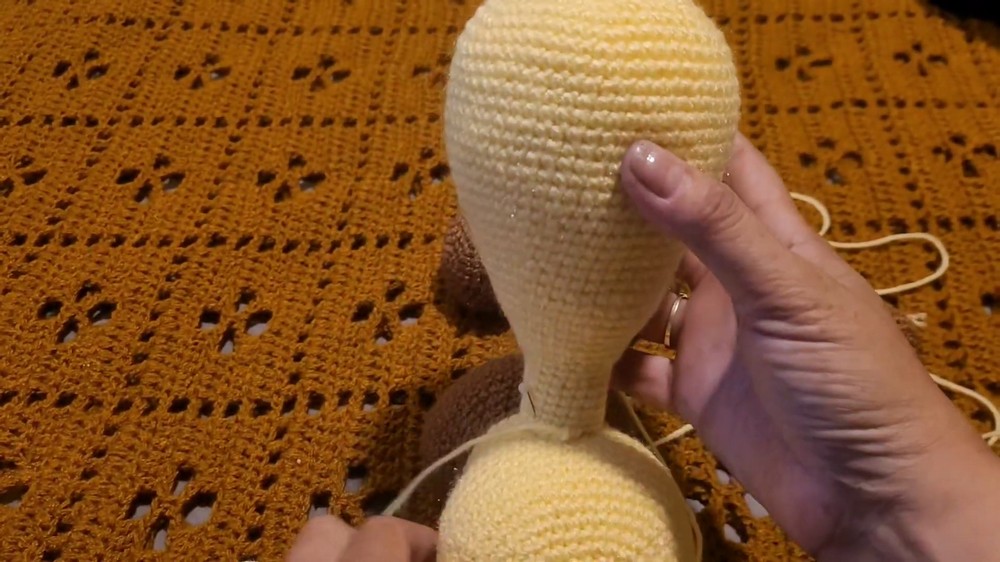
- Arms: Attach both arms 7 rows down from the center of the muzzle, aligned with upper neck.
- Legs: Sew both legs to the bottom of the body, spaced 12 stitches apart for stability.
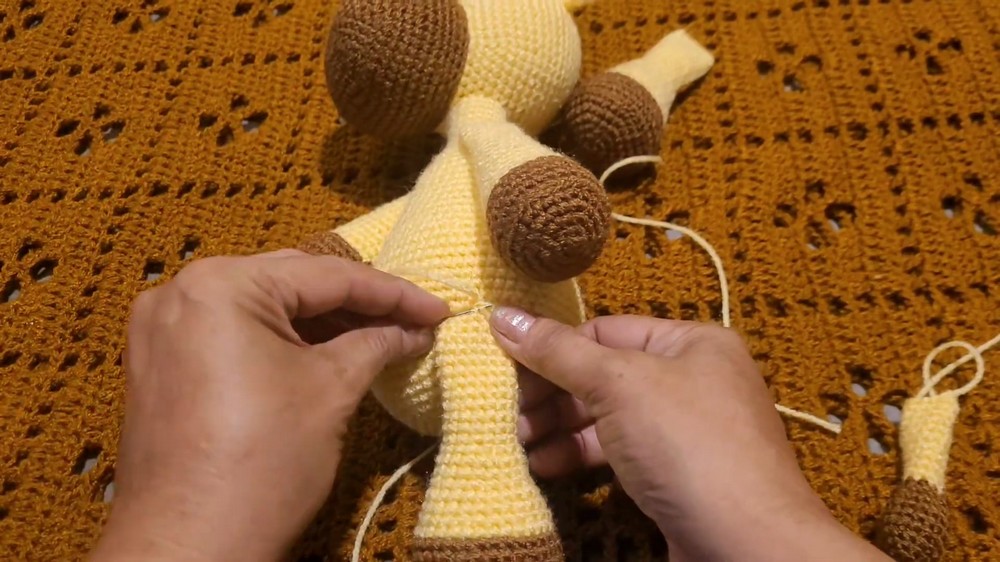
- Tail: Attach tail to the lower-back center of body, allow fringe for playful detail.
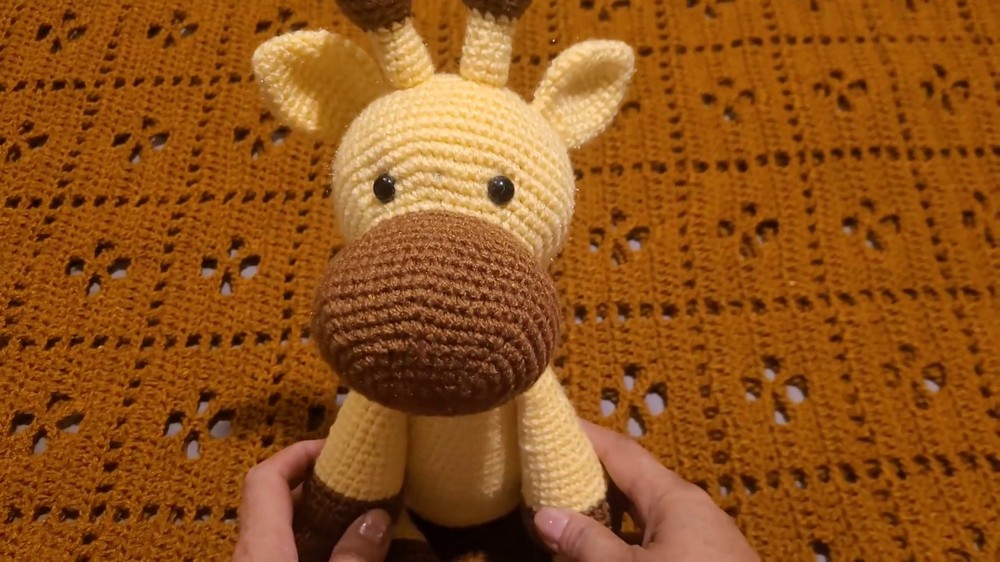
The finished giraffe measures approximately 12–14 inches tall with realistic limb and neck proportion. Placing features as described ensures a balanced and endearing result.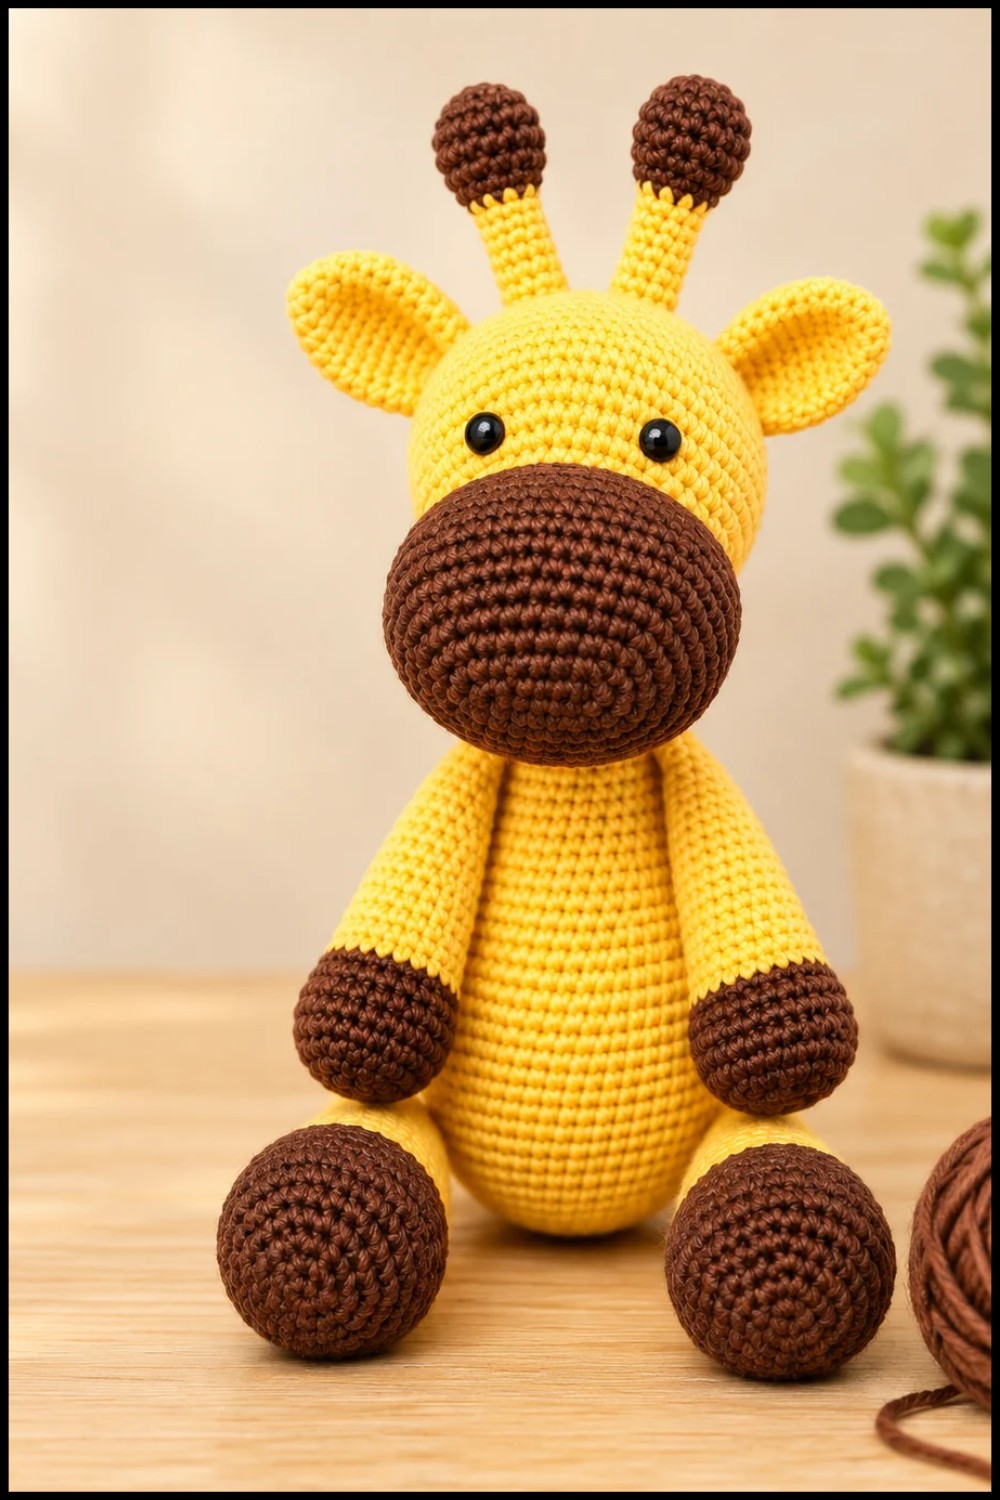
Conclusion and Ending Words
This giraffe pattern combines detailed shaping techniques, gradual increases and decreases, and careful color transitions for an authentic and charming finish. Each step—from constructing the elongated neck to assembling the nuanced limbs—embodies classic amigurumi style and the natural grace of the animal. The process creates a whimsical figure that can enhance any collection, evoke playful creativity, and showcase precise craftsmanship through each anatomical detail and thoughtful assembly.
