
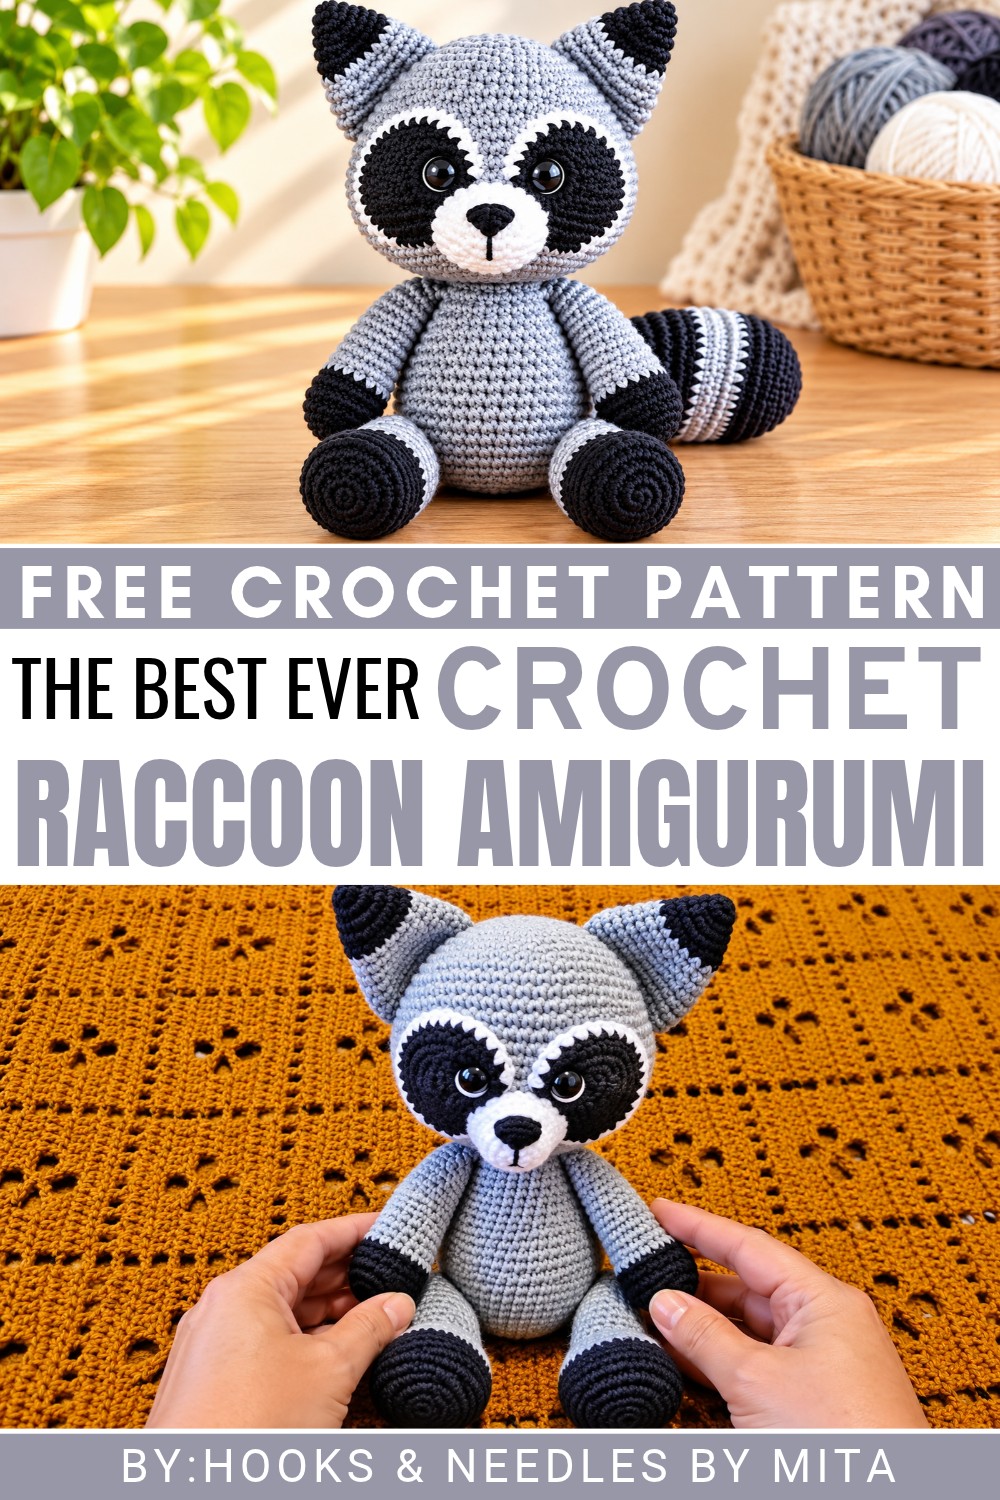
Choose gray yarn for this Crochet Raccoon Amigurumi Free Pattern and finish a sweet animal toy with a dark eye mask for kids and room shelves.
This project comes from a helpful YouTube tutorial by Hooks & Needles By Mita, with full credit to her for creating such an easy and fun guide. The Crochet Raccoon is a small, handmade crochet toy that looks very cute and soft. It’s perfect as a decoration or a gift for friends and family.
Beautiful Crochet Raccoon Free Pattern For Room Decor
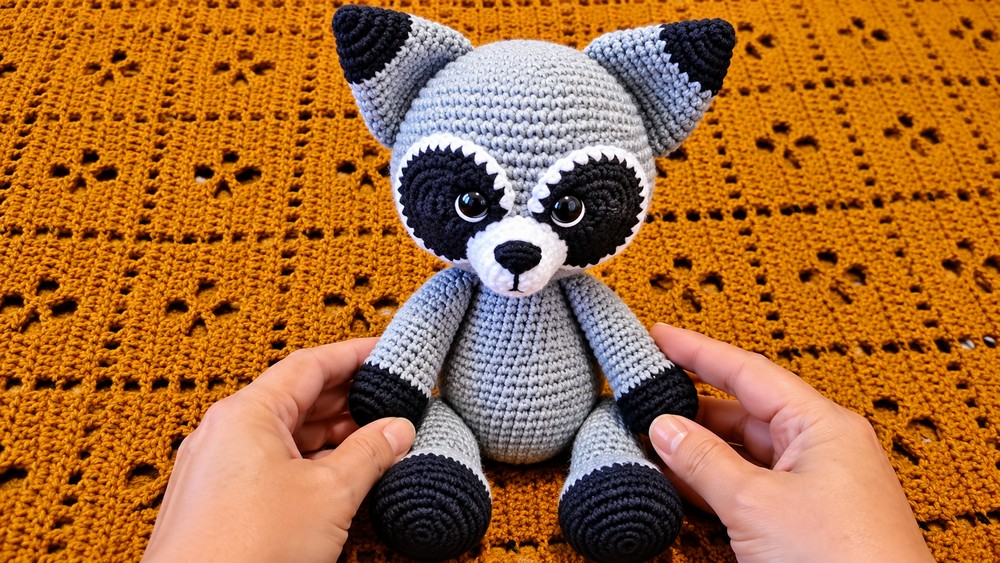
The raccoon has a round body, a fluffy striped tail, small ears, and a black mask around its eyes, giving it the classic raccoon look. Its charming face and soft texture make it great to display on a shelf, in a child’s room, or even carry as a keychain or bag charm.
 One special thing about this project is that you can customize it easily. You can use different yarn colors to make your raccoon one of a kind. Adjusting the size of the yarn and crochet hook lets you create a bigger or smaller toy. Adding little accessories like a scarf or tiny hat can also make it more playful and unique.
The making process starts with crocheting the raccoon’s body in a round shape using single crochet stitches. Then you make separate parts like the ears, tail, and facial mask, and sew them all together. The steps are simple to follow, making it perfect for beginners learning new crochet skills.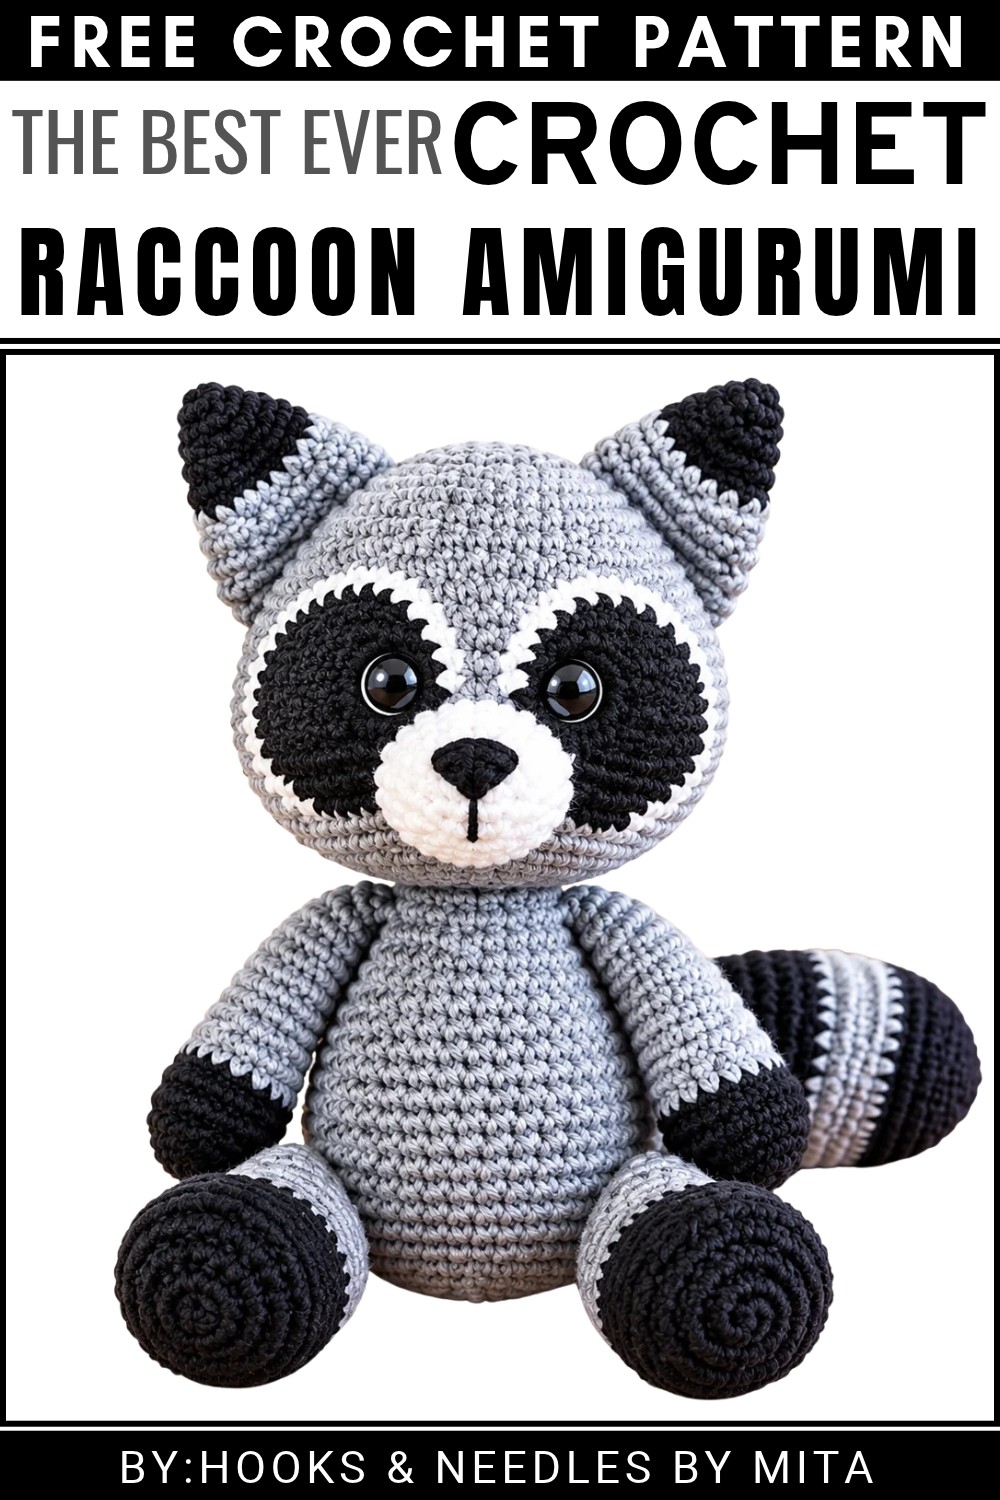 Overall, this Crochet Raccoon is a delightful project that’s both fun to make and lovely to have, thanks to Hooks & Needles By Mita’s clear tutorial.
About the Pattern
This crochet raccoon combines classic amigurumi technique with vibrant color changes and characteristic details. Each segment is thoughtfully shaped and colored, producing a whimsical woodland companion with expressive facial markings and a bushy, striped tail. Strategic assembly ensures sturdy construction and lifelike features. The raccoon’s subtle shaping, soft muzzle, and distinctive eye patches capture the heart of the creature, making it a charming display or a thoughtful gift.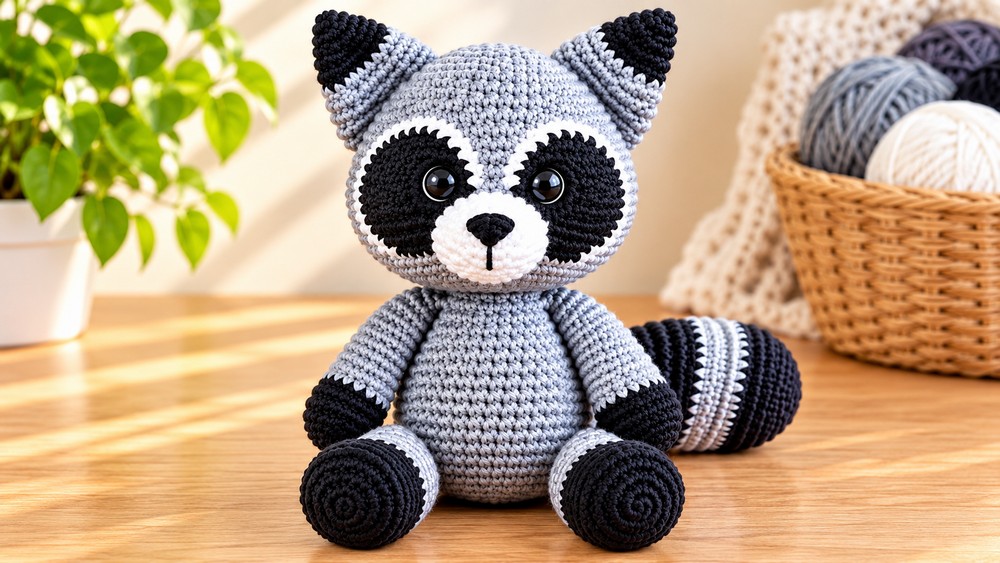
Pattern at a Glance
- Style: Amigurumi raccoon
- Components: Eye patches, head, body, arms, legs, ears, tail, muzzle, and embroidered facial details
- Design Features: Color transitions (black, grey, white), bold eye patches, striped tail, and soft muzzle
Important Notes
- Keep stitches tight to prevent stuffing exposure.
- Use stitch markers at the start of rounds to maintain alignment, especially during color changes.
- Stuff as you go to maintain shaping.
- Select high-contrast yarn for patches and tail stripes.
Difficulty Level
Intermediate: This pattern involves frequent color changes, shaping, and assembly skills. Basic embroidery is also required.
Supplies Needed
- Worsted weight yarn: Black, grey, and white
- Crochet hook size G/4.0 mm (or size for correct gauge)
- Polyester fiberfill stuffing
- Yarn needle
- Safety eyes (10–14 mm)
- Embroidery thread or additional yarn for nose
- Stitch marker
- Scissors
Size & Measurements
- Finished raccoon stands approximately 8–10″ (20–25 cm) tall.
- Width (at widest point): about 5″ (12–14 cm)
Gauge & Stitch Details
- Gauge: 16 single crochet (SC) stitches and 18 rows = 4” (10 cm)
- Primary technique: continuous rounds of single crochet, with frequent color changes
Crochet Abbreviations
- ch – chain
- sc – single crochet
- inc – increase (2 sc in same stitch)
- dec – decrease (sc two together)
- st(s) – stitch(es)
- sl st – slip stitch
- MR – magic ring
Special Stitch Guide
- Magic Ring (MR): Create an adjustable loop for working in the round without gaps.
- Invisible Decrease (dec): Insert hook into front loops only of the next two stitches, yarn over, pull through both loops, yarn over again, pull through two loops.
Complete Crochet Pattern
Eye Patches
Black Yarn Section
- Round 1: MR, 6 sc into ring.
- Round 2: Inc in each st (12 sc).
- Round 3: (Sc 1, inc) x6 (18 sc). Fasten off; leave a tail.
White Yarn Edge
- Join white yarn to outside edge of patch.
- Work sc evenly around patch to frame with white border.
- Fasten off; leave tail for sewing.
Make two patches.
Head
- Round 1: MR with grey yarn, 6 sc.
- Round 2: Inc in all sts (12 sc).
- Round 3: (Sc 1, inc) x6 (18 sc).
- Round 4: (Sc 2, inc) x6 (24 sc).
- Round 5: (Sc 3, inc) x6 (30 sc).
- Round 6: (Sc 4, inc) x6 (36 sc).
- Round 7: (Sc 5, inc) x6 (42 sc).
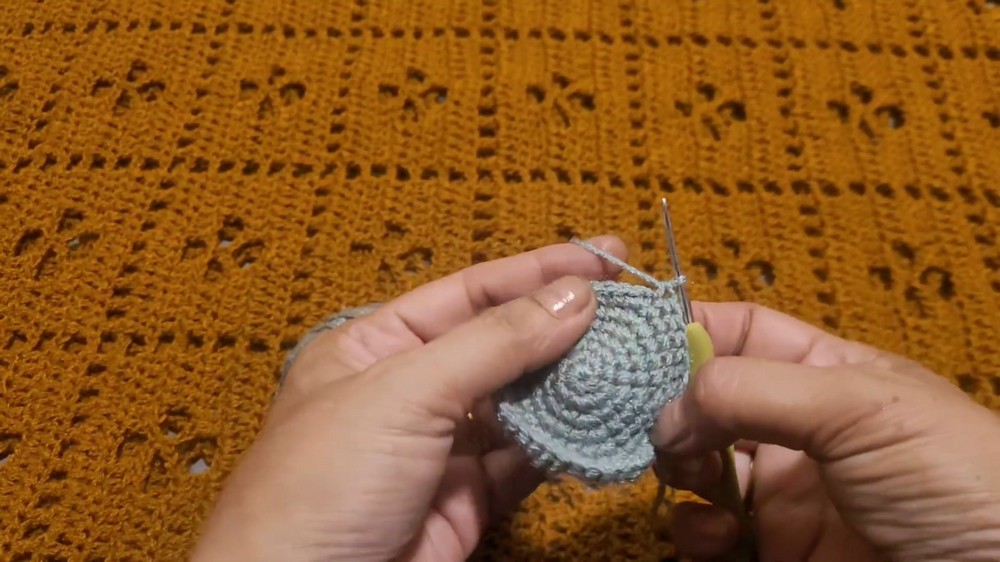
- Round 8: (Sc 6, inc) x6 (48 sc).
- Round 9: (Sc 7, inc) x6 (54 sc).
- Round 10: (Sc 8, inc) x6 (60 sc).
- Rounds 11–14: Sc in each st (60 sc).
- Round 15: (Sc 8, dec) x6 (54 sc).
- Round 16: (Sc 7, dec) x6 (48 sc).
- Round 17: (Sc 6, dec) x6 (42 sc).
- Round 18: (Sc 5, dec) x6 (36 sc).
- Round 19: (Sc 4, dec) x6 (30 sc).
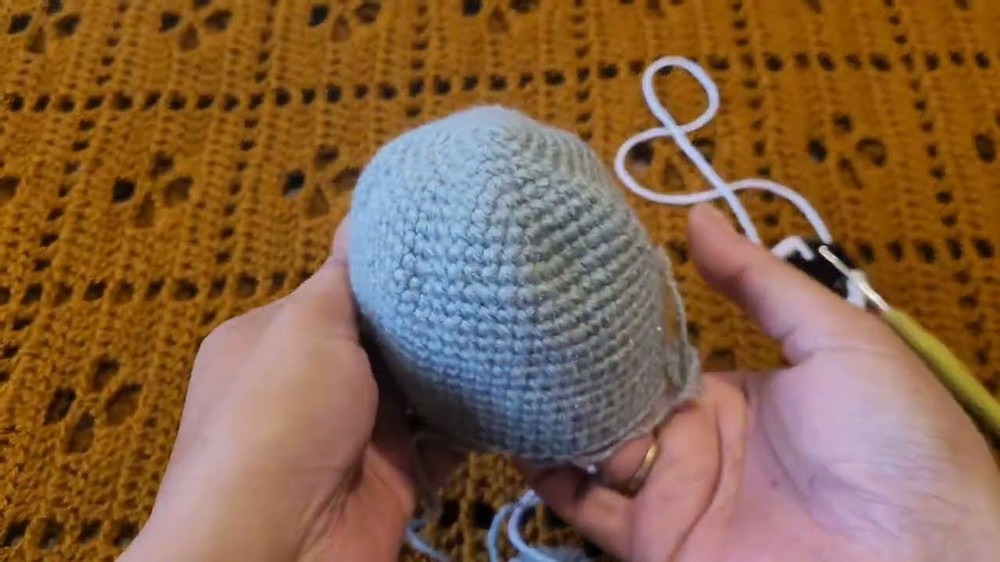
- Round 20: (Sc 3, dec) x6 (24 sc).
- Round 21: (Sc 2, dec) x6 (18 sc).
- Fasten off; leave a tail.
Body
- Round 1: MR, 6 sc.
- Round 2: Inc in all sts (12 sc).
- Round 3: (Sc 1, inc) x6 (18 sc).
- Round 4: (Sc 2, inc) x6 (24 sc).
- Round 5: (Sc 3, inc) x6 (30 sc).
- Round 6: (Sc 4, inc) x6 (36 sc).
- Round 7: (Sc 5, inc) x6 (42 sc).
- Round 8: (Sc 6, inc) x6 (48 sc).
- Rounds 9–14: Sc in each st (48 sc).
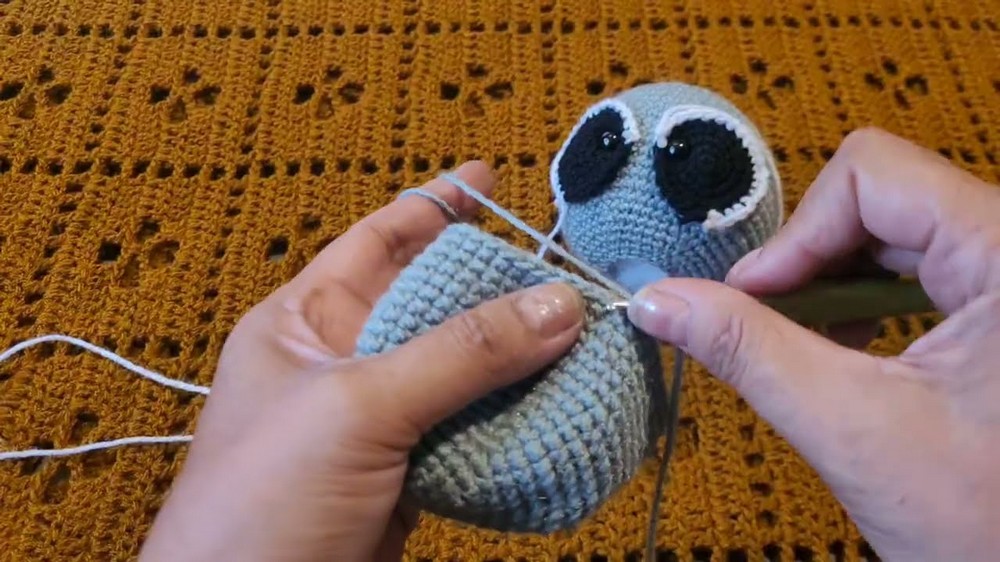
- Round 15: (Sc 6, dec) x6 (42 sc).
- Round 16: (Sc 5, dec) x6 (36 sc).
- Round 17: (Sc 4, dec) x6 (30 sc).
- Round 18: (Sc 3, dec) x6 (24 sc).
- Round 19: (Sc 2, dec) x6 (18 sc). Fasten off; leave a tail.
Arms
- Round 1: MR with black yarn, 6 sc.
- Round 2: Inc in all sts (12 sc).
- Rounds 3–6: Sc in each st (12 sc).
- Round 7: Change to grey yarn.
- Rounds 8–14: Sc in each st (12 sc).
- Round 15: (Sc 2, dec) x3 (9 sc).
- Rounds 16–20: Sc in each st (9 sc).
- Fasten off; leave tail.
Make two arms.
Legs
- Round 1: MR with black yarn, 6 sc.
- Round 2: Inc in all sts (12 sc).
- Rounds 3–10: Sc in each st (12 sc).
- Round 11: Change to grey yarn.
- Rounds 12–15: Sc in each st (12 sc).
- Round 16: (Sc 2, dec) x3 (9 sc).
- Rounds 17–21: Sc in each st (9 sc).
- Fasten off; leave tail.
Make two legs.
Ears
- Round 1: MR with black yarn, 6 sc.
- Round 2: Inc in all sts (12 sc).
- Rounds 3–4: Sc in each st (12 sc).
- Round 5: Change to grey yarn.
- Rounds 6–10: Sc in each st (12 sc). Fasten off; leave tail.
Make two ears.
Tail
- Alternate stripes between black and grey yarn, beginning and ending with black.
- Round 1: MR, 6 sc.
- Round 2: Inc in all sts (12 sc).
- Round 3: (Sc 1, inc) x6 (18 sc).
- Round 4: Change color; sc in each st (18 sc).
- Round 5: (Sc 2, inc) x6 (24 sc).
- Round 6: Change color; sc in each st (24 sc).
- Rounds 7–15: Continue alternating color stripes each round; sc in each st, maintaining stripe pattern. Fasten off; leave tail.
Muzzle
- Round 1: MR with white yarn, 6 sc.
- Round 2: Inc in all sts (12 sc).
- Round 3: (Sc 1, inc) x6 (18 sc).
- Rounds 4–5: Sc in each st (18 sc).
- Round 6: (Sc 2, inc) x6 (21 sc).
- Round 7: Sc in each st (21 sc). Fasten off; leave tail.
Assembly & Finished Size
- Eye Patches: Attach and sew patches securely to head, aligning to face for symmetry.
- Nose: Embroider nose onto the muzzle and sew muzzle below the eye patches, centered and slightly raised.
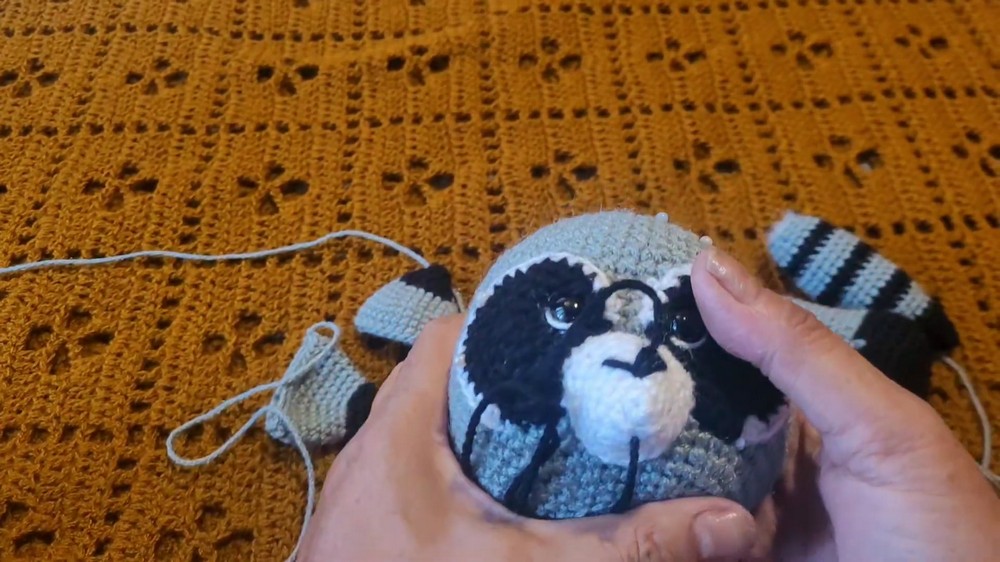
- Ears: Attach ears on either side, slightly back from top of head.
- Body: Sew head to body, stuffing firmly and positioning to maintain shape.
- Arms: Attach arms at midline of body on each side.
- Legs: Sew legs on body base for even stance.
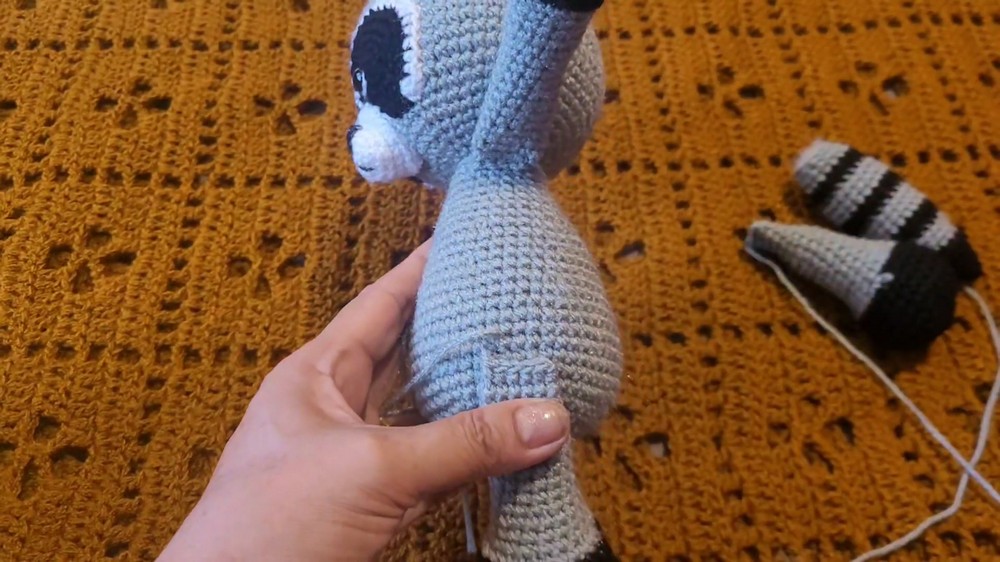
- Tail: Secure tail to back of body, ensuring stripes are visible and well placed.
The raccoon stands 8–10 inches tall, with a proportionate head, bold-eyed expression, contrasting limbs, and bushy tail. Each piece is stitched for stability and visual appeal.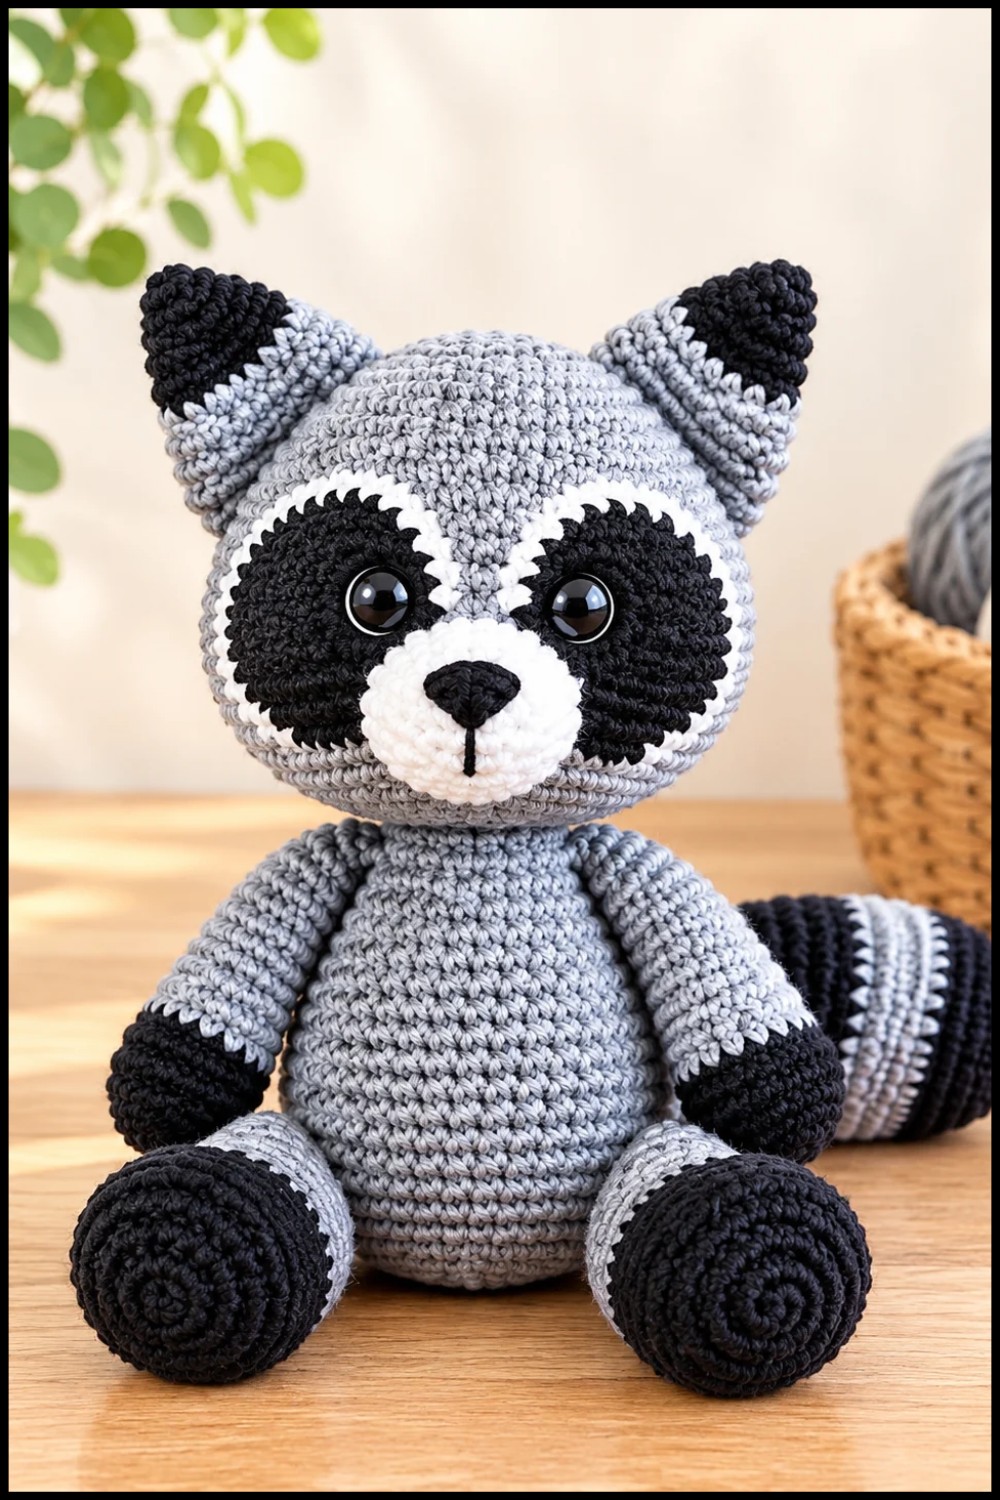
Conclusion and Ending Words
This raccoon pattern unites detailed coloration with classic amigurumi shaping. From the iconic eye patches and expressive muzzle to the banded tail and velvety paws, every element recreates raccoon charm. Consistent construction and strategic assembly produce a finished piece laden with vibrant detail and soft texture, offering both woodland whimsy and reliable craftsmanship. The raccoon serves as both a playful keepsake and a testament to creative skill, with its features and form capturing the beloved character of the animal.
