
Swim into a fun project with this Crochet No Sew Sea Turtle Free Pattern and make a lovely toy for kids, ocean fans, and cute gifts.
Tiny ocean animals can bring a peaceful seaside feeling to your collection of soft toys. The talented Hooks & Needles By Mita shares an enjoyable tutorial for making this friendly sea creature with a simple, easy-to-follow approach.
Quick Crochet Sea Turtle Free Pattern With No Sewing
This Crochet No Sew Sea Turtle is a small stuffed animal with a rounded shell, flat flippers, and a gentle face. Its smooth body and raised shell pattern give it an appealing appearance. The soft stitches create an interesting surface, while its wide shape helps it look like a real turtle swimming through the water.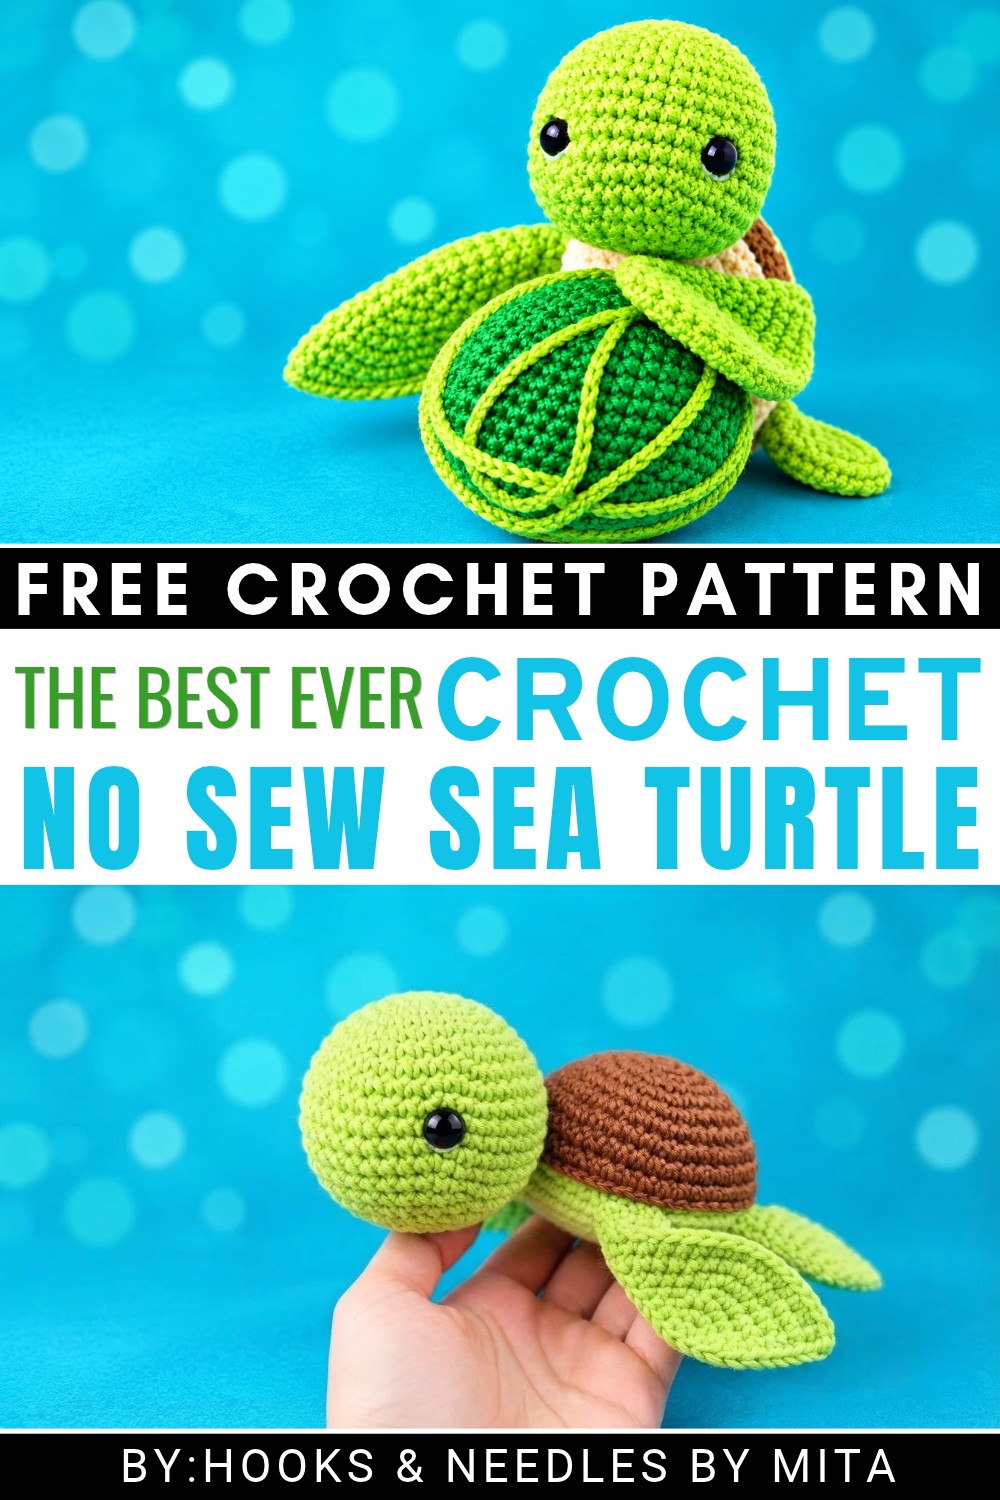 The best feature of this project is its no-sew method. Instead of making several parts and attaching them later with a needle, the turtle is formed by joining its features as you crochet. This saves time and makes the process easier for beginners who prefer fewer finishing steps.
You can choose ocean-inspired shades such as green, blue, or sandy beige to give your turtle a natural look. Different shell colors can also help each finished toy have its own style.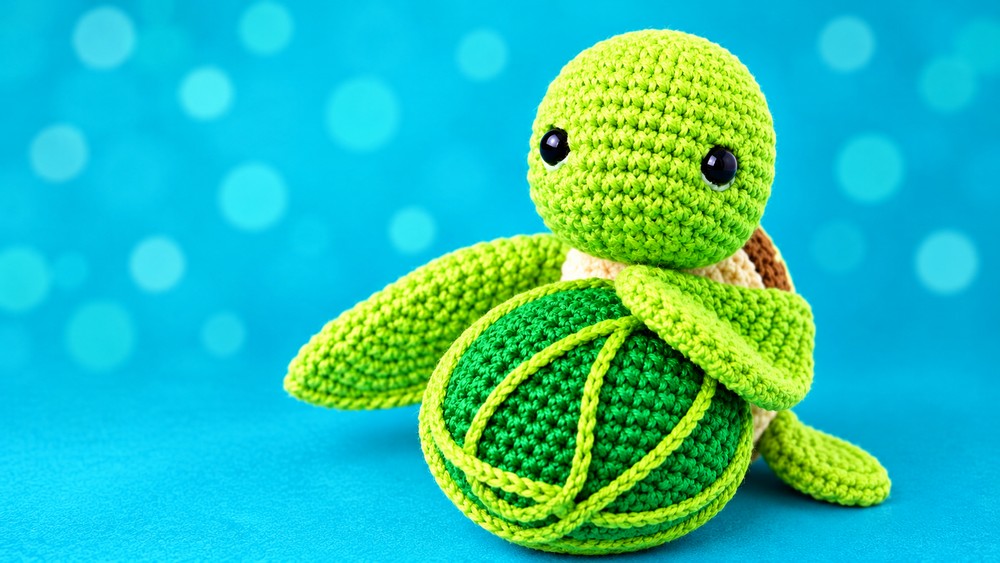
This sea turtle makes a wonderful addition to a beach-themed bedroom, nursery display, or animal toy collection. It can also become a thoughtful present for children, ocean lovers, or friends who enjoy miniature animals.
Pick up your favorite yarn and enjoy this free no-sew turtle pattern for a relaxing project with a delightful seaside feel!
About the Pattern
Create a charming no-sew sea turtle using basic crochet stitches. This design incorporates increases and decreases to shape lifelike features—head, tail, flippers, and shell—without the need for sewing pieces together. Limbs are attached as you crochet, resulting in a seamless, durable toy perfect for display or gifting. Each section of the pattern is carefully constructed to ensure symmetry and neatness, and clear round-by-round instructions allow for ease of understanding, even for less experienced crocheters.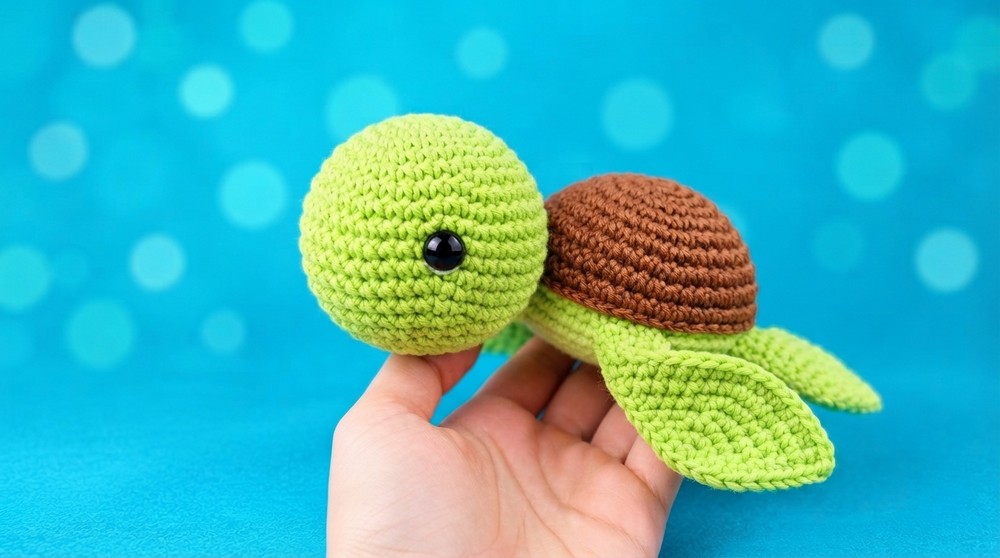
Pattern at a Glance
- Head: Crocheted in rounds, shaped with increases and decreases.
- Tail: Simple construction, firmly attached.
- Flippers: Worked in two shapes (front and back), joined seamlessly with shell.
- Shell: Increasing rounds, then assembled with attached pieces in one smooth process.
- Assembly: Limbs joined with shell as you crochet; head attached last.
Important Notes
- For best results, use consistent tension throughout.
- Safety eyes are recommended for durability and child safety.
- Stuff the head and body firmly but not overly tight to maintain shape.
- Limbs and tail are attached directly to the shell during its construction.
- Pay careful attention to the rounds where pieces are folded and joined.
Difficulty Level
Beginner to Intermediate
Basic knowledge of amigurumi, including magic ring, single crochet (sc), increases (inc), and decreases (dec), is required. Some joining in-the-round and folding techniques are used.
Supplies Needed
- Worsted weight yarn in three colors: green (main), cream (underside), accent color for shell if desired
- 3.5 mm crochet hook
- Safety eyes (8-12 mm)
- Polyester stuffing
- Yarn needle (for weaving ends)
- Stitch markers
Size & Measurements
Finished sea turtle measures approximately 15 cm (6 inches) long and 10 cm (4 inches) wide when worked with recommended yarn and hook size. Dimensions may vary with yarn/hook substitutions and individual crochet tension.
Gauge & Stitch Details
- Gauge is not critical for this project but should be tight enough so that stuffing does not show through stitches.
- Main stitch: Single crochet (sc) worked in a spiral.
- Increase: Two single crochet in one stitch (inc)
- Decrease: Single crochet two together (dec)
- Folding and joining: Limbs are joined by folding in half and crocheting through both sides.
Crochet Abbreviations
- sc – single crochet
- inc – increase (2 sc in same stitch)
- dec – decrease (sc 2 together)
- st(s) – stitch(es)
- MR – magic ring
- ch – chain
Special Stitch Guide
- Magic Ring (MR): Wrap yarn into a loop, crochet into the ring to form starting round.
- Increase (inc): Work 2 sc into the same stitch.
- Decrease (dec): Crochet 2 sc together as one stitch.
- Fold & Join: Fold piece in half, crochet through both sides to join.
Free Pattern
Head
- R1: Magic ring, 6 sc.
- R2: 6 inc = 12 sts.
- R3: (1 sc, 1 inc) x 6 = 18 sts.
- R4: (2 sc, 1 inc) x 6 = 24 sts.
- R5: (3 sc, 1 inc) x 6 = 30 sts.
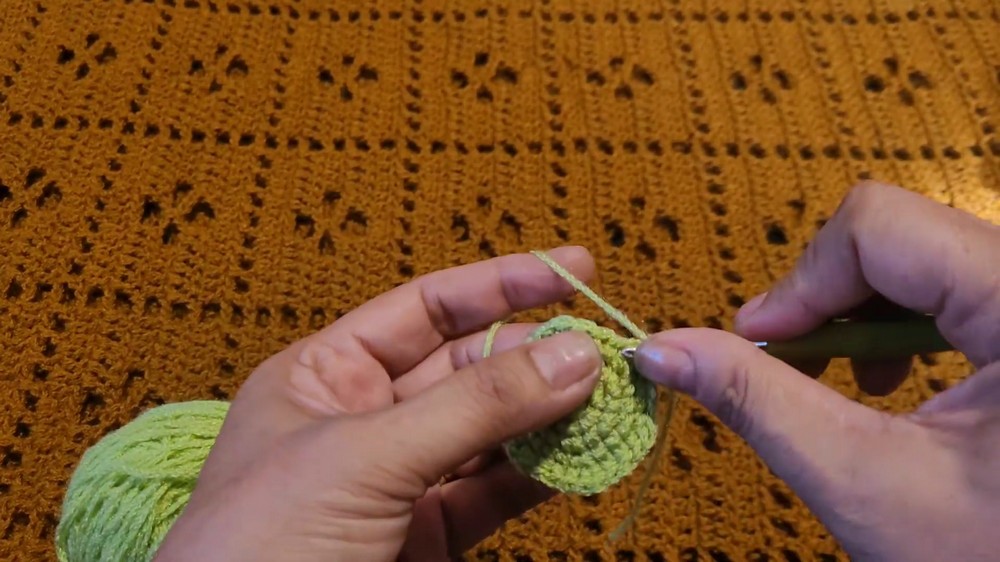
- R6: (4 sc, 1 inc) x 6 = 36 sts.
- R7: (5 sc, 1 inc) x 6 = 42 sts.
- R8-R15: 42 sc each round.
- Place safety eyes between rows 12 and 13.
- R16: (5 sc, 1 dec) x 6 = 36 sts.
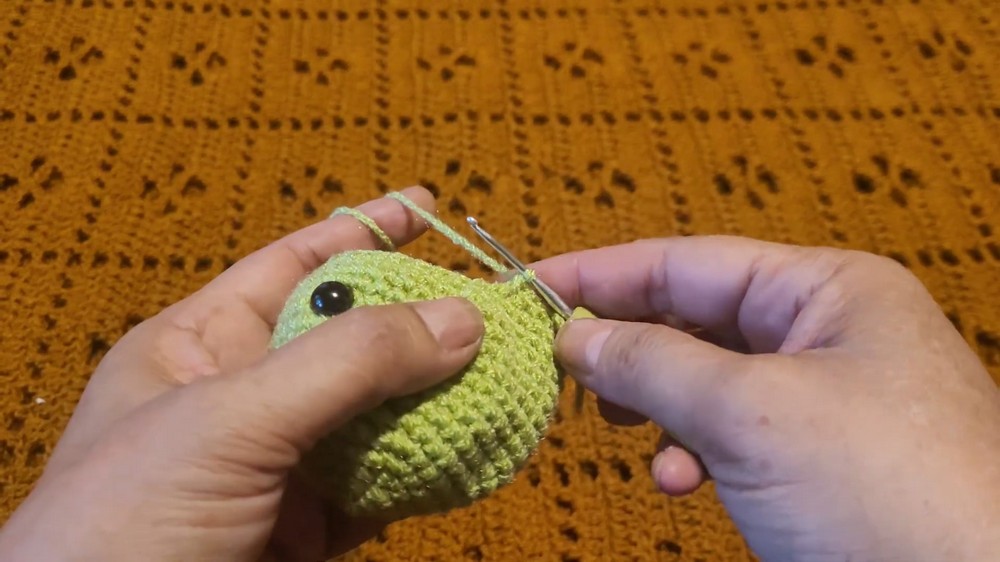
- R17: (4 sc, 1 dec) x 6 = 30 sts.
- R18: (3 sc, 1 dec) x 6 = 24 sts.
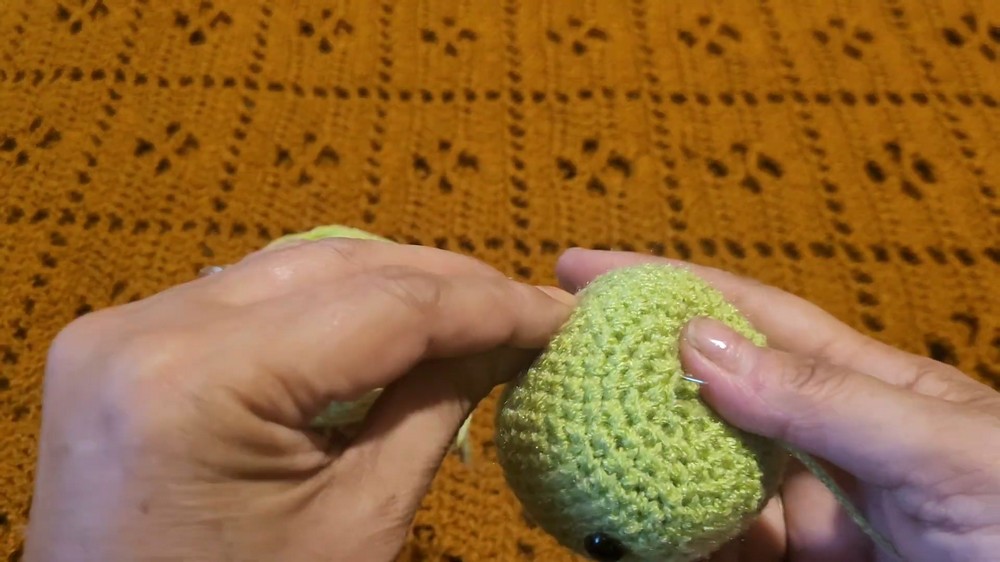
- Stuff the head firmly.
- R19: (2 sc, 1 dec) x 6 = 18 sts.
- R20: (1 sc, 1 dec) x 6 = 12 sts.
- R21: 6 dec to close.
Tail
- R1: Magic ring, 5 sc.
- R2: 5 inc = 10 sts.
- R3: (2 sc, 1 inc) x 3, 1 sc = 13 sts.
- R4: 13 sc.
Front Flaps– Make Two
- R1: Magic ring, 6 sc.
- R2: 6 inc = 12 sts.
- R3: (1 sc, 1 inc) x 6 = 18 sts.
- R4: (2 sc, 1 inc) x 6 = 24 sts.
- R5: (3 sc, 1 inc) x 6 = 30 sts.
- R6: (4 sc, 1 inc) x 6 = 36 sts.
- R7: (5 sc, 1 inc) x 6 = 42 sts.
- R8: 21 sc
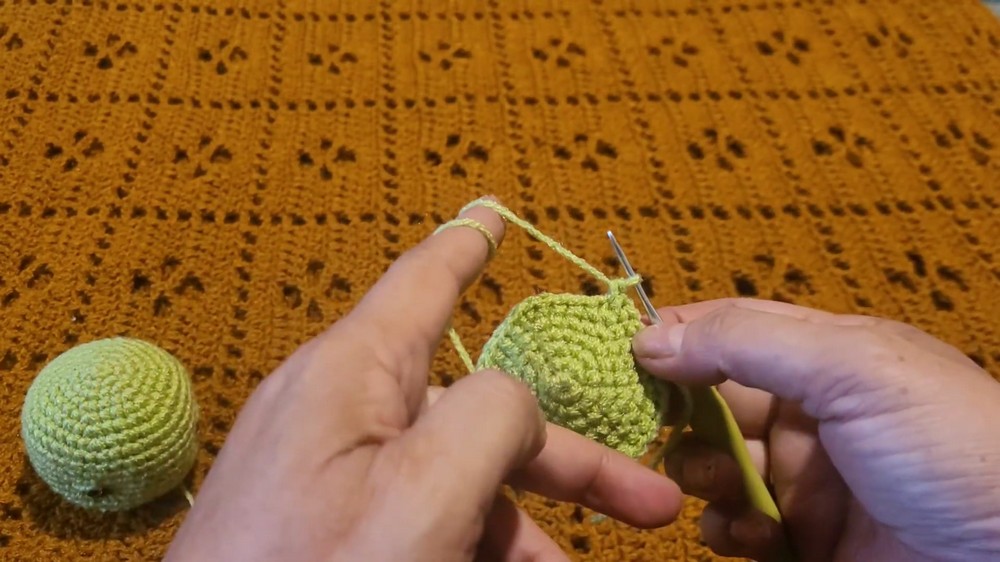
- Fold in half, join with 21 sc through both sides.
- Finish with rows of 3 sc to complete shape.
Back Flaps (18:00 – 21:26) – Make Two
- R1: Magic ring, 6 sc.
- R2: 6 inc = 12 sts.
- R3: (1 sc, 1 inc) x 6 = 18 sts (pattern states 19, use 18 for consistency).
- R4: (2 sc, 1 inc) x 6 = 24 sts.
- R5: (3 sc, 1 inc) x 6 = 30 sts.
- R6: 15 sc
- Fold in half, join with 15 sc through both sides.
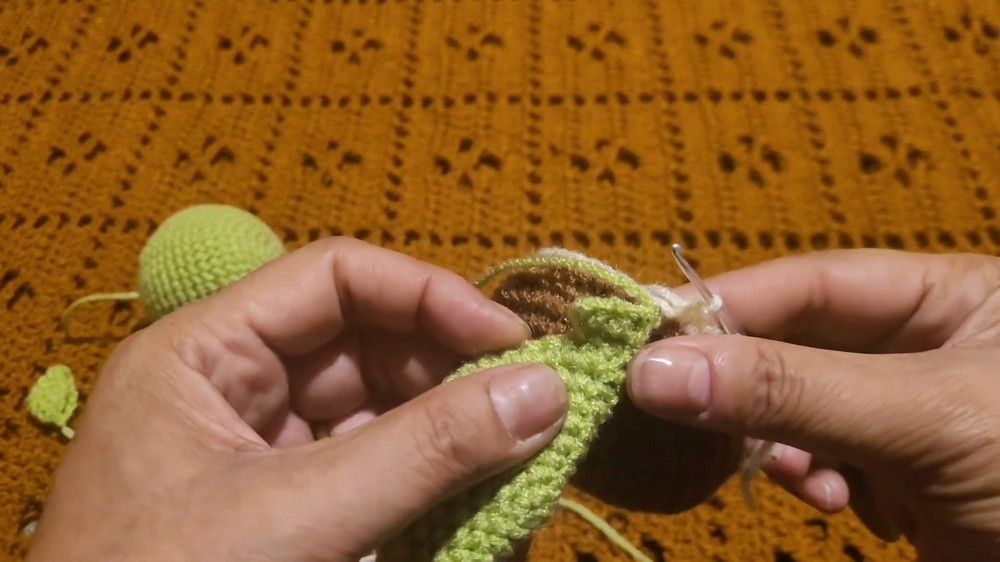
- Fold in half, join with 15 sc through both sides.
- Finish with rows of 3 sc.
Shell & Assembly (21:29 – 39:19)
- R1: Magic ring, 6 sc.
- R2: 6 inc = 12 sts.
- R3: (1 sc, 1 inc) x 6 = 18 sts.
- R4: (2 sc, 1 inc) x 6 = 24 sts.
- R5: (3 sc, 1 inc) x 6 = 30 sts.
- R6: (4 sc, 1 inc) x 6 = 36 sts.
- R7: (5 sc, 1 inc) x 6 = 42 sts.
- R8: (6 sc, 1 inc) x 6 = 48 sts.
- End of increase rounds.
- R9-10: 48 sc each round.
- R11 (Attachment):
- Change to cream yarn for the underside of the shell.
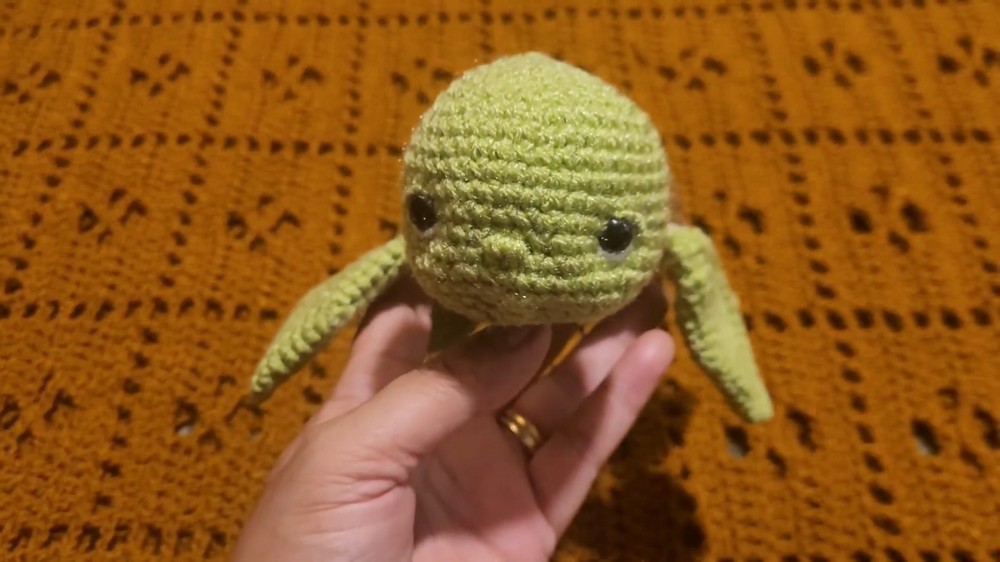
- Attach limbs and tail: As you crochet around, join the flaps and tail into the shell.
- For the head, leave a gap (using chain 6) at the neck area for later attachment.
- R12: (6 sc, 1 dec) x 6 = 42 sts.
- R13: (5 sc, 1 dec) x 6 = 36 sts.
- R14: (4 sc, 1 dec) x 6 = 30 sts.
- R15: (3 sc, 1 dec) x 6 = 24 sts.
- Begin stuffing the body before closure.
- R16: (2 sc, 1 dec) x 6 = 18 sts.
- R17: (1 sc, 1 dec) x 6 = 12 sts.
- R18: 6 dec to close the shell.
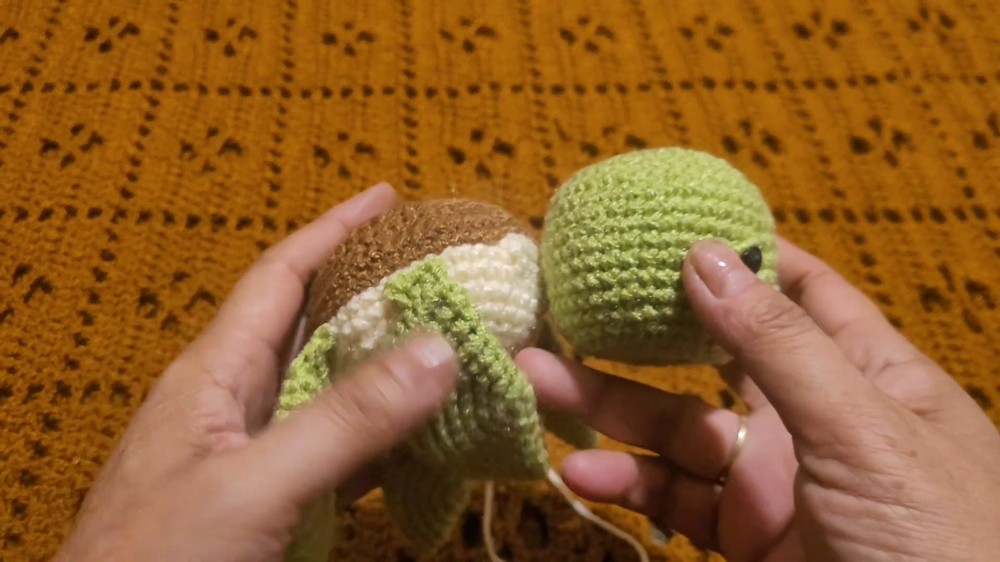
- Final: Attach the head into the neck opening left in Round 11, securing firmly. Weave in all ends neatly.
Joining & Final Size
By joining the flippers and tail into the shell as you crochet, you achieve a seamless finish. The head is attached last for a polished look. The completed turtle displays a lifelike shape, with securely attached limbs and tail. This method ensures durability and a professional appearance.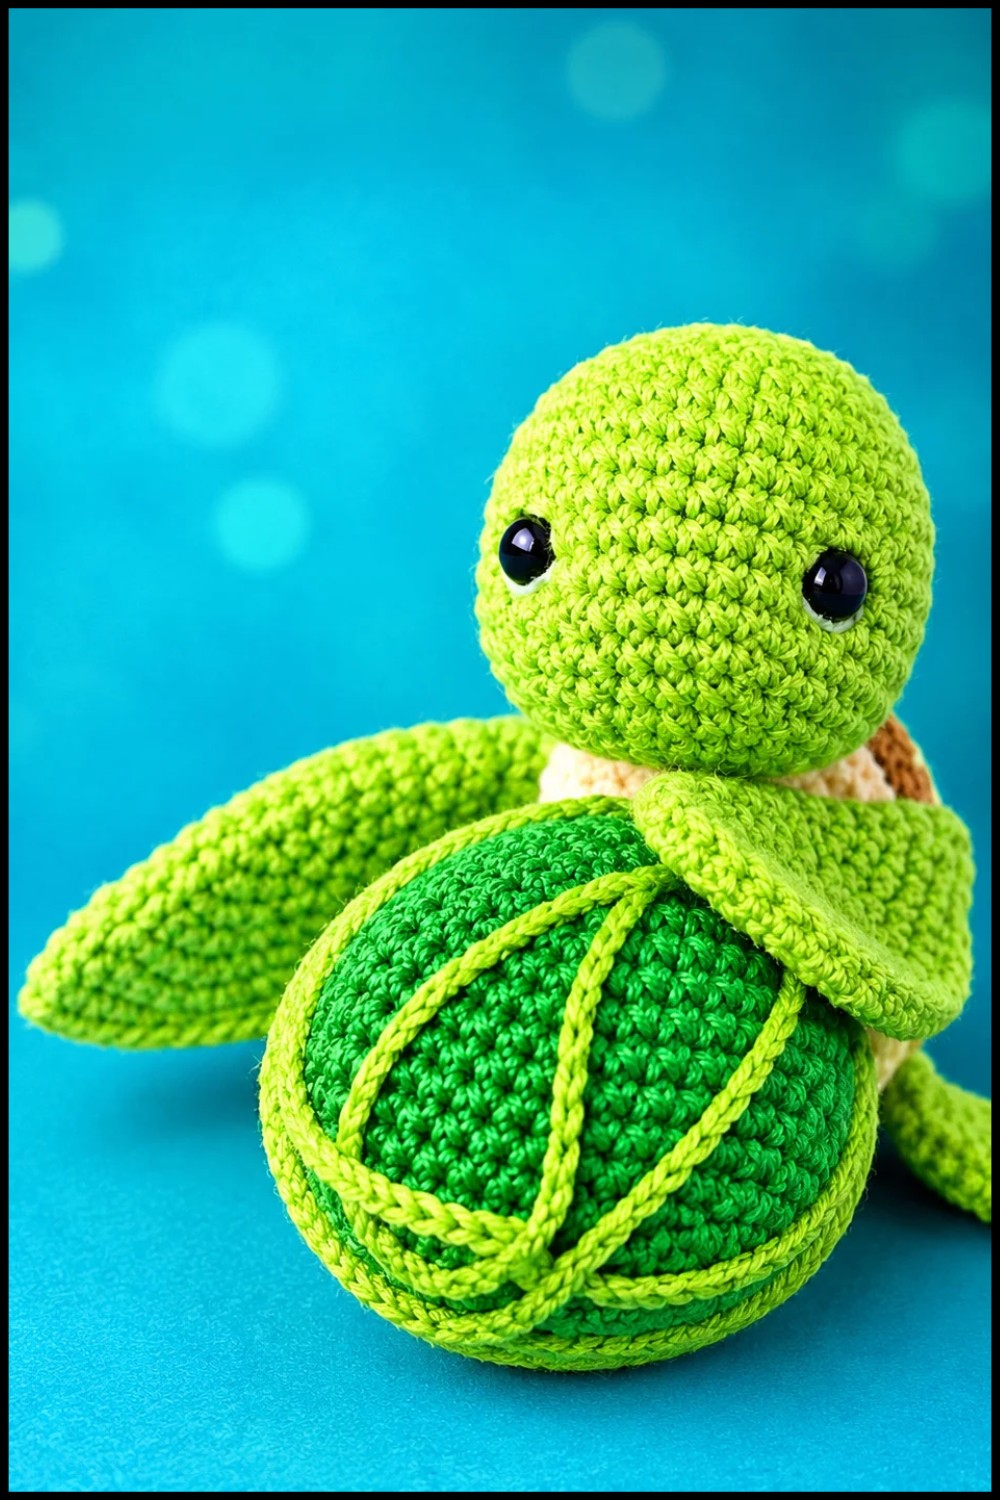
Final Words
Create a no-sew sea turtle that combines ease and elegance, ensuring each piece is attached securely and neatly without additional sewing. This pattern is suitable for those wishing to enhance their amigurumi skills while enjoying a fun, rewarding project. With careful attention to increases, decreases, and joining as you go, even novice crocheters will find success, resulting in a delightful sea turtle that can be cherished for years.
