
Carry your daily items with the Crochet Handbag Free Pattern, a lovely accessory for shopping trips, family visits, and casual outfits.
Going out feels easier when you have a bag that holds your essentials and looks beautiful with your clothes. The Crochet Handbag is a fashionable choice for anyone who loves useful items with a lovely yarn finish. Its simple structure and attractive stitches offer a nice balance between everyday comfort and style. Yanet pupo crochet shares this handbag idea for people who want to crochet something they can use regularly.
Free Crochet Handbag Pattern With A Modern Look
The main section offers space for personal belongings, while the handles provide an easy way to carry everything. The stitched surface can feature raised rows or a closely worked texture that gives the bag a neat appearance. Colors such as olive green, chocolate brown, or dusty rose can match different outfits. A carefully finished opening also helps the accessory maintain its shape.
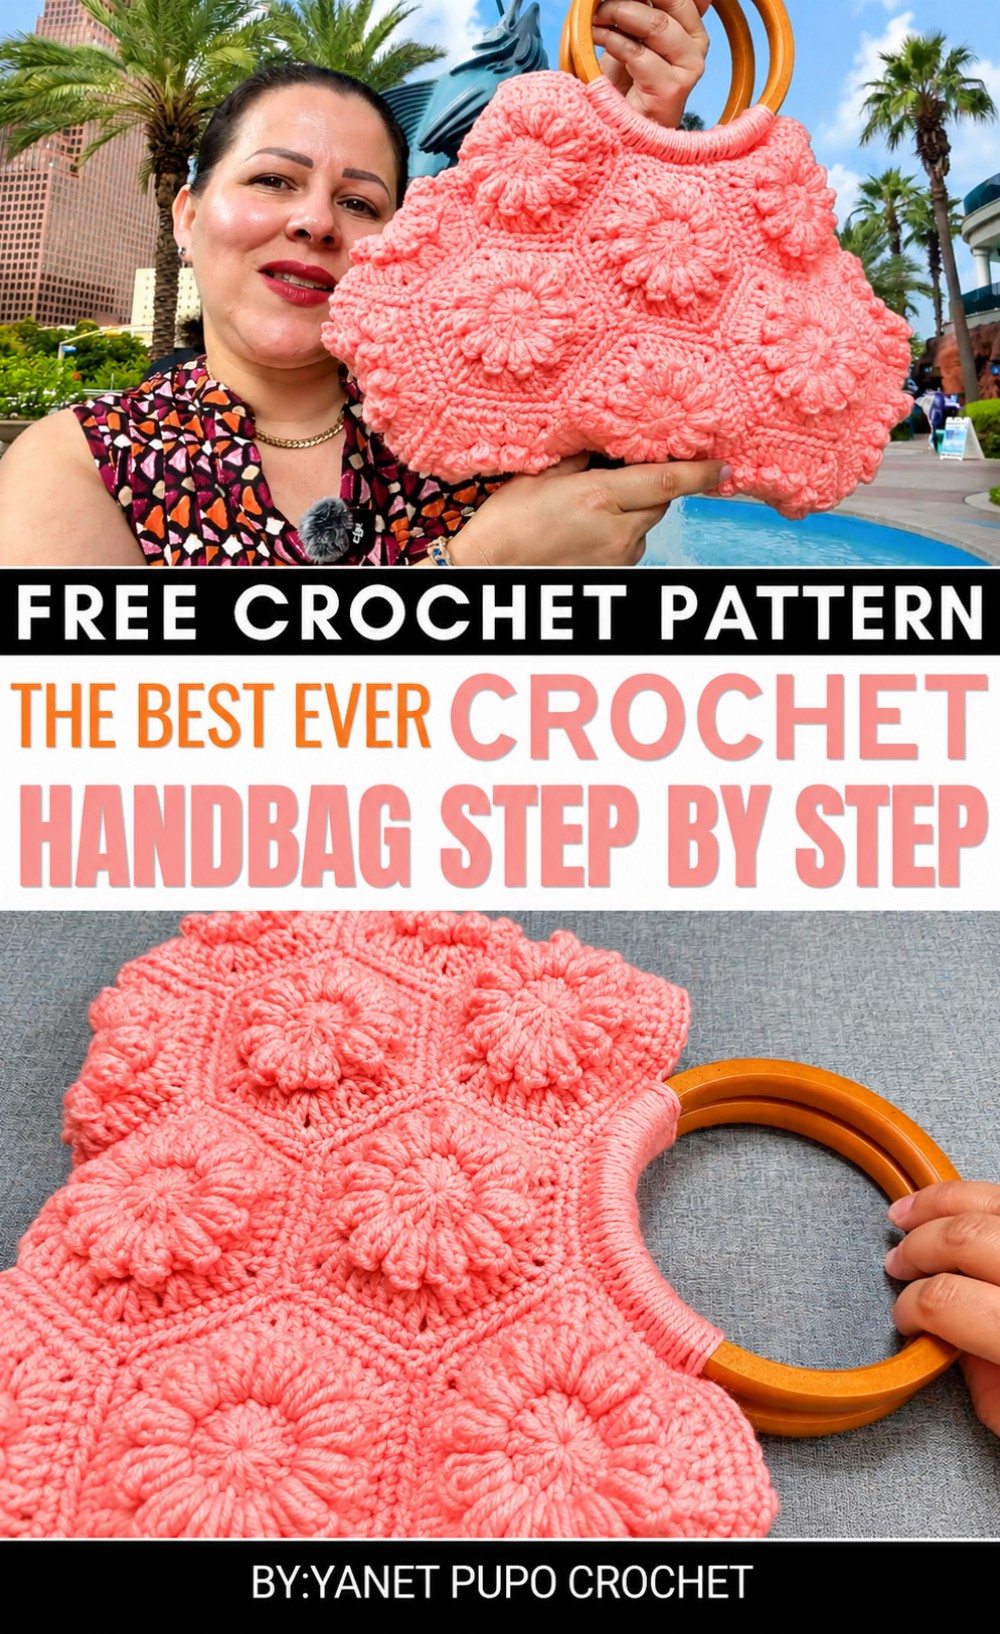 The crocheting process begins with forming the bottom section before continuing upward to build the sides. The handles are completed and secured firmly to support the bag during use. Working with consistent tension helps the finished piece stay even.
You can carry this handbag while visiting family, going to the market, or spending a day with friends. It pairs nicely with jeans, a long skirt, or a comfortable dress. You can also give it as a handmade birthday present to someone who loves fashionable accessories.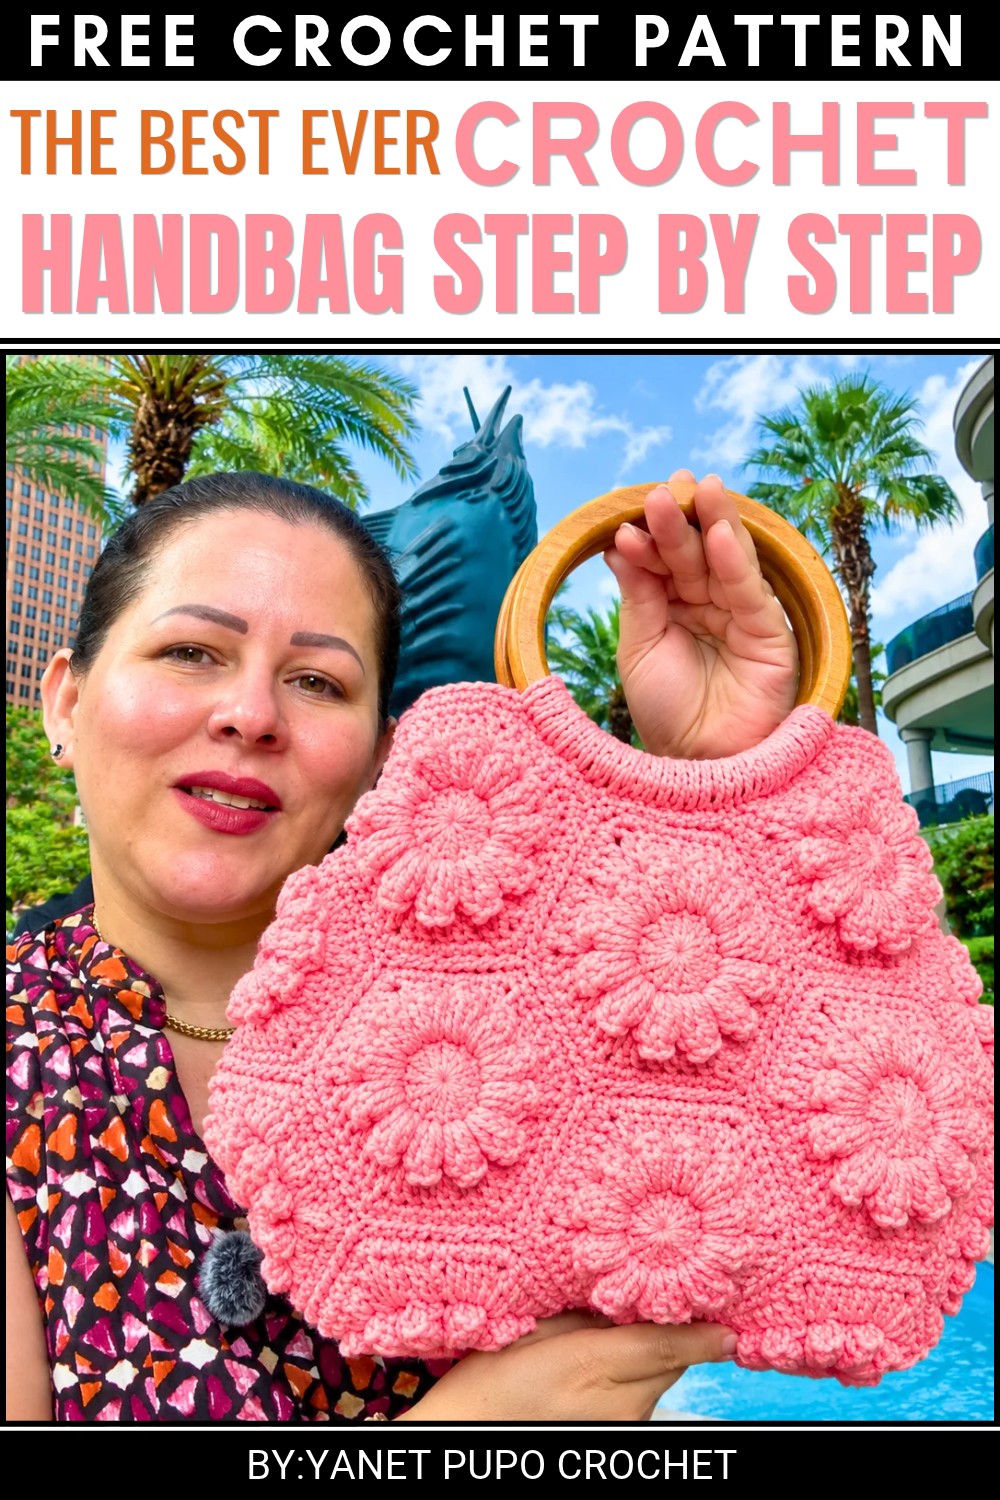 Its useful shape and choice of yarn colors allow this handbag to become part of your daily clothing collection without needing extra decorations.
Hexagon Crochet Bag Pattern
About the Pattern
This bag is created from hexagonal motifs, joined seamlessly for a cohesive and stylish finish. The approach uses clear joining and edge techniques, making this pattern accessible yet polished. The result is a versatile accessory built with care and attention to detail.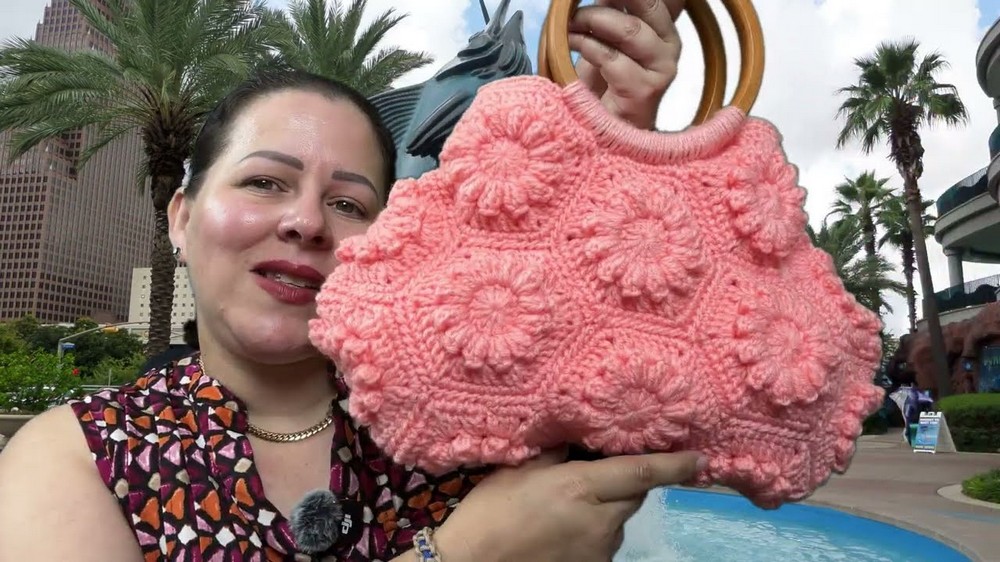
Pattern at a Glance
- Construction: Motifs joined to assemble front, back, and sides
- Finishing: Optional reinforced edge, sturdy handle attachment
- Skill Building: Emphasizes motif joining and neat edging
Important Notes
- Consistency in motif size is key—a mismatched set will impact assembly.
- Stitch placement is crucial during joining; always align corresponding stitches.
- The bag edge can be left simple or reinforced for extra strength.
- Handles are customizable; select your preferred style.
Difficulty Level
Beginner to Intermediate. Mastery of the hexagonal motif, basic stitches, and sewing techniques will ensure a smooth experience.
Supplies Needed
- Yarn: Approximately 300g of size 1/4” yarn
- Hook: 3.75mm aluminum crochet hook
- Tapestry needle
- Scissors
- Optional: stitch markers, interior brush
- Handles: Two rings, 14 cm diameter (wood, plastic, or preferred option)
Size & Measurements
- Handles: About 14 cm diameter
- Bag: Flexible, final size based on motif measurements; roomy and practical
- Motifs: 12 hexagons, 6 for each side
Gauge & Stitch Details
- Gauge not critical, but each hexagon must match in size.
- Stitch integrity ensures a flexible and durable bag.
Crochet Abbreviations
- ch = chain
- sc = single crochet
- sl st = slip stitch
- st(s) = stitch(es)
Special Stitch Guide
- Single Crochet (sc):
Insert hook into stitch, yarn over, pull up a loop, yarn over, pull through both loops. - Slip Stitch (sl st):
Insert hook into stitch, yarn over, pull through stitch and loop on hook. - Whip Stitch (for joining motifs with needle):
Pass needle through both aligned stitches, pull yarn through, repeat for all corresponding stitches.
Complete Crochet Pattern
Creating the Hexagons
Prepare 12 identical hexagons in your preferred design. Each motif should match in size and tension.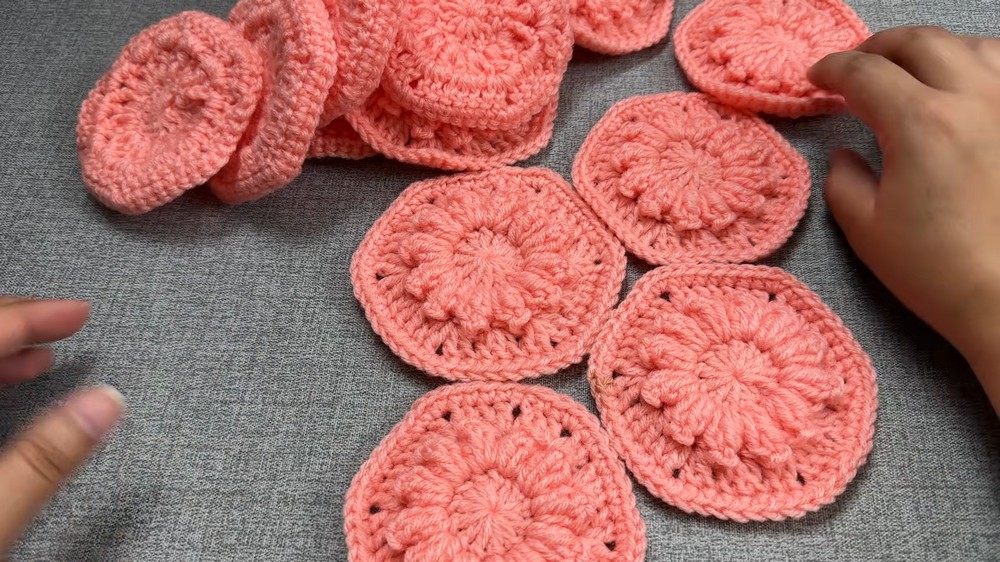
1: Arranging and Sewing Hexagons
- Lay out 5 hexagons for the front in a flower formation, leaving a space at the top (“petal” missing).
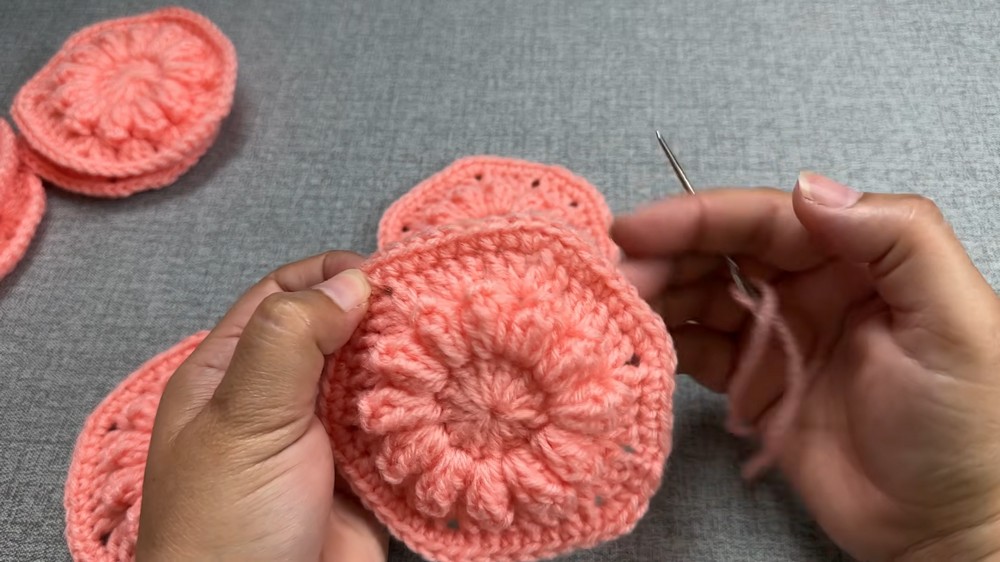
- Place a 6th hexagon above, to be joined later (top center).
- Repeat for the back: arrange 5 hexagons and set the 6th to the side.
- The hexagons will look slightly bunched; they stretch as sewn.
2: Joining Hexagons
For Each Set (Front and Back):
- Start with 5 motifs.
- Using a tapestry needle, join adjacent motifs:
- Align the chains and edges; use whip stitch, or optionally, crochet them together with single crochet (sc) or slip stitch (sl st).
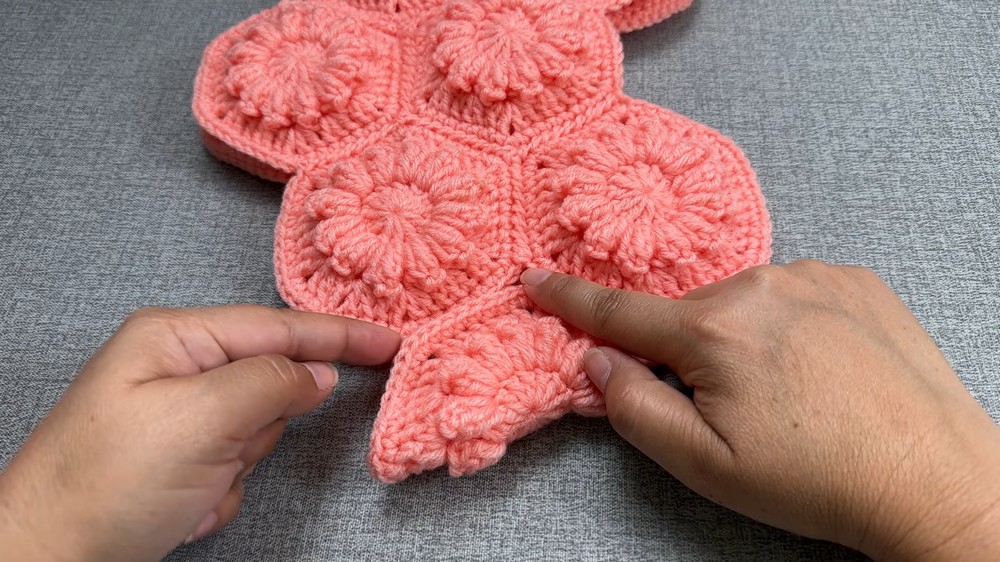
- After every 5 stitches, gently pull the yarn to tighten and neaten the join.
- Sew all sides, forming a “flower” missing one petal.
- Align the chains and edges; use whip stitch, or optionally, crochet them together with single crochet (sc) or slip stitch (sl st).
- Using a tapestry needle, join adjacent motifs:
- Repeat for the back assembly.
3: Bag Construction
- Place the assembled “flowers” wrong sides together.
- Position the remaining hexagons at the top.
- Fold side motifs so that two flat areas form the front and back, one on the side, and another in the middle.
- Sew at the base, moving upward along the sides.
- Take care to match and sew only corresponding stitches—do not skip or double.
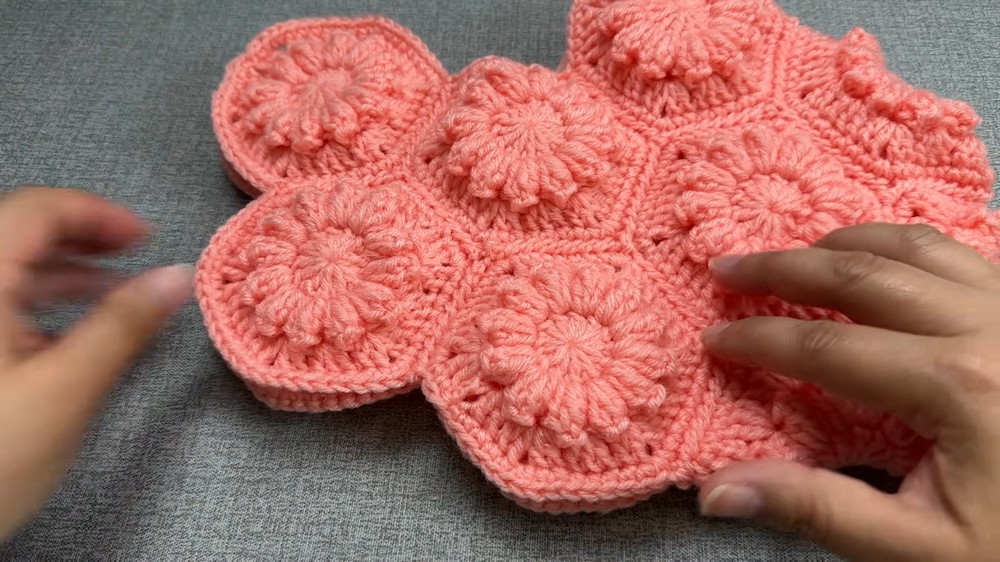
- Join the next two side hexagons by folding and sewing as above.
- When one set of sides is done, repeat for the opposite side of the bag.
- For any sections where motifs do not meet, join the front and back pieces directly with neat stitch placement.
4: Reinforcing the Edge (optional but recommended)
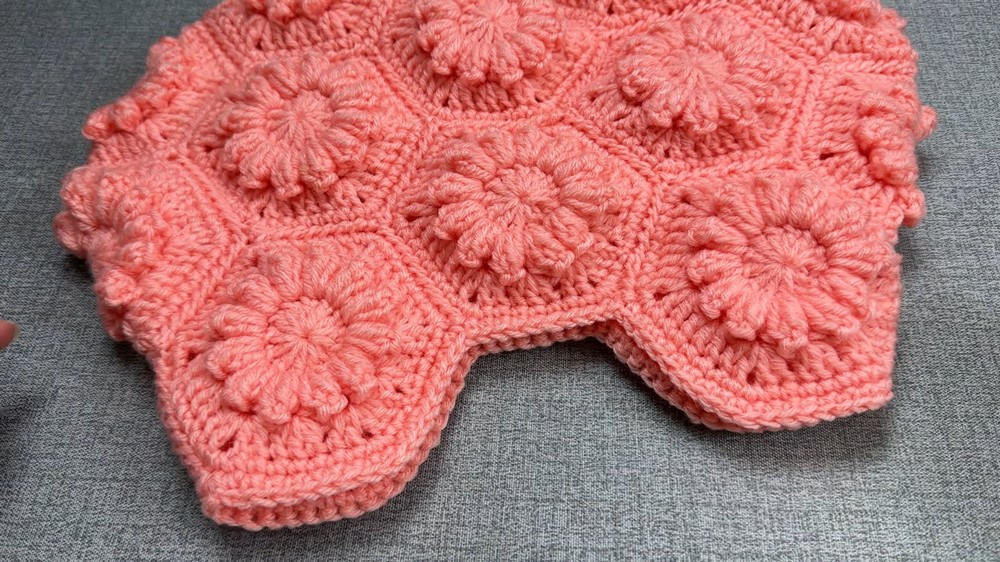
- Attach yarn at any top corner or starting point.
- Single crochet (sc) in each stitch around the bag opening:
- Insert hook, yarn over, pull up loop, yarn over, pull through both loops.
- Continue with one sc in every chain or stitch, working continuously around.
- At the starting point, join with slip stitch (sl st):
- Insert hook in the first sc, yarn over, pull through both loops.
- Cut yarn, leaving a tail. Weave in ends for a secure finish.
5: Handle Attachment
- Select handles (wooden rings, 14 cm diameter or as desired).
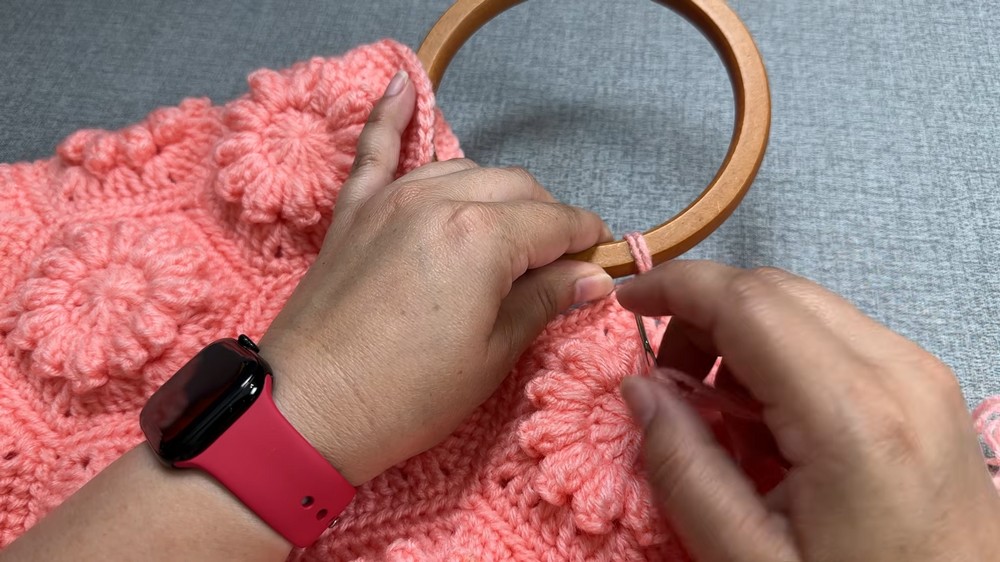 With double stranded yarn (for strength), and tapestry needle:
- Begin at the corner/edge.
- Pass needle through the handle, then through the adjacent chain/stitch along edge.
- Arrange stitches neatly side by side; repeat:
- Through handle, through bag edge for each stitch along handle area.
- When handle area is secure, fasten off and weave in tails. Attach second handle the same way on the opposite edge.
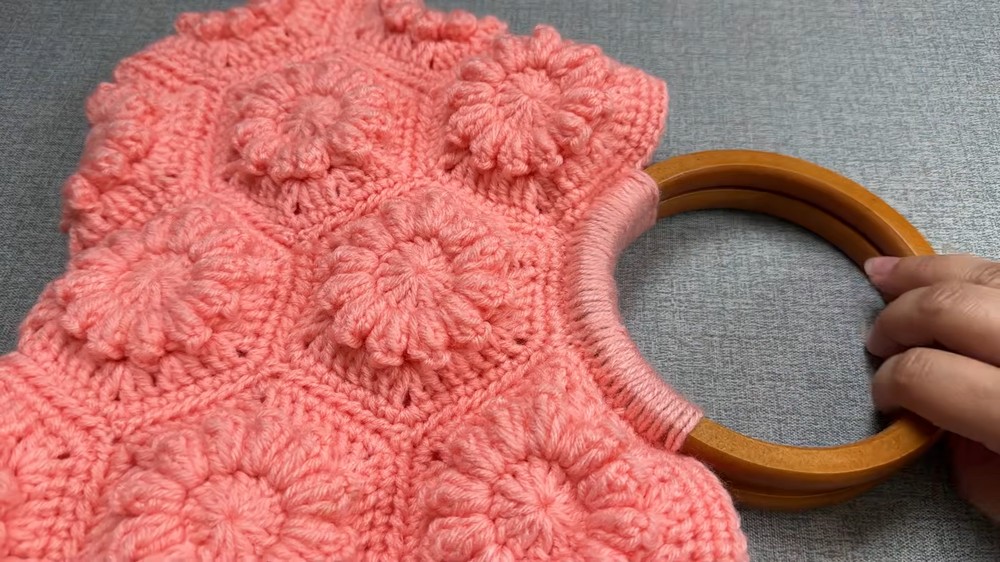
Assembly & Finished Size
After joining all pieces and attaching handles, the bag holds a generous capacity, shaped both by the motif arrangement and the sturdy edge. The handle choice provides both comfort and a polished look. Optional interior choices, like a brush or lining, can be added for extra structure.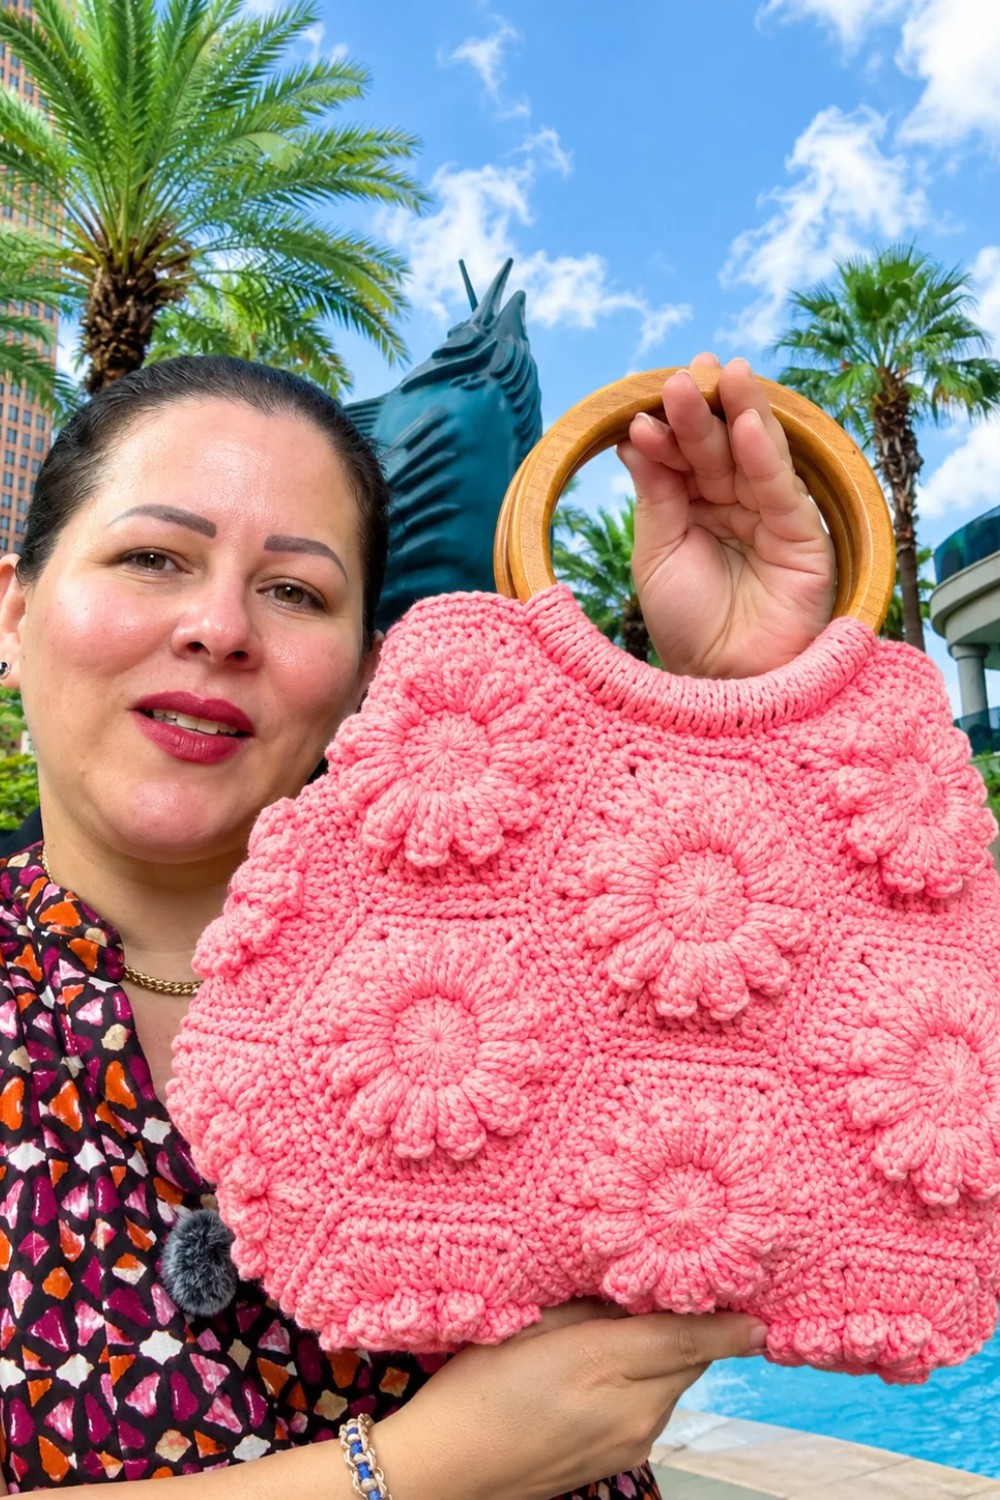
Conclusion
This pattern showcases how hexagonal motifs can be transformed with clear joining and finishing to create a functional, beautiful accessory. Careful stitch matching and neat finishing ensure durability and style. Personal touches such as handle variety and edge reinforcement allow for creative customization with professional results.
