
Style a lovely neckline with the Crochet Yoke Free Pattern, a pretty yarn detail for dresses, blouses, and everyday outfits with a sweet touch.
Want to give a plain dress or top a beautiful new neckline? The Crochet Yoke is a decorative clothing piece that sits around the neck and shoulders, giving simple outfits a more attractive appearance. It can be used as the upper section of a dress, blouse, or other handmade clothing.
Yanet pupo crochet shares this lovely idea for anyone interested in adding pretty stitch details to their wardrobe.
Free Crochet Yoke Pattern For Beautiful Dresses
One interesting feature of this yoke is the way the crochet work spreads from the neckline toward the shoulders and chest. Depending on the stitches used, it can have small openings, curved edges, or delicate floral details. Soft cotton yarn can give it a comfortable feel, while colors such as white, peach, or light blue can suit different clothing styles.
 The crocheting process usually begins with a foundation chain around the neckline. Additional rows or rounds gradually increase the width to fit the shoulders. Careful measurements help keep the neck opening comfortable and the lower edge even. Once finished, the yoke can be joined to a fabric or crocheted garment.
You can use this yoke for a girl’s dress, a pretty blouse, or a lightweight top. It is also a nice way to give plain clothing a personal touch without decorating the entire garment.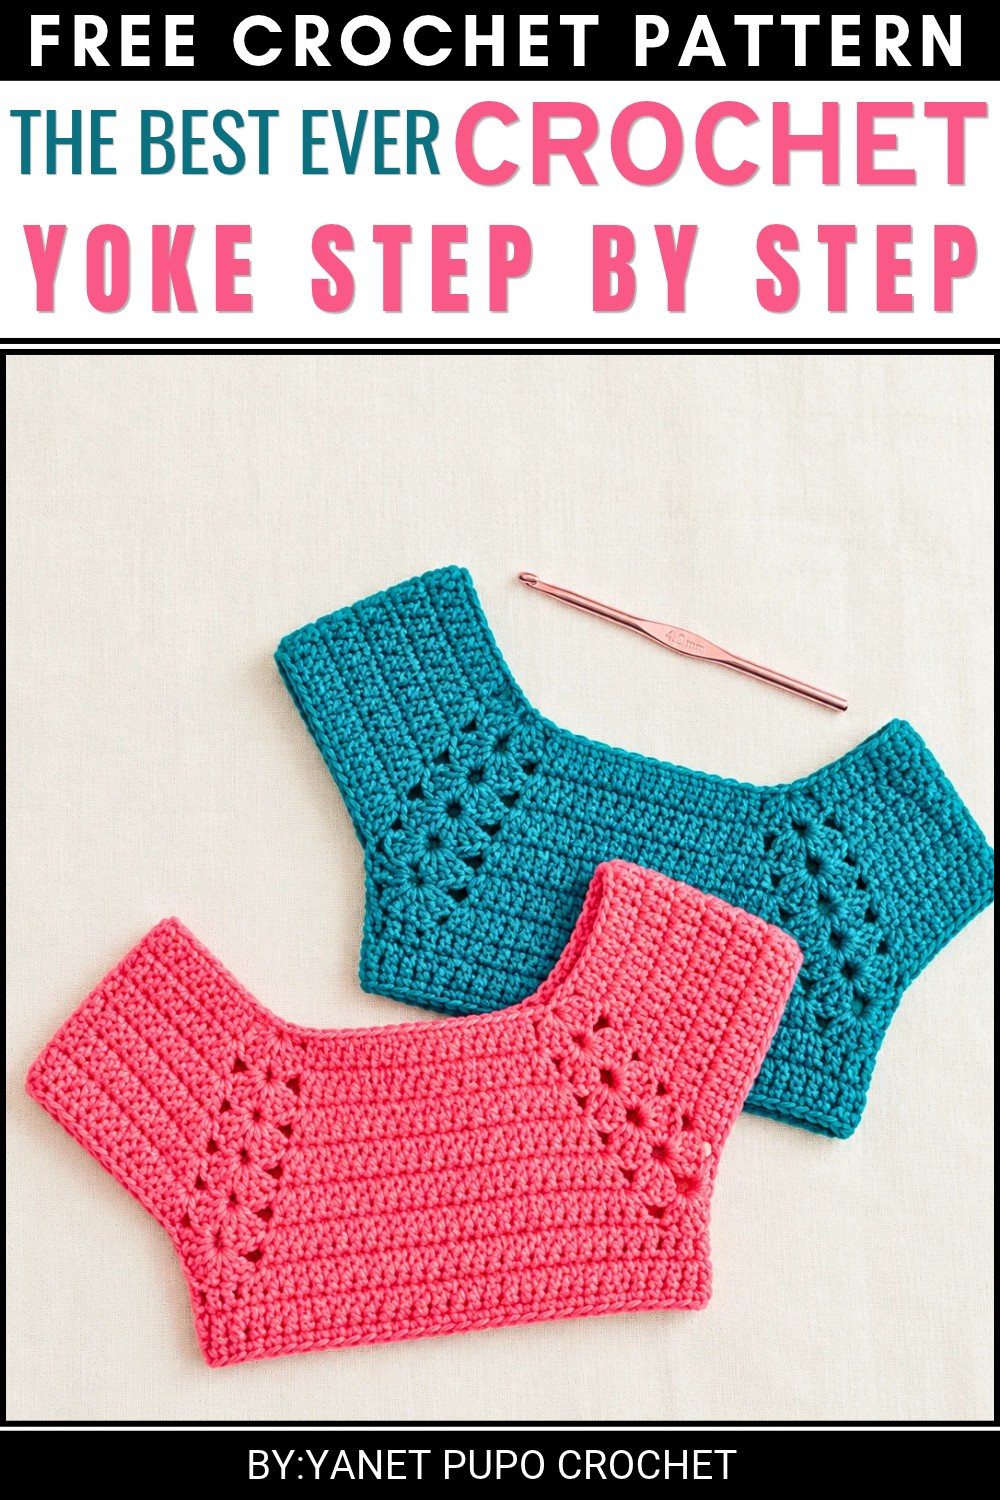 With different stitch arrangements and yarn shades, this neckline piece offers many possibilities for simple, beautiful clothing projects.
Child’s Crochet Yoke (Approx. 3 Years)
A classic square yoke worked in the round, featuring corner fans and expanding sides via strategic increases. This pattern creates a balanced yoke—ideal for sweaters, dresses, or adaptable layering tops. Flexible for custom sizing, this straightforward structure is ideal for early garment-making adventures or as a foundation for your own designs.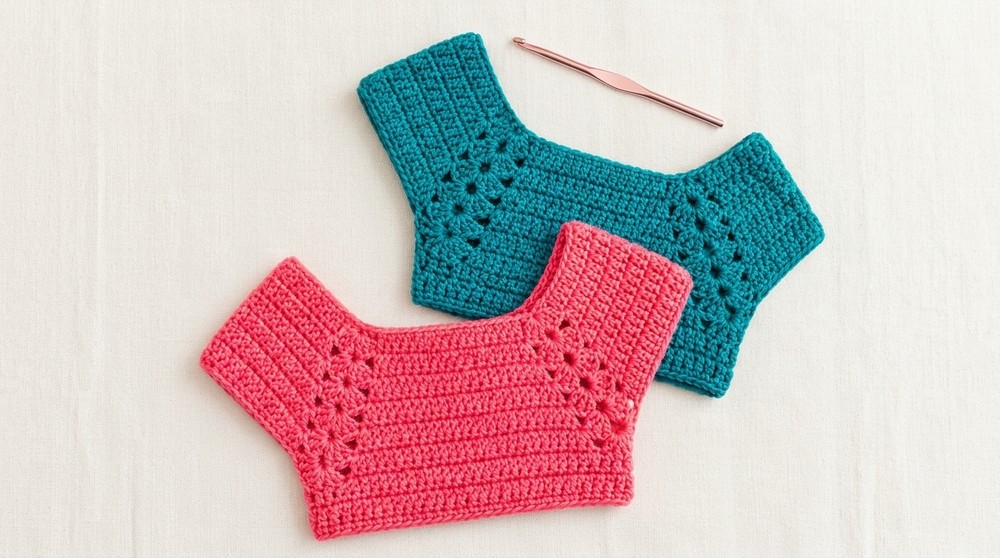
Pattern Basic Points
- Yoke is worked in one piece, in the round.
- Four corners are shaped with fan motifs (3 dc, 2 ch, 3 dc).
- Each round grows by making increases at the beginning and end of every straight section.
- Number of rounds or initial chain count can be increased for a larger yoke or armhole.
Special Notes
- Yarn thickness and tension significantly affect sizing; check fit as you progress.
- Fans form the four yoke “corners” and remain unchanged throughout.
- To create a larger size, add extra chains to the original count (in multiples matching the pattern) or work additional rounds.
- For exact measurements, consult a child garment sizing chart and adjust foundation chain accordingly.
Skill Level
Beginner to Intermediate: Suitable for those confident with basic stitches and crocheting in the round. Experience with increases and reading stitch layouts is helpful.
Materials
- Yarn: Worsted weight (number 4) wool, approximately 100g
- Crochet hook: 3.75mm aluminum
- Scissors
Measurements & Gauge
- Sample size: 3 years (neck circumference approx. 44–48 cm from 100 ch foundation, adjustable)
- 100 foundation chains, or adjust to desired size
- Gauge: Flexible; ensure chain/ring isn’t twisted and fits child’s neckline appropriately
Stitch Abbreviations
- ch – chain
- dc – double crochet
- sl st – slip stitch
- yo – yarn over
Special Stitches Used in this Pattern
- Fan: 3 dc, 2 ch, 3 dc in same space
- Increase: 2 dc in same stitch
Complete Detailed Pattern
Foundation Round
- Make a slip knot.
- Ch 100 (or as needed for neckline size).
- Form a ring, join with sl st to first ch—ensure not twisted.
1: Establish Fans and
Straight Sections**
- Ch 3 (first dc), 2 dc in same space.
- Ch 2.
- 3 dc in same space.
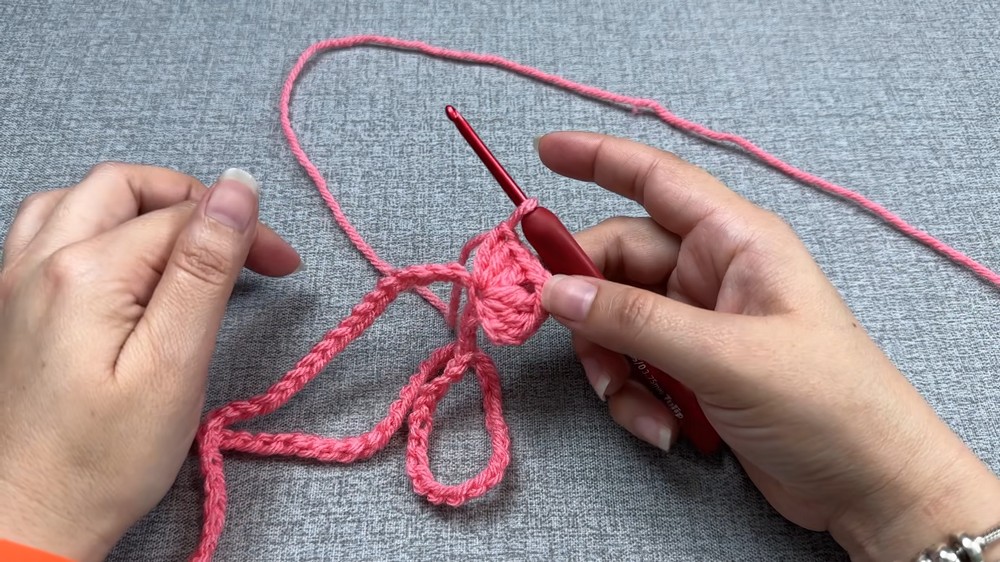
- (First fan: 3 dc, 2 ch, 3 dc in one stitch)
- Yo, skip next 2 chains. In 3rd ch, work dc.
- Work dc in next 19 ch (total 20 dc after fan).
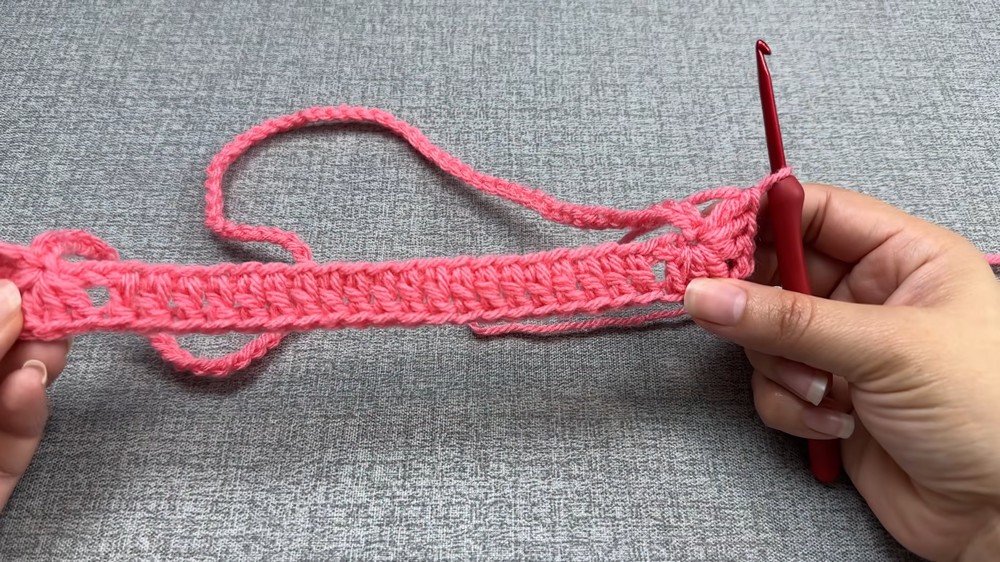
- Yo, skip 2 ch, in 3rd ch make:
- 3 dc, 2 ch, 3 dc (fan) all in one space.
- Repeat: 20 dc along next section, fan, 20 dc, fan, 20 dc.
- You will have four fans (for the corners), with 20 dc in each straight section between fans.
- Join with sl st in top of starting ch 3.
2: Corner Fans and Increases
- Sl st into center of first fan.
- Ch 3, 2 dc in same space, ch 2, 3 dc in same space (fan).
- Yo, move to first dc of straight section:
- In same st, work 2 dc (increase).
- Dc in each st across (to last dc before fan).
- In last st before next fan, work 2 dc (increase).
- Repeat at all four sides:
- Fan: 3 dc, 2 ch, 3 dc
- Increase in first and last dc of each side
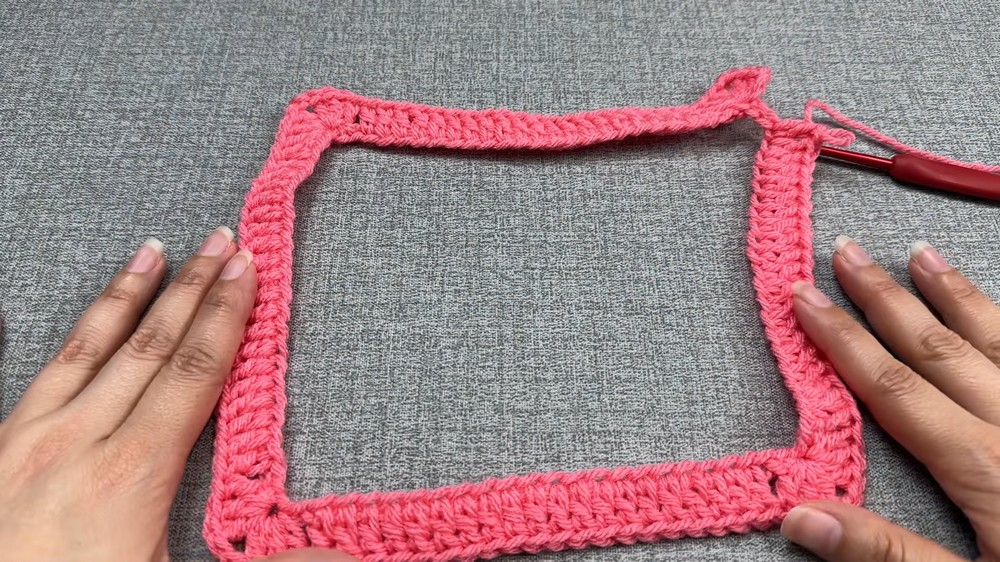
- Join with sl st at top of starting ch 3.
3–6: Repeat Expansion
- Always sl st to fan center to begin each round.
- Ch 3, 2 dc, ch 2, 3 dc in fan corner.
- Increase in first dc, dc in each st, increase in last dc before next fan.
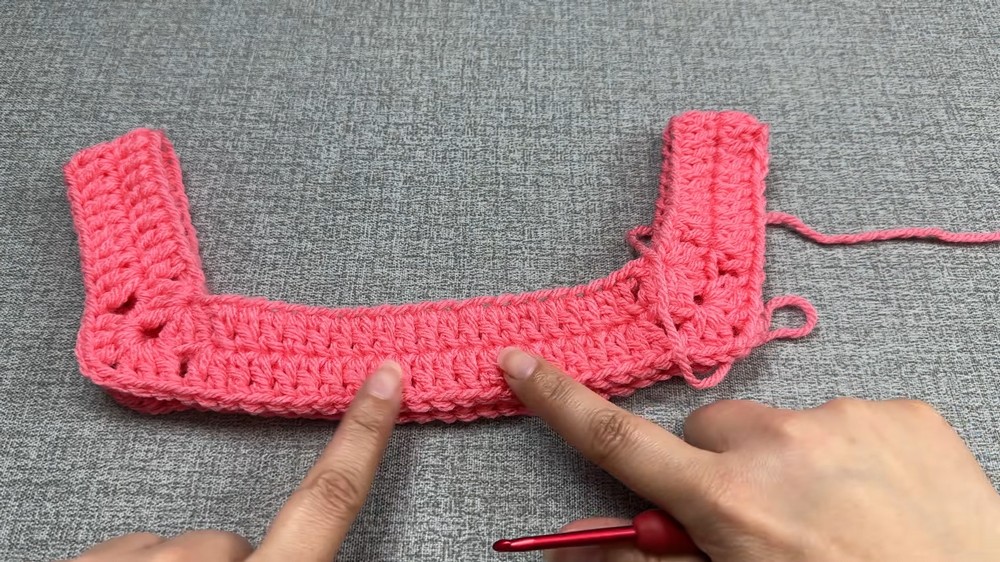
- Corners always worked as 3 dc, 2 ch, 3 dc.
- Continue for 6 rounds total or as many as needed for desired armhole depth (try on or measure for fit).
- If more room is needed, continue in pattern with same method.
- For even larger starting yoke, add chain multiples evenly to each section in the foundation ring.
- Join with sl st to finish round.
Forming Armholes and Dividing for Sleeves/Body
- After the last yoke round, sl st to center of first fan, sl st to the first dc of straight section.
- Ch 3 (counts as first dc), dc in each st across to fan.
- At fan (corner), work 3 dc ONLY (not a full fan; forms top of armhole).
- Fold yoke to bring next side across: yarn over, insert into other fan’s 3 dc, dc in each of these 3 sts to join for the sleeve.
- Resume dc in each st across the next body section.
- At next corner/fan, repeat the 3 dc only, fold and join with next side as for previous sleeve.
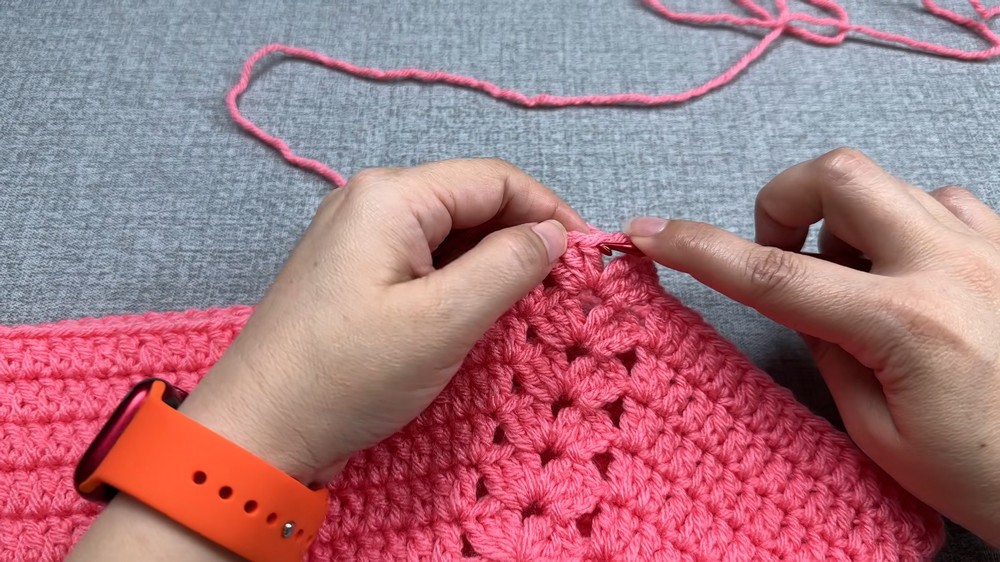
- Continue dc in each st back to start; join with sl st.
Final Rounds: Body of Yoke
- Where joined, ch 3 (counts as dc), dc in every st around for a simple clean finish.
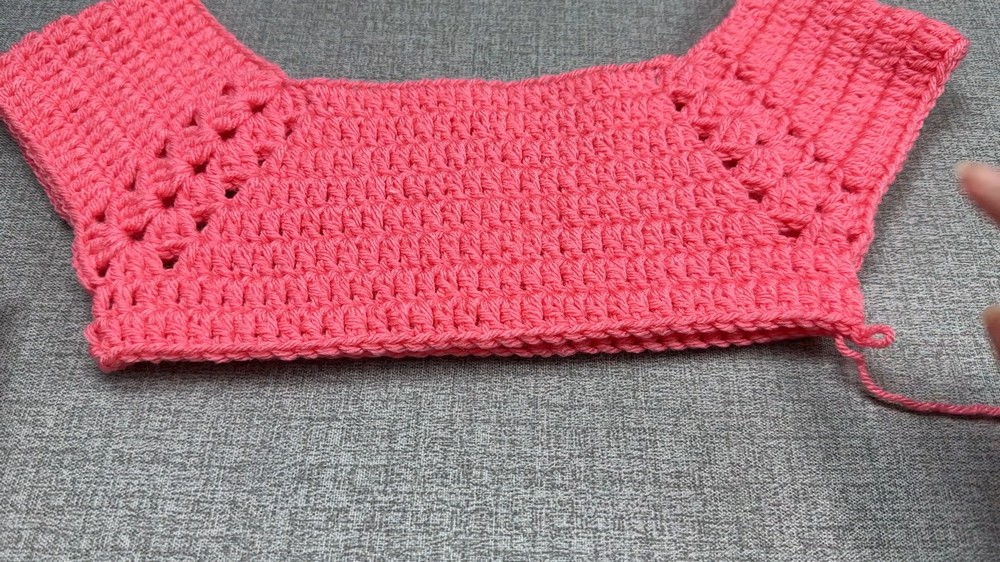
- Work 1–2 more rounds as needed for stability.
- Optional: continue longer for a more extended yoke.
- After final round, join with sl st, cut yarn, and weave in ends.
Assembly & Finished Size
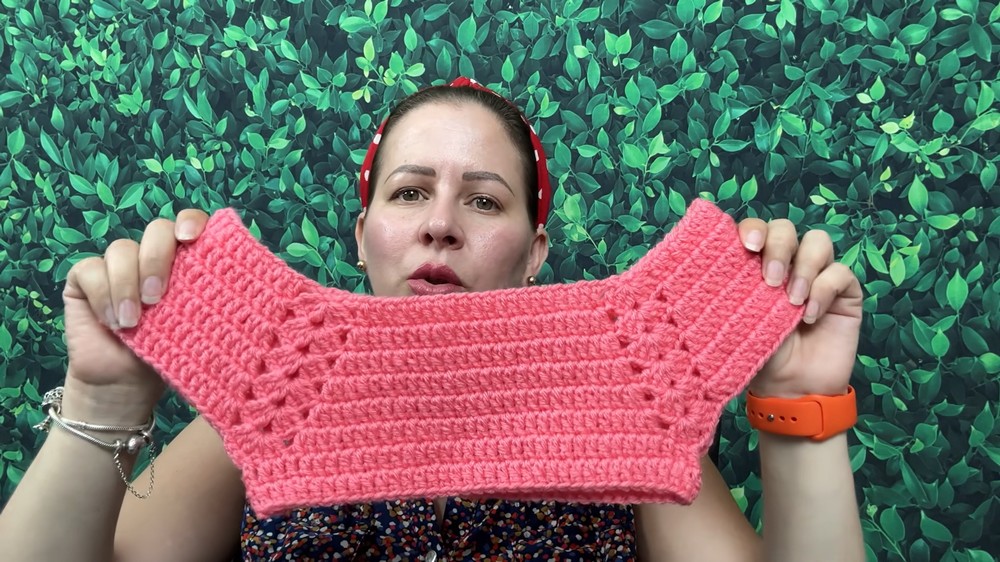
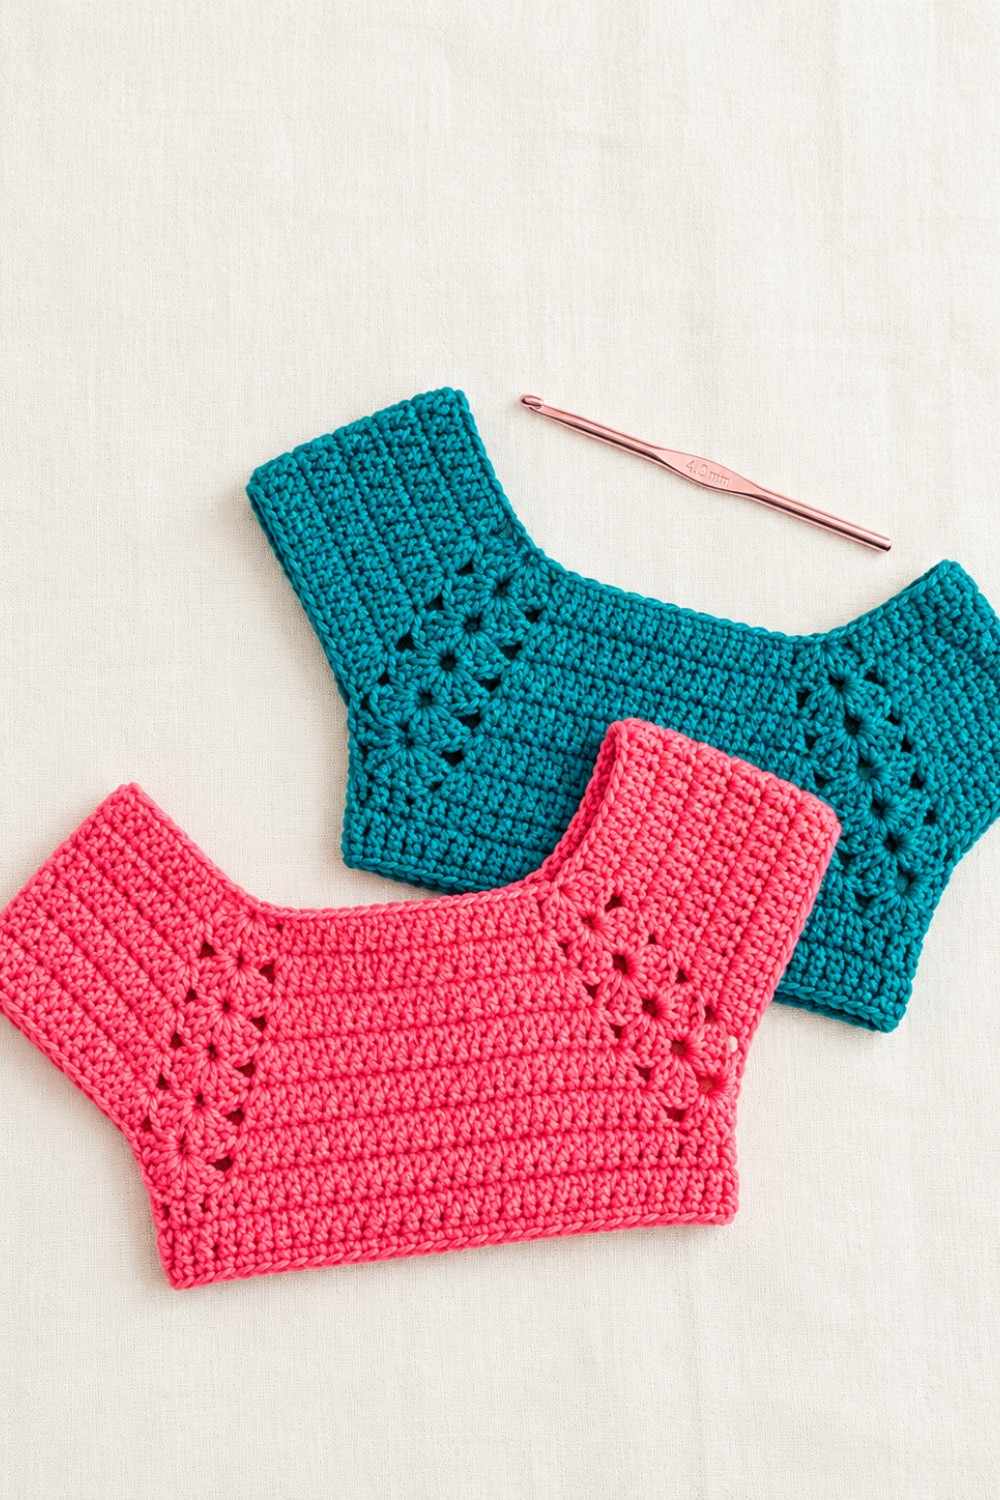
- Shape: The finished yoke forms a square with distinctive corners for sleeves and a clear neck and body area.
- Fit: Designed for a 3-year-old, but easily made larger by adjusting foundation chain or working additional rounds before sleeve division.
- Customization: Additional rounds can be added below the yoke for a dress, tunic, or sweater body.
Conclusion
This yoke is a solid introduction to garment shaping in crochet, utilizing fans, strategic increases, and seamless construction. The design is easily adaptable and perfect for beginners seeking foundational skills and confidence in wearable projects. Revisiting these techniques opens up new avenues for creative design as your skills progress. Feel free to adjust colors, edging, or length once you’ve mastered the basic form. Experience the satisfaction that comes from handmade clothing, crafted stitch by stitch.
