
Keep your beauty items in one place with the Crochet Makeup Bag Free Pattern, a handy little pouch for daily use, weekend trips, and travel.
Have you ever opened your handbag and spent ages searching for a lipstick or your favorite lip balm? The Crochet Makeup Bag offers a simple way to keep your beauty items together while adding a lovely touch to your daily routine. Its useful shape and attractive yarn finish give you a handy place for the little things you often need. Hooks & Needles By Mita shares this beautiful crochet idea for anyone who loves practical accessories with a personal feel.
Simple Crochet Makeup Bag Free Pattern That Keeps Things Organized
The bag has a lovely handmade texture that gives it a different appearance from regular makeup cases. Its roomy inside can hold everyday beauty products, while the neat outer shape helps everything stay organized. A colorful yarn combination can give the bag a lively appearance, or you can use one favorite shade for a simpler style. A secure opening also helps prevent small items from falling out.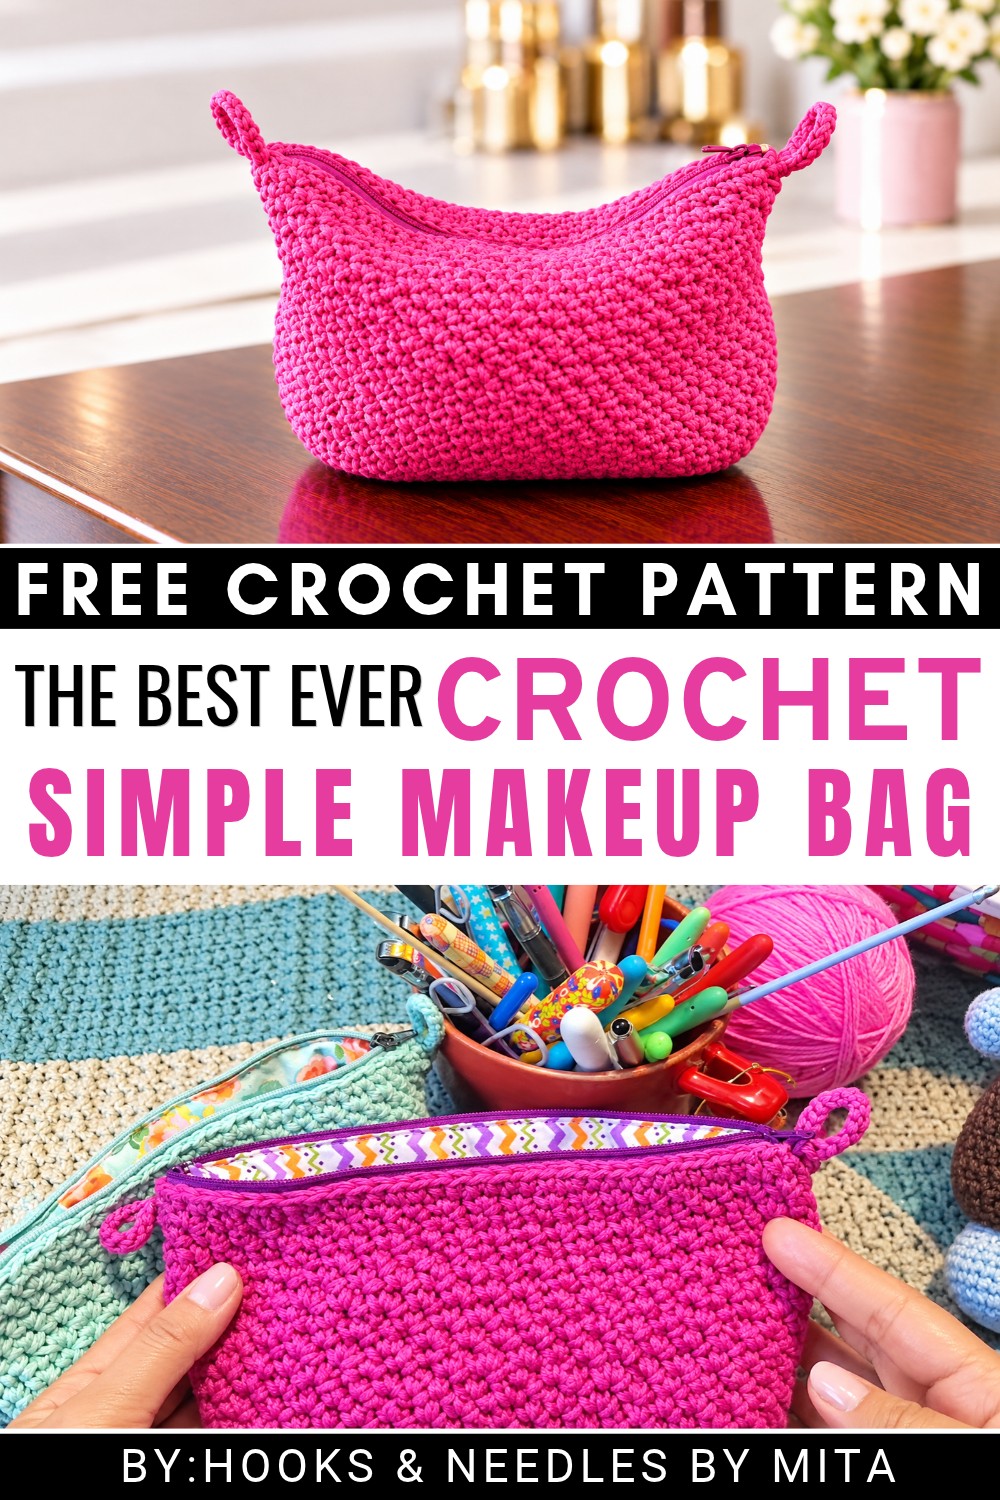 The bag can be worked with crochet stitches to form its main body. Keeping the sides even helps achieve a tidy shape, while careful finishing around the opening gives it a polished appearance. The yarn texture adds a pleasant feel when holding or carrying it.
You can use this bag to store lipstick, mascara, makeup brushes, or small skincare products. It is useful for keeping your dressing table tidy, carrying beauty essentials to college, or packing cosmetics for a weekend trip. It can also be a thoughtful gift for your sister or best friend.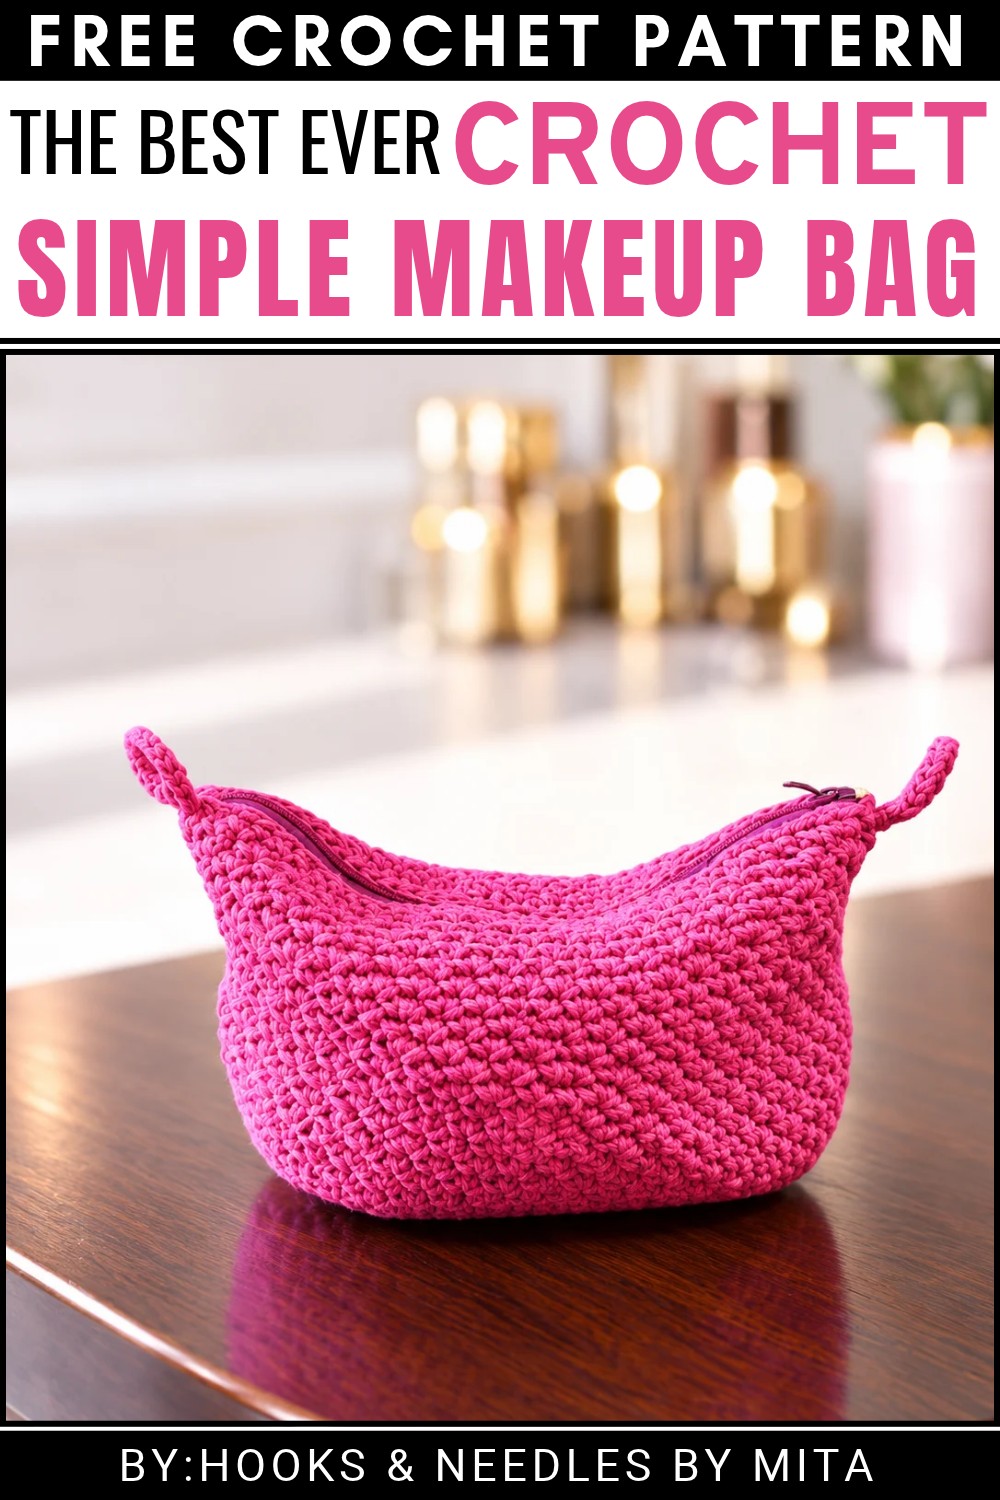 This makeup bag combines everyday storage with a personal style, helping you keep your favorite beauty products close and easy to find.
About the Pattern
This crochet makeup bag pattern delivers a structured and attractive pouch, perfect for everyday essentials or travel. The design features an elongated oval base, which provides stability and generous capacity. The pouch is worked entirely in single crochet (SC) stitches, offering a simple and dense texture that is both durable and visually pleasing. Clean lines and a sturdy, classic shape are achieved through careful increases and methodical rounds. The crochet instructions are compatible with color customization and various yarn types for a personalized finish.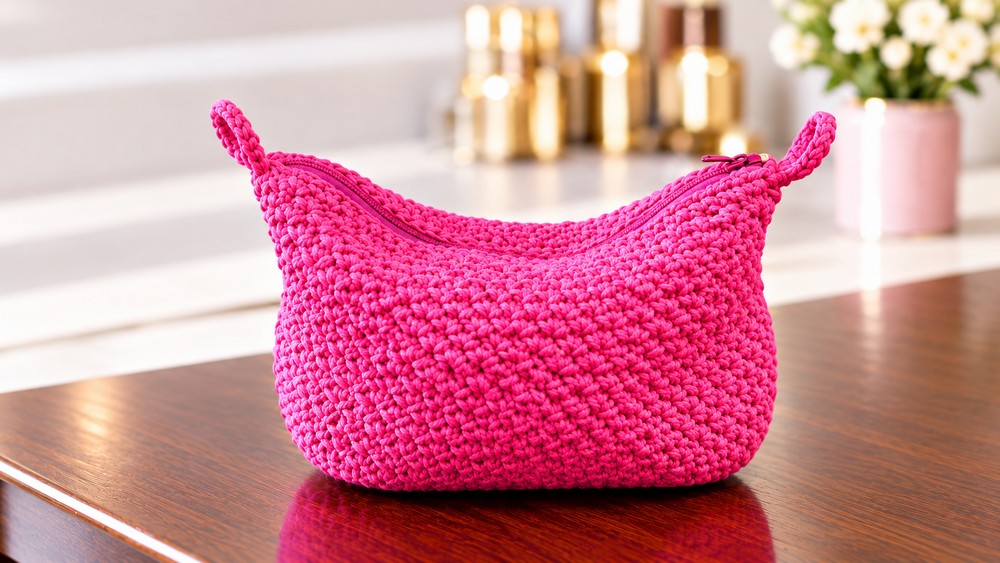
Pattern at a Glance
The makeup bag begins with an oval base, constructed from a foundation chain and built up using symmetrical increases along both ends. The pouch’s body is then formed with creative stitch placement to expand in height and produce a roomy compartment. The project is finished with a neat single crochet edging at the top, ready for the addition of a zipper and lining for practical use.
Important Notes
- All stitches are single crochet (SC) unless indicated otherwise.
- The base is worked in continuous, joined rounds with increases placed precisely at each end.
- Use a stitch marker for the start of each round if preferred.
- Ensure the number of stitches on both long edges and at both ends matches for even growth.
- The pouch body is worked by skipping stitches and increasing into the next, which creates gentle vertical expansion.
- The bag’s sturdiness and durability depend on working with a tight tension.
- Adding a fabric lining and zipper is highly recommended for a professional finish and structural support.
Difficulty Level
This pattern is suitable for advanced beginners and intermediate crocheters. Only basic crochet stitches are required, but accurate counting and careful joining are needed for an even, symmetric result. Some experience installing zippers and fabric linings is helpful for the final assembly.
Supplies Needed
- Worsted weight cotton or acrylic yarn (solid or variegated as desired)
- 3.5 to 4.5 mm crochet hook (adjust size for yarn and tension)
- Yarn needle for weaving ends and sewing
- Fabric for lining (optional but recommended)
- Zipper (fits bag length)
- Scissors
- Stitch marker (optional)
Size & Measurements
The finished bag measures approximately 7 to 9 inches long, 3 to 4 inches wide, and 3 to 4 inches deep. The size may vary depending on hook, yarn, and tension. The dimensions allow for holding cosmetics, small tools, or personal items.
Gauge & Stitch Details
- Tight gauge is crucial to create a dense, sturdy fabric for the bag.
- Typical amigurumi or pouch gauge: 10 rounds x 10 stitches (single crochet) = 2 inches (5 cm).
- Adjust hook size as needed for optimal stitch density.
Crochet Abbreviations
- ch: chain
- sc: single crochet
- inc: increase (2 sc in one stitch)
- sl st: slip stitch
- st(s): stitch(es)
- R: round/row
Special Stitch Guide
- Single Crochet (sc): Insert hook into stitch, yarn over, pull up a loop, yarn over, pull through both loops on hook.
- Increase (inc): Work 2 sc in the same stitch.
- Slip Stitch (sl st): Insert hook, yarn over, pull through stitch and loop on hook (used to join rounds).
- Working in Spaces: In the bag body, skip 1 stitch and work 2 sc into the next, repeating all the way around.
Complete Crochet Pattern
The Oval Base
- Starting Chain: Ch 15, plus 1 turning chain (total: 16).
- Round 1:
- SC 3 in the 2nd ch from the hook
- SC in each of next 14 ch
- SC 3 in the last chain
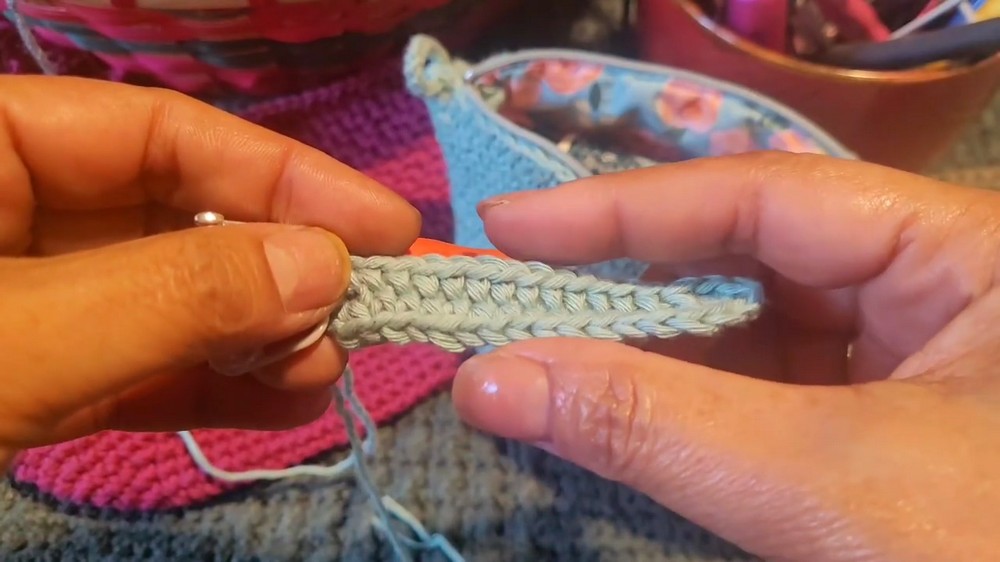
- Working along the opposite side of the foundation chain, SC in each of next 14 ch
- (Total: 34 sts)
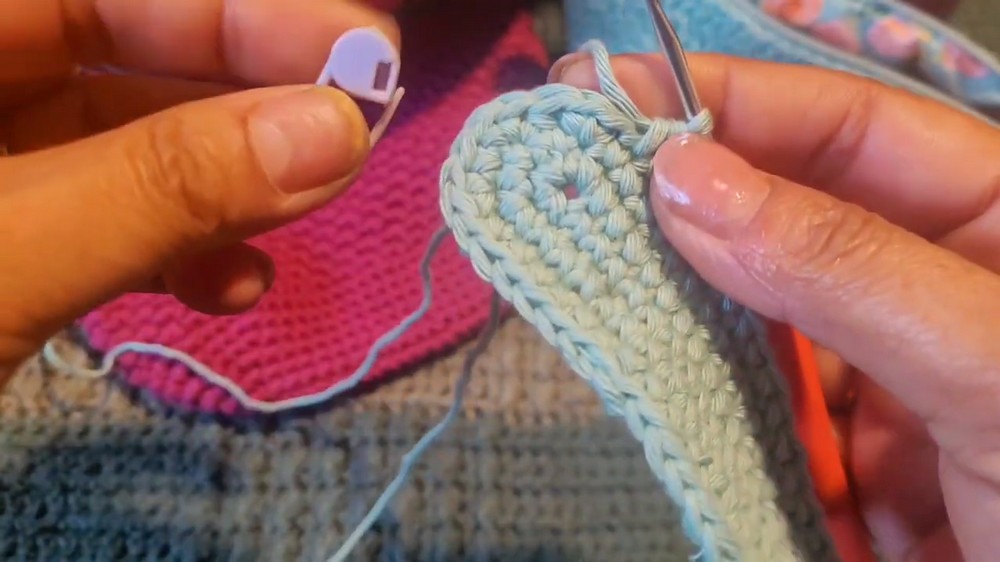
- Round 2:
- Inc (2 SC in each st) 3 times at the start of the round (first end) (6 sts)
- SC along next 14 sts
- Inc (2 SC in each st) 3 times at the far end (6 sts)
- SC along the remaining 14 sts
- Round 3:
- At each end, repeat pattern of (inc, 1 SC) three times
- Along the long sides, SC in each st (14 on each side)
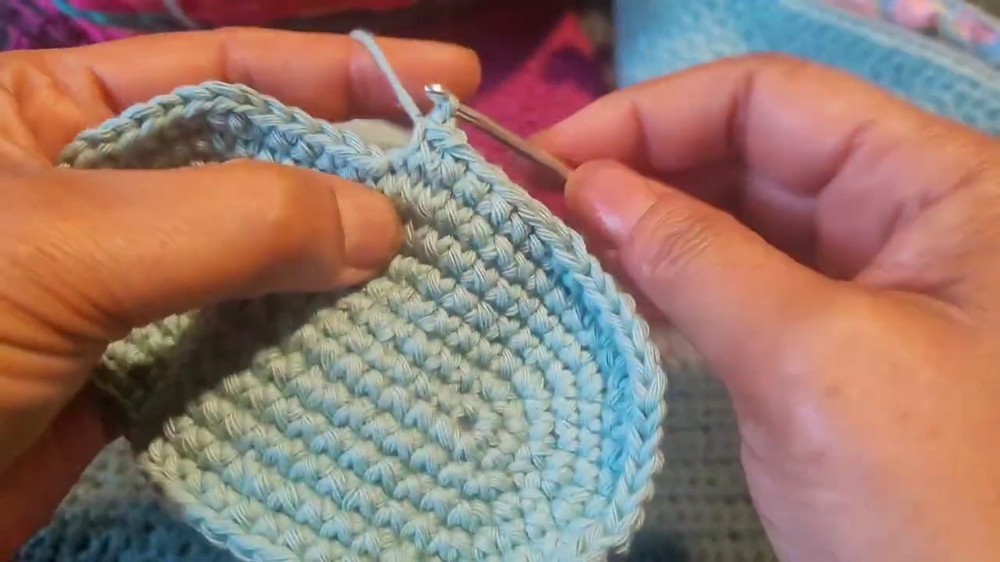
- Round 4:
- At each end, repeat pattern of (inc, 2 SC) three times
- Along the long sides, SC in each st (14 on each side)
- Round 5:
- At each end, repeat pattern of (inc, 3 SC) three times
- Along the long sides, SC in each st (14 on each side)
- Round 6:
- At each end, repeat pattern of (inc, 4 SC) three times
- Along the long sides, SC in each st (14 on each side)
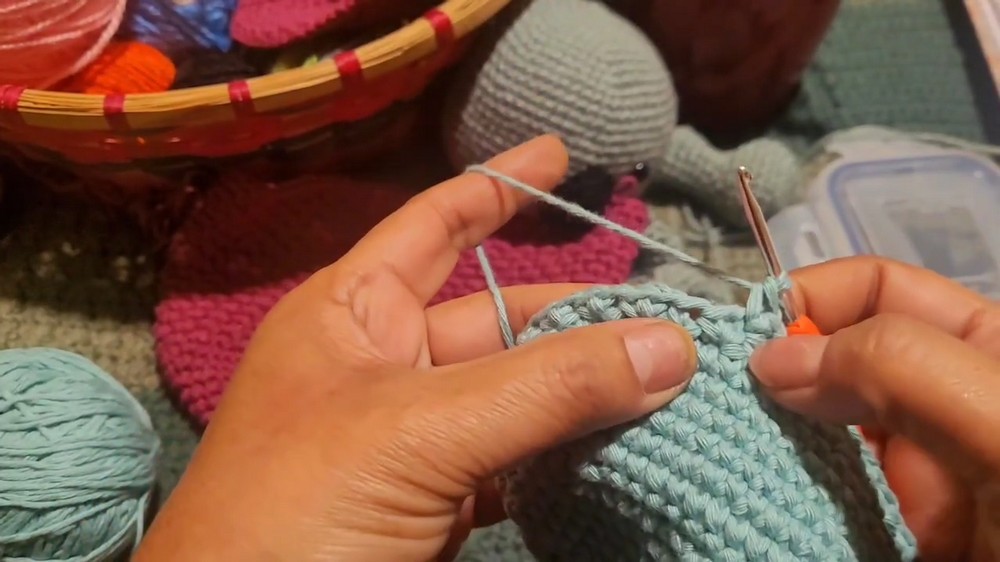
- Round 7:
- At each end, repeat pattern of (inc, 5 SC) three times
- Along the long sides, SC in each st (14 on each side)
- Make sure you finish the round at the starting point for symmetry, using a slip stitch if desired to keep edge smooth.
The Body
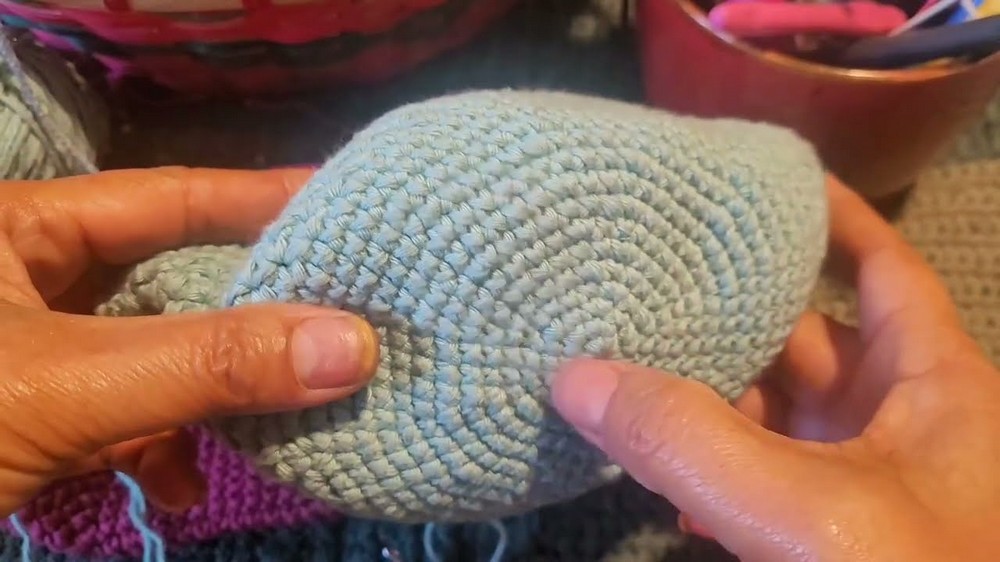
- Transition Row:
- Skip 1 st, work 2 SC in the next st, repeating all the way around.
- Subsequent Rows:
- For each row, continue the pattern: skip 1 st, 2 SC in the next st.
- Repeat until the body reaches the desired height (typically about 2–3 inches tall or as preferred).
- The gentle increases from working 2 SC after skipping 1 stitch create vertical expansion for the pouch.
Finishing
- Slip Stitch: Join with a sl st into the first stitch of the final row.
- Top Edge: Ch 1, then work a round of single crochet evenly across the entire top. This makes a sturdy and smooth edge, suitable for adding finishing elements.
- Fasten off and weave in all ends with yarn needle.
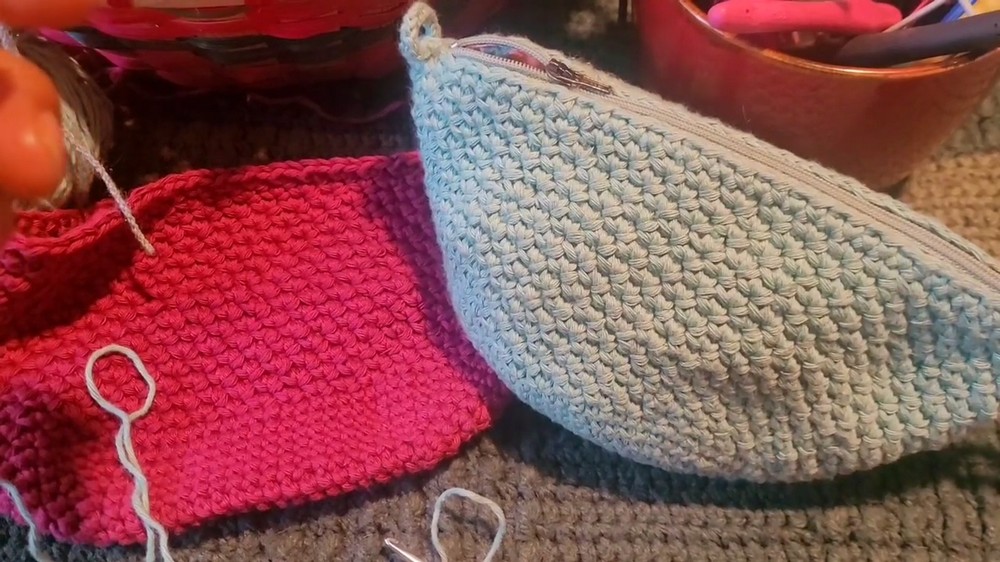
- Adding Zipper and Lining:
- Cut fabric to match the bag’s size, leaving a small seam allowance for the inside lining.
- Sew zipper onto bag’s top opening, ensuring it opens and closes smoothly.
- Hand-sew or machine-stitch the fabric lining inside for a tidy and professional result.
Assembly & Finished Size
After weaving in all ends, the bag will feature a smooth, oval-shaped base and a nicely proportioned body. Sewing in the lining prevents small items from snagging and adds structure to the pouch, while the zipper provides security for your belongings. Maintain evenly spaced stitches around the upper edge to ensure a firm installation for the zipper. Adjust the height and body length as required to tailor the bag for brushes, pencils, or travel supplies.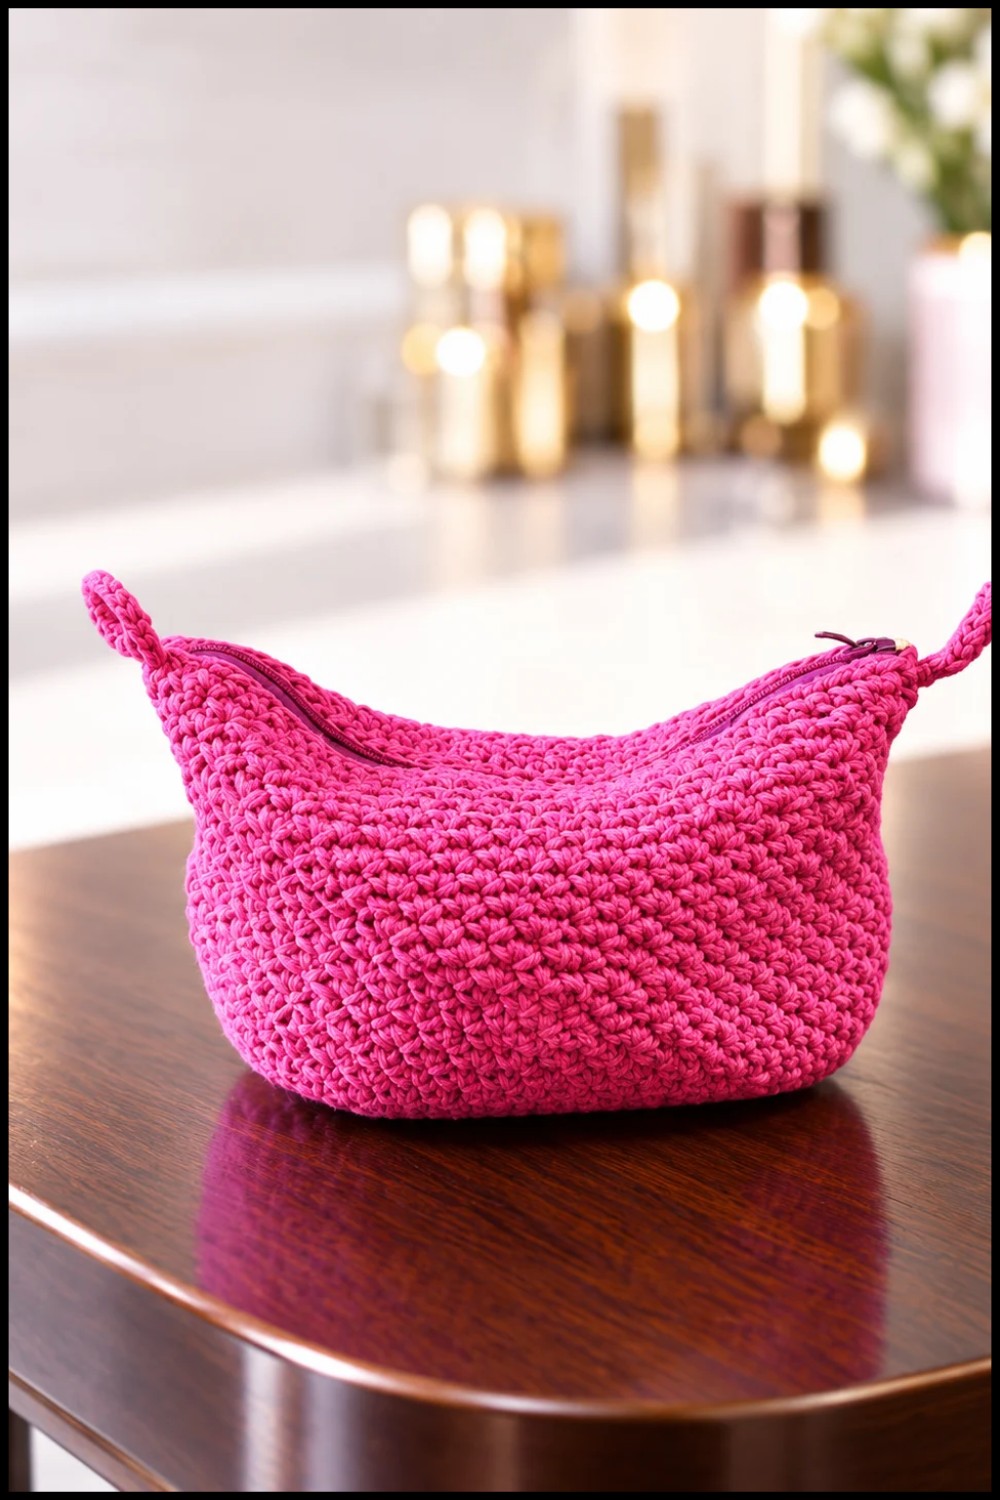
Ending Words
The finished makeup bag boasts clean lines, a secure shape, and ample storage. Sturdy construction with dense single crochet stitches, combined with a lined interior and zipper closure, ensures functionality and style. This pattern is adaptable for color block, stripes, or solid shades, allowing for personalized creations and practical, durable use in daily routines or as thoughtful handmade gifts.
