
Dress up your little one with this Crochet Pumpkin Hat Free Pattern, featuring a rounded shape and lovely pumpkin details for a fun Halloween costume idea.
Want a fun hat that gives your outfit a cute Halloween touch? Gaby Tejidos shares a lovely crochet idea for anyone who likes wearing colorful handmade accessories during the holiday season. The Crochet Pumpkin Hat is a playful headwear project inspired by the familiar orange vegetable. Its cheerful style makes it a nice choice for Halloween parties, family celebrations, or anyone who loves funny hats.
Best Crochet Pumpkin Hat Free Pattern With A Green Stem
The hat has a rounded shape with orange yarn that gives it a pumpkin-inspired appearance. Green details at the top can resemble a small stem and leaves. The stitches give the surface a lovely texture, while the lower edge helps it sit comfortably around the head. You can choose a deep orange shade or a lighter tone according to your taste.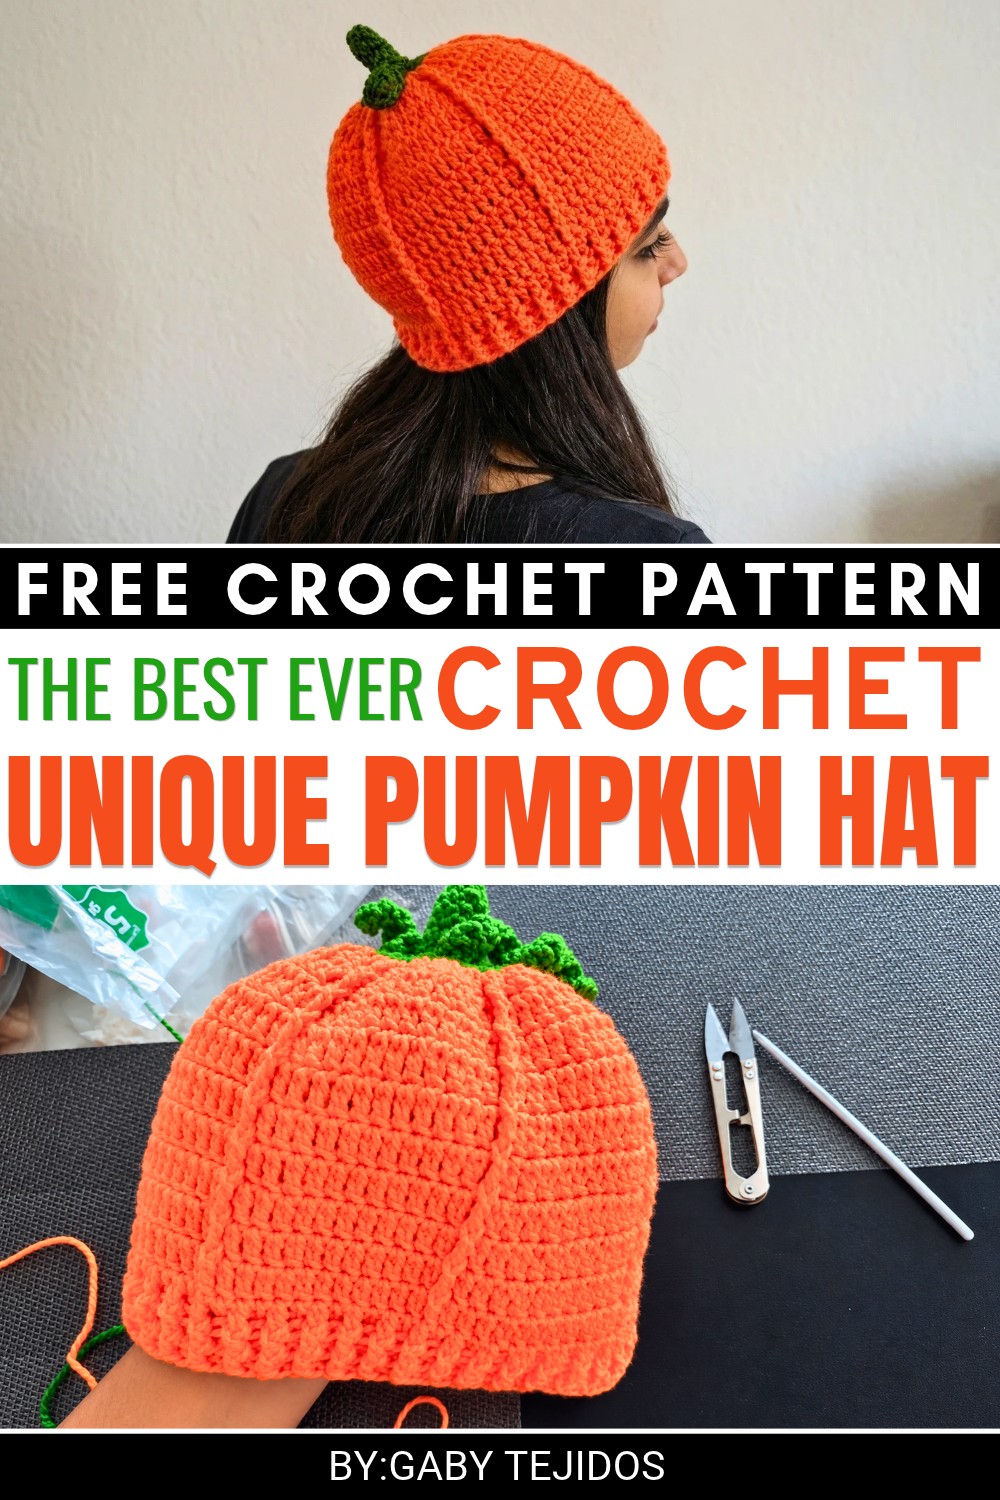 To crochet this hat, begin with the starting stitches and follow the rounds to form the crown. Continue working until the hat reaches the required size. The green details can be prepared separately and attached at the top. Checking the head measurements helps achieve a comfortable fit.
You can wear this hat with a plain black outfit for Halloween, pair it with casual clothes for a fun photo, or use it as part of a pumpkin costume. It is also a sweet handmade gift for children, friends, or family members who like festive accessories.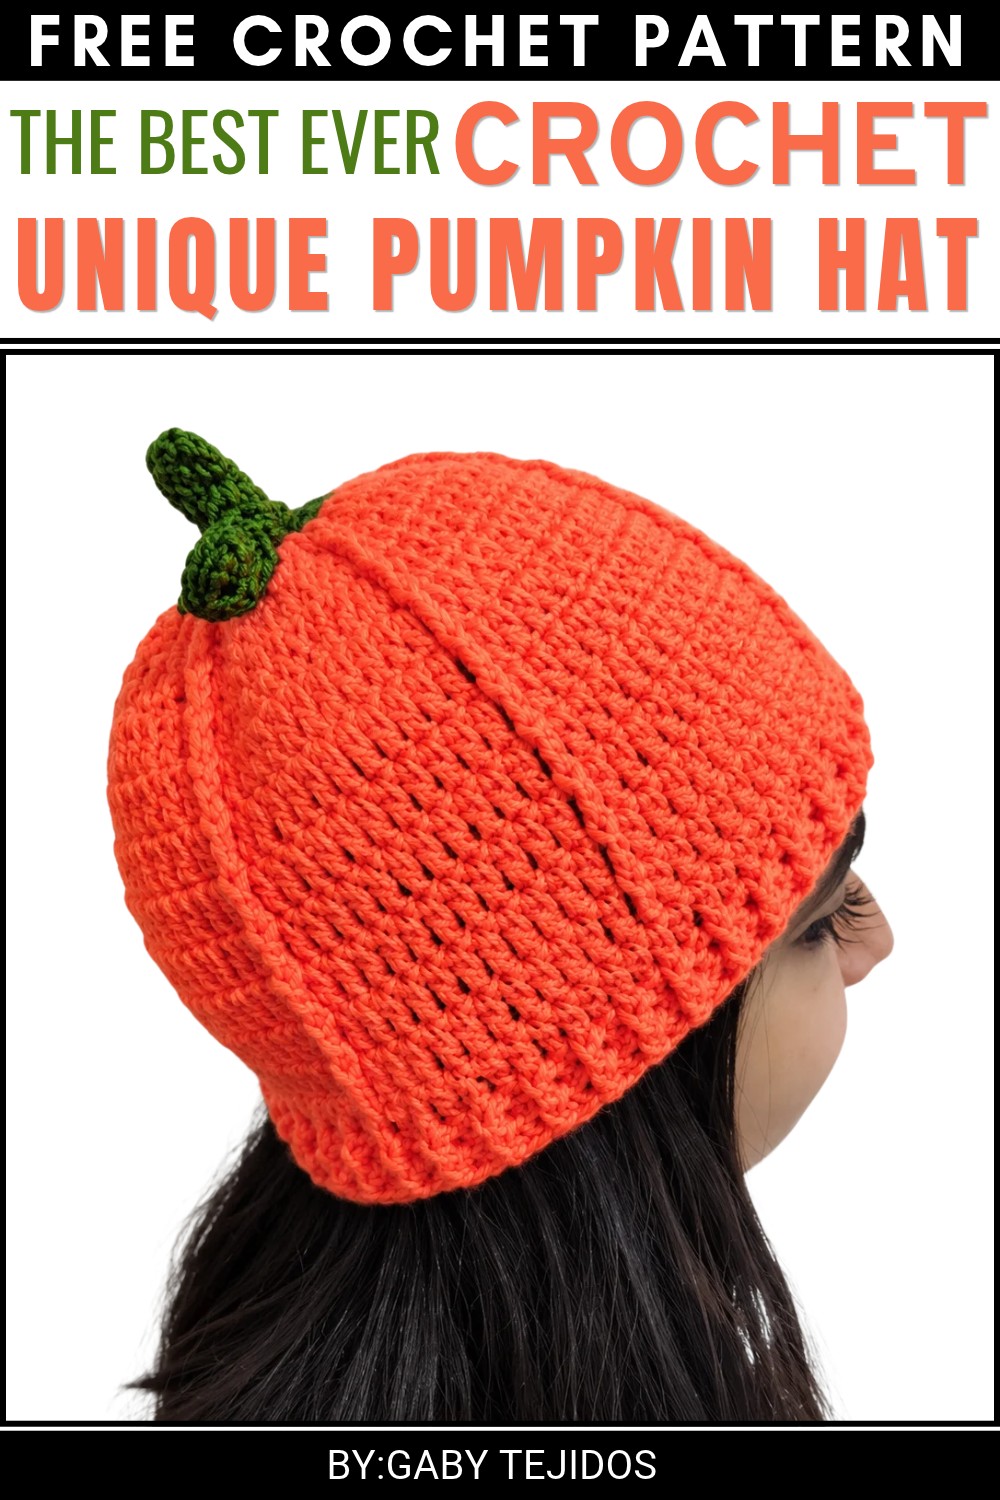 This project gives you a fun way to work with orange and green yarn while preparing something you can wear. Its familiar pumpkin theme makes it a cheerful choice for seasonal dressing.
Crochet Pumpkin Hat Pattern
About the Pattern
This pumpkin hat pattern achieves a playful, seasonal design by combining clever increases, textured post stitches, and embellishments for an authentic pumpkin effect. The hat is richly textured with vertical ridges to mimic a pumpkin’s lines, finished with a whimsical stem and leaves. Assembling all parts ensures a snug, comfortable, and durable accessory suitable for the autumn season.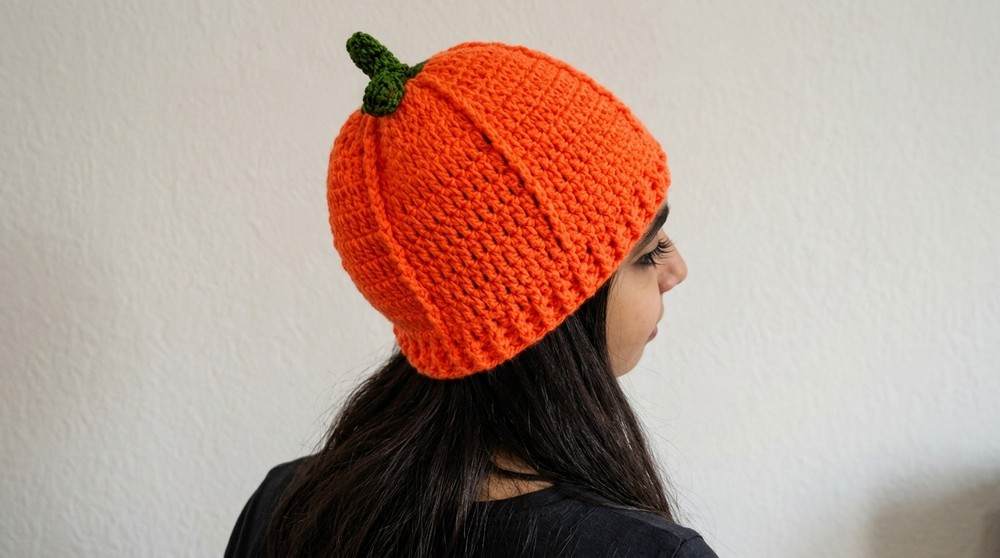
Pattern at a Glance
- Begins at the top with a circular “lid” as the pumpkin’s cap
- Builds the stem and decorative leaves before forming the hat body
- The main body features front- and back-post stitches for vertical ridges, enhancing the pumpkin effect
- Finished with a ribbed brim for fit and polish
Important Notes
- Read through the pattern before beginning to clarify the sequence and joining methods.
- Counting stitches in each round is crucial, especially for increases and relief stitches.
- The relief (post) stitches add stretch and shape; maintain their positions from round to round.
- Use color changes for the green top and stem, then switch to orange for the main body.
- Leave long tails on motif pieces for easier sewing and a neater finish.
Difficulty Level
Advanced Beginner to Intermediate. The instructions use double crochet increases, rounds, front- and back-post double crochets, and shaping with decreases. Some experience with joining in the round and post stitches recommended.
Supplies Needed
- Worsted weight yarn: orange (main), green (top and leaves), brown (stem), or as desired
- Crochet hook: Size appropriate for yarn (usually 4-5 mm for worsted)
- Scissors
- Yarn needle
- Stitch markers
Size & Measurements
- Sized for children or adults (adjust by adding rounds or changing hook/yarn size as required)
- Hat stretches to fit comfortably due to post stitch texture and ribbed brim
Gauge & Stitch Details
- Gauge: ~16 dc x 10 rows for 10×10 cm; adjust hook if needed for proper fit.
- Keep stitches moderately snug for structure but not tight—post stitches should pop for texture.
Crochet Abbreviations
- ch – chain
- sl st – slip stitch
- sc – single crochet
- dc – double crochet
- inc – increase (work two stitches in one)
- fpdc – front post double crochet
- bpdc – back post double crochet
- st(s) – stitch(es)
Special Stitch Guide
- Magic ring: Begin with adjustable loop for stem.
- Front post/back post double crochet: For textured ridges and final ribbing.
- Increase: Work two stitches (sc or dc as stated) into one stitch.
Complete Crochet Pattern
1. Top (Pumpkin Lid/Base)
- Foundation:
- Ch 4 and join with a sl st to form a ring.
- Base Round:
- Ch 3 (counts as first dc), work 13 dc into the center of the ring.
- Join with sl st. (14 sts)
- Ch 3 (counts as first dc), work 13 dc into the center of the ring.
- Increase Round:
- 2 dc in each stitch around (inc) for a total of 28 dc.
- Join with sl st and cut the yarn.
2. Stem/Trunk
- Stem Base:
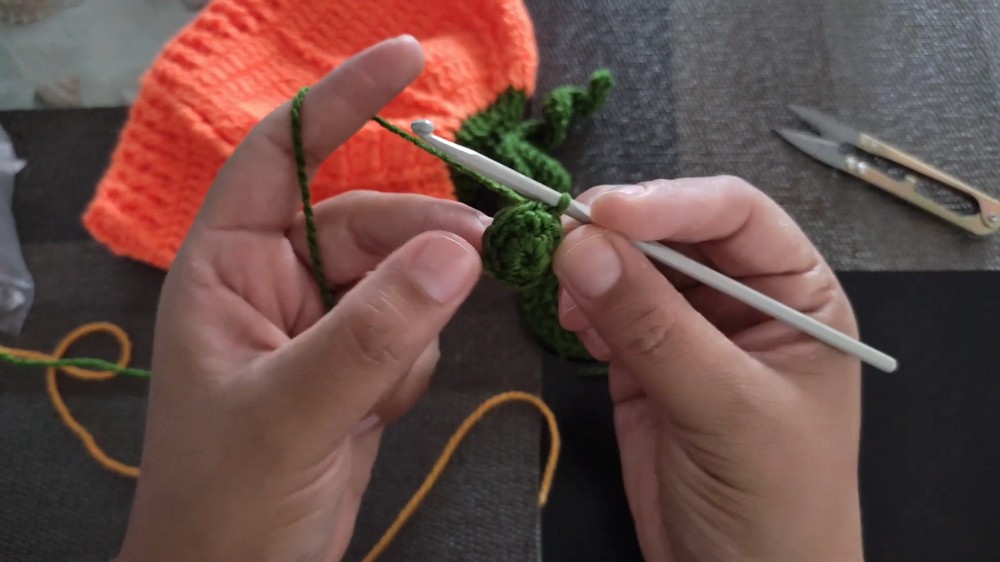
- With brown or green, create a magic ring, work 9 sc into it.
- Sl st to join.
- Rounds 2–7:
- Sc in each stitch around for 7 total rounds, forming the stem’s height.
- Leaves:
- After completing the 7th round:
- Ch 3, then ch 20 more (23 total).
- Work dc (double crochet) back along the long chain to form the leaf.
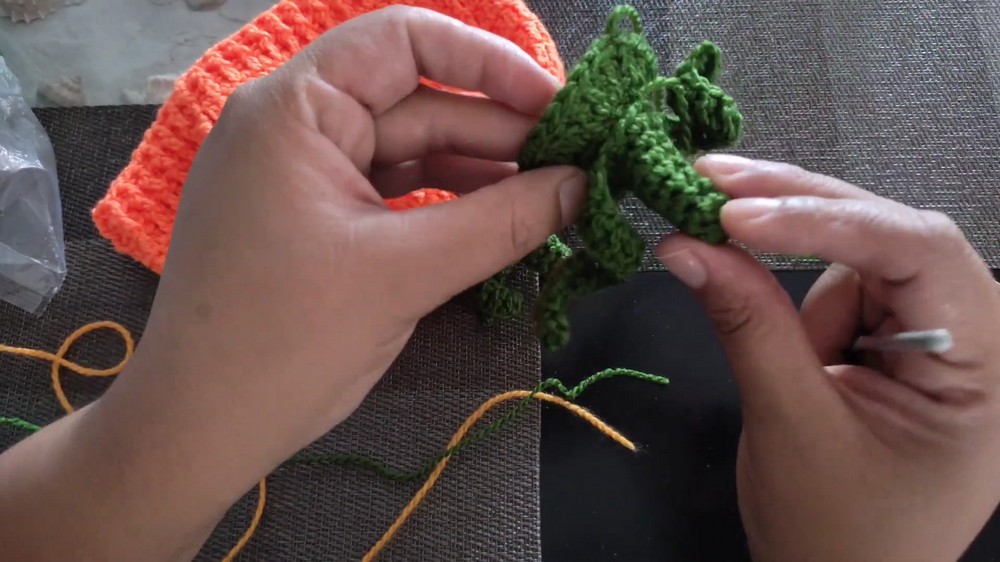
- Repeat the chain and dc sequence for a second leaf.
- Leave a long yarn tail for sewing onto the pumpkin top later.
- After completing the 7th round:
3. Main Pumpkin Body (Orange Yarn)
- Base Increase:
- Attach orange yarn to any stitch on the green top.
- Work 2 dc in every st from the green round beneath for a thick, ruffled defined edge.
- Relief Stitch Pattern:
- [Repeat:] 1 inc, 5 dc, 1 inc,
- then work back post double crochet (bpdc) in the next stitch to create a relief (vertical ridge).
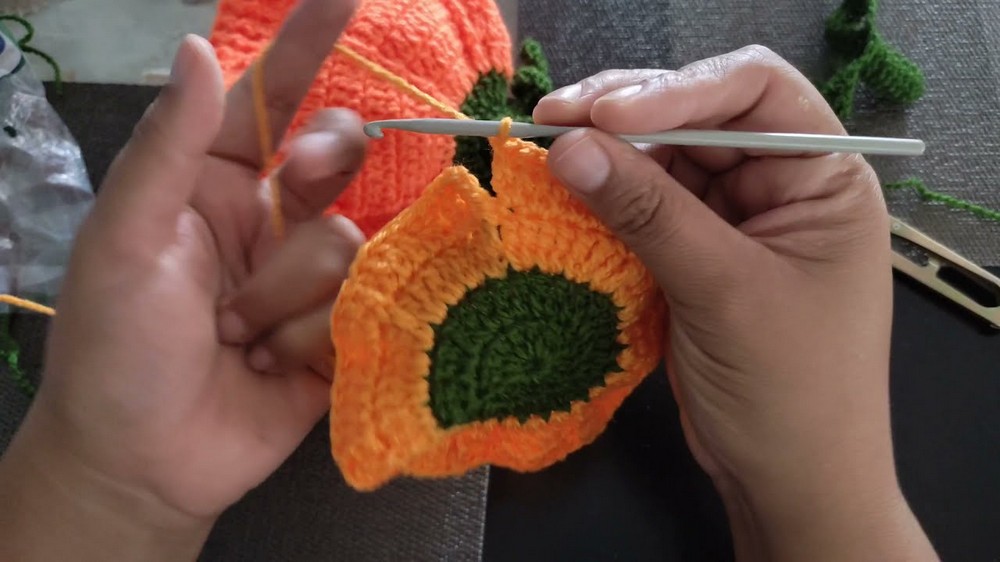
- Continue this sequence around the hat for defined pumpkin sections.
- then work back post double crochet (bpdc) in the next stitch to create a relief (vertical ridge).
- [Repeat:] 1 inc, 5 dc, 1 inc,
- Body Height:
- Work 7 rounds with no increases, maintaining the relief ridge alignment (alternate fpdc and bpdc as previously placed) for a total of 7 straight rounds.
- Decrease Round:
- Work rounds in the following sequence:
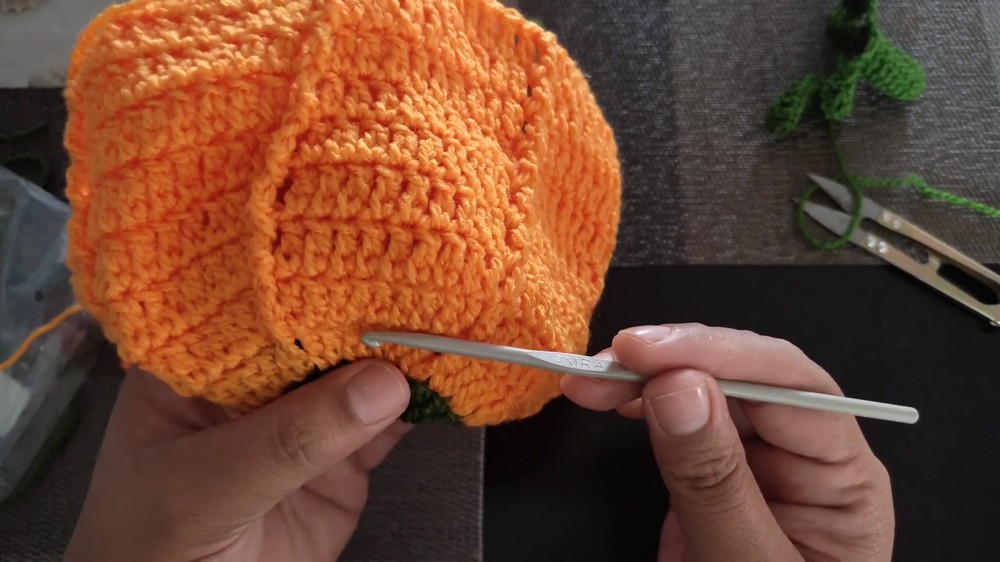
- 10 dc, then 1 dc decrease (dc2tog).
- Repeat around each round, gradually reducing the base circumference, until a snug fit for the head circumference is reached.
- Work rounds in the following sequence:
- Brim:
- To finish, work 2 rounds of alternating* fpdc** and bpdc in each stitch* around the edge to create a stretchy ribbing effect.
4. Assembly
- Weave in all loose ends throughout the hat interior using a yarn needle for neatness.
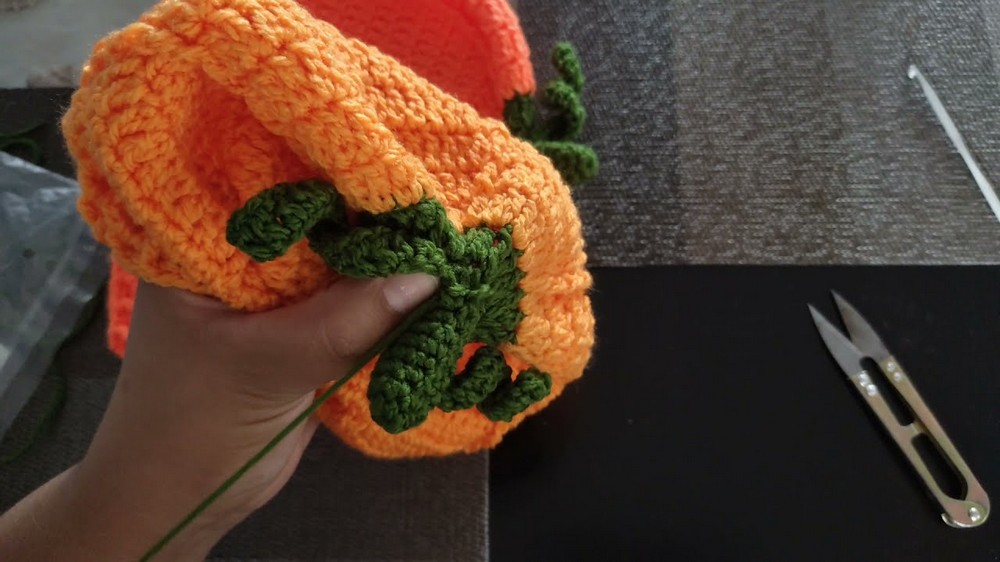
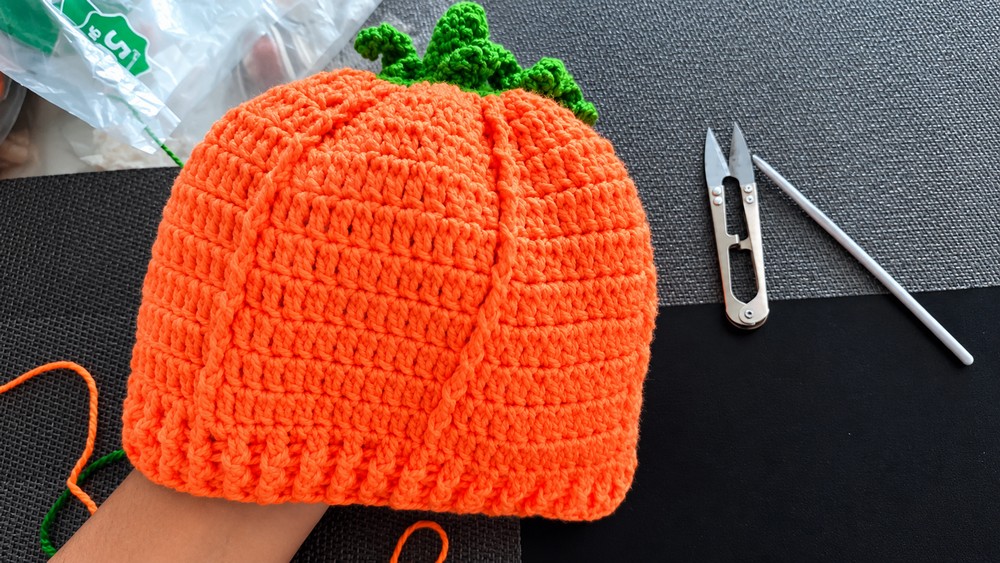
- Position the stem and leaves securely in the center of the pumpkin lid (top/base) and sew in place using the yarn tail. Ensure leaves drape naturally and the stem stands upright.
Assembly & Finished Size
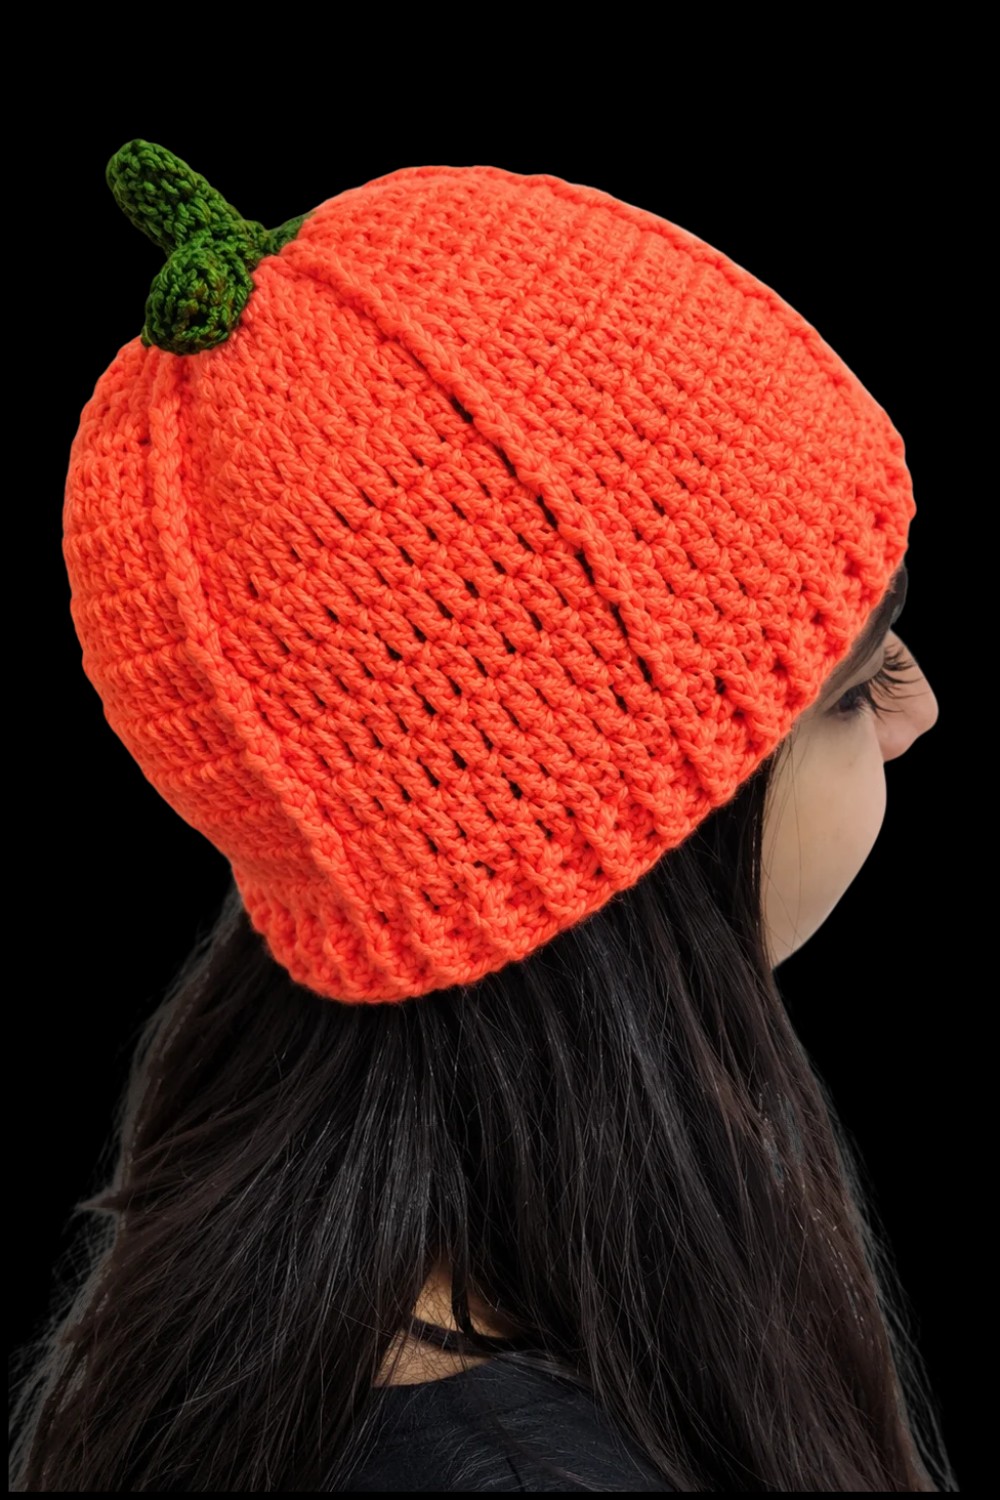
- Try on for comfort after weaving in ends and sewing the stem/leaves. The relief ridges should provide the iconic pumpkin section look, and the ribbed brim ensures a snug, stretch fit.
- Block lightly if desired for shaping or to soften the fabric.
- Adjustments in circumference and depth can be made by adding or reducing body rounds.
Conclusion
This crochet pumpkin hat pattern creates a festive, richly-textured accessory perfect for autumn celebrations. The carefully shaped stem, fluttering leaves, and bold pumpkin ridges transform a simple beanie into a stand-out statement piece. With clear rounds for increasing, texturing, and finishing, the result is eye-catching, comfortable, and perfect for seasonal warmth or costume fun.
