
Try this free crochet crop top pattern to make a cute and stylish top at home with simple steps that are easy to follow even if you are just starting out now.
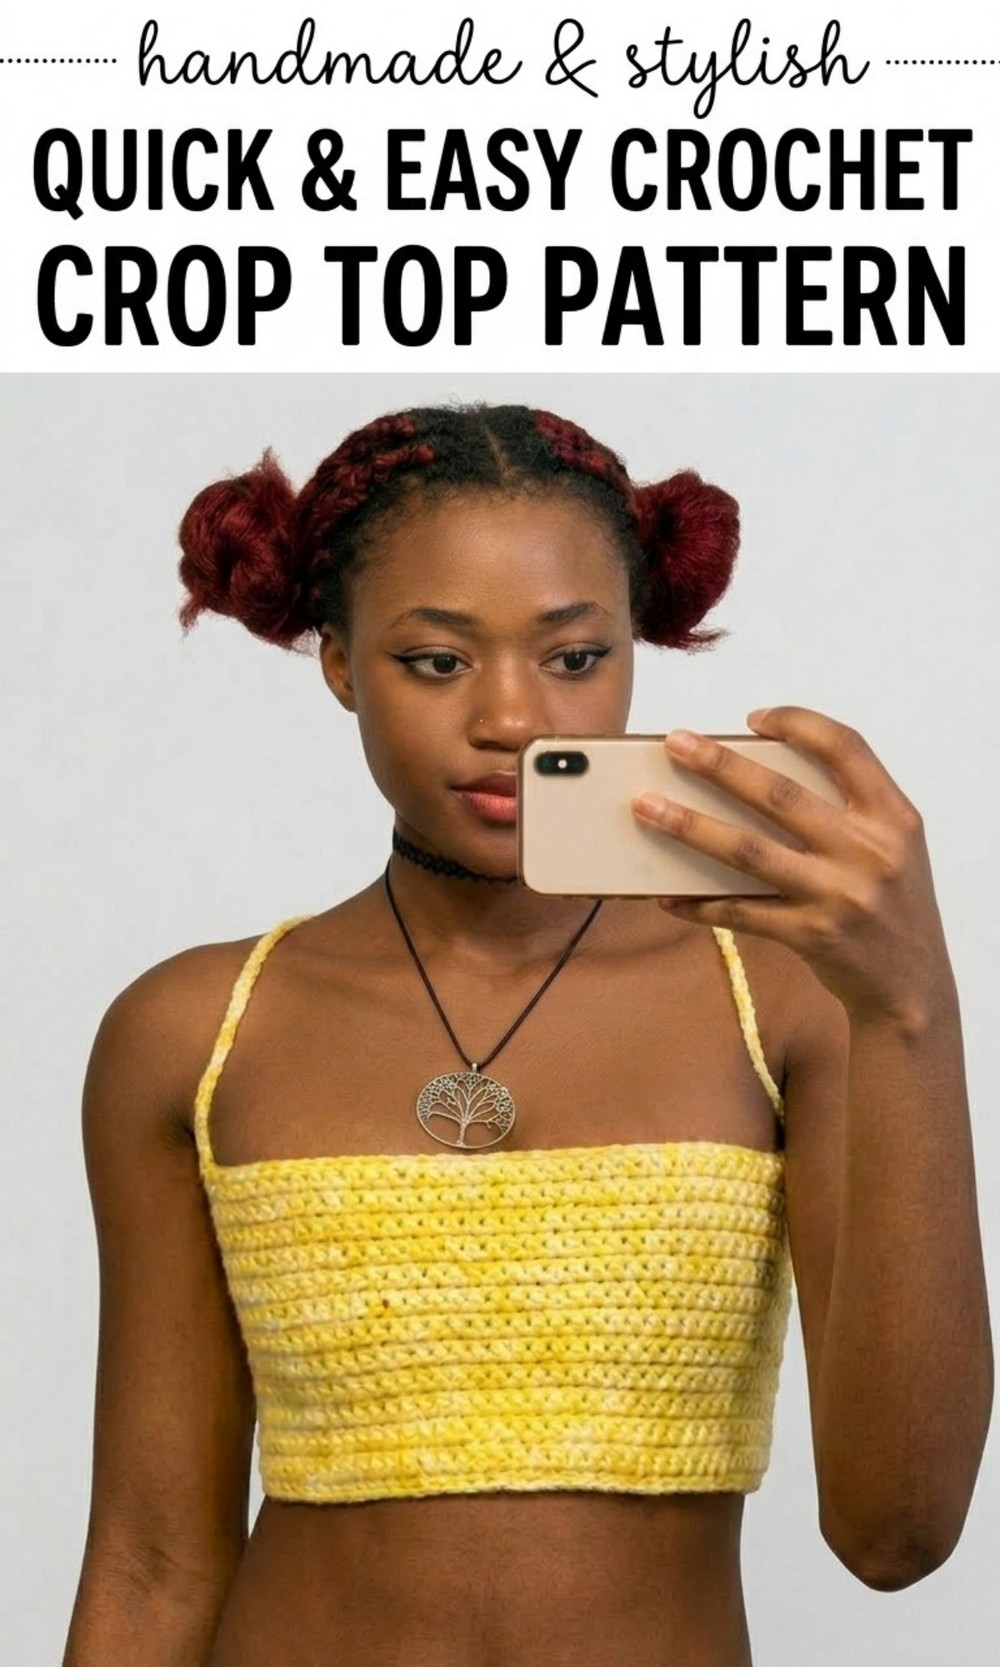
Your Go To Free Crochet Crop Top Pattern for Endless Style
This crochet crop top pattern is unique because you can customize it to fit your size, making it flattering and comfortable for everyone. Using soft DK weight yarn and a 4.5 mm crochet hook, you can create a lightweight, breathable top ideal for summer or layering. Its design is flexible, allowing you to add extra coverage or shorten the height to match your preference.
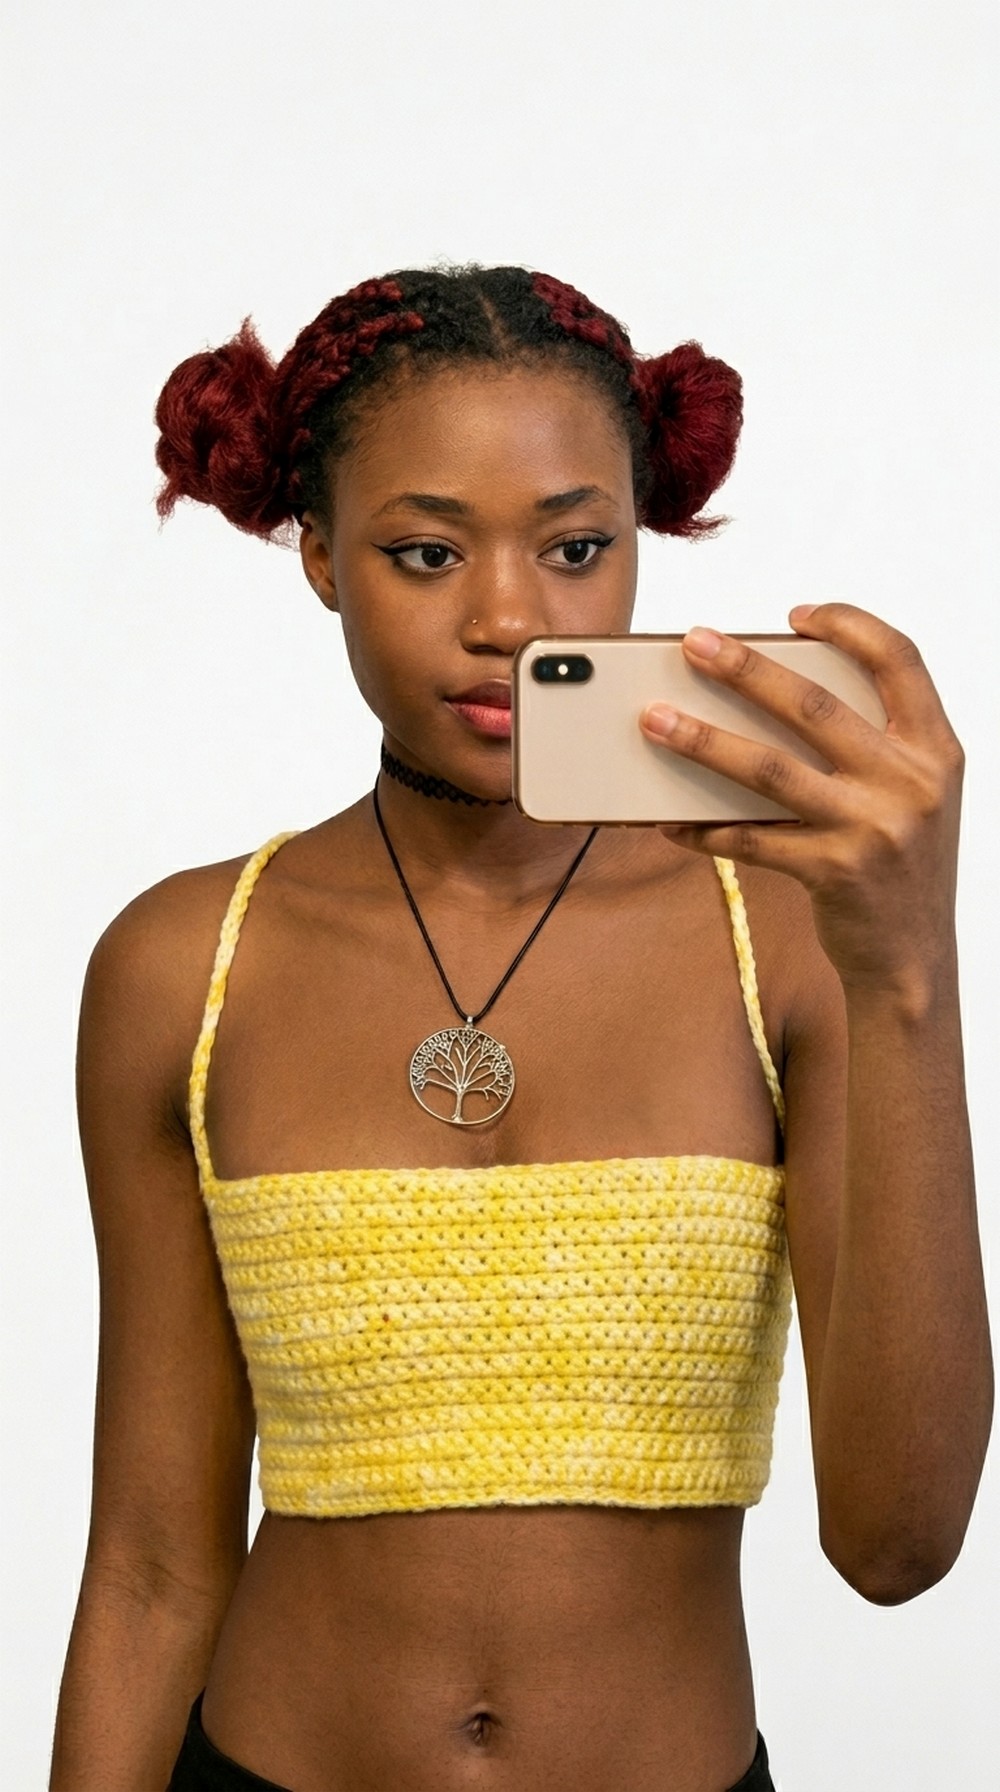
The straps are adjustable and crisscross beautifully at the back, giving it a modern and stylish appearance. The single crochet stitches are easy to learn, making this pattern beginner friendly. This crop top is perfect for casual wear or even gifting to friends. It’s simple, creative, and a great way to express your personality through fashion.
Amazing Crochet Crop Top Pattern
Materials Needed:
- Yarn:
- DK weight acrylic yarn (double stranded).
- Approximately 2 skeins or as needed, depending on the size.
- Hook:
- 4.5 mm crochet hook.
- Measuring Tape:
- For accurate body measurements.
- Tools:
- Scissors.
- Stitch markers or safety pins (optional but helpful).
- Yarn needle (to weave in loose ends).
Special Techniques:
- Slip Knot: Create the beginning loop of your project.
- Chain (CH): Yarn over and pull through the loop on the hook.
- Single Crochet (SC):
- Insert hook into the desired stitch.
- Yarn over, pull through (2 loops on hook).
- Yarn over again, pull through both loops.
- Slip Stitch (SL ST):
- Insert hook into the desired stitch.
- Yarn over, pull through both the stitch and the loop on the hook.
Pattern Instructions
Step 1: Measuring the Bust
- Use the measuring tape to get your bust measurement at the widest part of your chest.
- Make sure the tape is comfortably snug, not too tight. Write down this number.
- Example: If your bust measurement is 34 inches, continue with the next steps.
Step 2: Front Panel Dimensions
- Divide the bust measurement by 2 (e.g., 34 ÷ 2 = 17 inches).
- Add 2 to 4 extra inches for coverage, depending on your preference.
- Adding 2 inches → Coverage will be slightly closer to the sides of the bust.
- Adding 4 inches → Provides extra side coverage.
- Example: 17 inches + 4 inches = 21 inches (final width).
Step 3: Starting the Chain
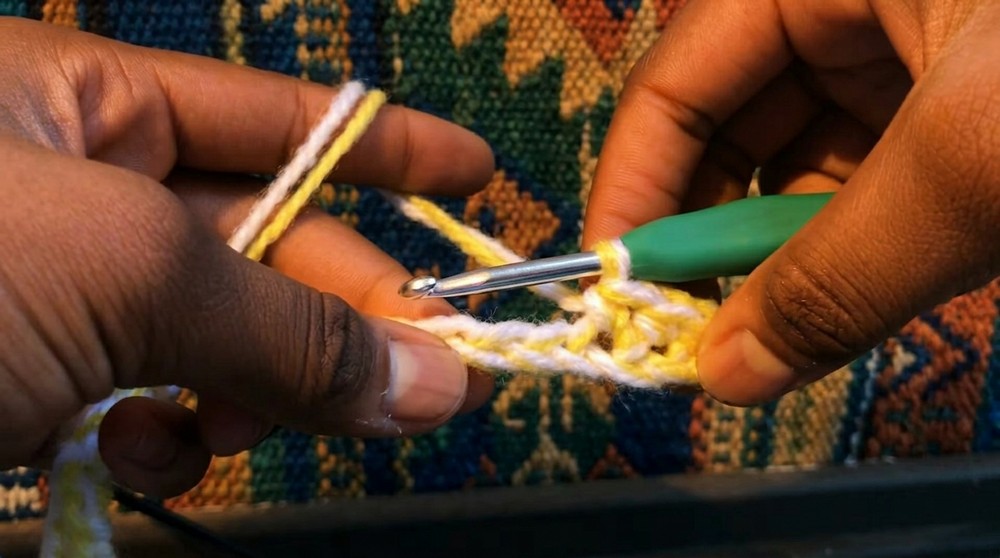
- Create a slip knot and begin chaining until your chain measures slightly more than the width you calculated (e.g., approximately 21.5 inches).
- Pro Tip: Chains can shrink slightly after crocheting into them.
- Example: For 21 inches, create a chain that measures 21.5 inches.
- Count and take note of how many chains you made (for future reference).
Step 4: Working the First Row
- Single Crochet Row 1:
- Begin single crocheting into the second chain from the hook.
- Continue single crocheting (SC) into each chain across the row.
- At the end of the row: Chain 1 (CH 1) and turn your work.
Step 5: Building the Front Panel
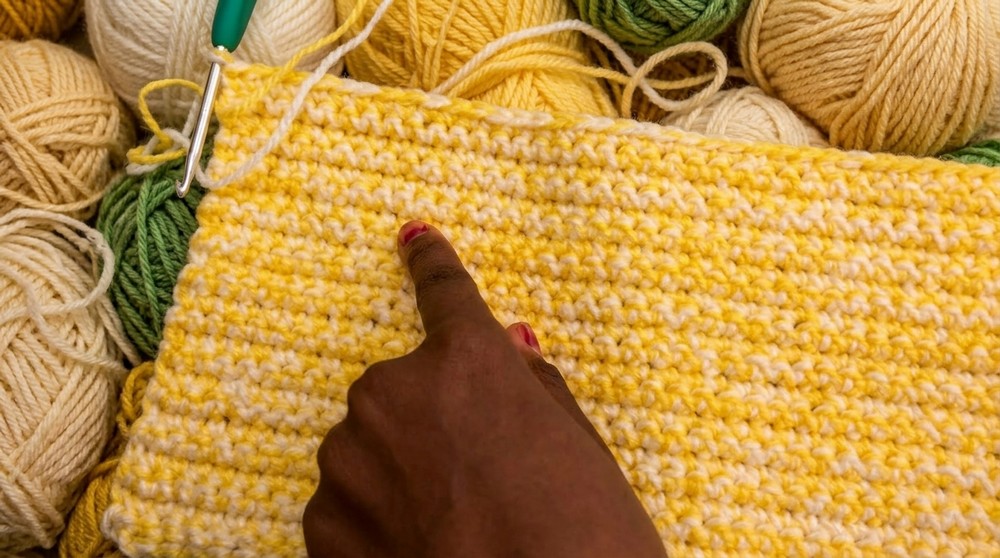
- Repeat the process of single crocheting across the row, chaining 1 (CH 1), and turning your work after every row.
- Continue making rows until the panel reaches your desired height for the front coverage.
- Example: For a snug crop top, stop earlier. For more coverage, continue for additional rows.
- Edge Finishing: Once the panel is completed:
- Single crochet along both vertical edges of the panel for a cleaner finish.
- Approximation: Add 1 single crochet per row along the sides.
Step 6: Making the Straps
- Determine Strap Placement:
- Hold the panel against your body and mark where you want the straps to attach using stitch markers/safety pins.
- Example: Place the stitch marker 12 single crochets away from the side edges. Use the same count on both sides for symmetry.
- Attaching Yarn for Straps:
- Insert your hook where the marker is placed and attach the yarn with a slip knot.
- Chain the Length of the Straps:
- Example: Chain a long strap (approx. 160 chains, or adjust for desired strap length).
- Slip Stitch Back:
- Once the strap is chained, slip stitch into each chain back toward the starting point.
- When finished, place a single crochet (SC) into the base stitch where the strap began.
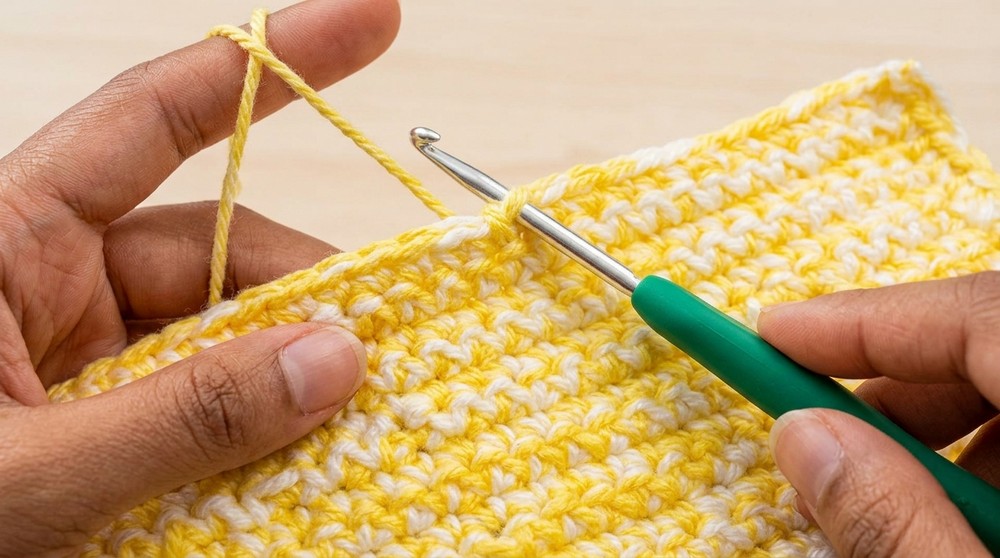
- Repeat Steps for the Other Strap:
- Repeat the same steps for the other strap, ensuring equal placement and length.
Step 7: Finishing Touches
- Once both straps are completed, weave in all loose ends securely.
- Crisscross the straps at the back of the top for a visually appealing fit:
- Pull the straps through the corners and center points of the panel (as instructed in the transcription).
- Adjust to suit your body shape.
- If needed, adjust tightness and position of the straps.
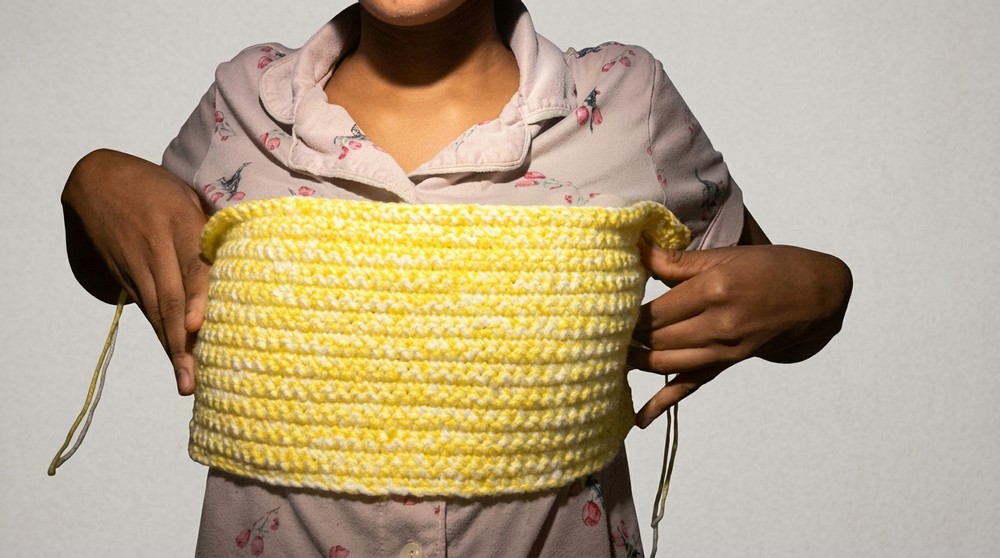
Finishing the Pattern
- Double-check and securely weave in all loose yarn ends with a yarn needle.
- Make sure the straps are evenly aligned and the crisscross pattern is balanced.
- Try on your top to ensure proper fit and coverage. Adjust if necessary.
Final Words of Advice
- Customization:
- Take your time to measure, chain, and crochet so the top fits perfectly to your body.
- Adjust strap length and panel dimensions as desired.
- Yarn Suggestions:
- Use soft DK weight yarn for comfort. Cotton yarn is breathable and a great choice for warm weather.
- Washing Instructions:
- Wash your project gently by hand or with delicate settings and lay it flat to dry to maintain its shape.
Tips to Maintain the Pattern
- Tracking Rows: Use stitch markers to easily track the number of rows, especially when working on the front panel.
- Consistent Tension: Keep your tension even throughout the project to create a uniform look.
- Customize Coverage: Remember, you can always add rows or chains if you want more coverage.
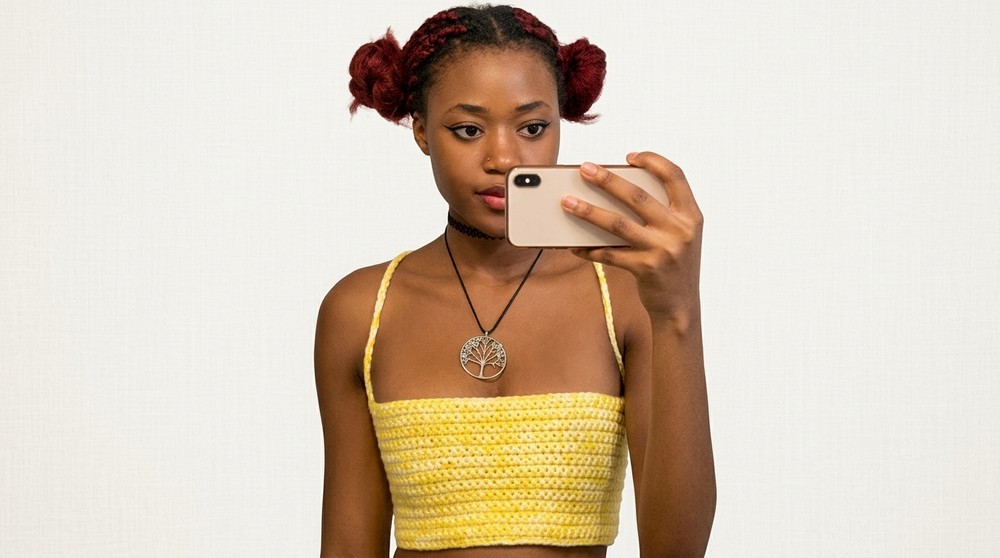
This completes your easy-to-follow crochet top, Enjoy wearing your handmade creation or gifting it to someone special.
