
Turn yarn into a pretty flower with this free crochet tulip keychain pattern that is great for adding a sweet touch to your keys or bag.
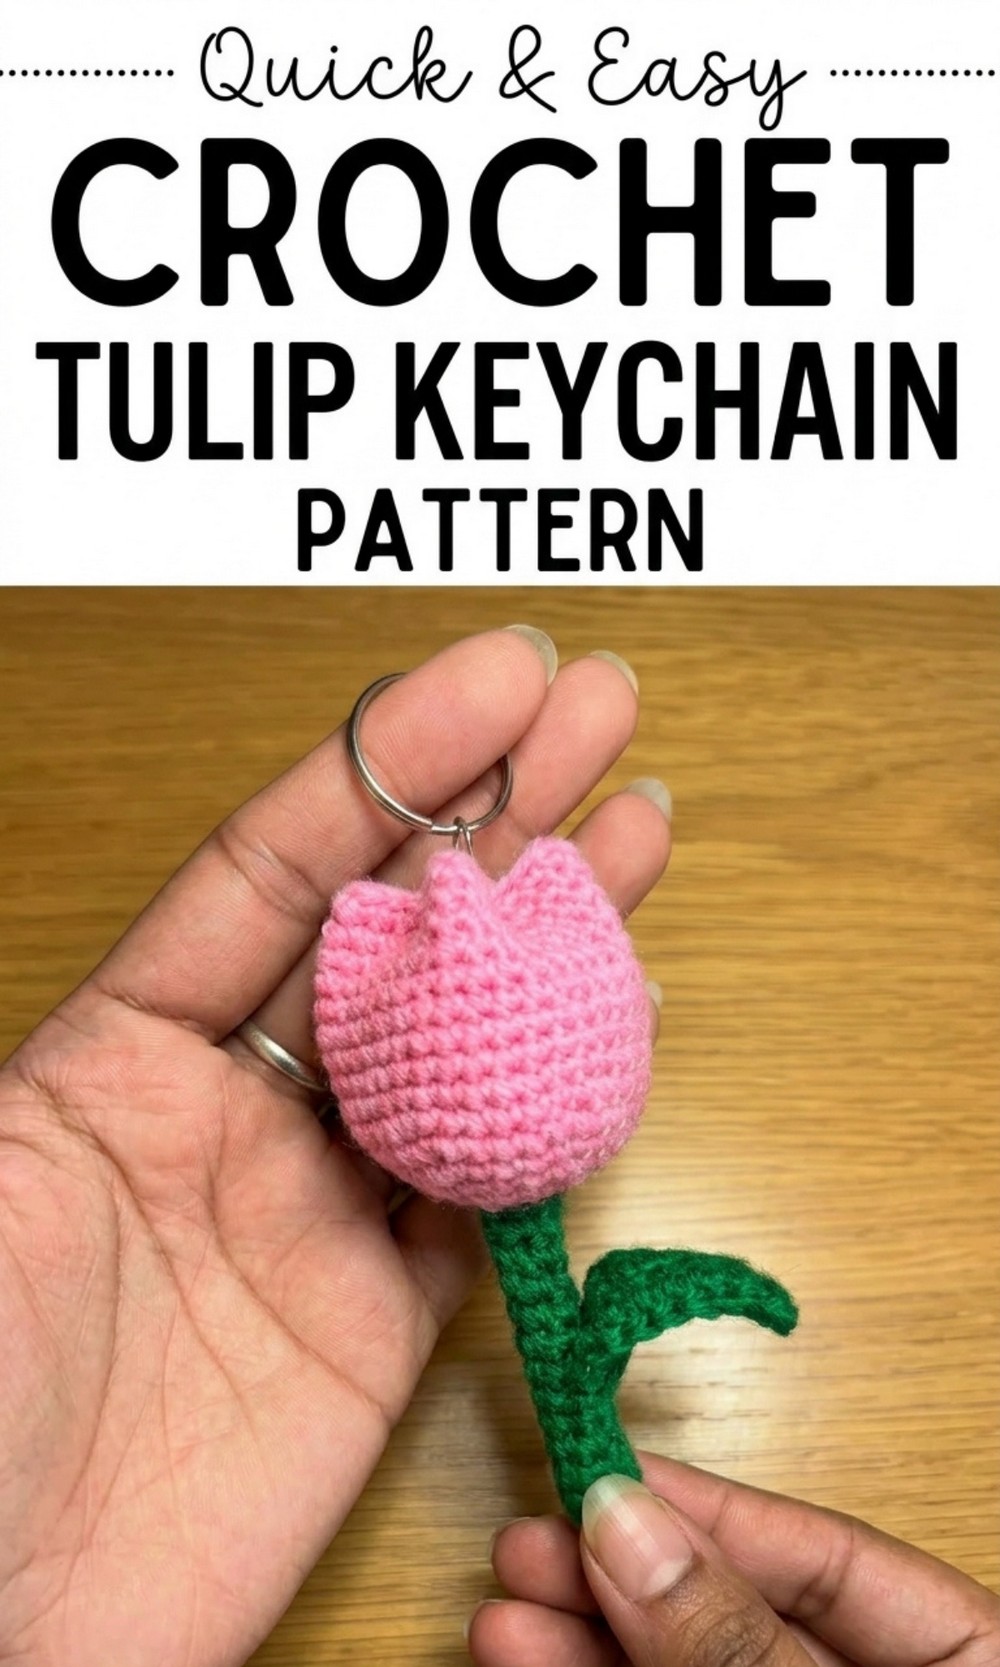
Spice Up Door Keys with Free Crochet Tulip Keychain Pattern
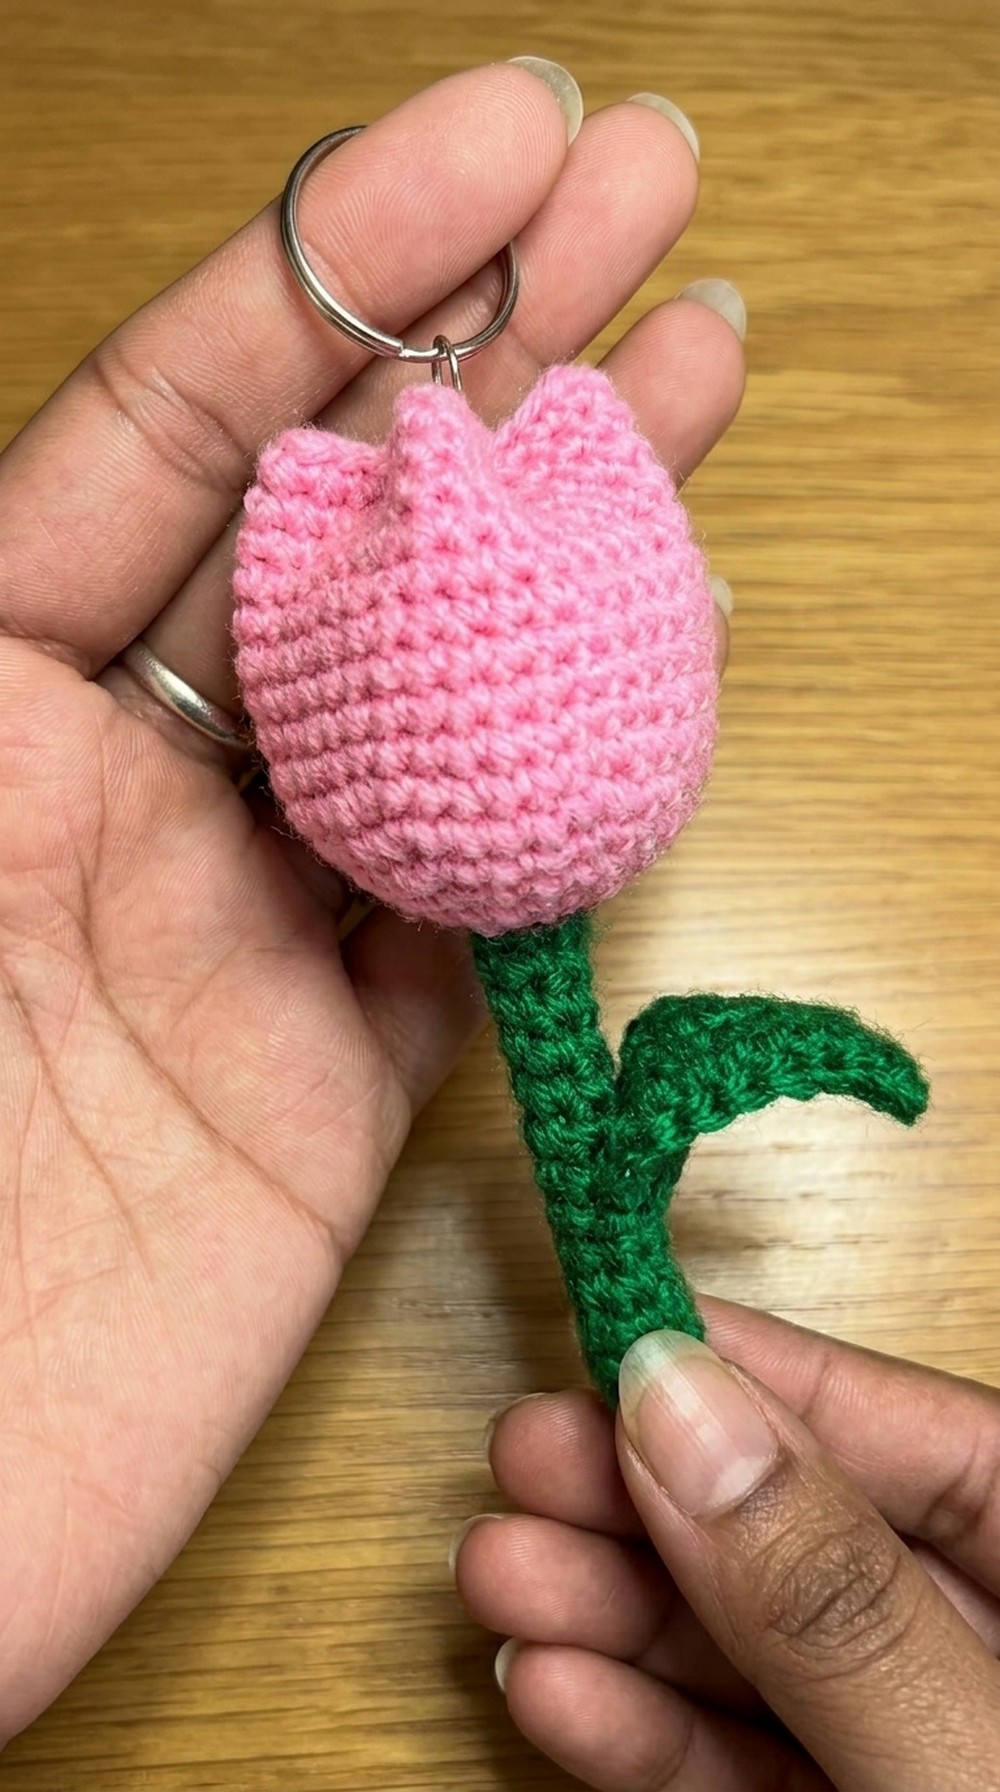
Carry a touch of nature wherever you go with this beautiful tulip keychain made using an easy crochet technique. This free tulip keychain project is perfect for adding charm to your keys, bags, or even as a small gift for your loved ones.
The keychain features soft and colorful petals, a neat green stem, and a lovely leaf that makes it look lifelike and cheerful. It’s lightweight and compact, making it easy to carry while brightening everyday items. You can personalize the colors to match your favorite shades or the style of your bag or backpack.
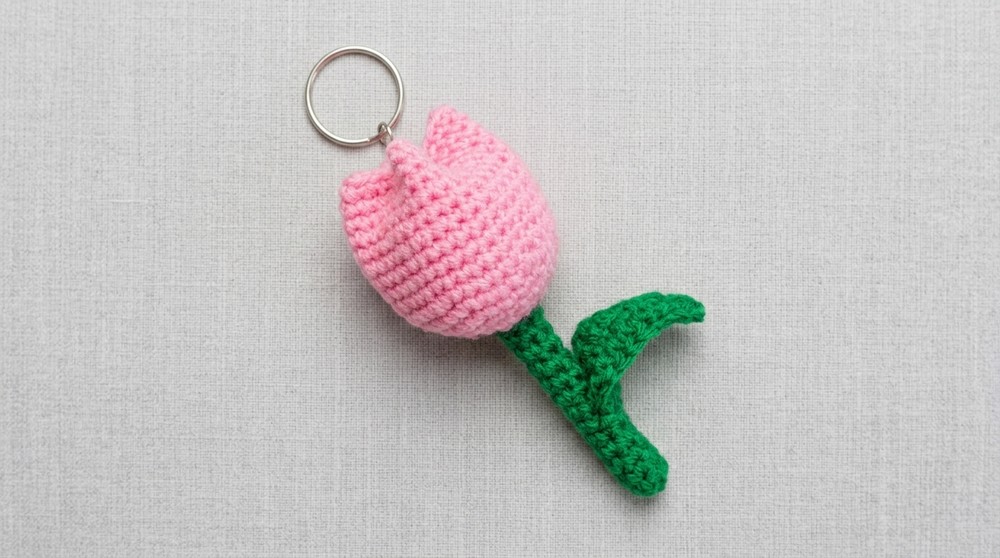
This tulip is unique because it’s simple to make, yet the result is an elegant accessory that combines beauty with usefulness. Make your keys or bags stand out with this adorable tulip that spreads joy wherever it goes.
Crochet Tulip Keychain Pattern
Materials Needed:
- Double Knit Yarn:
- A color of your choice for the tulip flower.
- Green yarn for the stem and leaf.
- 3.5mm Crochet Hook.
- Pair of Scissors.
- Stitch Marker (optional).
- Darning Needle.
- Fiberfill for stuffing.
- Q tips/Earbuds (to stiffen the stem).
- Keyring Attachment (or use yarn to make a loop as an alternative).
Stem Instructions:
- Start with the green yarn.
- Make a slip knot on your hook.
- Chain 2 (or use a magic ring if you prefer).
- For Round 1:
- Skip the first chain.
- Work 6 single crochets (SC) into the second chain or directly into the magic ring.
- Pull the tail to close the gap in your stitches. This will create a neat circular base.
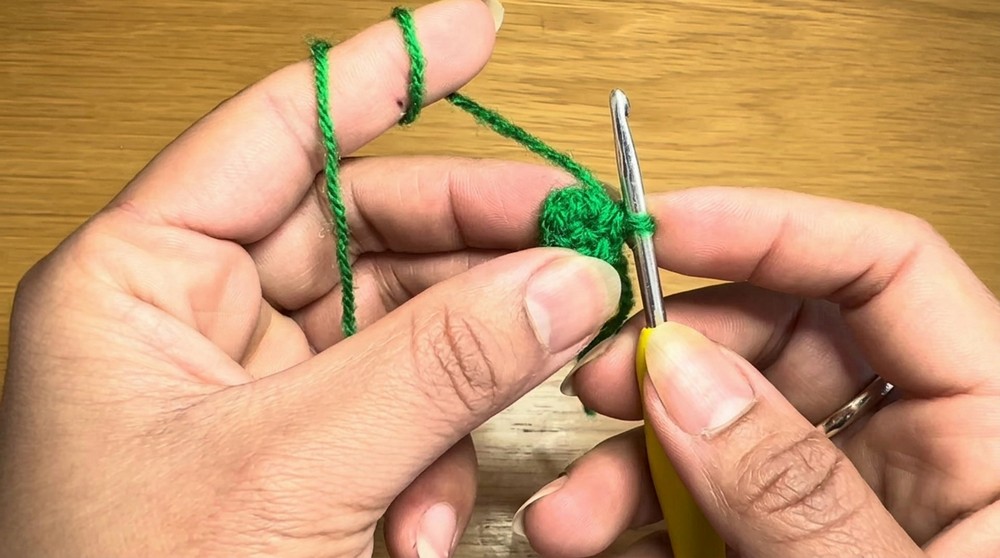
- Continue in a spiral pattern:
- Begin Round 2 by placing the hook into the first SC of the previous round. Work a SC.
- Use a stitch marker to mark the beginning of each round for accurate counting.
- Work 1 SC in each stitch for a total of 6 SC per round.
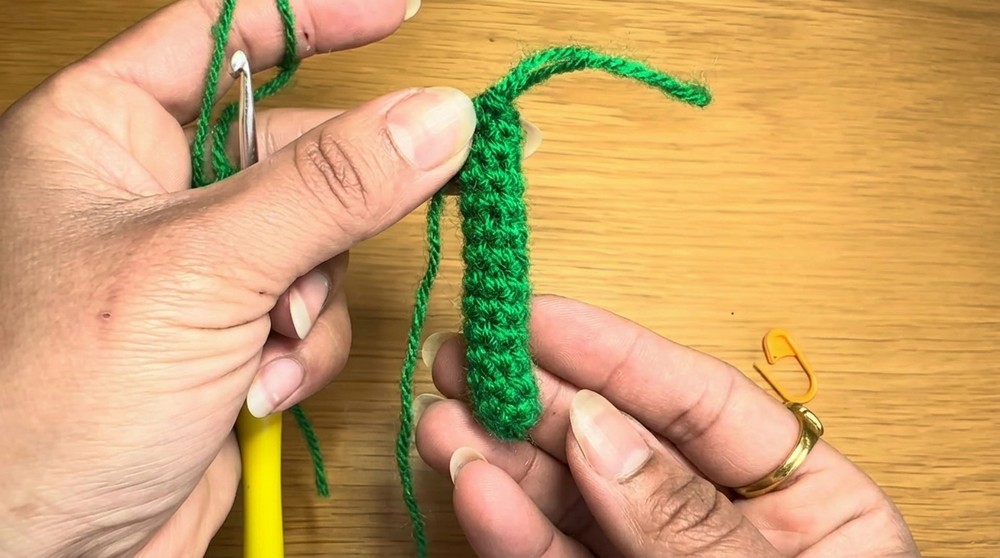
- Keep repeating the same process (6 SC per round, for a total of 10 rounds) until the stem is of sufficient length.
- After 10 rounds:
- Work a slip stitch in the next SC.
- Cut the yarn and pull the tail through the stitch to secure.
Tulip Flower Instructions:
- Attach your chosen tulip color to the top of the stem:
- Insert the hook into any stitch on the stem’s top and pull up the tulip yarn.
- Chain 1 to secure.
- Round 1 Increases:
- Work 2 SCs in each stitch (a total of 6 increases, resulting in 12 stitches).
- Round 2:
- Work 1 SC in the first stitch, then an increase (2 SCs) in the next stitch. Repeat this pattern around:
1 SC, increase. - Final stitch count at the end of this round: 18 stitches.
- Work 1 SC in the first stitch, then an increase (2 SCs) in the next stitch. Repeat this pattern around:
- Round 3:
- Work 2 SCs in the first two stitches, then work an increase (2 SCs) in the third stitch:
2 SCs, increase. Repeat this pattern around. - Final stitch count: 24 stitches.
- Work 2 SCs in the first two stitches, then work an increase (2 SCs) in the third stitch:
- Round 4:
- Work 3 SCs, then an increase:
3 SCs, increase. Repeat this around. - Final stitch count: 30 stitches.
- Work 3 SCs, then an increase:
- Round 5:
- Work 4 SCs, then an increase:
4 SCs, increase. Repeat this around. - Final stitch count: 36 stitches.
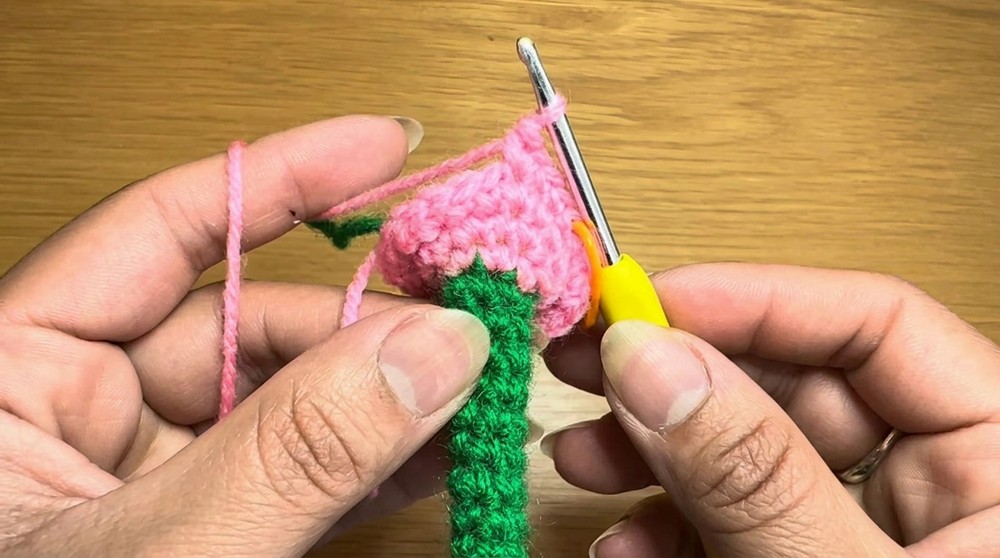
- Work 4 SCs, then an increase:
- Rounds 6 to 15:
- Work 1 SC in each stitch, with no increases. Continue this for 10 rounds.
- Total stitches per round: 36 stitches.
- Fasten off:
- Work a slip stitch in the next stitch.
- Leave a long tail, cut the yarn, pull it through, and secure.
Leaf Instructions:
- Start with the green yarn.
- Make a slip knot and chain 12.
- Row 1:
- Skip the first two chains.
- Work a Half Double Crochet (HDC) in the third chain from the hook. (Remember that the skipped chains count as one HDC.)
- Continue working 1 HDC in each of the next 2 stitches.
- For the next 6 stitches, work 1 Double Crochet (DC) in each stitch.
- For the remaining 2 stitches, return to working 1 HDC in each stitch.
- Row 2 – Other Side of Chain:
- Chain 2. Turn your work upside down to work on the opposite side of the foundation chain.
- Work 1 HDC in the same stitch as the chain 2, and in the next stitch.
- Work 1 DC in the next 6 stitches.
- Work 1 HDC in the final 2 stitches.
- Slip stitch into the starting chain to finish.
- Fasten off:
- Leave a long tail for sewing.
- Pull the yarn through the stitch and secure.
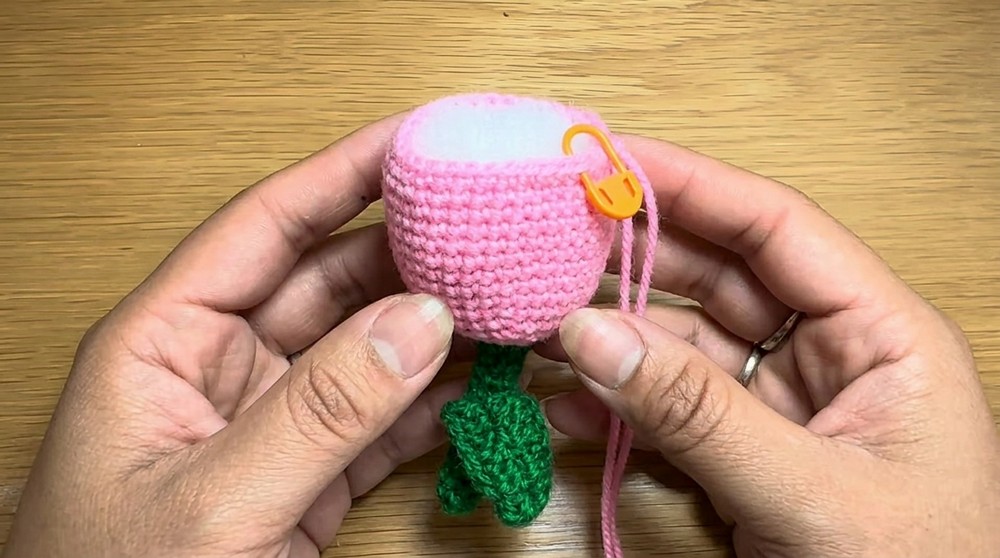
Assembly:
- Stiffen the Stem:
- Insert Q tips/Earbuds into the stem to make it firm. Trim the Q tips as needed to fit snugly.
- Attach the Leaf:
- Position the leaf halfway up the stem.
- Use the long tail from the leaf and a darning needle to sew it onto the stem securely:
- Catch one stitch of the stem and one stitch of the leaf.
- Repeat until the leaf is fully attached.
- Tie a knot, insert the tail through the stem, and trim the excess.
- Stuff the Tulip:
- Use fiberfill to firmly stuff the tulip, ensuring it holds its shape.
- Secure the Flower and Keyring:
- Use the long yarn tail from the tulip to attach the flower securely to the stem.
- To attach the keyring, pass the needle and yarn through the tulip’s center several times while looping through the keyring. This ensures stability.
- Knot securely, guide the yarn tail inside the flower, and trim any excess.
Final Words and Tips:
- Finishing Touch: Once complete, use your fingers to gently reshape the tulip, ensuring the fiberfill is evenly distributed.
- Color Variations: Try different petal colors to match seasons or personal styles.
- Maintenance: Hand wash only, using gentle soap. Let it air dry to maintain its shape.
- Keyring Suggestion: You can also use a colorful ribbon or a plastic ring if metal keyrings are unavailable.
This tulip keyring brings a vibrant touch to your bag or keys and makes a lovely handmade gift.