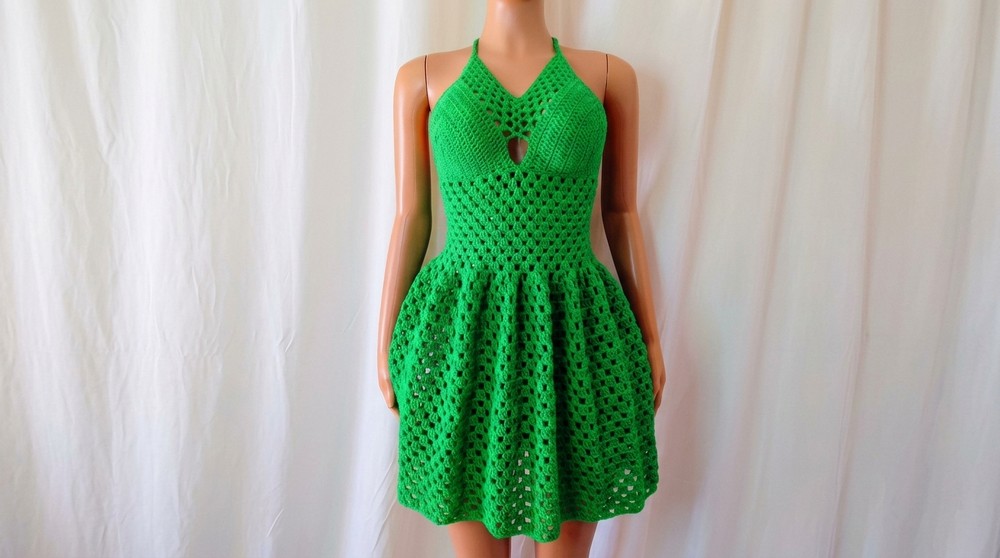
Learn how to crochet a beautiful Granny Flare Dress with this free pattern that is perfect for beginners and fun to make for any occasion.
Bright Free Crochet Granny Flare Dress Pattern for a Summer Style Refresh
Fall in love with the charm of the Free Crochet Granny Flare Dress, a masterpiece of simplicity and elegance. This dress stands out with its soft, flowy shape and classic granny stitch that’s easy to make and perfect for any occasion.
Featuring a fitted top, adjustable straps, and a beautiful flared skirt, it’s both stylish and comfortable to wear. The guide takes you through every detail, starting from the top bra cups to the stunning skirt, making it easy for beginners to follow. 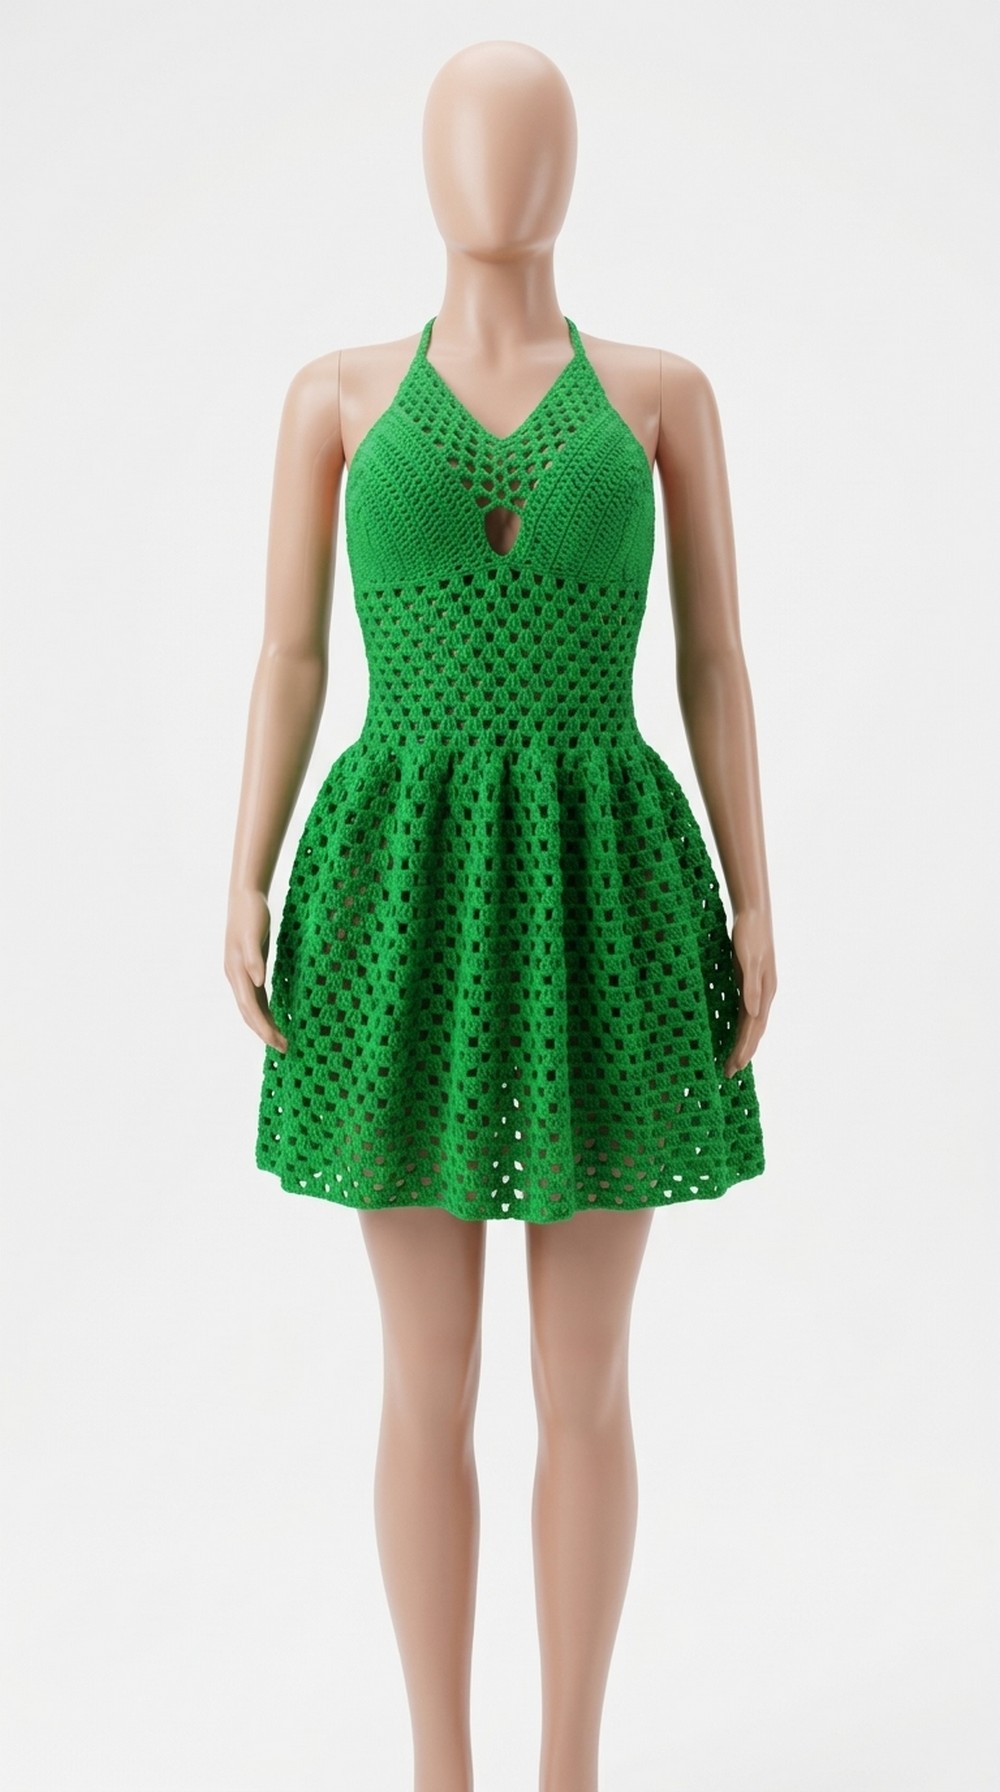
Whether for yourself or as a thoughtful gift, this dress is a perfect way to bring a touch of beauty and uniqueness into everyday life.
Crochet Ruffle Strap Dress Pattern
Materials Needed
- Yarn: Medium weight yarn (e.g., Winter King, 100% acrylic, 50 g per skein). If using fingering weight yarn, double the strands to achieve a medium weight.
- Hooks:
- 3.5 mm crochet hook (for bra cups).
- 4.5 mm crochet hook (for the rest of the dress).
- Measuring tape: To take accurate body measurements.
- Scissors: For trimming yarn ends.
- Darning needle: For weaving in loose ends.
- Stitch markers: To mark key points in the pattern.
Special Techniques
- Double Crochet (dc):
- Yarn over, insert hook into the stitch, yarn over and pull up a loop.
- Yarn over, pull through two loops.
- Yarn over, pull through the remaining two loops.
- Half Double Crochet (hdc):
- Yarn over, insert hook into the stitch, yarn over and pull up a loop.
- Yarn over and pull through all three loops on the hook.
- Chain Stitch (ch): Simple loop used to adjust the size and height of your work.
- Slip Stitch (sl st):
- Insert hook into the stitch, yarn over and pull through both loops on the hook.
Pattern Instructions
Step 1: Bra Cups
- Begin by creating two identical bra cups.
- Foundation chain:
- Medium size: Chain 16.
- For other sizes, refer to the video for chain counts.
- Row 1 (Bra Cups Base):
- With the 3.5 mm hook, skip the first two chains.
- Place 1 double crochet into the 3rd chain and each following chain until 1 chain is left.
- In the final chain, place 7 double crochets and mark the 4th stitch with a stitch marker.
- Continue on the opposite side of the chain base, working 1 double crochet in each chain. Weave in the loose end between stitches.
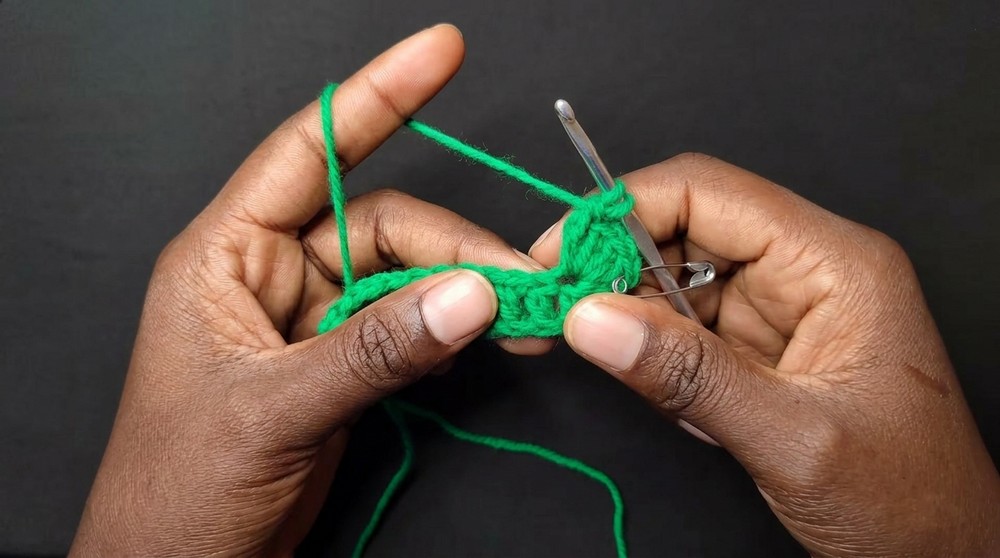
- Row 2 Onward:
- Chain 2, turn your work.
- Place 1 double crochet in each stitch until the marked stitch.
- In the marked stitch, place 5 double crochets (3 followed by marking the middle stitch with a stitch marker, then 2 more).
- Continue double crochets until the end.
- Repeat this pattern for each row until the desired size is achieved. Refer to the video for suggested row counts per size (e.g., 8 rows for medium size).
Tip: Keep your stitch marker in the 3rd stitch of the 5 double crochets to mark the center.
Step 2: Connecting the Bra Cups
- Lay the two finished bra cups flat and side by side.
- Attach yarn at the marked stitch of one bra cup with a slip stitch, and chain 3.
- Create a pattern of 2 double crochets, chain 1, skip 2 stitches, and continue this pattern across the cup.
- After completing one bra cup, chain across the middle gap for the desired bust fit and continue working across the second cup.
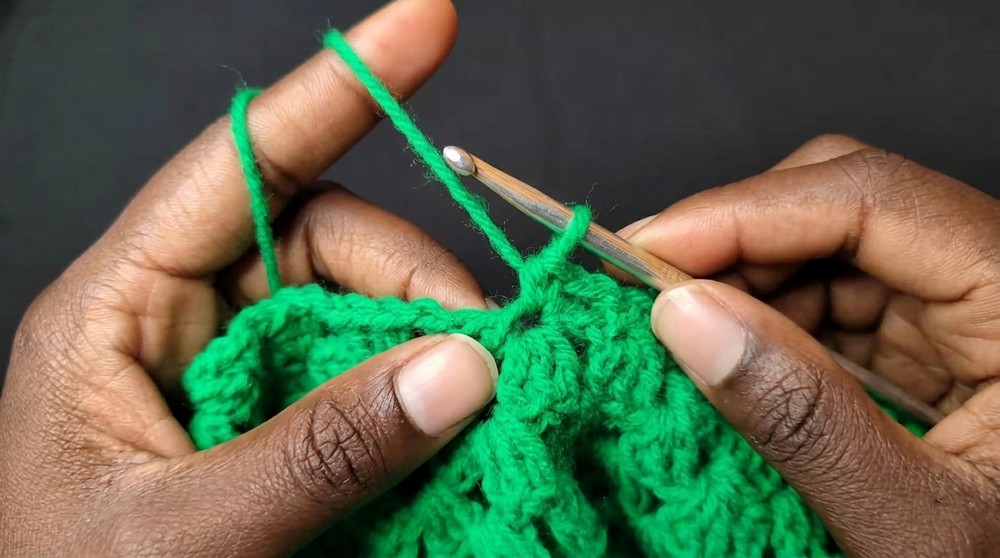
Step 3: Straps
- At the top of the bra cups, attach the yarn and make straps:
- Medium size: Chain 60 for each strap.
- Single crochet back across the strap, skipping every other stitch to create a lacy effect.
- Attach straps securely to the back of the bra cup.
Step 4: Waist and Body Joining
- Use your waist measurement to determine how many additional chains to add to each side of the bra cups. Stretch the cups slightly while measuring.
- Subtract 6 inches from the total waist measurement (to allow for a snug fit).
- Split the remaining inches evenly between both sides and create chains to match.
- Join the chains to the opposite side of the cups to form the foundation for the dress.
Step 5: Midsection
- Work in rounds starting from the chain foundation:
- Chain 3, place 3 double crochets in each space.
- Continue until the desired height of the midsection (approximately 5 inches for medium).
Step 6: Skirt Section
- Switch to the 4.5 mm hook for a looser, flowier skirt.
- Start working in rounds using the granny stitch:
- In each chain space, work 3 double crochets, chain 1.
- After every 2 to 3 rows, add an increase by placing two sets of 3 double crochets in a single chain space.
- Continue this pattern until the desired skirt length is achieved (e.g., 28 rows for medium size).
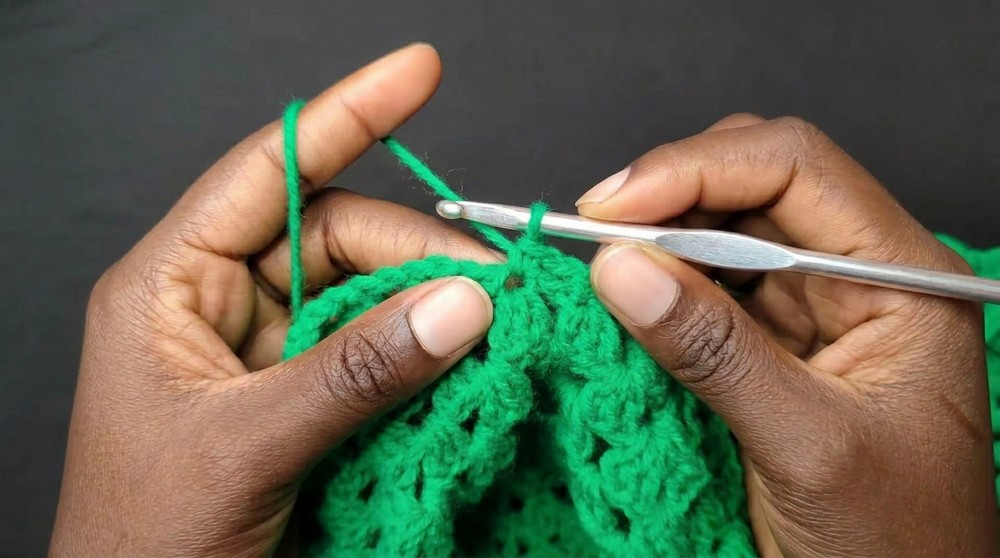
Step 7: Finishing Touches
- Back Loops creation:
- Add loops along the back edge of the bra cups and skirt for tying.
- Use simple chain and single crochet rounds to define the loops.
- Strap for Tying:
- Create a long strap (about 250 chains for medium size, adjust for others).
- Weave the strap through the loops to tie at the back.
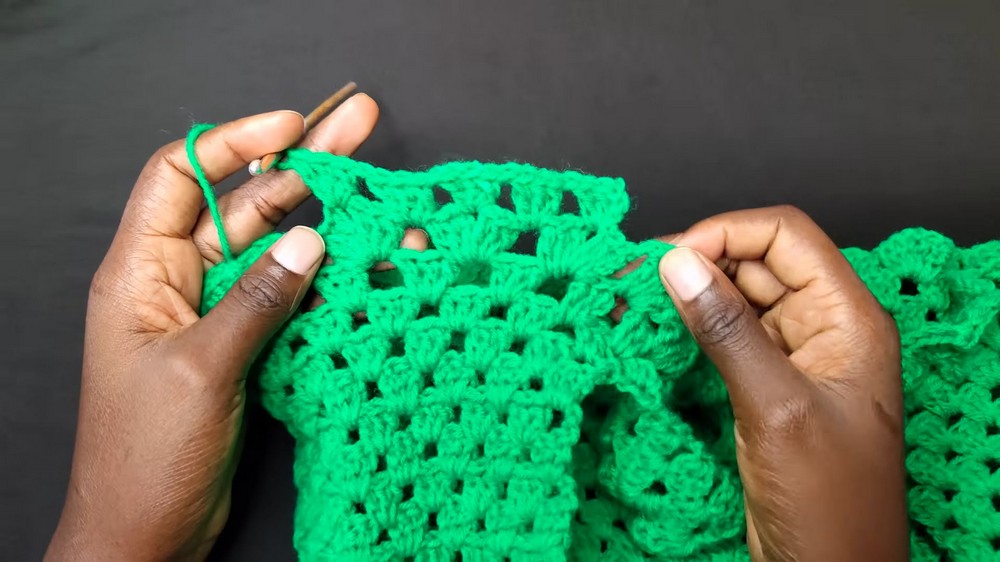
Final Words and Maintenance Tips
Finishing the Dress:
- Weave in all loose ends securely with the darning needle.
- Block the garment to even out the stitches and define its shape.
- Try the dress on and make minor adjustments to the fit if needed.
Tips for Maintenance:
- Washing: Since the yarn is acrylic, machine wash on a gentle cycle with cold water or hand wash to prevent wear and tear.
- Storage: Fold the dress carefully to prevent any stretching. Avoid hanging it for extended periods.
- Repairs: One of the perks of crochet is that damaged areas can be easily repaired. Keep leftover yarn for future touch ups.
Final Thoughts:
The Free Crochet Ruffle Strap Dress is a stylish, lightweight, and versatile addition to anyone’s wardrobe. Perfect for summer days or casual outings, you can customize it with your choice of colors and sizing. The granny stitch design ensures that it is beginner friendly yet elegant.