
Crochet a cheerful little sun amigurumi with this free pattern and easy steps that brighten your day while adding a handmade, heartwarming touch to any space.
One rainy day when I really needed a little pick me up I found the Free crochet Little Sun Amigurumi on the Xiaohui Crochet channel and what a burst of happiness this tiny sunshine brought. This sweet smiley sun is not just a crochet project it is like a pocket sized ray of sunshine you can carry everywhere. Perfect for brightening up gloomy days or as a quirky gift that says Here is some sunshine just for you.
Adorable Free Crochet Little Sun Amigurumi Pattern Tutorial
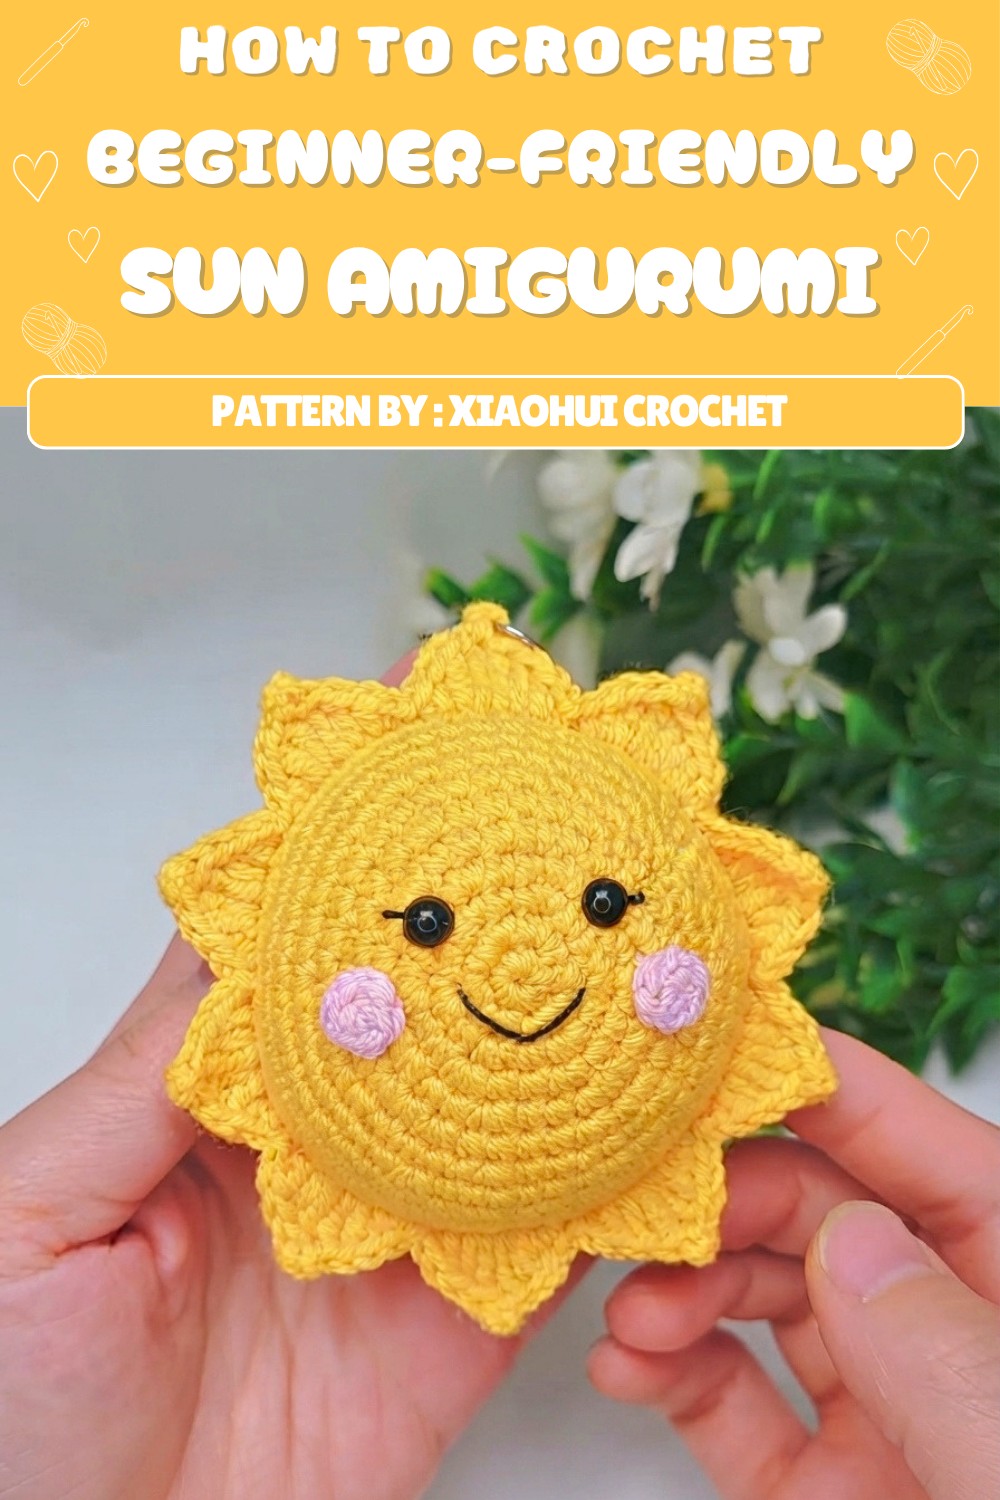
This little sun has a round squishy shape that feels totally huggable made with soft yarn that wraps you in a gentle hug. Surrounding its cheerful face are adorable sun rays that look like tiny pompoms or petals giving it a playful and lively vibe. The texture is dense thanks to neat stitch work so your sun will keep its shape and proudly shine on any shelf or desk. Plus its cute blush cheeks and sparkling eyes add tons of personality as if it is winking at you to have a fun day.
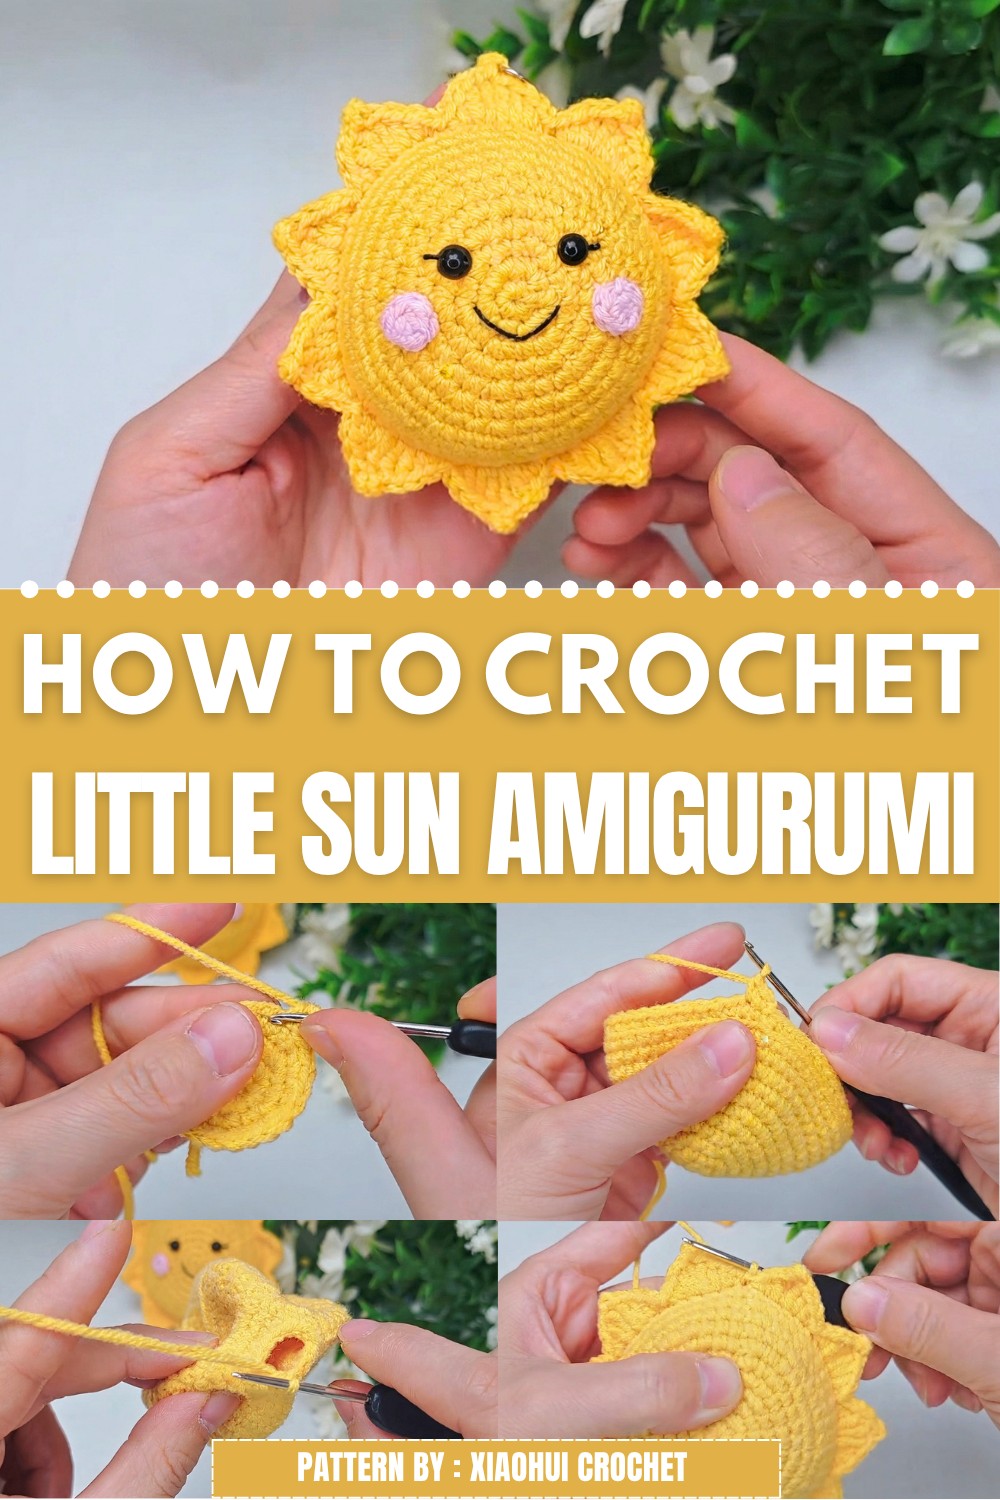
What is cool is that it is small and light enough to become a keychain a backpack buddy or even a sweet little desk friend that keeps you smiling during work or study sessions. And it is such a neat gift idea who wouldn’t want a little sunshine delivered by hand?
The Xiaohui Crochet explain everything in simple steps so even those new to yarn work can finish this sunny friend quickly. Honestly making this sun felt like sharing good vibes stitch by stitch and it is hard not to smile when holding it.
Crochet Sun Plush – Sky Series Pattern
Hello everyone, I’m Xiaohui. Welcome to the Sky series! In this guide, you’ll learn how to crochet a sun plush that’s soft and round, with a warm ring of sun rays like little flowers around the edge. The method is simple and accessible—even if you are new to amigurumi. This step-by-step transcription will guide you through each stage: the sun’s main body, the shimmering sunbeams, adorable blush details, and the final assembly.
Pattern Highlights
Main Body
- Start with a circular cast-on and work in rounds
- Build up size through systematic increases and then decreases
- All rounds joined with a slip stitch
Sunbeams / Rays
- Each petal-shaped ray uses a range of stitches for a flower-like, three-dimensional effect
- Options to repeat ray-motifs evenly around the sun
Blush Cheeks
- Simple magic ring rounds for adorable pink cheeks
Assembly & Details
- Attach blush, eyes, keychain, and optional shaping beads for structure and personality
Notes
- US crochet terminology is used.
- The “four strands of milk cotton” refers to holding together four strands of fine cotton, or using a similar thickness worsted weight yarn.
- Work in the round, joining each round with a slip stitch.
- The circular base is shaped with precise increases and decreases to achieve a plump, rounded sun.
- Adjust hook and yarn size for smaller or larger plushies.
- If using safety eyes, attach them before final closing and stuffing of the sun’s body.
- Use firm tension for durability and shape.
Skill Level
Confident Beginner – Intermediate
You should feel confident working:
- In the round (magic ring/adjustable loop)
- Basic increases and decreases
- Varying stitch heights (including hdc, dc, tr, and picot stitch)
- Basic sewing/assembly for amigurumi features
Materials
- Yellow milk cotton yarn (hold four strands together, or use a worsted weight yarn)
- Pink (or blush color) cotton yarn, small amount
- 2.0mm crochet hook
- Fiberfill or stuffing
- Pair of 6mm safety eyes (or black beads/buttons/embroidery thread)
- Black thread/yarn for embroidering mouth
- Small amount of shaping beads (optional)
- Keychain ring, opener ring, and pliers
- Yarn needle for sewing parts and weaving in ends
- Scissors
- Craft glue (for blush attachments or features if desired)
Measurements / Sizing (Schematic)
- Finished sun (without rays): approx. 6–7 cm (2.5–2.75″) in diameter
- Finished sun (with rays): approx. 10–12 cm (4–5″) in diameter
- Blush circles: approx. 1–1.5 cm (0.4–0.6″) each
Gauge
Gauge is not critical for amigurumi, but stitches should be tight to prevent stuffing from showing. If your piece is too tight or too loose, adjust your hook or yarn.
Stitch Abbreviations
| Abbreviation | Meaning |
|---|---|
| ch | chain |
| sc | single crochet |
| hdc | half double crochet |
| dc | double crochet |
| tr | treble crochet |
| sl st | slip stitch |
| inc | increase (2 sc in same stitch) |
| dec | decrease (sc 2 sts together) |
| MR | magic ring/circular cast-on |
| FLO | front loop only |
Special Stitches
- Magic Ring (MR): Adjustable loop worked for neat round beginning.
- Increase (inc): Work 2 sc in the same stitch.
- Decrease (dec): sc two stitches together.
- Picot: ch 2, sl st in first ch (creates a point).
- Petal sequence (for rays): sc, hdc, dc, tr, picot, tr, dc, hdc, sc
Step-by-Step Pattern
Main Body (Sun Center)
Use yellow yarn, held four strands together (or equivalent). Work in joined rounds.
Round 1:
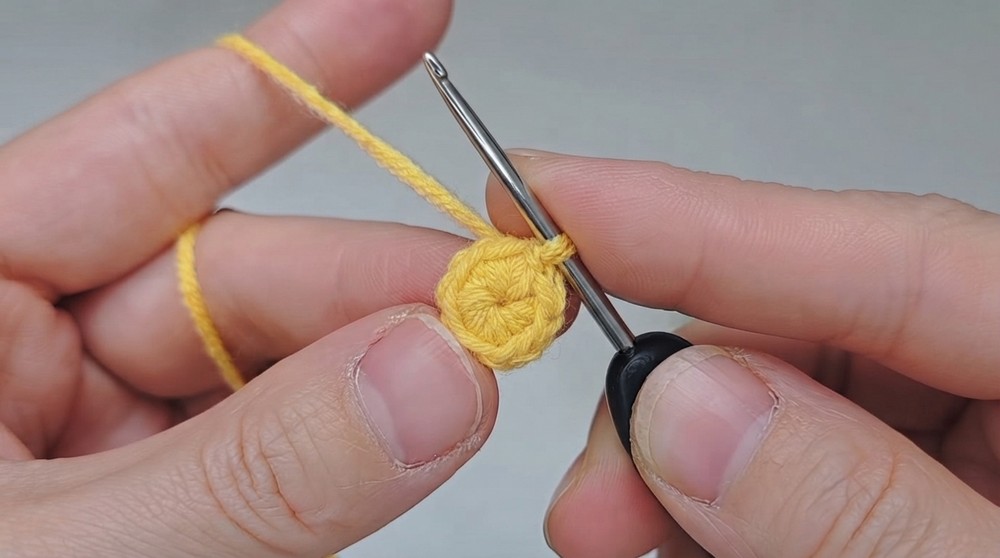
- Make a magic ring (MR).
- ch 1, 6 sc into ring.
- Tighten loop, sl st to first sc. (6 sts)
Round 2:
- ch 1.
- sc in next 6 sts, inc in each remaining st (6 increases = 12 sts).
- sl st to first sc. (12 sts)
Round 3:
- ch 1.
- Repeat [sc, inc] 6 times (18 sts).
- sl st to first sc.
Round 4:
- ch 1, (sc, inc, sc) repeat 6 times.
- sl st. (24 sts)
Round 5:
- ch 1, (sc in next 3 sts, inc) repeat 6 times.
- sl st. (30 sts)
Round 6:
- ch 1, (sc in 2 sts, inc, sc in 2 sts) repeat 6 times.
- sl st. (36 sts)
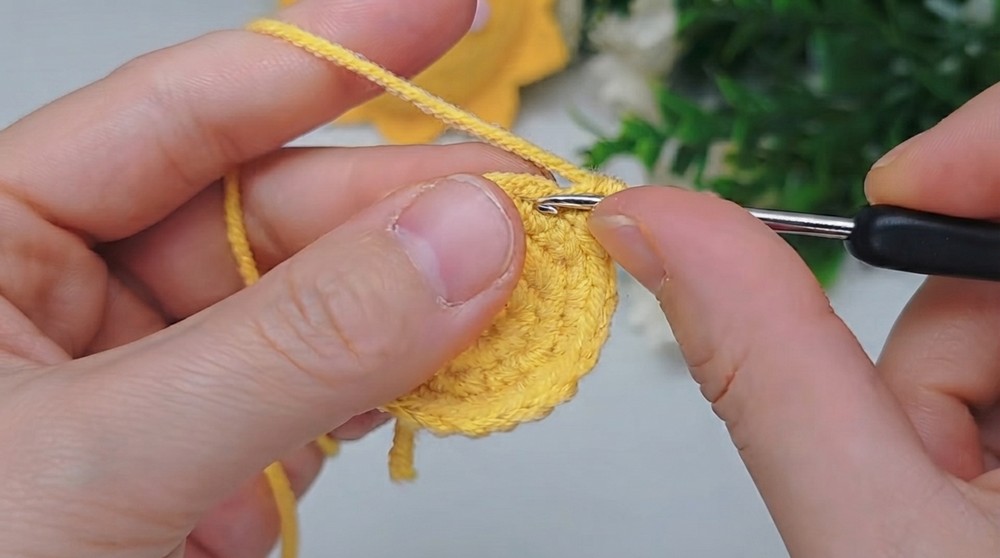
Round 7:
- ch 1, (sc in 5 sts, inc) repeat 6 times.
- sl st. (42 sts)
Round 8:
- ch 1, (sc in 3 sts, inc, sc in 3 sts) repeat 6 times.
- sl st. (48 sts)
Round 9:
- ch 1, sc in 23 sts, inc, sc in 23 sts, inc.
- sl st. (50 sts)
Rounds 10–11:
- ch 1, sc in each st around.
- sl st. (50 sts per round)
Round 12:
- ch 1, sc in FLO of each st around (50 sts).
- sl st.
Rounds 13–14:
- ch 1, sc in each st around (both loops).
- sl st. (50 sts per round)
Round 15:
- ch 1, sc in 23 sts, dec, sc in 23 sts, dec.
- sl st. (48 sts)
Round 16:
- ch 1, (sc in 3 sts, dec, sc in 3 sts) repeat 6 times.
- sl st. (42 sts)
Round 17:
- ch 1, (sc in 5 sts, dec) repeat 6 times.
- sl st. (36 sts)
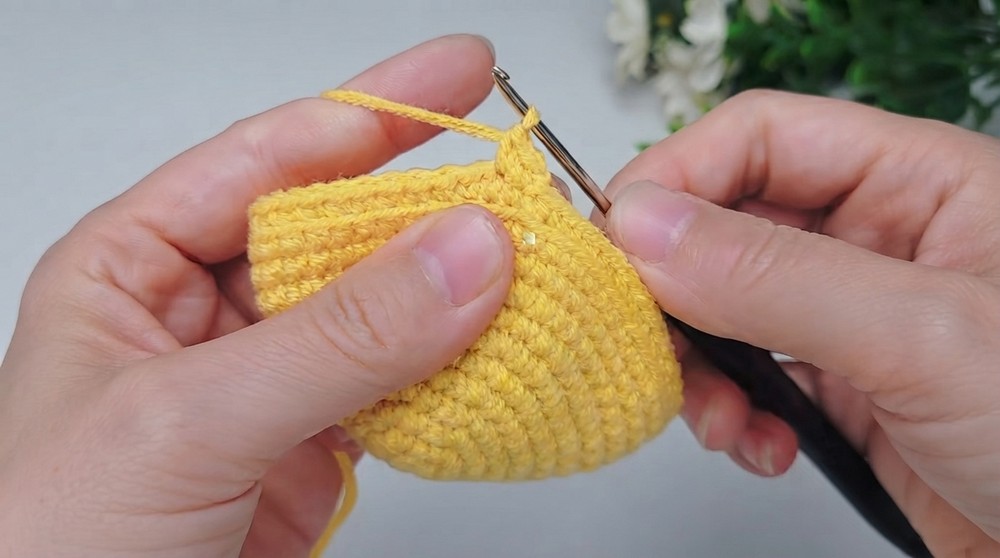
Round 18:
- ch 1, (sc in 2 sts, dec, sc in 2 sts) repeat 6 times.
- sl st. (30 sts)
Round 19:
- ch 1, (sc in 3 sts, dec) repeat 6 times.
- sl st. (24 sts)
Round 20:
- ch 1, (sc, dec, sc) repeat 6 times.
- sl st. (18 sts)
Round 21:
- ch 1, (sc, dec) repeat 6 times.
- sl st. (12 sts)
- Pull up the last loop, break the yarn, stuff tightly, and use the tail to weave through last sts and close.
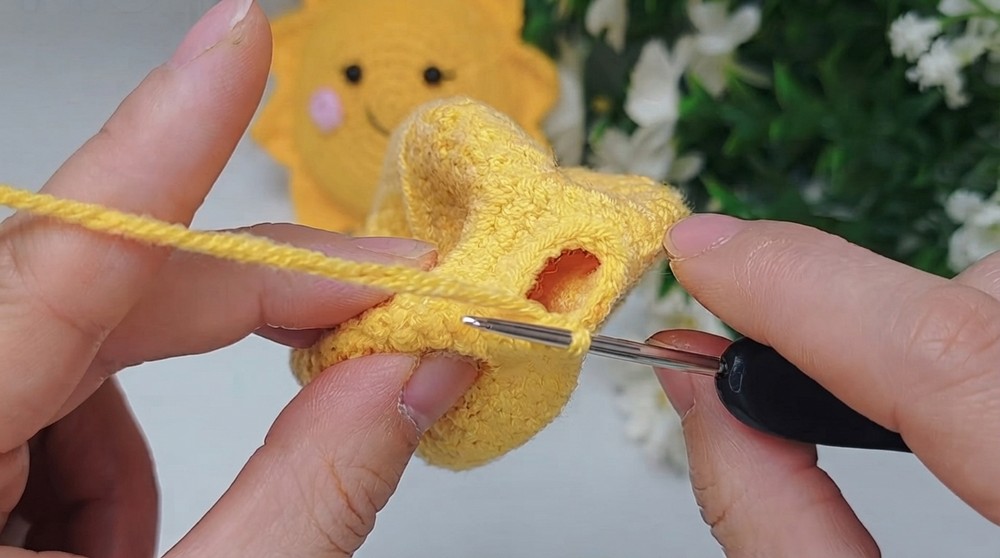
Sunbeams / Rays
Work these into the unused front loops from Round 12.
- For each ray (total 10 repeats):
- ch 1
- In first st: sc
- Next st: hdc
- Next st: dc
- Next st: tr
- ch 2 (picot), sl st in first ch
- Next st: tr
- Next st: dc
- Next st: hdc
- Next st: sc
- sl st in next st

- Repeat this petal pattern in each set of 9 stitches around (total 10 petals). After last, sl st to first st to join, fasten off and weave in ends.
Blush Cheeks (Make 2)
- With pink yarn, magic ring (MR)
- ch 1
- 5 sc into ring.
- Tighten, sl st to first sc
- Break yarn, leaving a long tail for sewing.
Assembly & Finished Size
- Stuff and close sun body. Shape as you go.
- Sew blush cheeks to each side, under where the eyes will go.
- Attach safety eyes or sew/embroider black eyes; add mouth by embroidering a smile with black thread.
- Insert shaping beads if desired.
- Use a pliers and yarn to make a loop on top of the sun/ray, attach opener ring, then attach to keychain.
- Neaten all ends and gently shape your plushie.
- Finished size: approx. 10–12 cm (with rays).
Conclusion
Your Sky Series Sun is now complete—a soft, warm sun with friendly rays and adorable blush! This pattern follows the original video instructions for accuracy and cuteness. May your creation bring sunshine and happiness wherever it goes. For any amigurumi, attention to detail and gentle finishing will give it life and personality. Thank you for crafting along, and see you next time for another Sky Series crochet friend.
