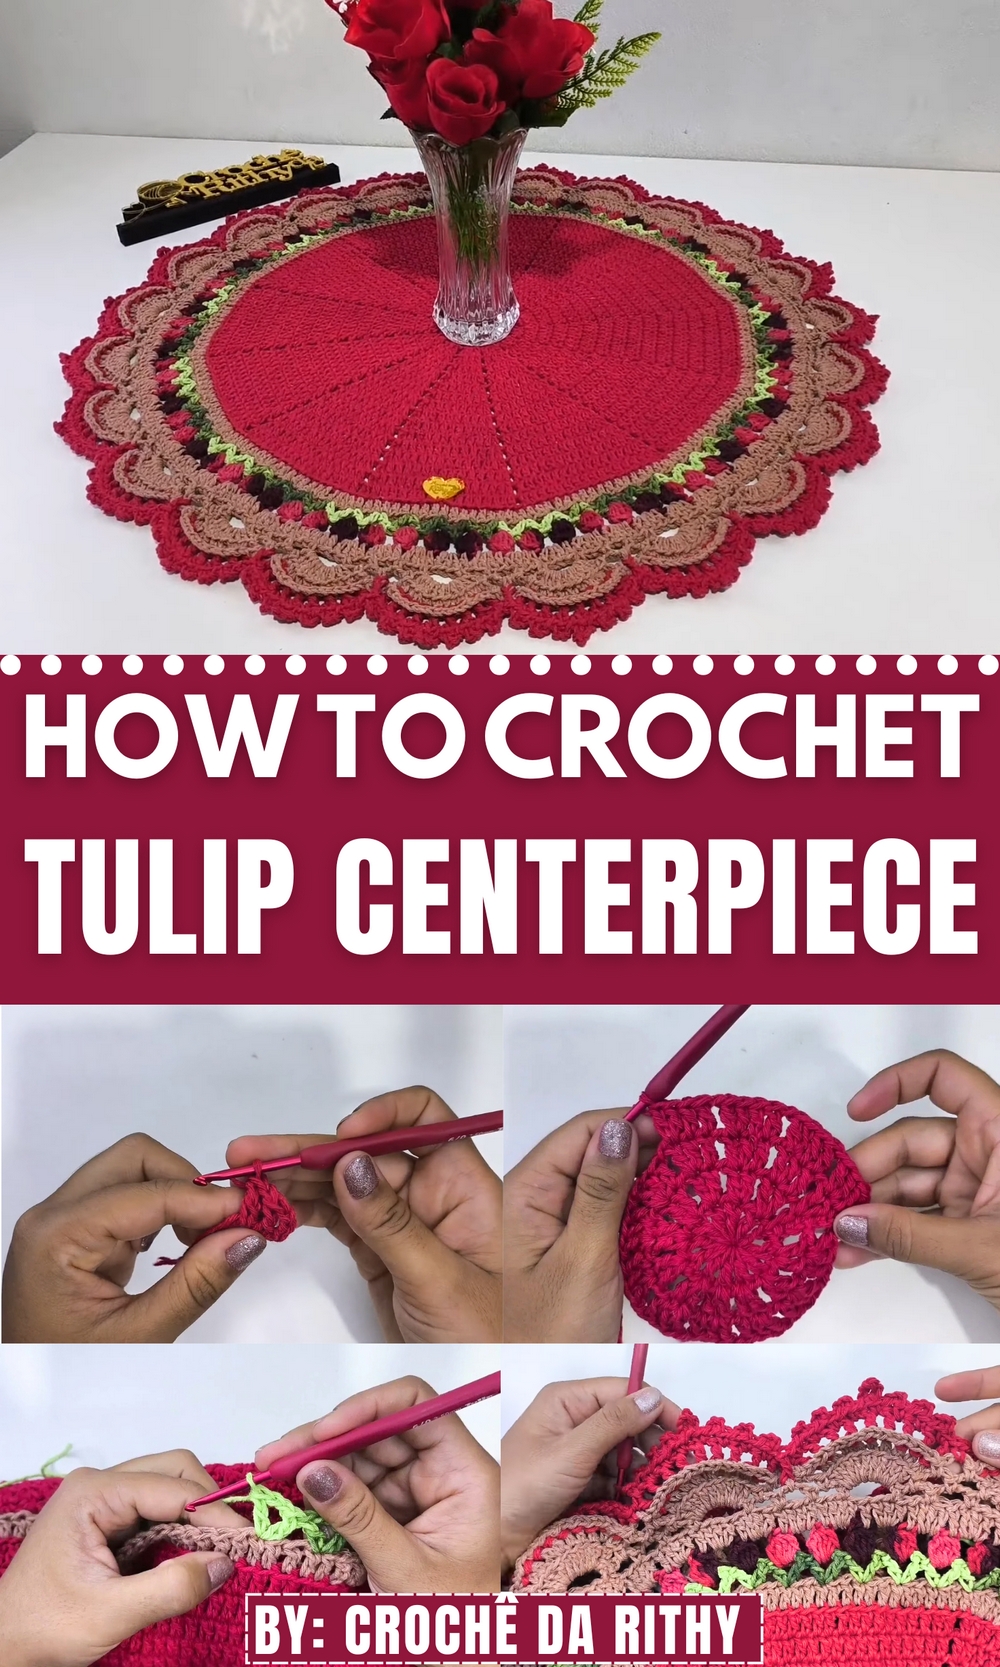
Brighten your space effortlessly with this Free Crochet Tulip Centerpiece Pattern, adding charm and softness to your table with every delicate stitch.
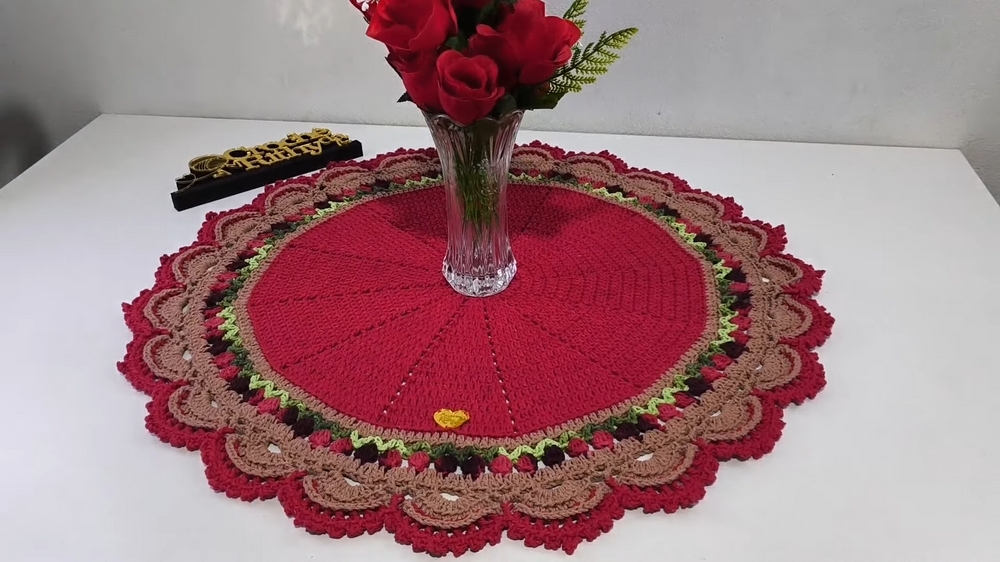
There’s something timeless about the allure of handcrafted pieces, especially when they carry the essence of tradition and artistry. The Free Crochet Tulip Centerpiece embodies this charm, weaving not only delicate threads but also a story of elegance and purpose into its design. More than just a table accessory, this masterpiece serves as a centerpiece of admiration, bringing warmth, beauty, and detail to any room it graces.
How to Crochet a Tulip Centerpiece Pattern That Looks Store-Bought
Whether set at the heart of a festive gathering or used to add a touch of class to everyday dining, its versatility and creativity make it an indispensable addition to your décor collection. This tulip centerpiece is more than an accessory; it’s a celebration of artistry that transforms any table into a canvas of creativity.
Whether enhancing a seasonal celebration, a cozy dinner, or a cherished moment with loved ones, it offers both aesthetic beauty and practical versatility. Designed with care, its delicate charm leaves a lasting impression, reminding us of the joy and elegance that handmade creations bring to our lives.
Crochet Tulip Centerpiece Pattern
Materials Needed
Yarn:
- Barbante Piris Yarn (size 6):
- Red: For the base and tulip details.
- Caramel: For transitioning rows and detailing.
- Avocado green: For tulip stems.
- Multicolor black with red (Piris yarn): Optional for added accents.
Tools:
- Crochet Hook: Size 3.5 mm (Tulip recommended).
- Scissors: For snipping threads.
- Custom Label: To attach to your finished piece (optional).
Skill Level
Intermediate
Key Abbreviations
- CH: Chain
- SC: Single Crochet
- DC: Double Crochet
- SL ST: Slip Stitch
- YO: Yarn Over
- REP: Repeat
- ST(S): Stitch(es)
- [ ]: Instructions in brackets are worked into the same stitch or space.
- BP DC: Back post double crochet.
Special Techniques
- Magic Ring (MR):
- Wrap yarn around your fingers, forming a loop.
- Insert the hook into the loop, pull through, and chain 1 to secure.
- Back Post Double Crochet:
- Insert hook from back to front around the corresponding post of the stitch, YO, and complete a double crochet stitch.
Crochet Pattern Instructions
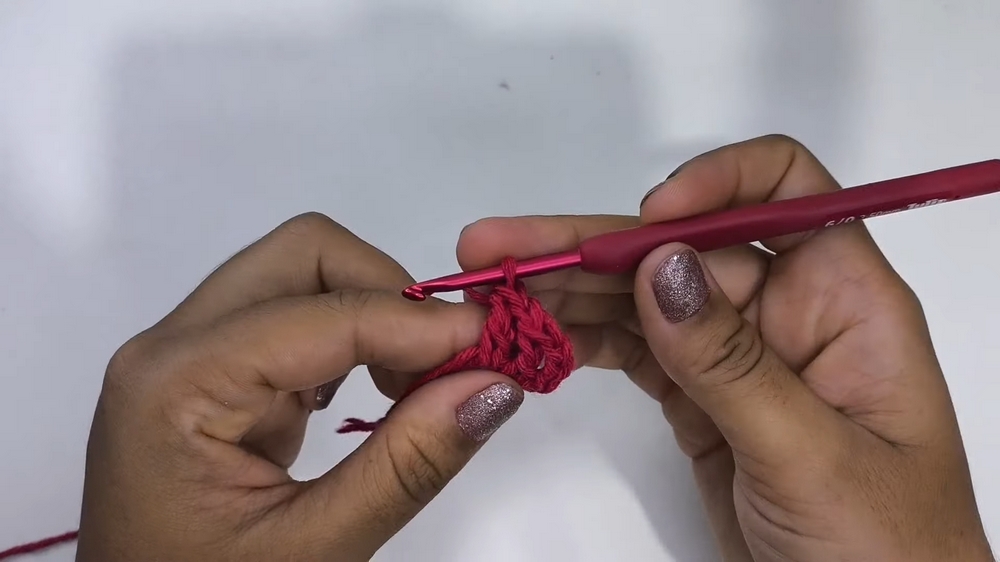
Part 1: Base (Pizza-Style)
Foundation Circle
- Start with a Magic Ring:
- Secure the ring by chaining 4 (this counts as your first DC + chain stitch of separation).
- Work 1 DC, CH 1 into the magic ring.
- Repeat:
- Continue alternating DC and CH 1 around the ring until you have 12 DCs, each separated by a chain.
- Finish:
- SL ST into the 3rd CH of the initial chain to close the row.
- Pull the magic ring tail tightly to close the center.
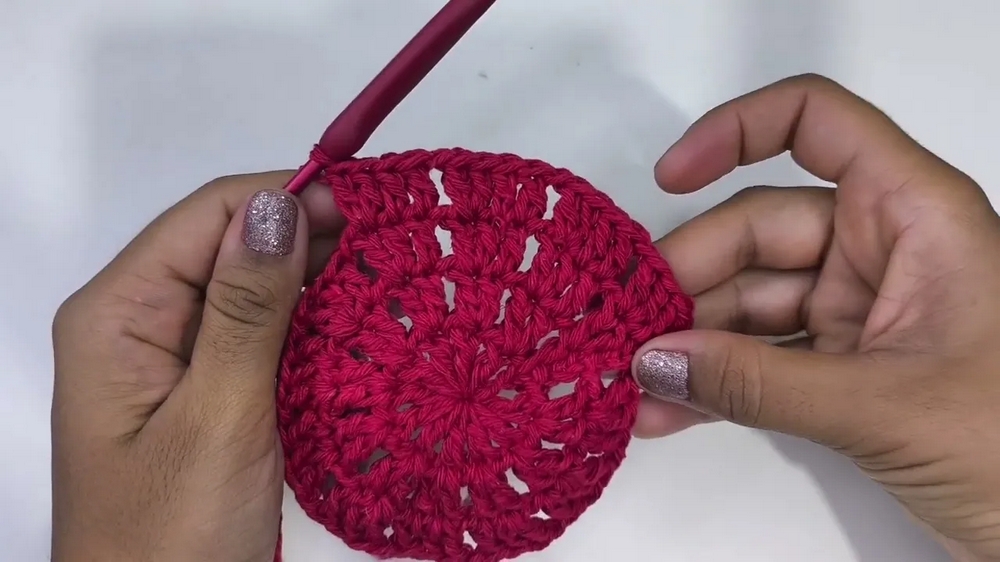
Building Rows (Increasing in Rounds)
- Row 2:
- CH 3 to start (counts as your first DC). Work 1 DC into the same stitch (this creates your first increase).
- CH 1, move to the next stitch and work [2 DC, CH 1].
- Repeat [2 DC, CH 1] in each stitch around.
- SL ST into the 3rd CH to close.
- Row 3:
- CH 3 (counts as first DC), work 1 DC for each base DC. At the last stitch of each group, work an increase: [2 DC into the same stitch].
- CH 1 after every increase. Repeat this pattern: 1 DC per stitch with and 1 increase at the end of each group.
- SL ST to join.
- Continue Increasing:
- Repeat the process of creating groups and increasing at the last DC of each group in subsequent rounds, growing the circle to 17 rows.
- The result will be a large pizza-style base measuring approximately 70 cm (27.5 inches).
Notes for Row Size
- Adjust the number of rows for a smaller centerpiece:
- 50 cm diameter: Work 9 rows.
- 60 cm diameter: Work 13 rows.
Part 2: Outer Border Transition
Setup with Caramel Yarn
- Attach the yarn:
- Join the caramel yarn to any stitch by inserting the hook and securing with a single crochet stitch.
- Only work into the back loop of the stitches in this row for added texture.
- Row 1:
- Work 1 DC into every stitch, including gaps created by chain stitches (previous row’s increases).
- Increase 1 DC at the last stitch of each grouping as done previously.
- SL ST to join at the end.
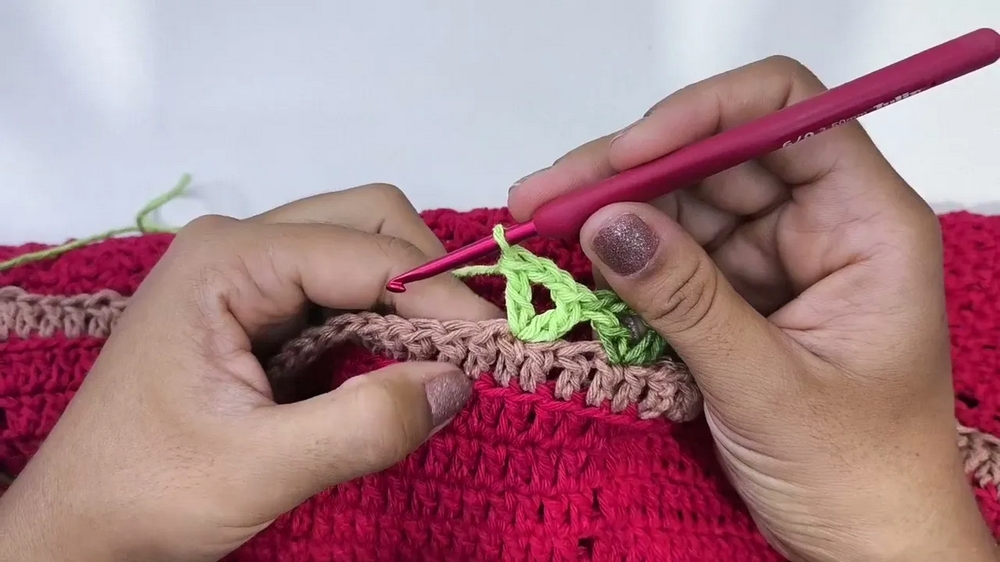
Part 3: Tulip Stem Design
Green Yarn and Stem Base
- Attach the green yarn:
- At any stitch, CH 5.
- Work [1 DC, CH 2, 1 DC into the same stitch].
- Skip stitches:
- Without chaining, skip 2 base stitches, and in the 3rd stitch, repeat the V-stitch: [1 DC, CH 2, 1 DC].
- Continue working V-stitches around the row.
Tulips
- Attach red yarn to any V-stitch space:
- Work 4 unfinished DC:
- For each DC, incomplete the last step (leave loops on hook). After 4 unfinished DC, YO and pull through all loops.
- CH 3, move to the next V-stitch space, and repeat.
- Work 4 unfinished DC:
- Finish Tulips:
- This sequence creates tulips spaced evenly around the row.
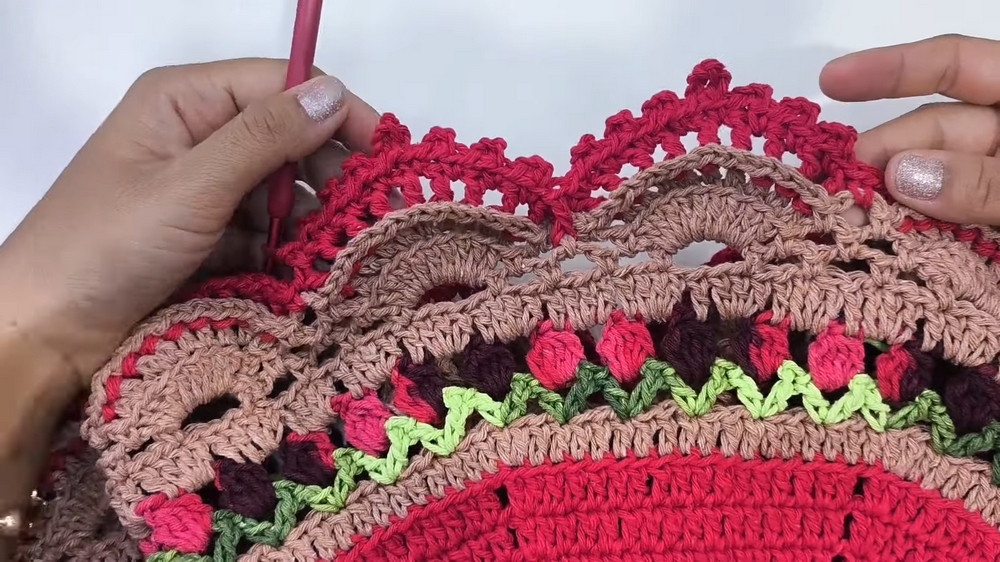
Part 4: Beak Design
Decorative Beak
- Outline Tulips:
- Attach caramel yarn to the 3-chain spaces.
- Work 3 DC into the chain space, move on top of tulip, work 1 SC, then move to the next chain space and repeat.
- Picots:
- For added detail, work picot stitches (CH 3, SL ST into the base of the last stitch).
- Back Post Double Crochet:
- On the single crochet stitches between tulips, work a Back Post DC for additional texture.
Part 5: Final Touch
Attach Red Yarn
- Work Back Post DC over SC rows to add contrast.
- Picots:
- Alternate 3 CH picots and 5 CH picots for scalloped edges.
- Alternate 3 CH picots and 5 CH picots for scalloped edges.
Finishing the Centerpiece
- Weave in Ends:
- Secure all loose threads using a tapestry needle.
- Attach Custom Label:
- Use glue or sew a label to the back of your work to personalize the project.
- Blocking:
- Lightly block the piece if necessary for proper shaping.
Final Words
This tulip centerpiece is a stunning, textured crochet project that combines elegance and creativity. Ideal for gifting or showcasing, the design is versatile and can be modified for smaller or larger table settings.
Tips
- Stitch Markers: Use markers to help count spaces or stitches while working in large rounds.
- Tension: Avoid overly tight stitches, especially for the tulips and decorative edging, to ensure fullness.
- Colors: Experiment with pastel shades for spring, or bold hues for year-round appeal.