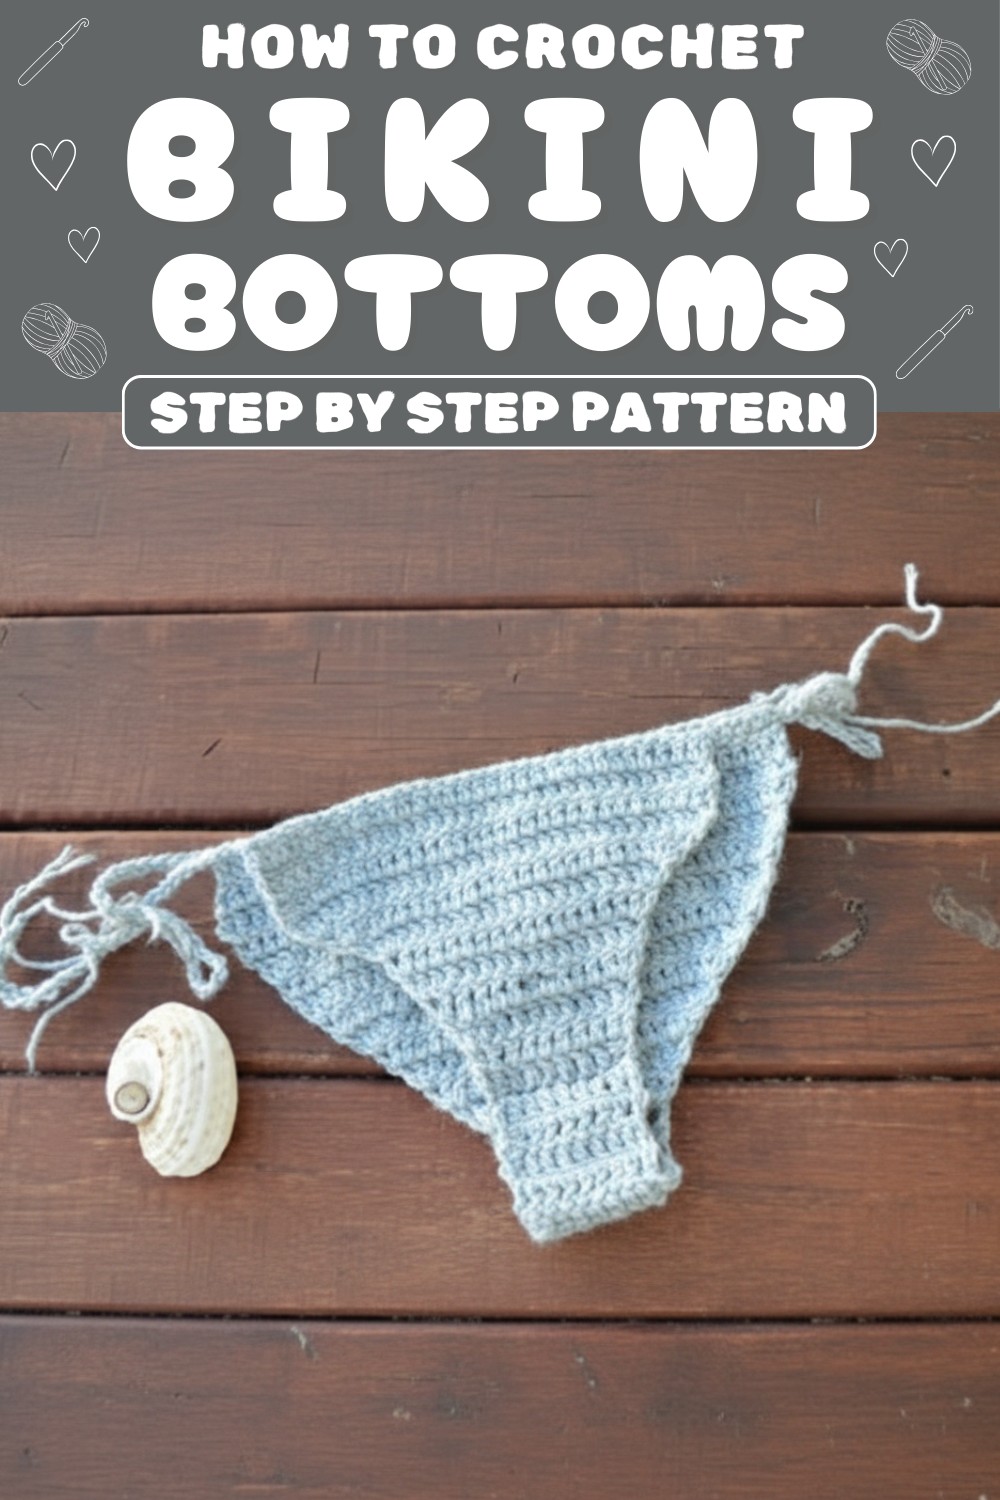
Stitch a unique and stylish crochet bikini bottom perfect for sunny days with easy-to-follow instructions that suit any level and customize to your style.

This free crochet bikini bottom pattern is the perfect mix of style and simplicity, offering a fun project for crochet lovers of any skill level. Thoughtfully designed for a great fit, it uses lightweight, easy-to-handle yarn that keeps things both breathable and comfortable.
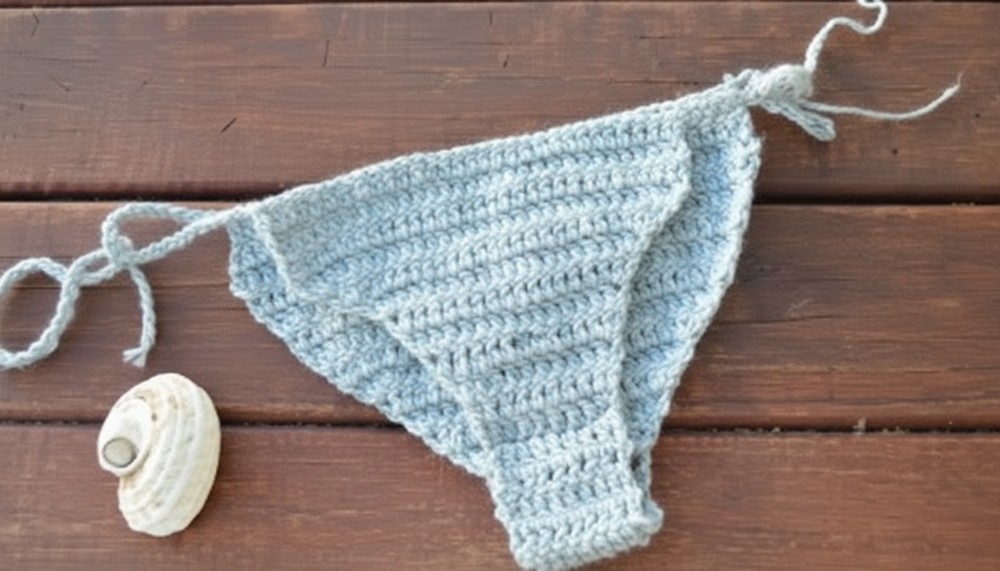
Crochet Bikini Bottom Pattern for Stylish Summer Days
Whether you’re updating your swimwear wardrobe or trying your hand at making handmade beachwear, this pattern provides step-by-step instructions to make the process straightforward and enjoyable. Customize it with your favorite colors for a truly unique piece that’s beach-ready.
With this guide, creating your own chic, handmade bikini bottoms has never been easier! Let’s get started!
Materials List
Yarn
- Yarn Type: 100% cotton or fingering-weight yarn. Cotton yarn ensures durability and comfort, making it ideal for swimwear.
(You can substitute with lightweight acrylic or bamboo blend if preferred.)
Hook
- Hook Size: 2.5mm crochet hook
(Ensure your hook and yarn complement each other to prevent gaps or overly tight stitches.)
Additional Materials
- Scissors
- Tapestry needle for weaving in ends
- Optional: Stitch markers to keep track of increases at the beginning and end of rows
Skill Level
Intermediate: Familiarity with basic stitches such as slip stitch, chain, double crochet, and working increases is required.
Key Abbreviations (US Terminology):
- ch = chain
- dc = double crochet
- sl st = slip stitch
- st(s) = stitch(es)
Special Notes
- Adjustable Tie Method: Ties are created separately and attached at the corners for adjustable sizing.
- Size Customization: Increase rows and adjust chain count for larger sizes.
Pattern Instructions
Step 1: Foundation Chain
- Start by making 10 chains (or more for a larger size).
- Begin your first row by working dc back down the chain, starting from the second chain from the hook, all the way to the end.
Step 2: Row 2 (Normal Row)
- Chain 2 at the beginning, then work 1 dc into each stitch, ending the row with a dc in the last stitch.
- Repeat this normal dc row for another row (Row 2).
Step 3: Begin Increases
Row 3 (Increase at Beginning and End):
- Chain 2, then work 2 dc into the first stitch.
- Work dc across the row as normal.
- In the last stitch, work 2 dc.
Rows 4-5:
- Repeat the increase pattern from Row 3:
- Start the row with 1 dc in the same stitch.
- End the row with 2 dc in the last stitch.
Step 4: More Increases
Row 6 (First Larger Increase):
- Chain 2, then work 3 dc into the first stitch.
- Dc across the row as normal.
- In the last stitch, work 3 dc again.
Rows 7-9:
- Continue the increase pattern from Row 6 (3 dc at beginning, 3 dc at the end) for 3 more rows.
- You can add additional rows for larger sizes while maintaining the increase pattern.
Step 5: Create Length Without Increasing
Row 10:
- Chain 2, and skip increases.
- Work dc across the row, starting from the second chain from the hook and ending with normal dc in the last stitch.
Rows 11-14:
- Repeat Row 10 for 3-5 more rows or until the piece is your desired length.
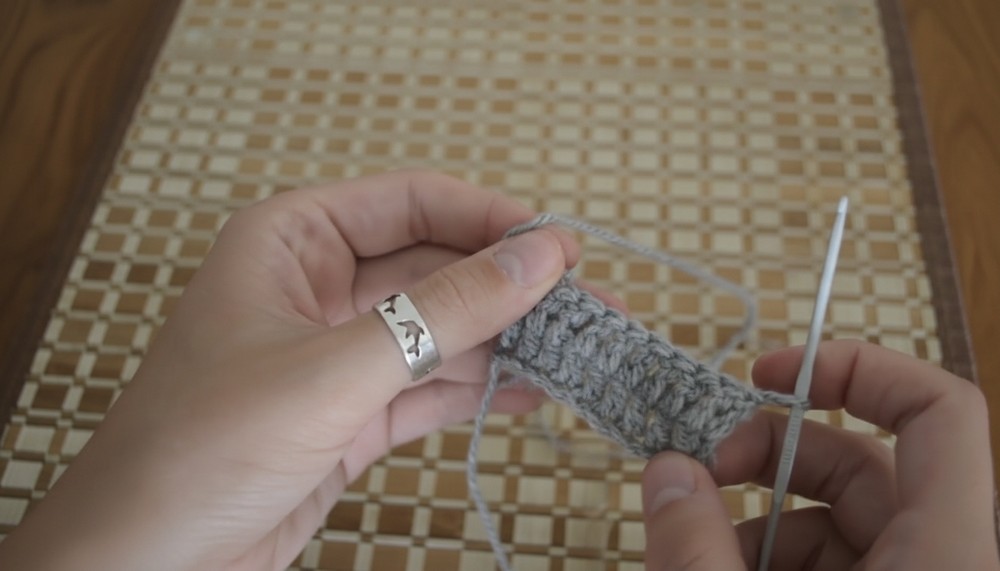
Step 6: Add Bottom Section
- Join yarn at the lower edge of the piece using a slip stitch.
- Chain 2, then work dc across the row.
- Continue working normal rows of dc for 5-6 rows.
Step 7: Start Increasing the Bottom Section
Row 1 (First Bottom Increase):
- Chain 2, then work 1 dc into the first stitch.
- Work dc across and end the row with 2 dc in the last stitch.
Row 2:
- Chain 2, then work 2 dc into the first stitch.
- Dc across and end the row with 3 dc in the last stitch.
Rows 3-5:
- Repeat Row 2 (beginning with 2 dc at start, ending with 3 dc at the end) until your desired bottom width is achieved.
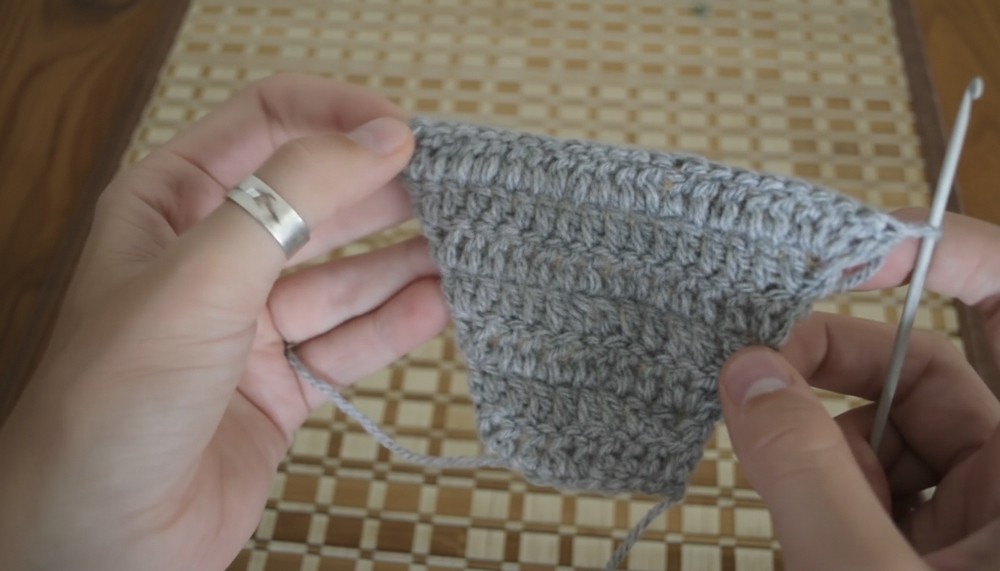
Step 8: Finish Top Rows Without Increasing
- Work dc rows without increasing for 3 rows (or longer for additional coverage).
- Ensure the width works for your desired fit.
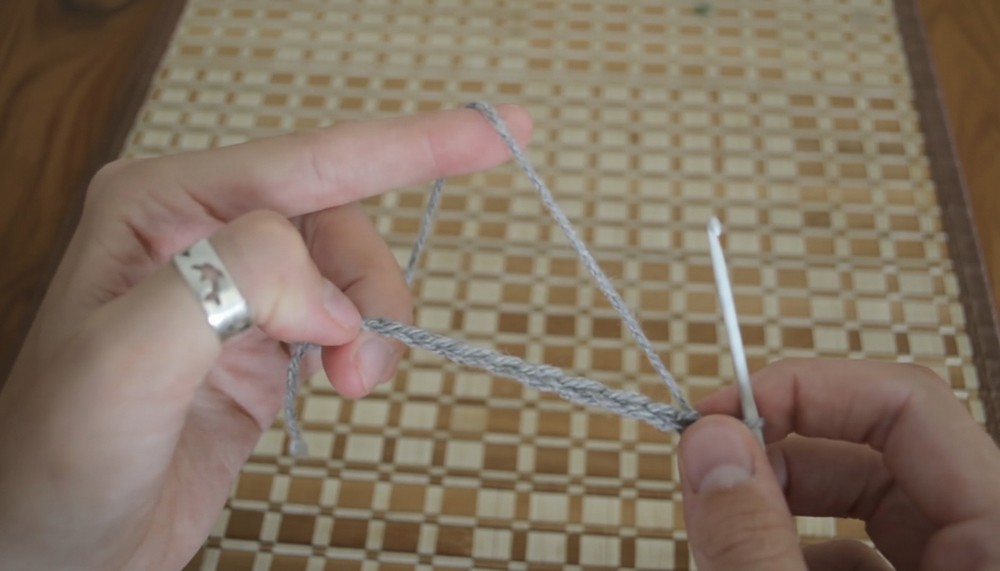
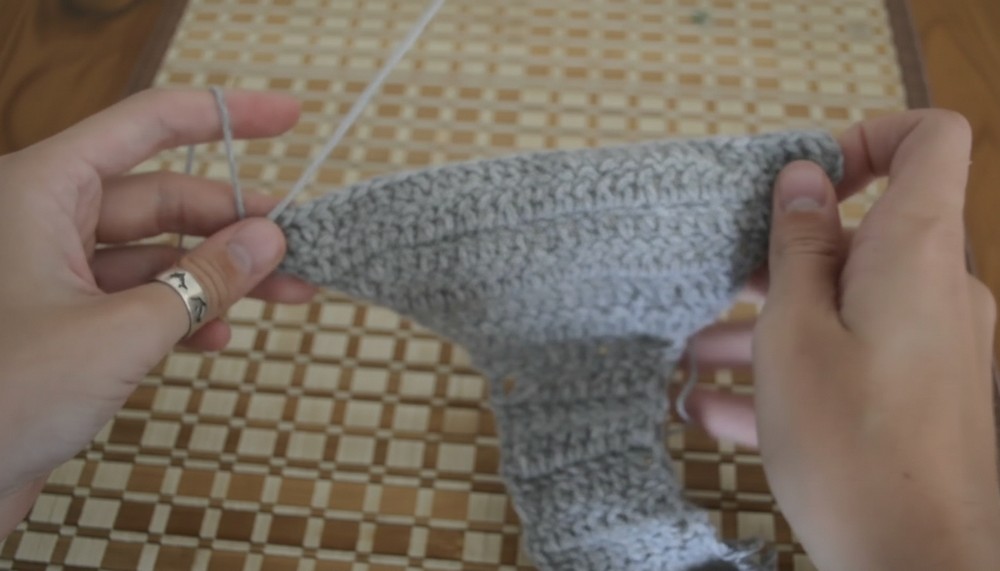
Step 9: Create Ties
- Attach yarn to each corner of the bikini bottom using a sl st.
- Create long ties by chaining approximately 40-50 stitches (adjust for preference).
- Repeat for all corners.
Step 10: Finish
Weave in all ends securely with a tapestry needle. Adjust the ties to fit your body comfortably.
Additional Tips
- Fit & Adjust: Check the dimensions frequently as you work, especially after increasing rows.
- Foundation Chain: For larger sizes, increase the starting chain count.
- Blocking: To achieve a polished final look, lightly block the bikini bottom to even out stitches.
Conclusion
This Brazilian-style bikini bottom is a blend of simplicity and elegance, providing adjustable ties and a personalized fit. Ideal for sunny beach days, the pattern can be adapted for different sizes and styles.
Pattern Correction
- If the edges begin to curl, reduce the increases in the last few rows.
- Consistent tension is key—loosen or tighten yarn grip if stitches become uneven.
Pattern Variations
- Color Blocking: Alternate colors for the top and bottom sections for visual interest.
- Customization: Add decorative edging or extend ties with beads for a playful touch.
- High-waist Version: Add additional length in Step 5 for a higher-rise bikini bottom style.