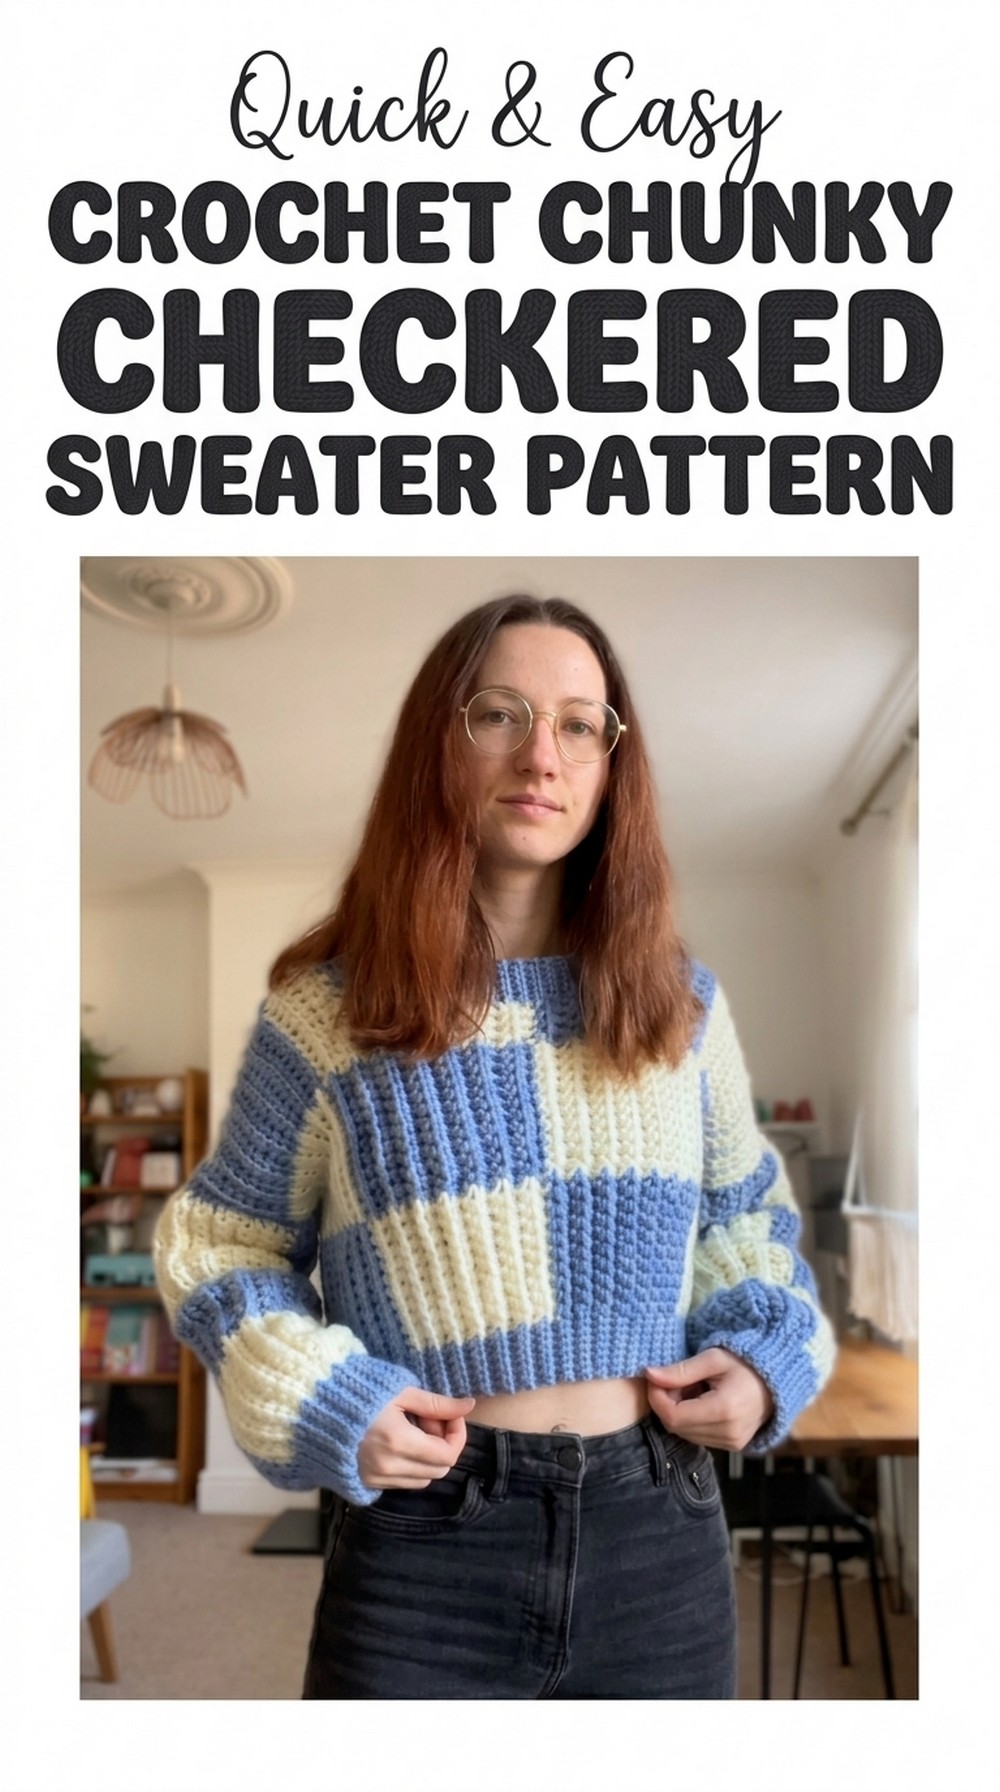
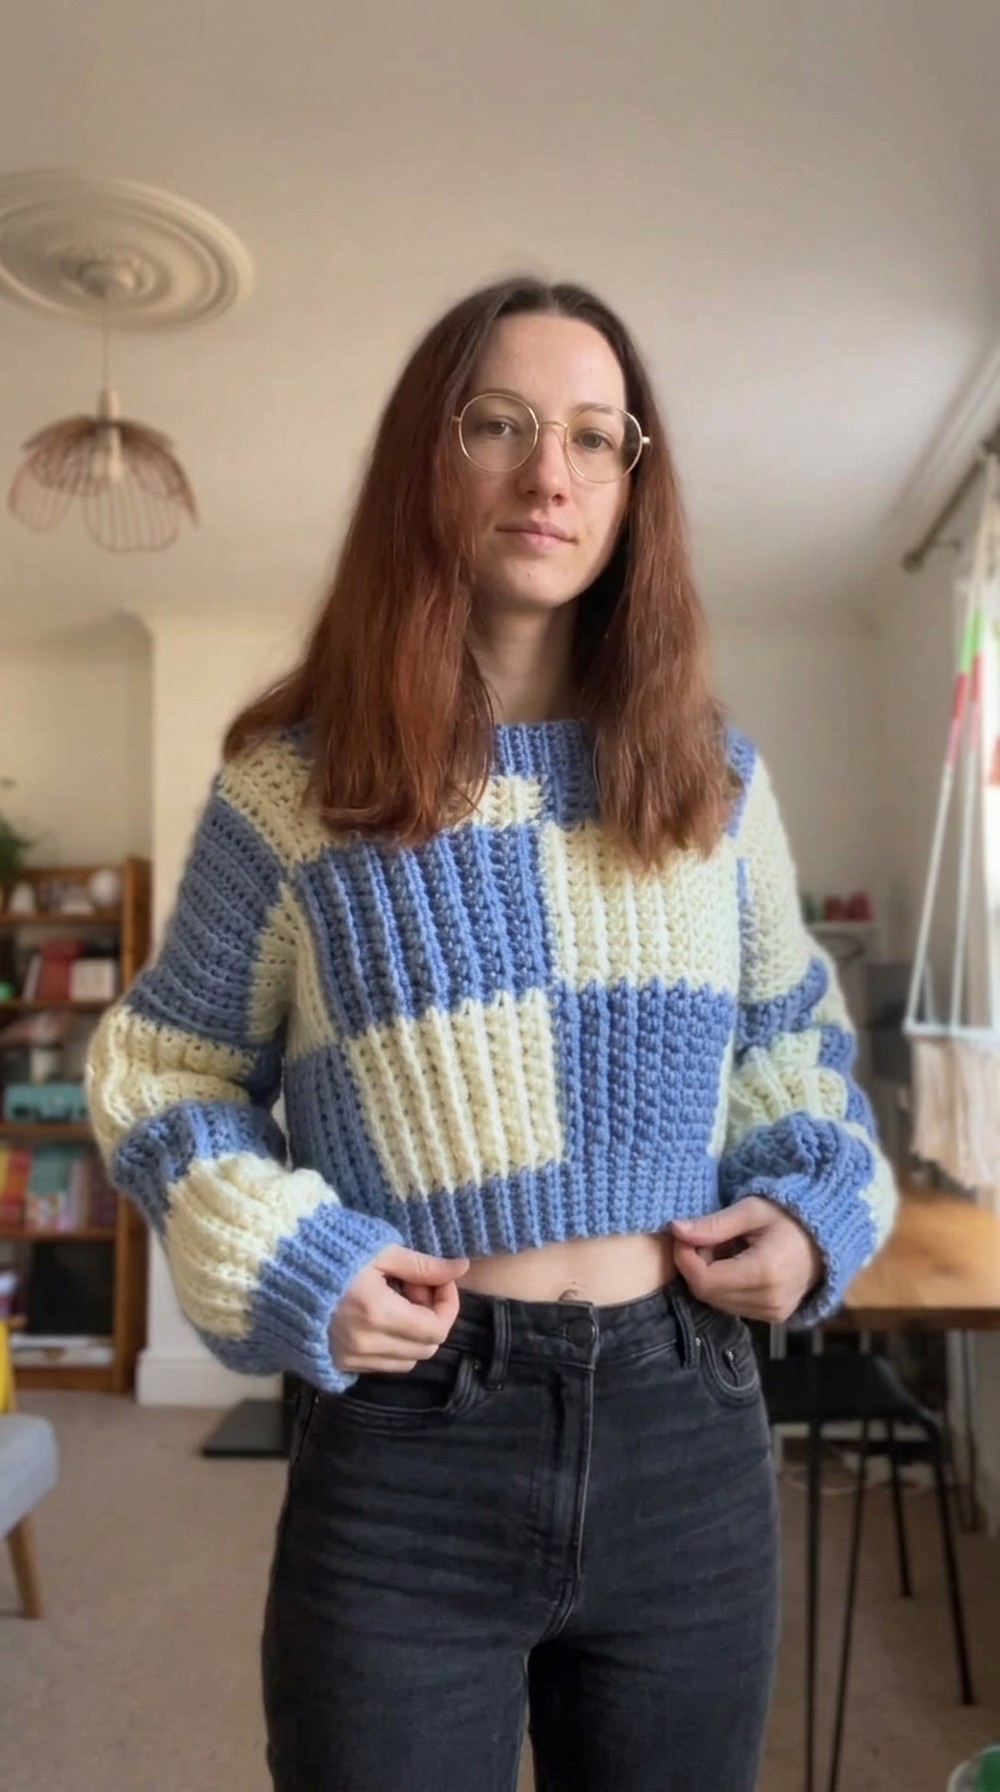
Turn heads in style with this free crochet checkered sweater pattern, offering a cozy and eye-catching piece that’s perfect for casual outings or chilly evenings.
Supremely cozy and effortlessly stylish, this crochet project blends warmth with a unique visual appeal. The free crochet checkered sweater pattern provides an easy way to create a standout piece featuring bold, contrasting squares. This playful yet sophisticated design looks great with any wardrobe, making it versatile enough to transition from casual outings to more polished events.
Free Crochet Checkered Sweater Pattern That’s for Any Occasion
Lightweight and snug, this sweater is perfect for layering over other garments in cooler weather, adding both comfort and flair. Its expertly crocheted texture not only highlights your crochet skills but also brings a touch of handmade charm to any ensemble. Whether you’re dressing up for an evening out or lounging at home, this checkered sweater offers a perfect balance of beauty and practicality, ensuring you stay stylishly warm all season long.
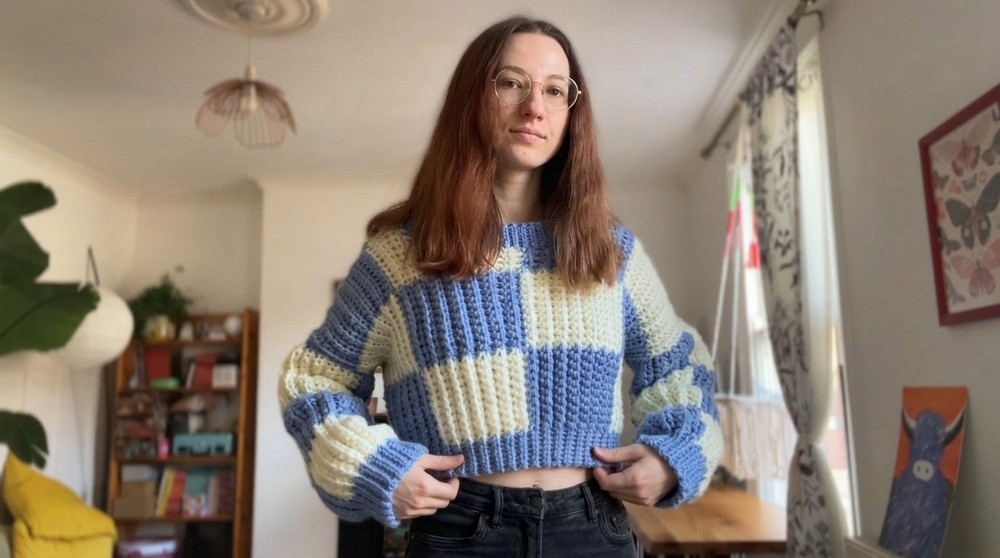
Chunky Crochet Checker Sweater Pattern
Materials
- Yarn:
- Medium Worsted Weight (#4) yarn in at least two contrasting colors:
- Color A (Blue): Primary color (for ribbing and squares).
- Color B (White): Secondary contrast color (for squares).
- Approximate Yarn Amount:
- Color A: 500-600g.
- Color B: 200-300g.
- Medium Worsted Weight (#4) yarn in at least two contrasting colors:
- Hook:
- 5.0 mm crochet hook.
- Additional Tools:
- Stitch Markers: For marking rows and ribbing points.
- Tapestry Needle: For sewing and weaving in ends.
- Scissors: For trimming yarn.
Gauge
- 4 single crochet x 4 rows = 1 inch in single crochet, using the back loop only (BLO).
- Adjust hook size if needed to achieve this gauge.
Abbreviations (US Crochet Terminology)
| Abbreviation | Definition |
|---|---|
| ch | chain |
| sc | single crochet |
| sl st | slip stitch |
| BLO | back loop only |
| st(s) | stitch(es) |
Skill Level
Intermediate to Advanced.
- Familiarity with single crochet, slip stitch, color changes, and sewing techniques are required.
Special Notes
- Back Loop Only (BLO):
- All ribbing and main body single crochets are worked into the back loop only for added texture.
- Color Changes:
- Always change colors in the last pull-through of the previous stitch. Keep unused colors at the back of the project to create a clean side.
- Loose Ends:
- Use additional balls of yarn for different color sections to minimize cutting and weaving in ends.
Pattern Instructions
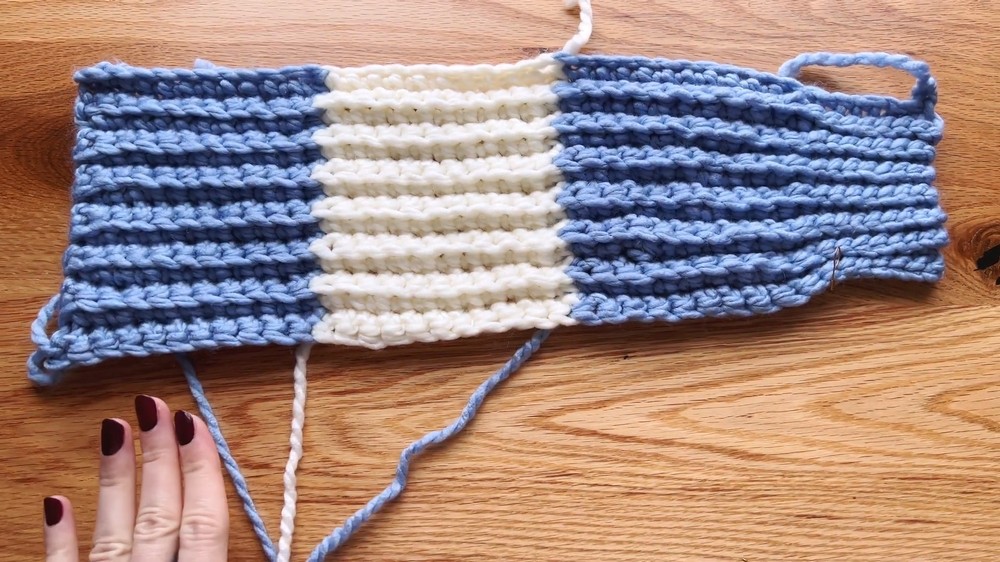
Foundation and Front Panel
- Start with Ribbing and Foundation Chain:
- Using Color A (Blue), create a slip knot.
- Chain 7 (for the ribbing width).
- Mark the 7th chain with a stitch marker to delineate ribbing.
- Continue chaining 11 additional chains (for the first blue square).
- Switch to Color B (White) and chain 11 (for the second square).
- Switch back to another ball of Color A (Blue) and chain 12 (for the third square plus one turning chain).
Foundation Chain Breakdown Example:
- Ribbing: 7 chains.
- First Blue Square: 11 chains.
- White Square: 11 chains.
- Second Blue Square: 11 chains (plus 1).
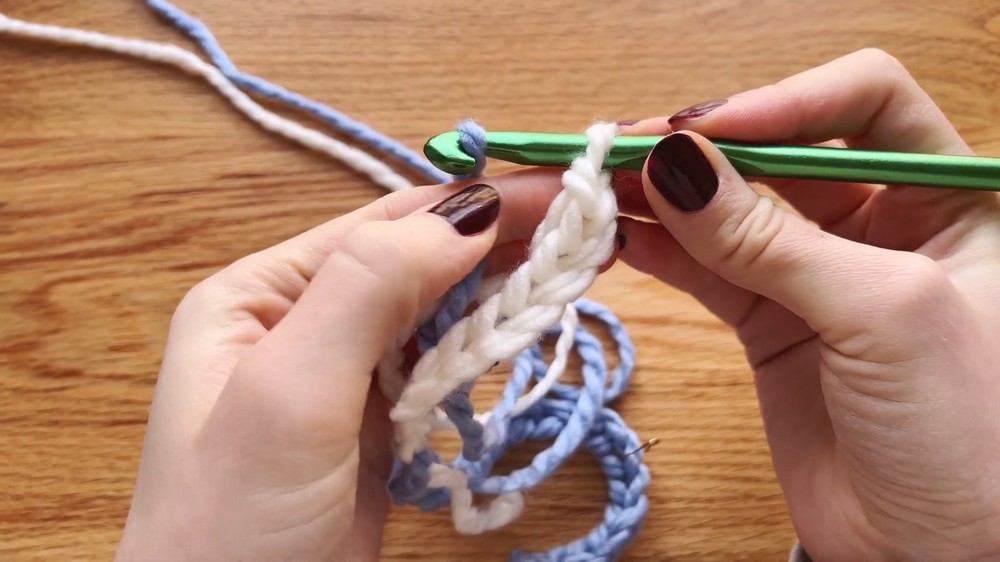
- Row 1:
- Turn and Sc in the Back Loops:
- Work single crochet (sc) in the second chain from the hook.
- Continue working sc in each chain in the back loop only (BLO) across until the last stitch of the blue square.
- Turn and Sc in the Back Loops:
- Change Colors:
- At the last blue stitch, insert the hook and pull through the first loop in blue yarn.
- Before completing the stitch, switch to white yarn and pull through the two blue loops to close the stitch.
- Drop the blue yarn to the back and begin working in the new color (white).

- At the last blue stitch, insert the hook and pull through the first loop in blue yarn.
- Continue with New Color (White):
- Sc through every chain in BLO, switching back to Color A (another ball of blue yarn) at the last stitch of the white square.
- End Row with Ribbing:
- After finishing single crochets in the final blue section, use slip stitches (sl st) only in the ribbing section.
Special Note: Move the stitch marker to the current first stitch of the ribbing at the start of each new row to keep track of transitions.
Following Rows for Front Panel
General Instructions:
- All Rows are Worked in BLO:
- Main Body (sc in BLO).
- Ribbing Section (sl st in BLO).
- Alternate Colors Every 15 Rows:
- Begin with blue, white, blue for the first 15 rows.
- After completing this block, alternate to white, blue, white.
- Ribbing will always remain in blue.
- Neckline Shaping:
- On the 15th row of the second color block, leave 4 stitches unworked at the neckline edge.
- Begin working decreases on subsequent rows:
- At start of each neckline row: Work a single decrease (insert into two stitches, yarn over, pull through, and complete as one sc).
- At end of each neckline row: Leave the last 2 stitches unworked, decreasing the neckline height for shaping.
- Continue for 15 Total Rows per Color Block:
- Maintain the pattern until the desired number of rows for the neckline shaping and main body is achieved.
- Maintain the pattern until the desired number of rows for the neckline shaping and main body is achieved.
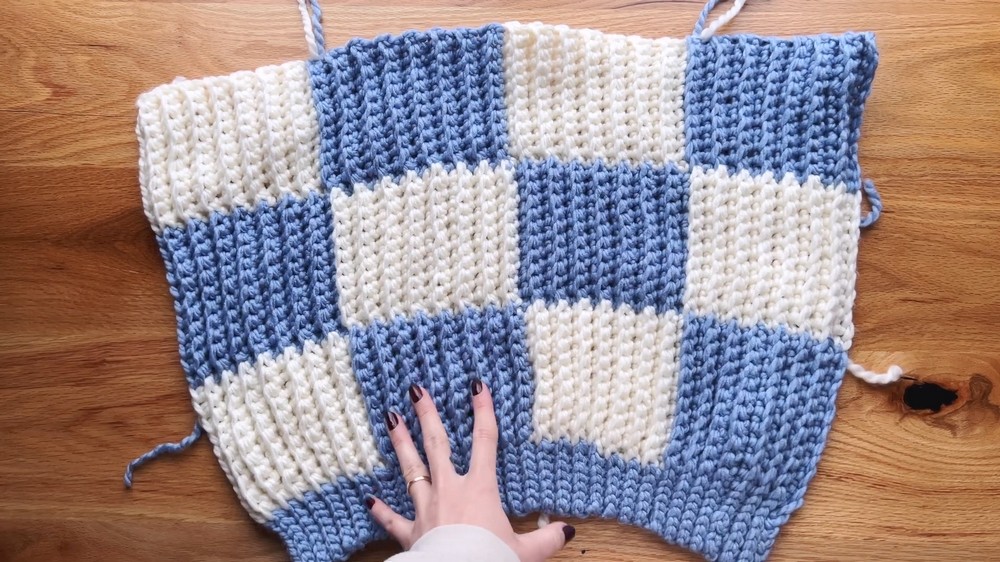
Back Panel
- Follow the Front Panel Instructions, excluding neckline shaping.
- Make the back panel a simple rectangle of squares following the color pattern used in the front.
- Ensure a total of 45 rows, alternating every 15 rows for checker blocks.
Sleeves
- Start with Ribbing:
- Chain 7 for the ribbing at the sleeve cuff, then work single crochet back loop only (BLO) along the ribbing edge.
- Adjust Width:
- Work 2 full squares + 6 rows for the third square row.
- Shaping the Sleeve:
- If desired, further increase or decrease the rows by adding or removing rows of squares.
- Maintain the square pattern, following the checker layout.
Assembly
Sewing the Sweater Together
- Front Panel to Back Panel (Shoulders):
- Sew the two panels together at the shoulders using slip stitches or an invisible seam stitch.
- Attach Sleeves:
- Sew the sleeve panels to the armholes, ensuring even placement at the shoulder.
- Close Sides:
- Seam the sweater from the bottom ribbing through the sides, and up the sleeves in one smooth seam.
Adding a Neckline Ribbing
- Attach Yarn at Neckline:
- Work 6 chains, turn, and slip stitch through the stitches along the neckline edge.
- Continue with Ribbing:
- Work slip stitches through the neckline, chaining at each turn to follow the natural curve of the neckline.
- Close the Ribbing:
- Once neckline ribbing is complete, sew the ribbing seams together using a tapestry needle.
Finishing
- Weave in Ends:
- Secure and weave in all loose ends neatly to prevent fraying.
- Block the Sweater:
- Gently block the sweater for an even and finished shape.
- Inspect Seams:
- Double-check all seams to ensure proper alignment and even tension.
- Double-check all seams to ensure proper alignment and even tension.
Conclusion
The crochet checkered sweater is a stylish and cozy garment that highlights a bold checker design with textured ribbing details. This project allows you to experiment with colors and creates a unique piece that is equally comfortable and modern.
Tips for Success
- Use Multiple Balls of Yarn: To simplify transitions and minimize weaving in ends.
- Track Rows with Stitch Markers: Use markers for key sections such as color transitions and ribbing placement.
- Customize Fit: Adjust the number of squares or rows for a personalized fit.