
Learn to build a trendy crochet bucket hat with this beginner friendly pattern, offering customizable options for a stylish handmade accessory.
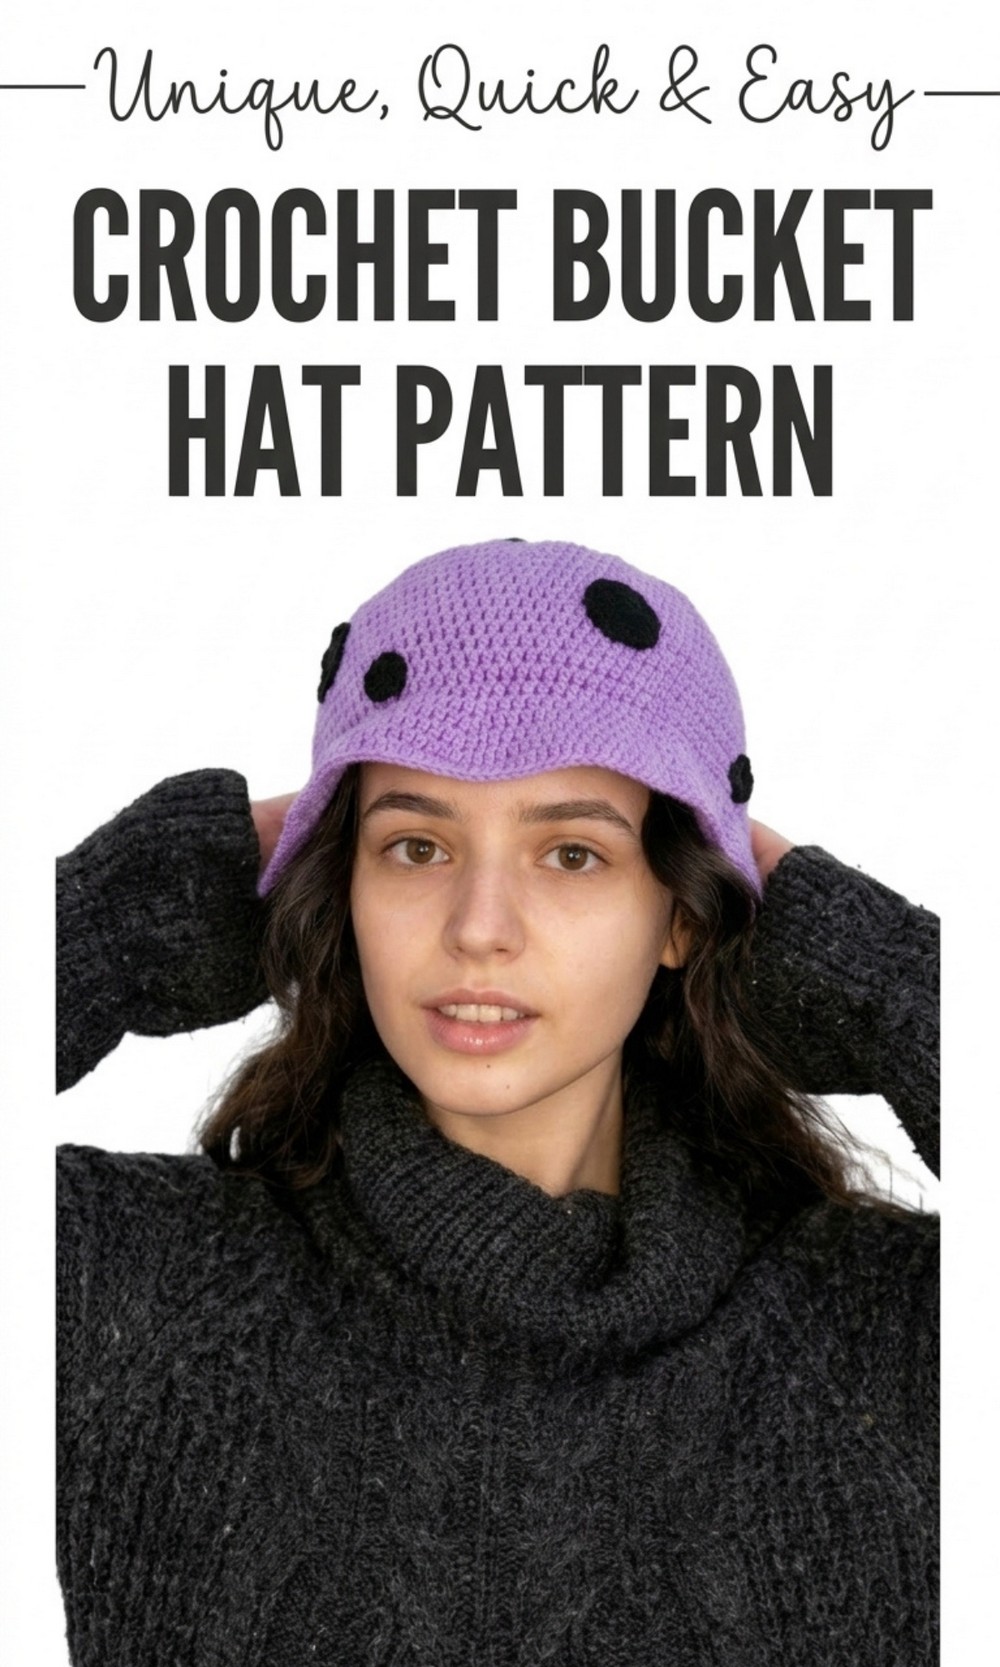
Free Crochet Bucket Hat Pattern for a Stylish and Fun Look
Looking for a fun and simple way to make your own stylish hat? A Free Crochet Bucket Hat Pattern is just what you need. This pattern is perfect for beginners and pros alike, as it only requires basic crochet skills like single crochet, half double crochet, and working in a circle.
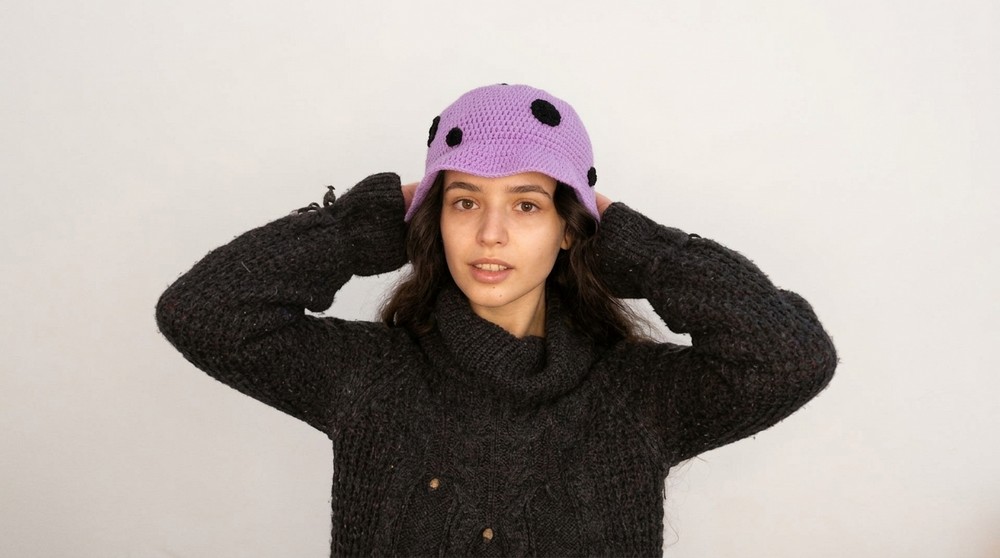
The finished hat has a soft, elegant look with a trendy bucket shape that makes it great for sunny days. You can create a cute purple bucket hat with black dots, or choose any color you love

A bucket hat is not only fashionable but also practical. It protects you from the sun while keeping your outfit looking fresh and fun. Plus, crocheting your own hat lets you customize it however you like. It’s the perfect handmade accessory for yourself or as a thoughtful gift. Try this easy pattern today and get creative.
Stunning Crochet Bucket Hat Pattern
Materials Needed
- Yarn:
- Main color: Purple (medium weight yarn).
- Accent color: Black (medium weight yarn).
- Crochet Hook: Suitable size for your yarn, recommended size is 4mm or 4.5mm.
- Other Supplies:
- Stitch markers (optional).
- Scissors.
- Yarn needle (for weaving in ends).
Special Techniques
- Single Crochet (SC): Insert your hook, yarn over (YO), pull through, YO again and pull through both loops.
- Half Double Crochet (HDC): YO, insert hook, pull up a loop, YO again, pull through all three loops.
- Working in the Round: Begin with a magic circle or chain 4 and slip stitch to form a circle, then continue to crochet directly into the circle.
Pattern Instructions
1. Begin the Base (Crown Section)
- Magic Circle: Start with a magic circle (or chain 4, slip stitch to form a ring).
- Round 1: Crochet 6 SC into the circle. Pull the circle tight and join with a slip stitch (SL ST) to the first SC.
- Round 2: Work 2 SC in each stitch around (12 SC total).
- Round 3: (SC in the first stitch, 2 SC in the next) repeat around (18 SC total).
- Round 4: (SC in next 2 stitches, 2 SC in next stitch) repeat around (24 SC total).
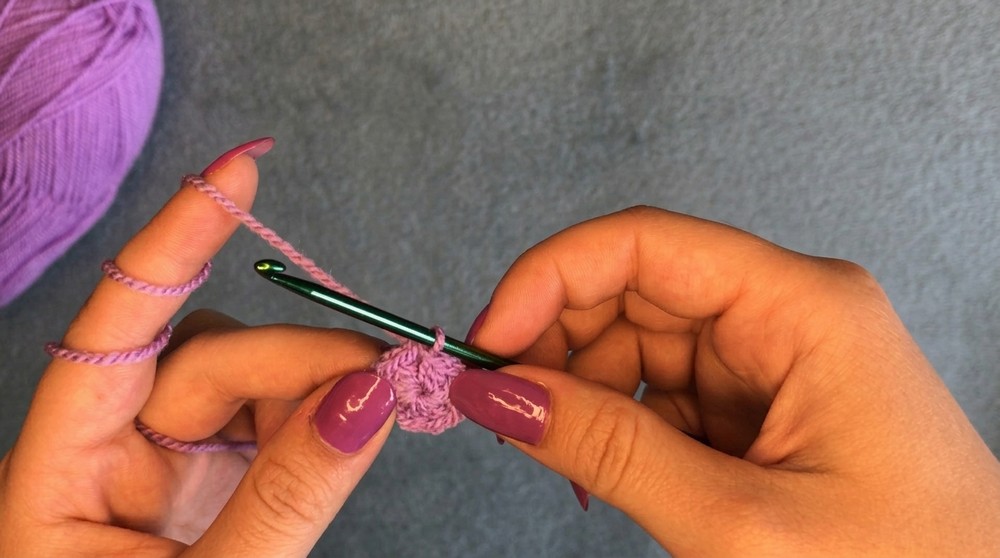
- Continue increasing gradually (following the pattern of adding more single stitches between increases) until the base measures approximately 6 to 7 inches in diameter, depending on the desired size of the hat.
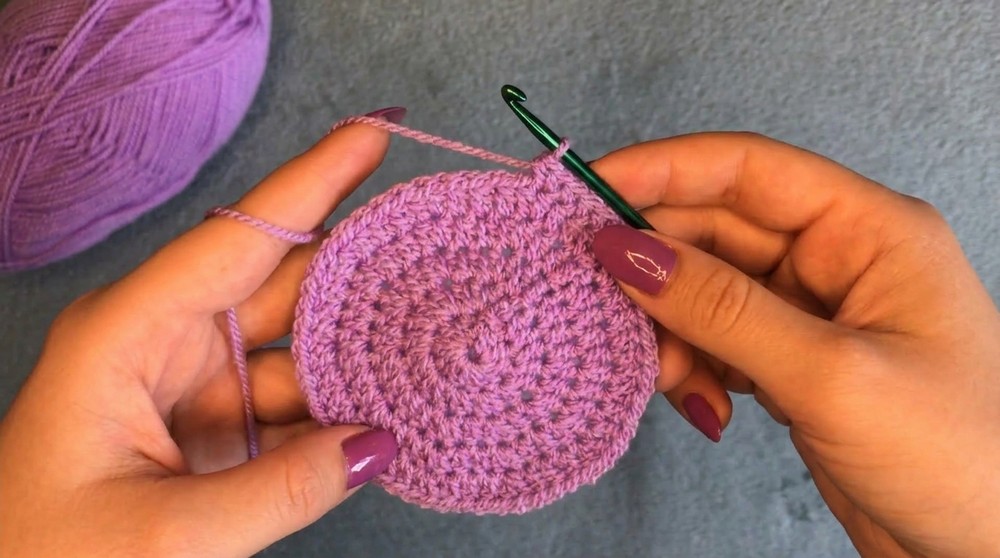
2. Shape the Sides (Body of the Hat)
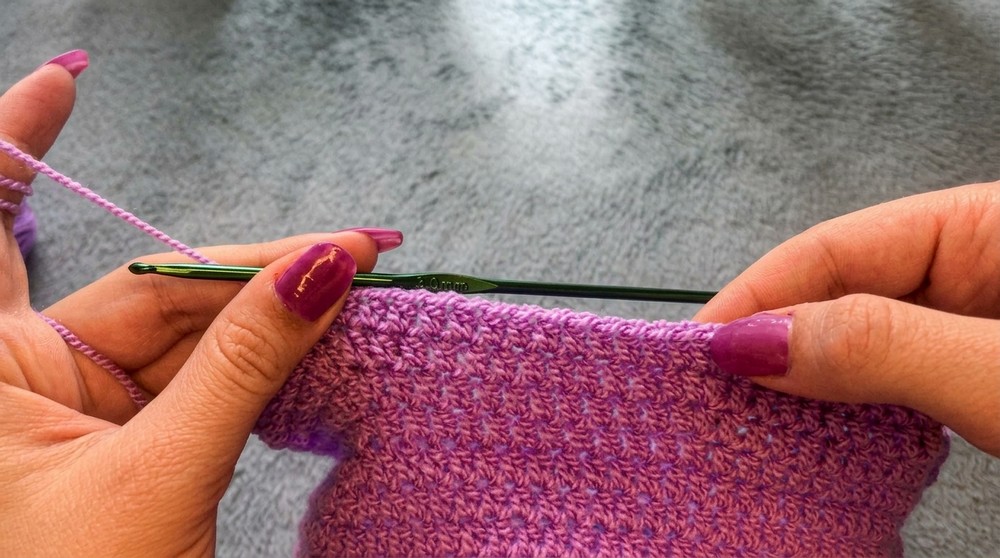
- Round 1: Work 1 HDC in each stitch around. Do not increase – this will form the bucket shape of the hat as the edges begin to curve downward.
- Continue working HDC rounds until the sides measure 5 to 6 inches, or until it reaches your preferred length.
3. Add Dots (Optional)
To create black dots:
- Switch to black yarn at random intervals during rounds of HDC.
- Crochet 3 to 5 stitches in black and then switch back to purple yarn.
- Space them randomly or uniformly based on your preference.

4. Create the Brim
- Brim Increase Round: (Work 2 HDC in the first stitch, HDC in the next 3 stitches) repeat around.
- Next Brim Rounds: Continue working HDC rounds, adding gradual increases (e.g., 2 HDC every 4 stitches, then every 5 stitches) until the brim is as wide as desired.
- For a firmer brim, finish with 1 or 2 rounds of SC.
Finishing
- Cut yarn, leaving about a 6 inch tail.
- Use the yarn needle to weave in all ends securely.
- Block the hat if necessary to shape it properly (steam or damp cloth recommended for acrylic yarn).
Final Words and Tips
- Customization: Adjust the size of the hat by increasing/decreasing the number of rounds for the base and sides.
- Maintenance: Wash gently by hand or use a delicate cycle in the washing machine. Lay flat to dry to maintain the hat’s shape.
- Experimentation: Try using different yarn textures or colors to make your bucket hat unique.