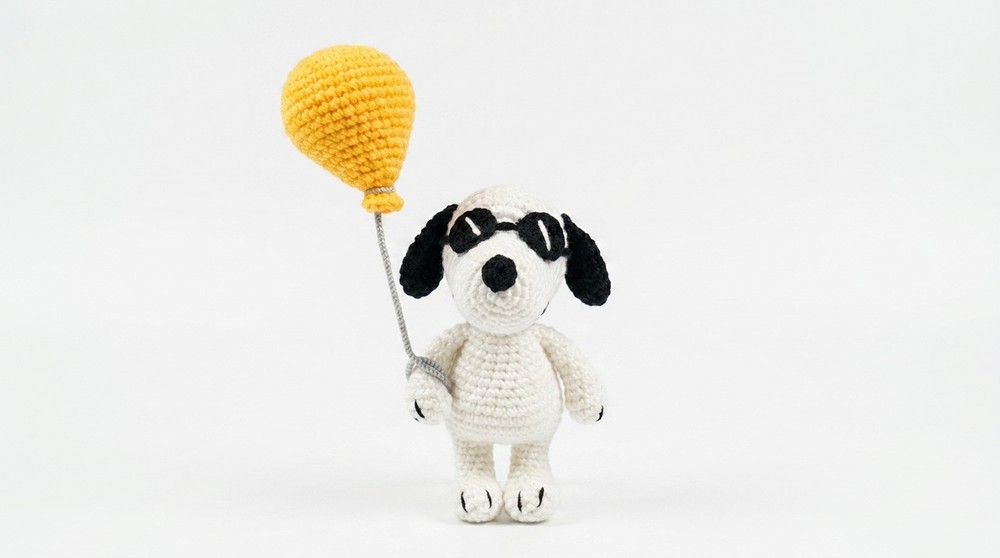
A cute little Snoopy can come to life through this free crochet Snoopy dog pattern making a fun toy for play display or gifting.
Let us tell you about a crochet pattern that’s fun, easy, and absolutely adorable. This project lets you create the famous Snoopy, capturing all his lovable features and playful personality. With his floppy ears, cheerful expression, and soft, cuddly design, Snoopy isn’t just a crochet project—he’s a faithful companion that brings smiles wherever he goes. This Pattern includes step by step instructions to help you shape his iconic features, like his rounded head, cute nose, and playful tail. You can even add your own personal touch by customizing his look with colorful accessories, such as a scarf or a tiny hat.
Free Crochet Snoopy Dog Pattern That’s Irresistible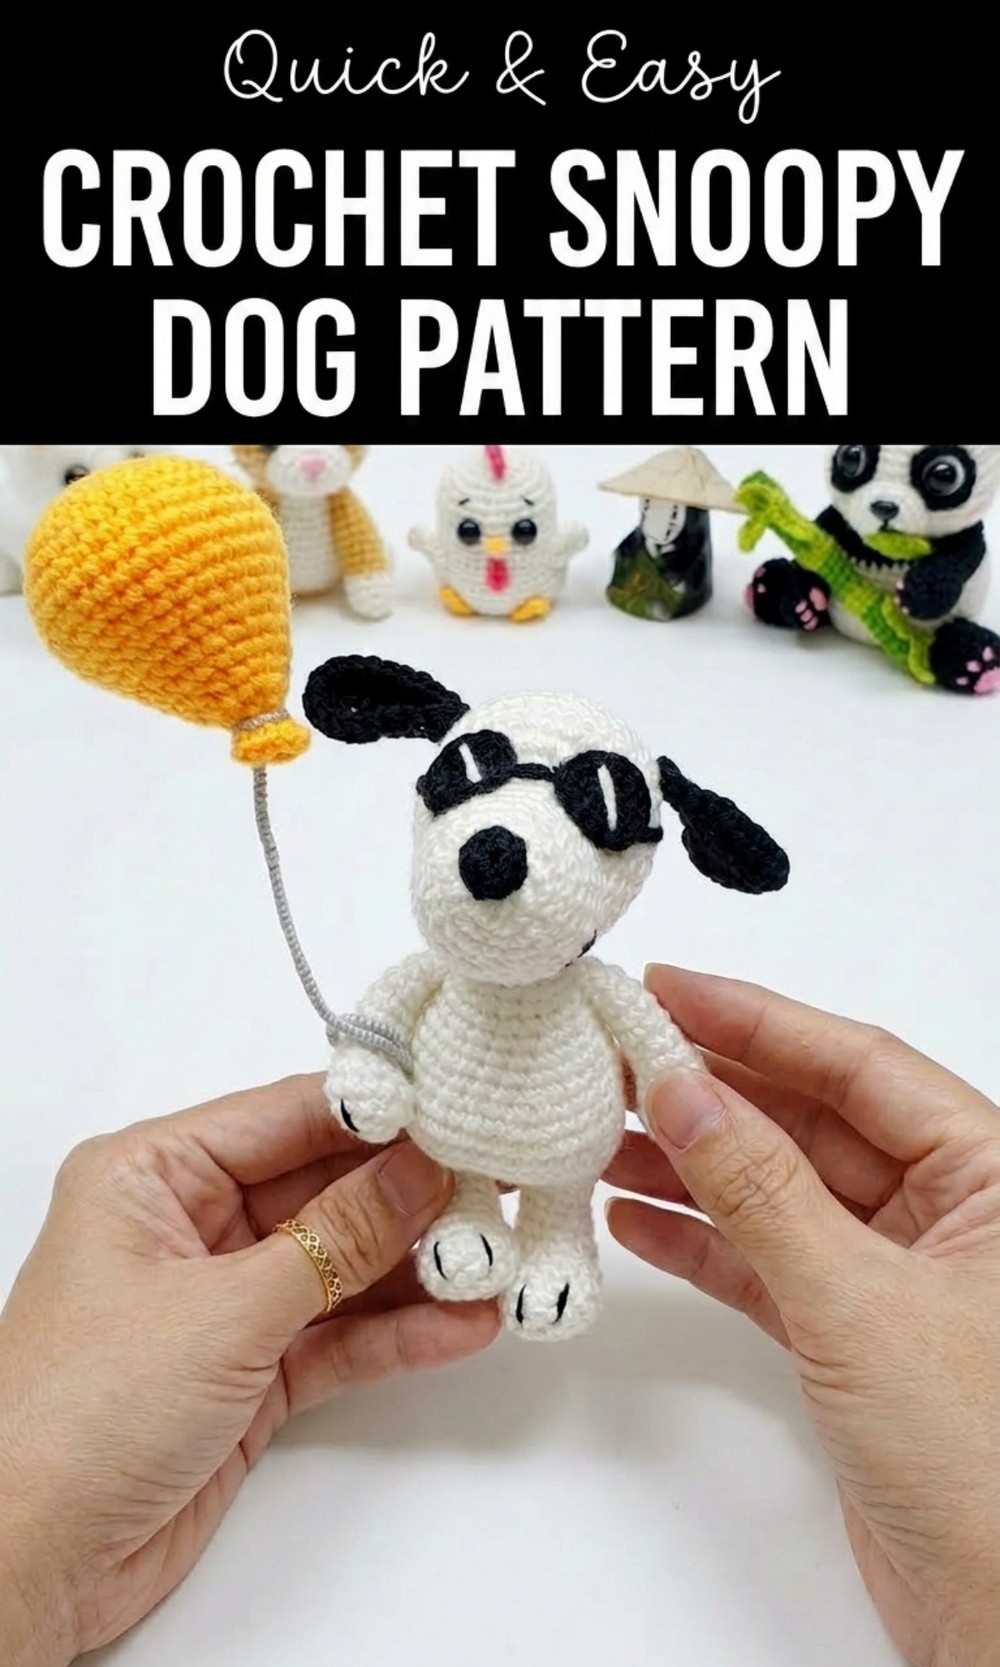

This pattern has been thoughtfully designed to be perfect for kids and adults alike. Snoopy’s bright and cheerful appearance makes him the ideal decoration for bedrooms, playrooms, or even as a thoughtful gift for Peanuts fans. His stuffed, huggable body makes him a lovable toy for children, while his whimsical presence adds charm to any space.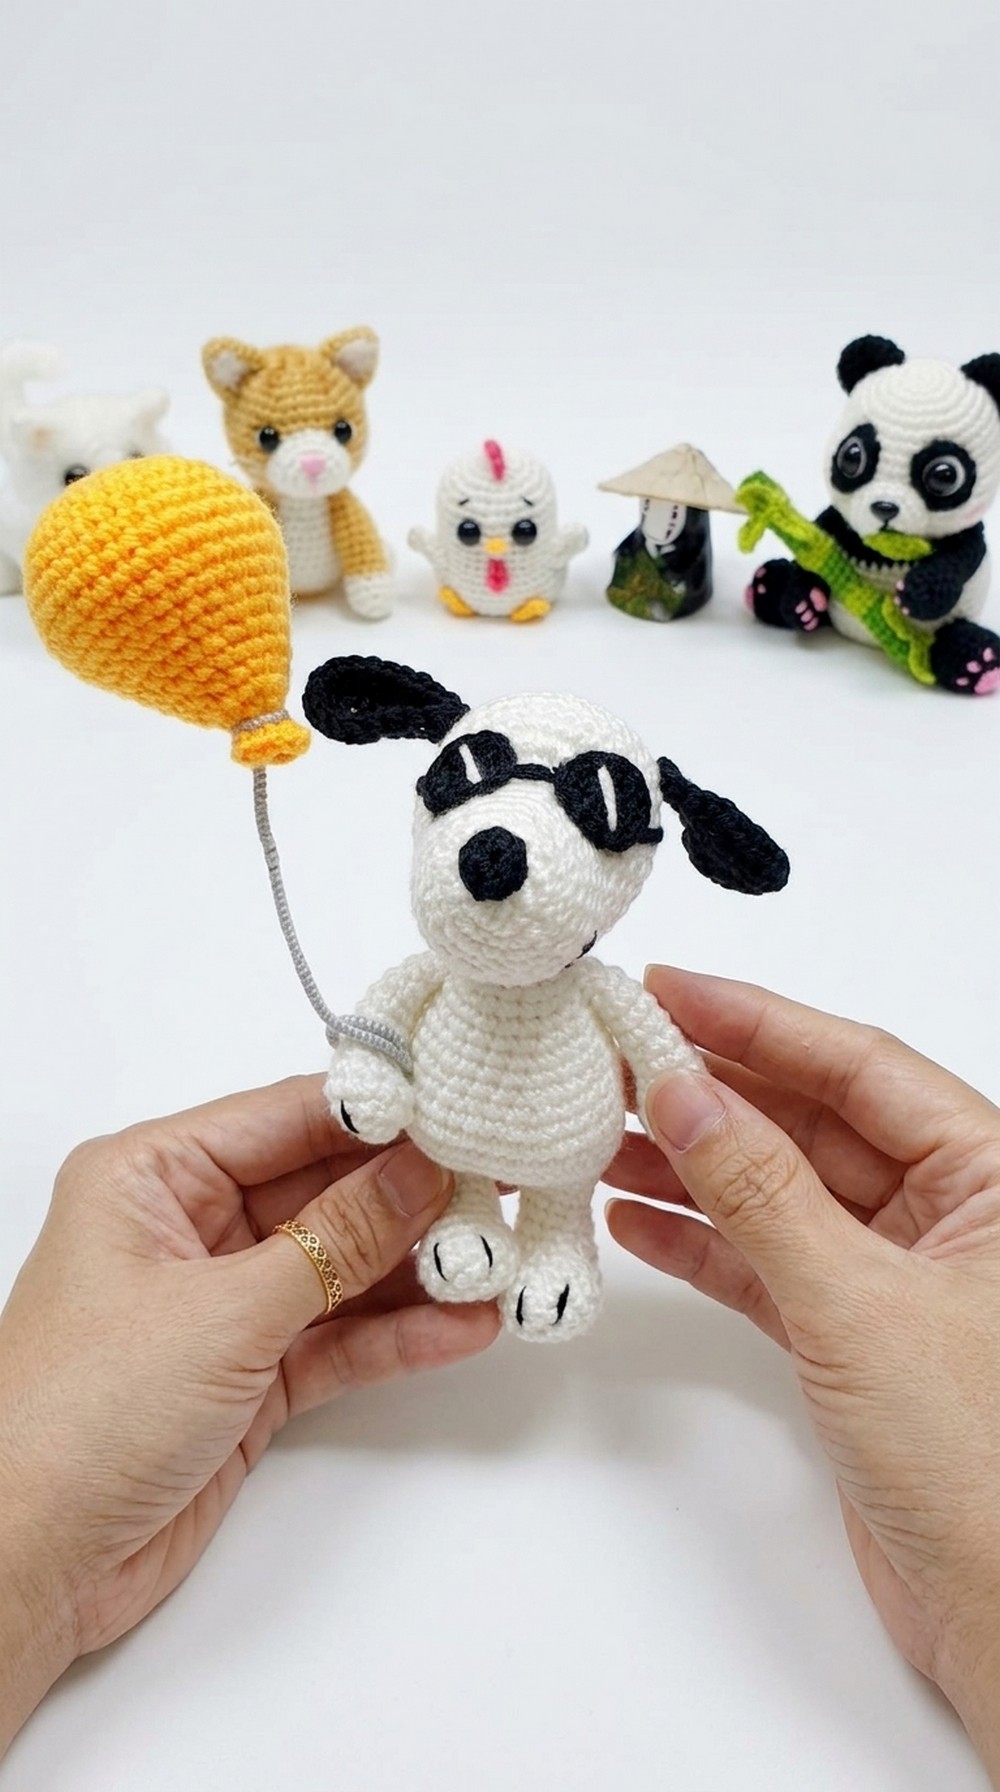 Even better, this crochet project is practical yet creative. It’s quick enough to finish in just a few hours and works well for any skill level. From his floppy ears to his sweet little tail, every detail comes together beautifully to bring Snoopy to life. If you’re looking for a fun and heartfelt crochet Amigurumi project, this pattern is a perfect choice. Get ready to create something special and bright with your own hands—start crocheting today, and let Snoopy light up your world.
Crochet Snoopy Dog Pattern
Materials Required
- Yarn:
- White: For the primary body (2 mm yarn size).
- Black: For ears, nose, and details.
- Optional: Red for accessories like the collar or balloon.
- Crochet Hook: 2.25 mm or size suitable for your yarn weight.
- Stuffing: Poly fill or fabric scrap for filling.
- Scissors: For cutting yarn ends.
- Tapestry Needle: For attaching parts and weaving in loose ends.
- Stitch Markers: Optional, to mark the beginning of rounds.
- Optional Accessories: Zinc wire for structural support (avoid using wire for children’s toys).
Techniques Used
- Magic Circle (MC): A starting method to create a tightly closed loop.
- Single Crochet (SC): Insert the hook, yarn over, pull through, yarn over again, and pull through both loops.
- Increase (INC): Two SC in one stitch.
- Decrease (DEC): Combine two stitches into one (use front loops only for invisible decreases).
- Slip Stitch (SS): Join the rounds cleanly.
- Chain Stitch (CH): Foundation stitches or turning chains.
- Half Double Crochet (HDC): Yarn over, insert hook, yarn over again, pull through all loops on the hook.
Pattern Instructions
Head
- Row 1: Begin with a Magic Circle. Work 6 SC into the circle. [6 sts]
- Row 2: Work 6 INC (2 SC into each stitch). [12 sts]
- Row 3: Work in sets of 1 SC, 1 INC repeated 6 times. [18 sts]
- Row 4: Work in sets of 2 SC, 1 INC repeated 6 times. [24 sts]
- Row 5: Work in sets of 3 SC, 1 INC repeated 6 times. [30 sts]
- Row 6 to 11: Work 1 SC in each stitch for 6 rounds to build the height. [30 sts per round]
Note: Use a marker to track the starting point of each row, as we’re working in a continuous spiral.
- Row 12: Work in sets of 3 SC, 1 DEC repeated 6 times. [24 sts]
- Row 13: Work in sets of 2 SC, 1 DEC repeated 6 times. [18 sts]
- Row 14: Work in sets of 1 SC, 1 DEC repeated 6 times. [12 sts]
Finish stuffing the head firmly before closing.
- Row 15: Work 6 DEC to close. [6 sts]
- Fasten off and weave in the end securely.
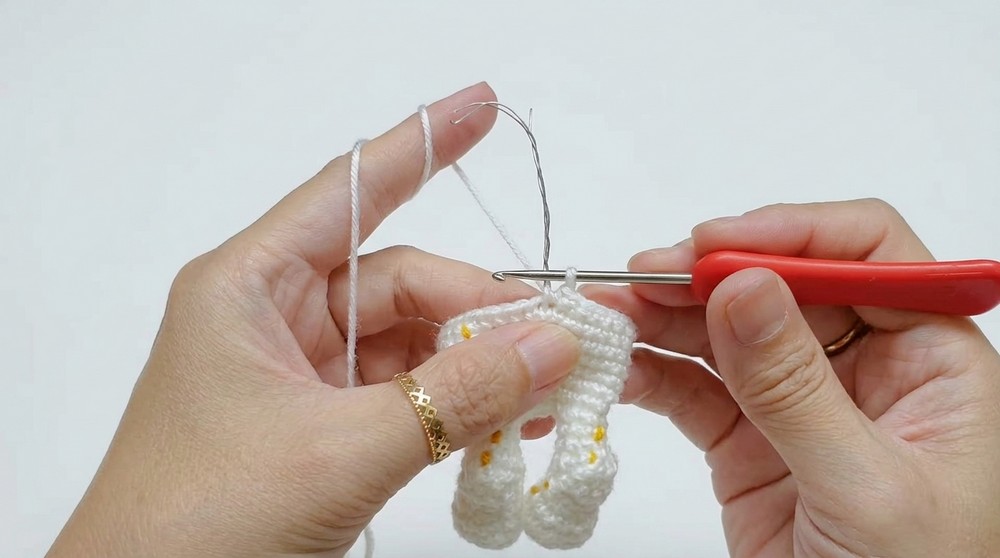
Ears
- Chain 8.
- Starting in the second chain from the hook, work:
- 6 SC, then 3 SC in the same stitch (curve), and continue to the opposite side with 5 SC, ending with 1 INC. [16 sts]
- Row 2: Chain 1, turn, and work:
- 3 SC, 3 HDC, 1 INC, and 5 SC along the flat side. Fasten off.
Attach the ears symmetrically on rows 12–13 of the head.
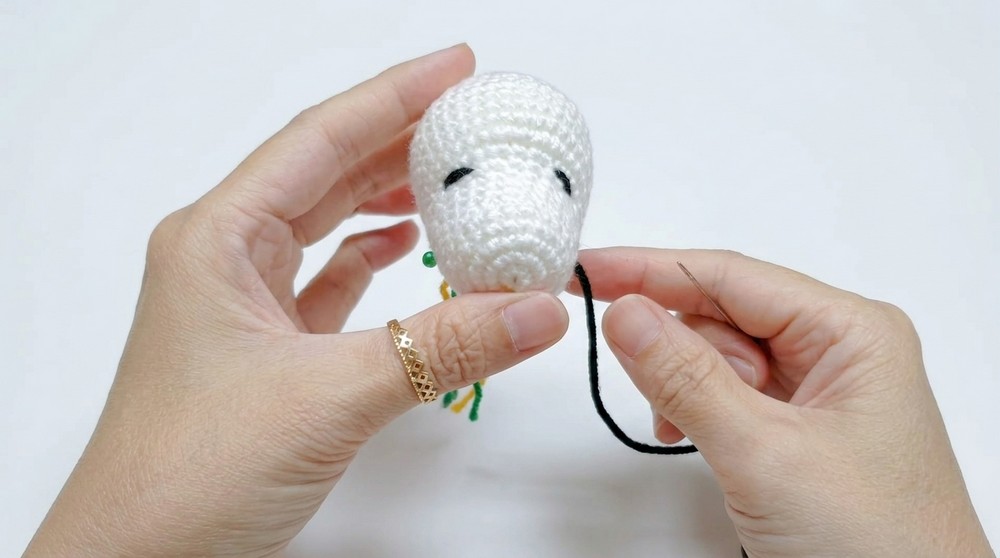
Nose (Black)
- Row 1: Start with a Magic Circle with 4 SC.
- Row 2: Work 4 INC. [8 sts]
- Row 3: Work 1 SC in each stitch. [8 sts]
Attach the nose to the front center area of the face between rows 7–9.
Arms (Make 2)
- Row 1: Start with a Magic Circle with 6 SC. [6 sts]
- Row 2: Work 1 INC in each stitch. [12 sts]
- Row 3 to 6: Work 1 SC in each stitch for 4 rounds. [12 sts per row]
Insert stuffing lightly to keep the arms soft and flexible.
- Row 7: Work 6 DEC. [6 sts]
- Fasten off and leave a long tail for sewing.
Attach the arms at row 24 of the body, placing them symmetrically on either side.
Legs (Make 2)
- Row 1: Chain 4. Work:
- 2 SC, 3 SC in the same stitch (curve), and 2 SC on the opposite side. [8 sts]
- Row 2: Work 1 SC in the next 3 stitches, 2 INC at the curve, and 3 SC on the other side. [12 sts]
- Row 3 to 6: Work 1 SC in each stitch for 4 rounds. [12 sts per row]
- Row 7: Work in sets of 2 SC, 1 DEC repeated 3 times. [9 sts]
- Fasten off. Leave one leg uncut for joining to the body.
Body
- Join the legs together:
- Work 6 SC on the first leg, chain 2, connect to the second leg with 6 SC, and SC into the chain stitches. [16 sts]
- Row 2 to 7: Work 1 SC in each stitch for 6 rounds to form the body’s shape. [16 sts per row]
- Row 8: Work in sets of 2 SC, 1 INC repeated 4 times. [20 sts]
- Rows 9 to 13: Continue without increases for 5 rounds. [20 sts per row]
Stuff the body as you proceed.
- Fasten off and leave a long tail for joining the body to the head.
Tail (Black)
- Row 1: Begin with 4 SC in a Magic Circle.
- Row 2: Work 4 INC. [8 sts]
- Rows 3 to 4: Work 1 SC in each stitch. [8 sts per row]
Attach tail at the back of the body at row 7.
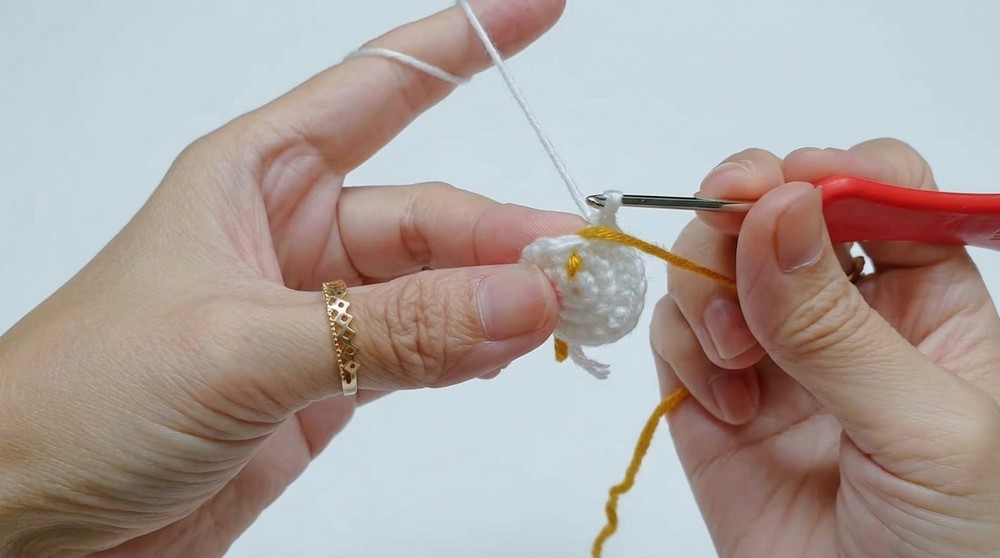
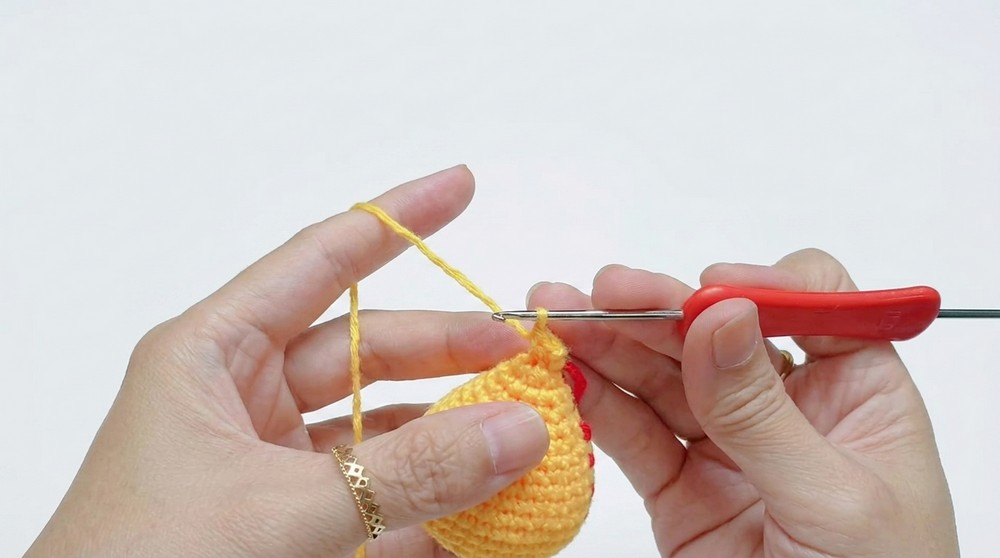
Accessories (Optional)
Collar (Red)
- Chain enough stitches to wrap around the base of Snoopy’s neck (approximately 18-20 depending on size).
- Work 1 SC in each chain, fasten off, and attach.
Glasses (Black)
- Form two loops by chaining 10, joining, and repeating for the second loop.
- Connect loops with a chain bridge, and attach the glasses to Snoopy’s face.
Assembly
- Attach Head to Body: Using the tail left from the body, sew the head to the top of the body securely at rows 13–17.
- Arms and Legs: Position the arms symmetrically at row 24 of the body. Attach legs firmly at the base of the body.
- Tail: Sew the tail at the back of the body between rows 6–7.
- Facial Features: Attach ears, nose, and optional accessories like glasses. Ensure correct positioning.
Finishing and Tips
- Shape Maintenance: Gently reshape Snoopy after assembling by adjusting the stuffing.
- Structural Strength: Use zinc wire to provide sturdiness inside Snoopy (optional). Avoid using wire if making this toy for children.
- Secure Seams: Use a tight stitch while sewing to prevent parts from coming loose.
- Safety: Ensure no loose ends or sharp objects remain if gifting this to kids.
Final Words
This Snoopy crochet pattern is a charming project that requires attention to detail but delivers a timeless design. Personalize the pattern with different yarn colors, add accessories like a balloon, or even crochet Snoopy’s friend Woodstock. Keep practicing and experimenting, and enjoy creating lovable characters with crochet.
https://youtu.be/0ZvghpoMV6A