Create your own charming crochet handbag with this easy pattern that’s perfect for adding a stylish, handmade touch to every outfit you wear.
Making a beautiful handmade handbag is a wonderful way to carry your things in style. This kind of bag looks charming and unique because every stitch is crafted with care. Soft yarn gives it a cozy and inviting feel, while the colors and patterns can be bright and playful or simple and elegant, perfect for any occasion. It’s not just a pretty bag; it’s very useful too! You can keep your wallet, phone, keys, and little treasures safe and easy to find.

Simple Crochet Handbag Pattern for Fresh Accessories
The size can be just right to fit what you need, whether you’re going out shopping, meeting friends, or going to work. The bag shape is lovely and often has neat details like buttons or decorative edges, giving it a special touch that store-bought bags don’t have. Making or owning one is like carrying a small piece of art with you every day, and it always brings a smile!

Crochet Polyester Cord Handbag Pattern
Materials Needed
- Polyester cord (3 mm) – about 130-140 meters
- Crochet hook no. 4
- Large-eye yarn needle
- Scissors
- Stitch markers
- Lighter (for finishing ends)
- Bag accessories: a lock, 2 half rings (20 mm), a chain or guitar strap
- Optional: thicker cord or knitted yarn for variation
Special Features
- Uses polyster cord for durability and unique texture
- Simple stitch pattern—mainly chains and slip stitches
- Adaptable size with changes to stitch count and number of rows
- Easy to personalize with choice of locks and straps
Step-by-Step Crochet Bag Pattern
Step 1: Make a Swatch to Determine Gauge
Before starting, crochet a small sample using your chosen material and hook size to determine your stitch gauge. This will help you calculate how many chains and rows you need to match the desired bag size.
Step 2: Chain Foundation
- Leave a tail of about 20 meters for sewing later.
- Make a slip knot, then create a foundation chain of about 30 air loops (adjust this number based on your sample gauge to reach desired width of 15 cm).
- Ensure the loops are even in size and tight but not stretched to keep the edges straight.

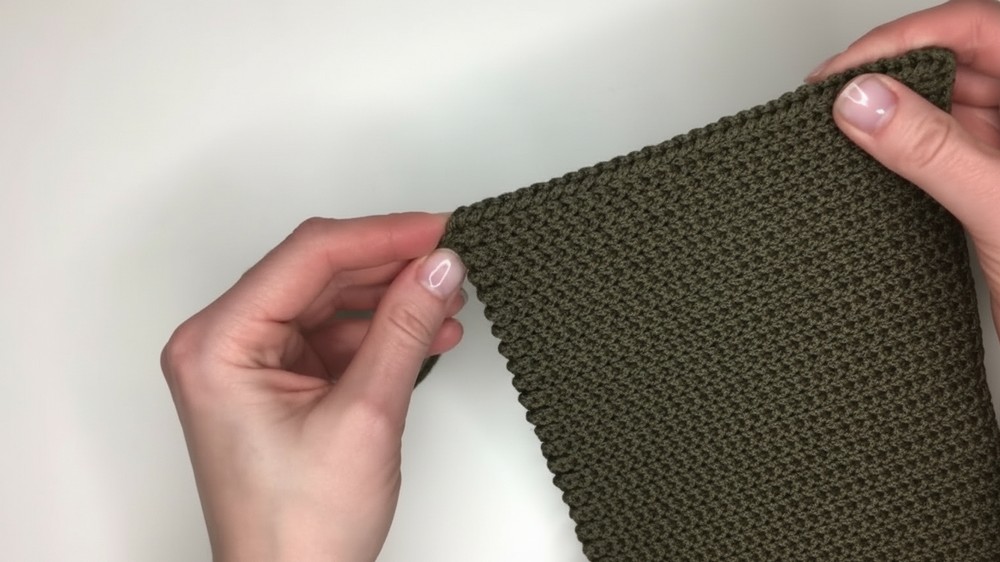
Step 3: First Row – Slip Stitch Row
- Add 1 extra chain for lifting.
- Starting from the 2nd chain from the hook, work slip stitches (sc in US terms) into each chain across.
- When you reach the last stitch, work into the very first chain to complete a slip stitch and close the row.
Step 4: Second Row
- Chain 1 for lifting.
- Turn the work and again work slip stitches into the back loop of each stitch from the previous row.
- Repeat slip stitches across, working into back loops to create a textured effect.
Step 5: Repeat Sl St Rows for Fabric Length
- Continue repeating steps 3 and 4 to create alternating stripes of slip stitches worked through front and back loops.
- For the size mentioned, make 55 such stripes (every two rows form one visible stripe), but adjust to fit your desired bag height.
Step 6: Sidewalls
- Leave a tail of about 1.2 meters for stitching later.
- Chain 10 air loops for the sidewalls, adjusting for your bag size.
- Work slip stitches in rows just like the main body, keeping the same stitch density until the sidewall reaches the desired height (for this pattern, 28 rows or 14 stripes).
- Make two sidewall pieces total.

Step 7: Secure Loose Ends
- Use a yarn needle to hide all tails from chains inside the fabric so they don’t show.
- Pull the tails gently through the edges or rows on the wrong side of the fabric.
Step 8: Assembly – Sewing Main Body and Sidewalls
- Fold the main panel to form the bag shape (width and height).
- Position a sidewall piece upright on the side with the tail left free to sew.
- Using a yarn needle and the tail from the chain foundation, sew sidewall edges to main body by working through each chain stitch on both pieces like puzzle pieces—insert needle alternately between main panel and sidewall loops.
- Continue until sidewall and body are joined fully. Repeat with the other sidewall.
Step 9: Bottom Join
- Similar to sidewalls, sew the bottom edges together joining the strips while skipping and matching loops as needed for a neat finish.
- Keep checking stitches to maintain even tension.
Step 10: Attach Half Rings
- Decide on placement for half rings on sidewalls between the 3rd and 4th stripe.
- Insert needle between braids on a selected row and stitch through half ring securely with multiple passes.
- Attach second half ring on the opposite side in the same way.
Step 11: Fasten Lock & Valve
- Adjust the upper flap (valve) length to your preference.
- Attach lock by loosening the clamp slightly and carefully fitting it onto the flap area.
- Use pliers or light force to clamp the lock teeth onto the fabric, ensuring it is secure but not warped.
- Attach the lock’s counterpart on the bag body where it will close neatly.

Step 12: Strap Attachment
- Attach chain or guitar strap by clipping or stitching straps onto the half rings on the sides.
- Make sure attachments are secure.

Final Tips
- Always check the matching of rows and stitches when joining pieces to keep edges aligned.
- Tighten loops evenly during crochet to avoid bag stretching or distortion.
- Use stitch markers to keep track of rows or sections as you go.
- When finishing, secure and hide yarn ends neatly for a clean professional look.
- For a sturdier bag, consider lining it with fabric.
Conclusion
This polyester cord handbag is a perfect mix of simple crochet techniques and practical assembly to make a beautiful and functional accessory. It’s customizable in size and style, great for casual everyday use or as a thoughtful handmade gift. With patience and care, beginners can achieve a neat and trendy bag that’s sure to impress!