
Make a festive decoration with this free crochet Christmas tree pattern, featuring easy instructions to add a handmade and cheerful touch to your holiday decor.
During last Christmas, I found a delightful Free crochet Christmas Tree pattern on the Hook & Loop Crochet Tutorials channel that instantly grabbed my attention. This adorable handmade decoration is a wonderful way to bring warmth and charm to your holiday setup, and it also makes a thoughtful gift for friends and family who enjoy unique seasonal items.
Free Crochet Christmas Tree Pattern & Tutorial for Holiday Decor
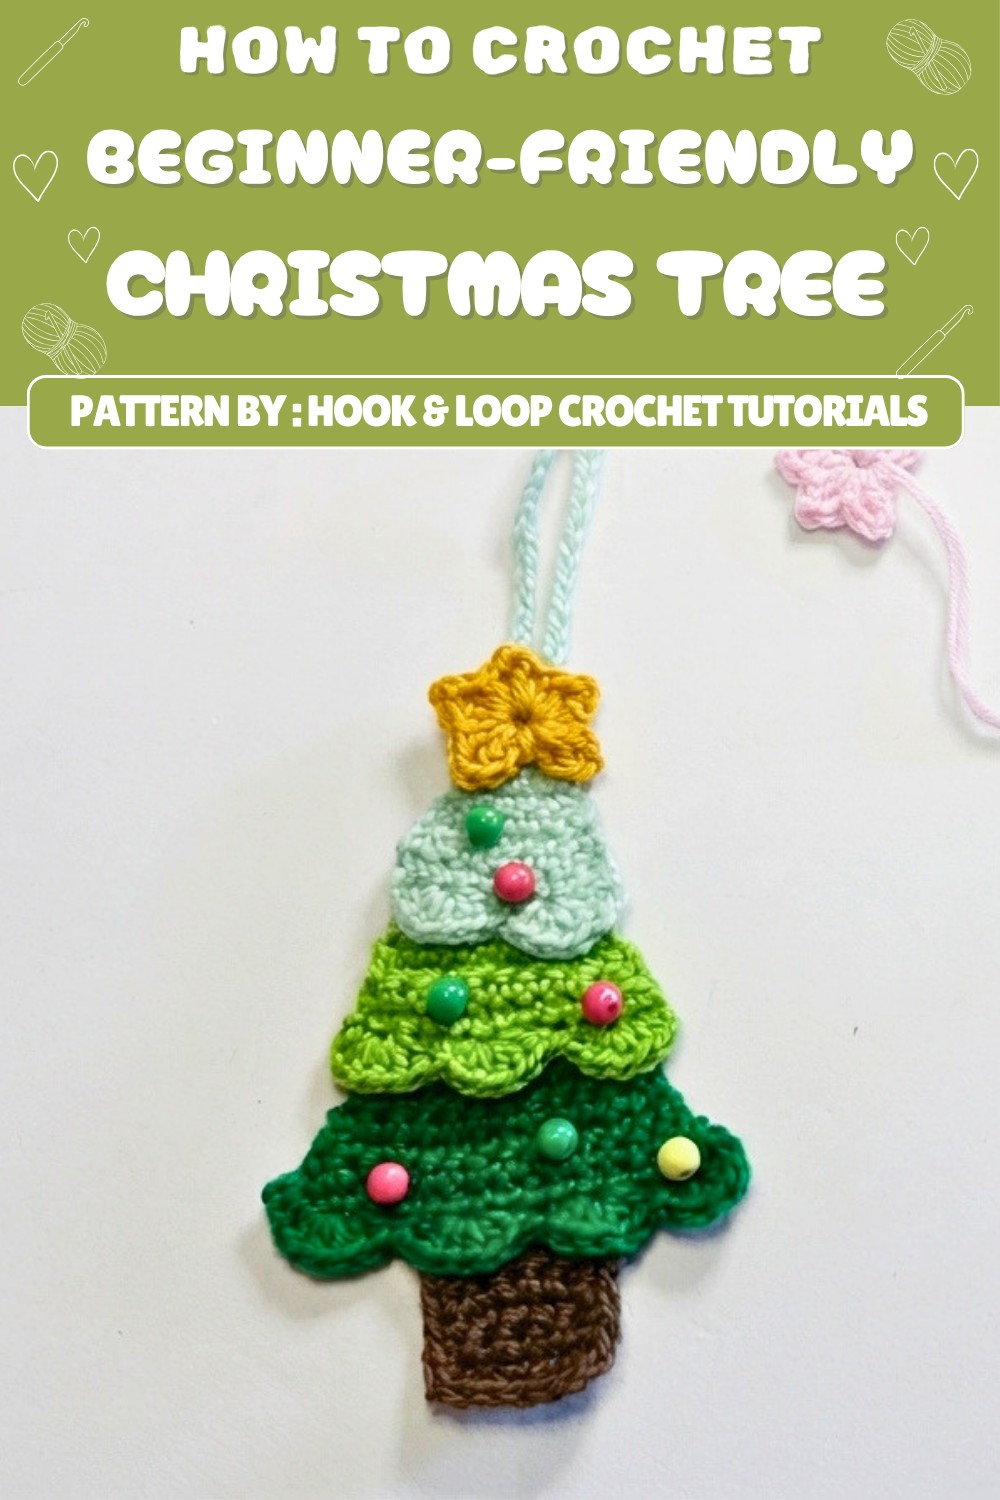
The little tree is shaped with layers of various green tones, creating a gentle gradient that feels fresh and lively. The texture is soft but firm enough to hold its triangular silhouette, created by combining simple stitches with decreases. One of the best parts is the small, beaded star on top, which adds a festive sparkle that really brightens the piece.
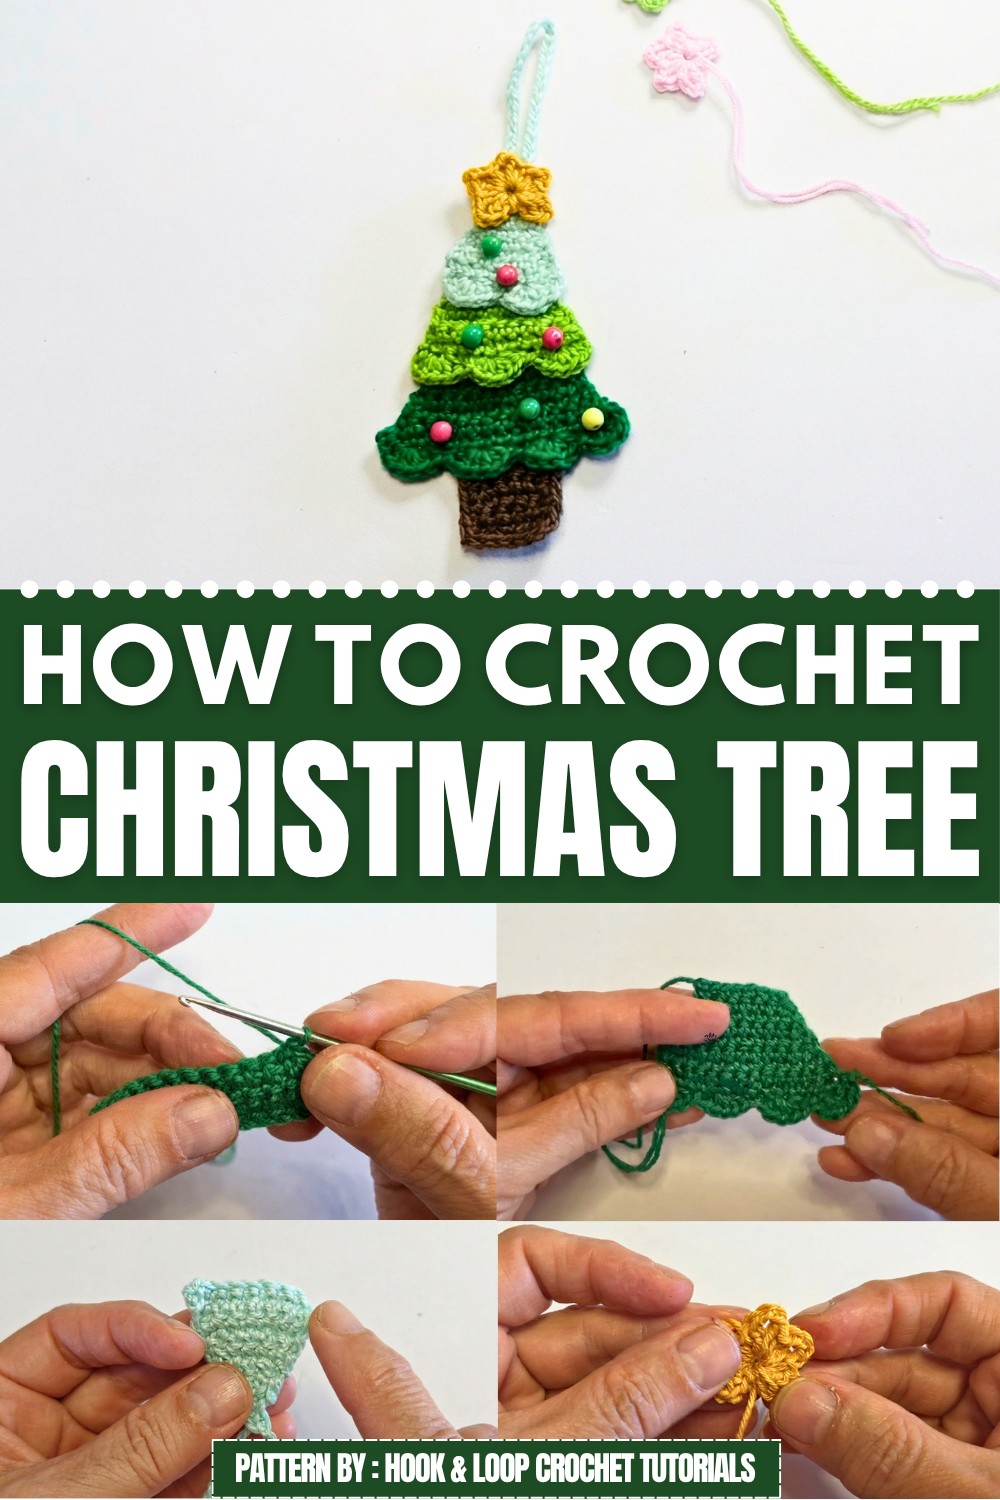
This crocheted tree isn’t just beautiful, it’s practical, too. It fits perfectly as a tabletop ornament, a tree hanger, or even as part of a decorative garland. The finishing touches include smooth edging made with slip stitches that keep the look neat and polished. Its lightweight nature makes it ideal for mailing as gifts or decorating multiple spots without hassle.
What impressed me most about this project from this pattern is how straightforward and enjoyable it is. The detailed instructions allow anyone, whether new or experienced in crochet, to create a charming holiday item that adds personality and cheer to any room. Creating this Christmas tree was a joyful way to add a handmade element to the festivities while sharing something special with others.
Crochet Christmas Tree Pattern
This pattern shows you how to crochet a layered Christmas tree using four different shades of green, topped with a twinkle star and decorated with beads. The steps follow the video sequence, including tree part creation, border details, trunk assembly, and joining the pieces.
Quick Overview Of Pattern
- Crochet three separate tree layers with gradated decreases
- Add decorative borders to each tree segment
- Make a separate trunk
- Join the pieces by sewing or gluing
- Top with a crocheted twinkle star
- Decorate with beads for festive flair
Helpful Tips
- The pattern uses US crochet terminology
- Each tree part features gradual decreases to form the shape
- Borders use slip stitches and half double crochets for branch effect
- Assembly can be done by sewing or gluing depending on your preference
- Beads may be attached by sewing or gluing
- Twinkle star is optional and adds a cheerful finish
Skill Level
Confident Beginner
Knowledge of single crochet, slip stitch, half double crochet, and working into the magic ring is helpful.
Materials
- 4 different shades of green 100% cotton yarn (for tree layers)
- 2 mm crochet hook (tree sections and trunk)
- 1.5 mm crochet hook (star)
- Scissors
- Tapestry needle
- Some beads (for decoration)
- Glue (for beads and assembly)
- Optional: sewing needle and thread
Measurements / Sizing
- Each tree section is worked in rows, getting smaller for layering effect.
- Trunk is rectangular and fits beneath the tree layers.
- Finished tree may be 8–10 cm depending on yarn and tension.
Gauge
- Gauge is not critical for this decorative project.
- Ensure each section fits proportionally. If desired, adjust chain numbers to resize.
Stitch Abbreviations
- ch – chain
- sc – single crochet
- sl st – slip stitch
- hdc – half double crochet
- dc – double crochet
- MR – magic ring
Special Stitches
- Magic Ring (MR): Loop yarn to create a tight, adjustable ring for star.
- Decrease: Skip a stitch at the row start and/or end for gradual shaping.
Step-by-Step Pattern
The Tree – Part 1 (Bottom Layer)
Row 1:
- With first green shade, ch 17
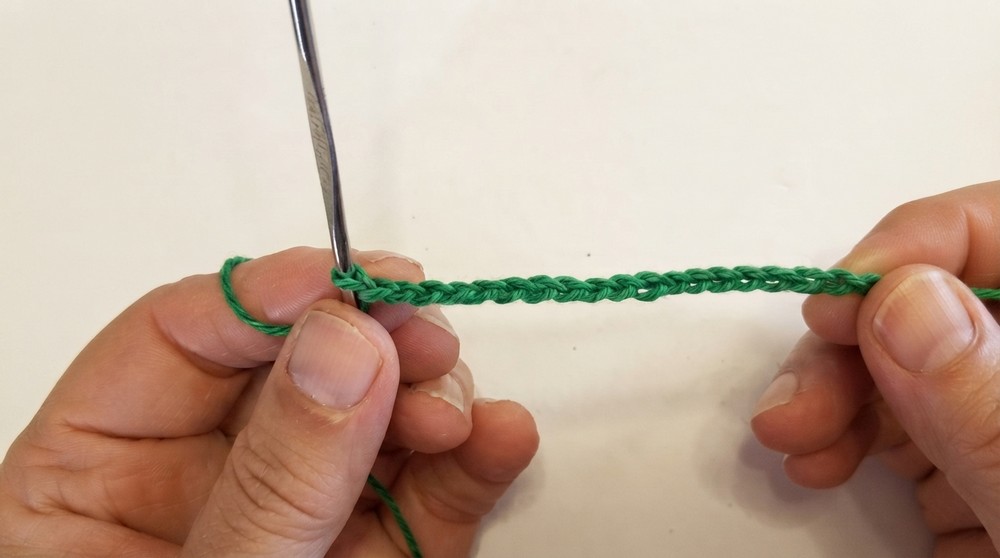
- 1 sc into the second stitch from the hook
- 1 sc in each stitch to end (16 sc total)
Row 2:
- Turn, skip the first stitch (decrease)
- 1 sc in each stitch
- Skip one stitch at the end, work 1 sc in last st (14 sc total)
Row 3:
- Turn, 1 sc in each stitch (14 st)
Row 4:
- Turn, decrease: skip first stitch, 1 sc in each stitch (12 st)
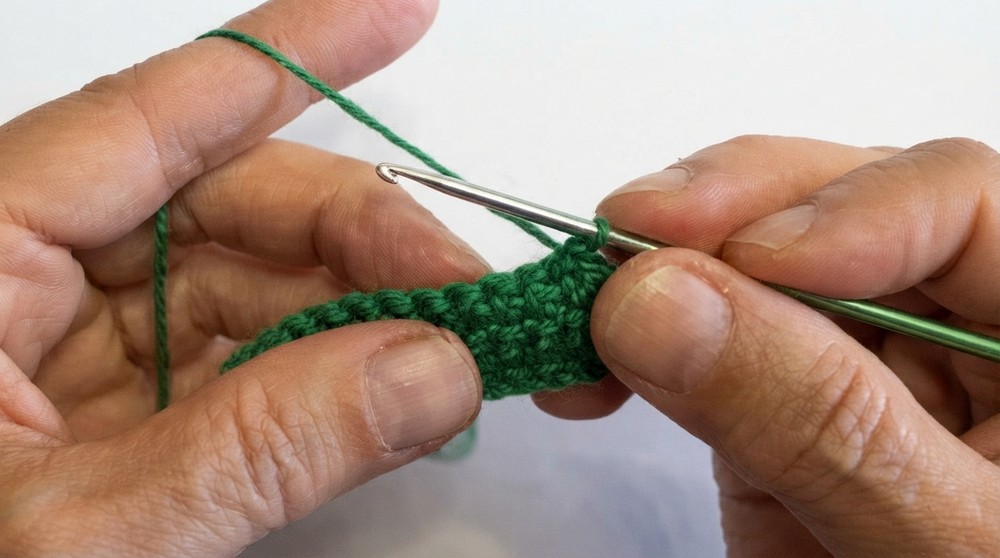
Row 5:
- Turn, no decrease, 1 sc in each stitch (12 st)
Row 6:
- Turn, decrease: skip first stitch, 1 sc in each stitch (10 st)
Row 7:
- Turn, no decrease, 1 sc in each stitch (10 st)
Row 8:
- Turn, decrease: skip first stitch, 1 sc in each stitch (8 st)
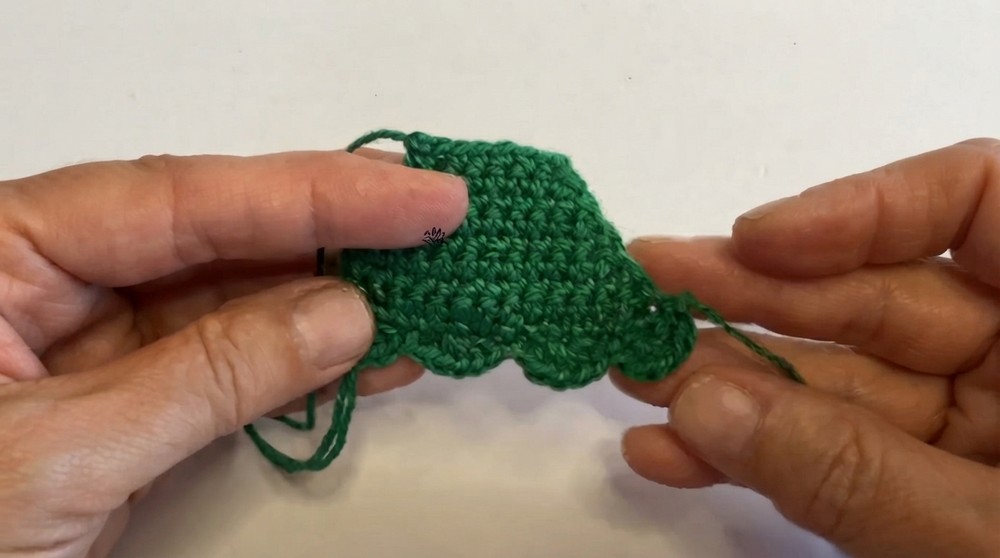
Row 9:
- Turn, no decrease, 1 sc in each stitch (8 st)
- ch 1, pull and cut yarn
Border for Part 1:
- Make a slip knot, sl st along the side of tree, then ch 1
- 5 hdc in first stitch
- Repeat: skip one stitch, sl st, skip one stitch, 5 hdc
- Continue pattern to edge
- sl st in the side, ch 1, pull and cut
The Tree – Part 2 (Middle Layer)
Row 1:
- With second shade, ch 13
- 1 sc in each stitch (12 st)
Row 2:
- Turn, decrease: skip first stitch, 1 sc in each stitch (10 st)
Row 3:
- Turn, no decrease, 1 sc in each stitch (10 st)
Row 4:
- Turn, decrease: skip first stitch, 1 sc in each stitch (8 st)
Row 5:
- Turn, no decrease, 1 sc in each stitch (8 st)
Row 6:
- Turn, decrease: skip first stitch, 1 sc in each stitch (6 st)
Row 7:
- Turn, no decrease, 1 sc in each stitch (6 st)
- ch 1, pull and cut
Border for Part 2:
- Work border similar to Part 1 (sl st, 5 hdc, skip, sl st, skip, 5 hdc, etc.)
The Tree – Part 3 (Top Layer)
Row 1:
- With third shade, ch 11
- 10 sc
Row 2:
- Turn, decrease: skip first stitch, 1 sc in each stitch (8 st)
Row 3:
- Turn, no decrease, 1 sc in each stitch (8 st)
Row 4:
- Turn, decrease: skip first stitch, 1 sc in each stitch (6 st)
Row 5:
- Turn, no decrease, 1 sc in each stitch (6 st)
Row 6:
- Turn, decrease: skip first stitch, 1 sc in each stitch (4 st)
Row 7:
- Turn, no decrease, 1 sc in each stitch (4 st)
Row 8:
- Turn, decrease: skip first stitch, 1 sc in each stitch (2 st)
Row 9:
- Turn, decrease: skip first stitch, 1 sc in next stitch (1 st)
- ch 36
- sl st, ch 1, pull and cut yarn
Border for Part 3:
- Work border as previously (sl st, 5 hdc, pattern repeat)
Weave in the Tails
- Use tapestry needle to weave in all yarn ends for each section.
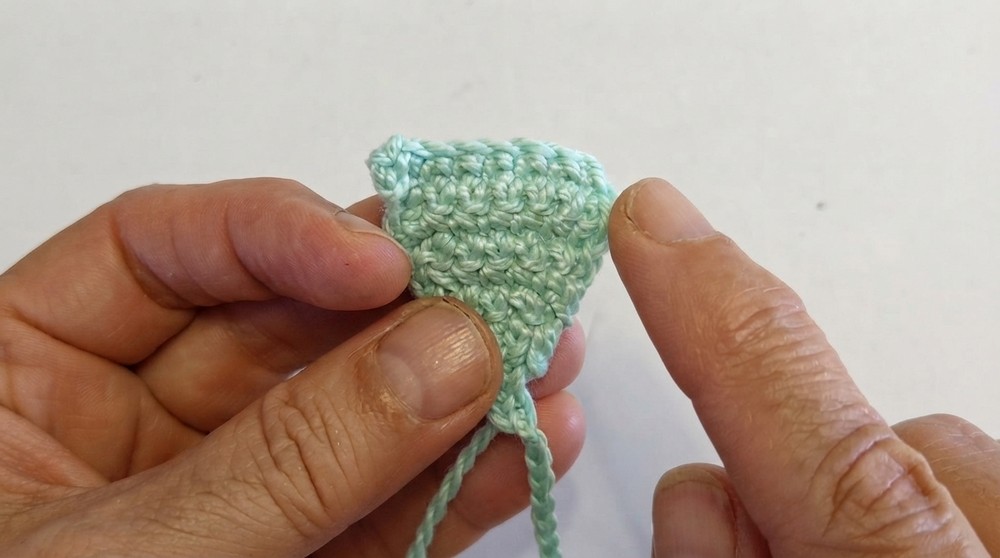
The Trunk
Rows 1–7:
- With fourth shade or brown, ch 6
- 5 sc
- Turn, work 1 sc in each stitch for 6 more rows (7 rows in total)
- 1 sc in each stitch all around, 2 sc in each corner to round edges
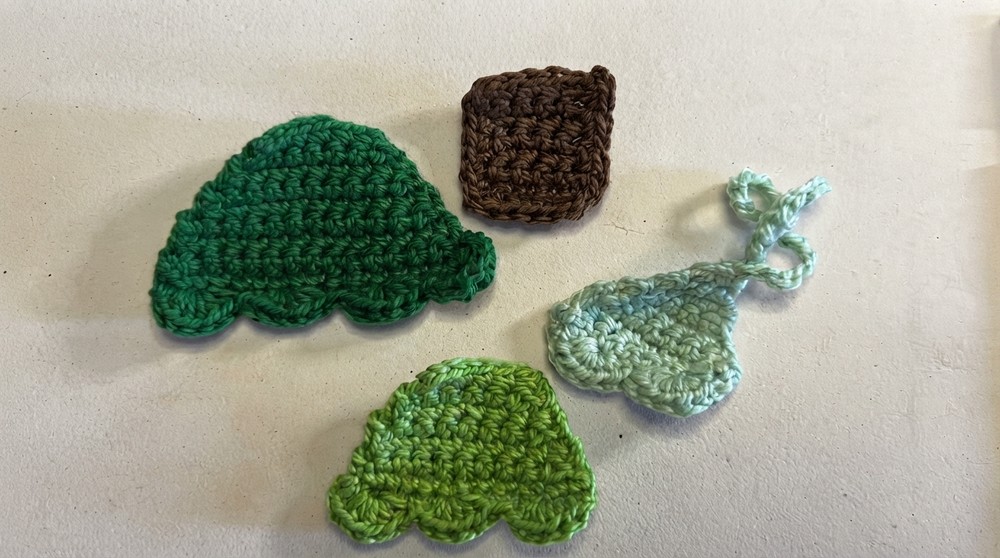
Joining the Pieces
- Stack the three tree sections from largest to smallest
- Place trunk underneath the tree base
- Join pieces together by gluing or sewing
- Ensure alignment for neat appearance
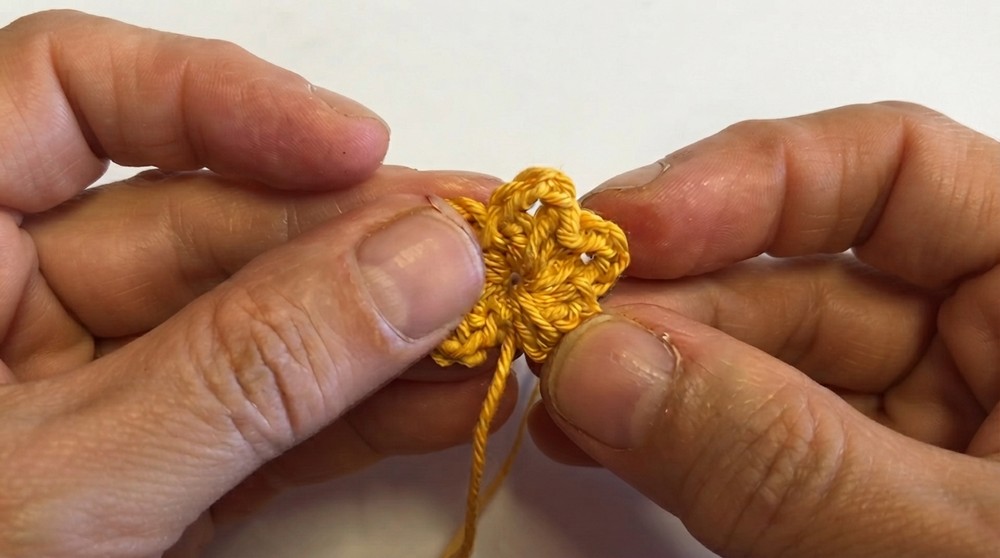
Twinkle Star
- Switch to 1.5 mm hook
- Create magic ring
- 1 sc, 1 dc, ch 2, 1 dc in ring (first point)
- Repeat 4 more times (5 points total)
- Finish with 1 sc, 1 sl st in ring
- Leave yarn ends or weave in as desired for falling star effect
Attach the Beads
- Using glue or needle and thread, attach beads to tree branches as decorations
- Allow glue to dry if used
Assembly & Finished Size
- Join tree layers and trunk securely
- Affix twinkle star to top or as a hanging decoration
- Finished tree can be used as a hanging ornament or a garland piece
Conclusion
Your festive crochet Christmas tree is now complete! With its gradated layers, tree trunk, twinkle star, and bead decorations, this project is a wonderful way to add handmade charm to your holiday decor. Whether hung on your Christmas tree or used in garland arrangements, the instructions provide a step-by-step approach suitable for beginners and seasoned crocheters alike.
