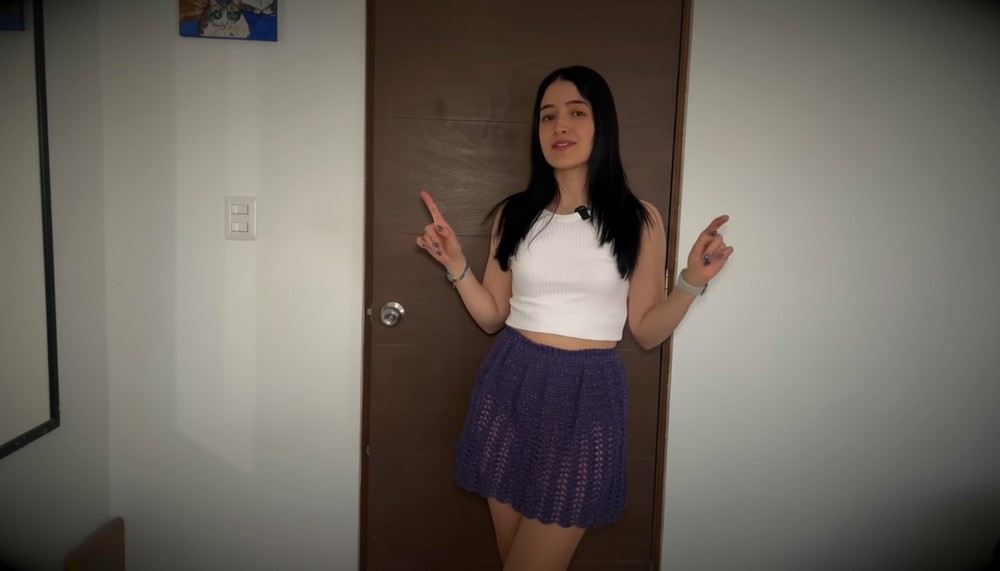
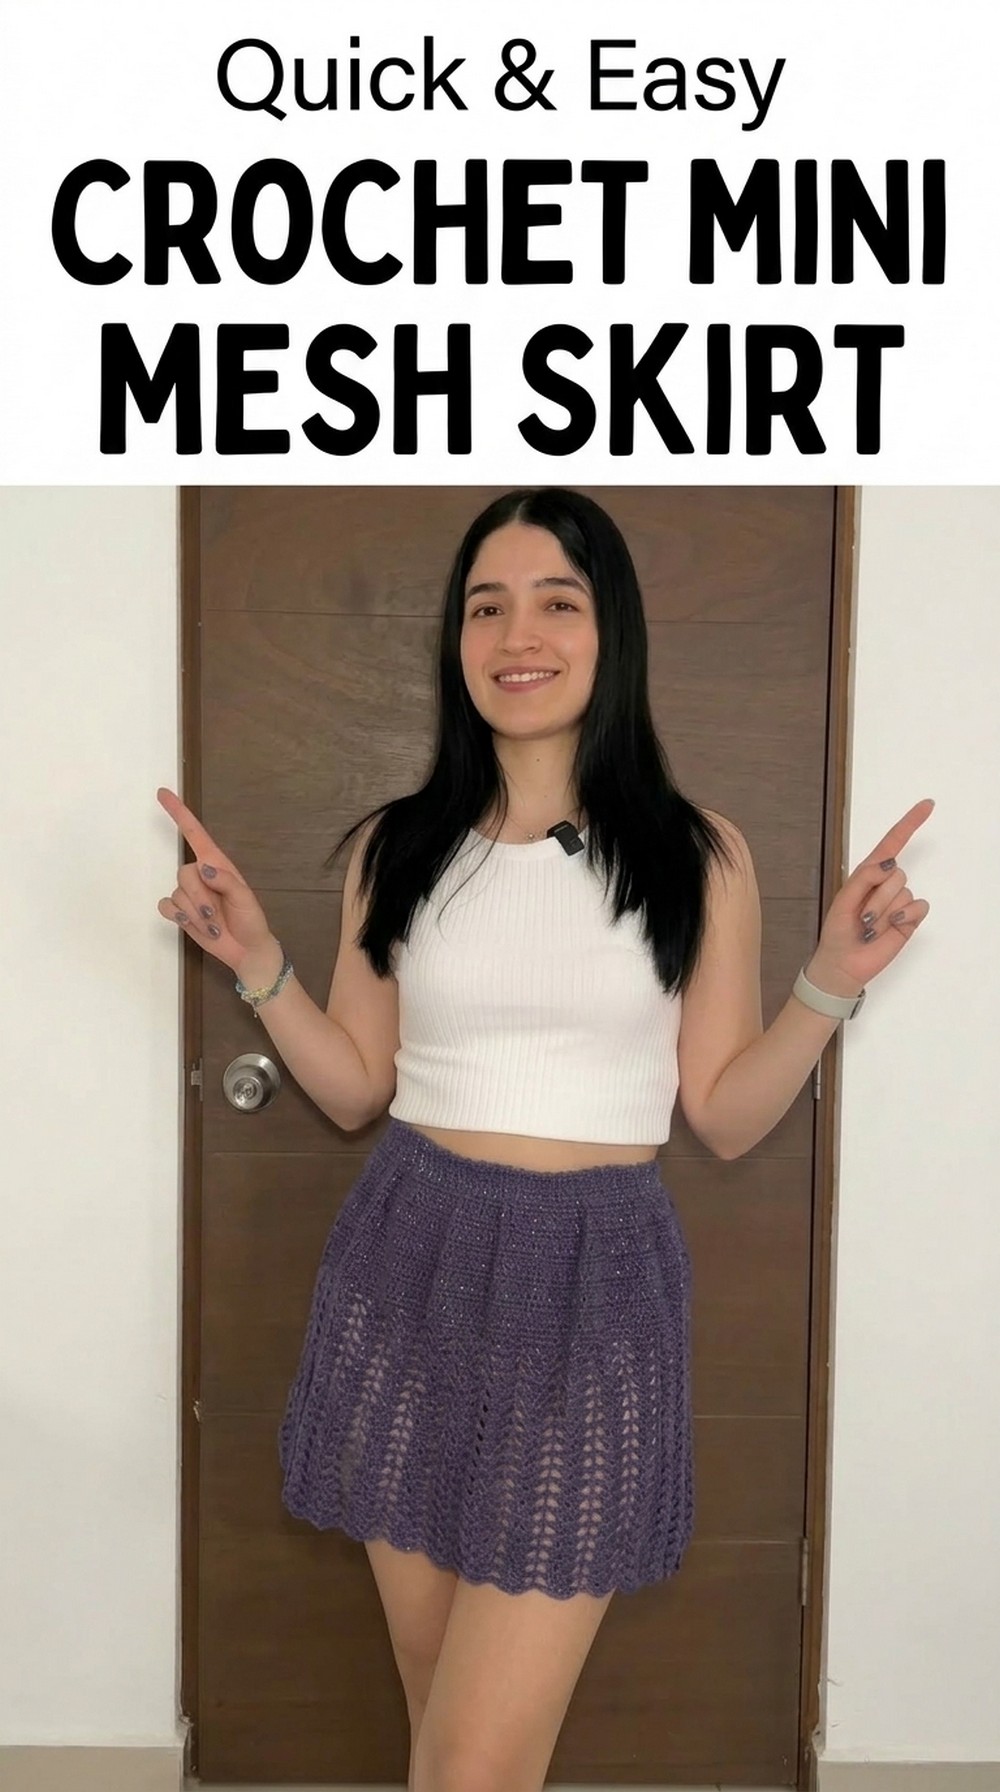
Try a Free Crochet Mini Mesh Skirt Pattern to make a cute and breezy skirt that adds charm to your summer wardrobe and handmade style.
Adorable Free Crochet Mini Mesh Skirt Pattern You’ll Love to Wear
Making a soft, stylish, and comfortable skirt with your hands is exciting and fun. The Free Crochet Mini Mesh Skirt is perfect for making a lightweight and breathable skirt that’s great for warm days or cozy evenings.
With its simple mesh design, it adds an elegant and modern touch that stands out effortlessly. You can make it short, long, or any length you like, and it’s super easy to crochet—even if you’re just getting started. Using basic stitches like single and double, this project is simple yet rewarding. 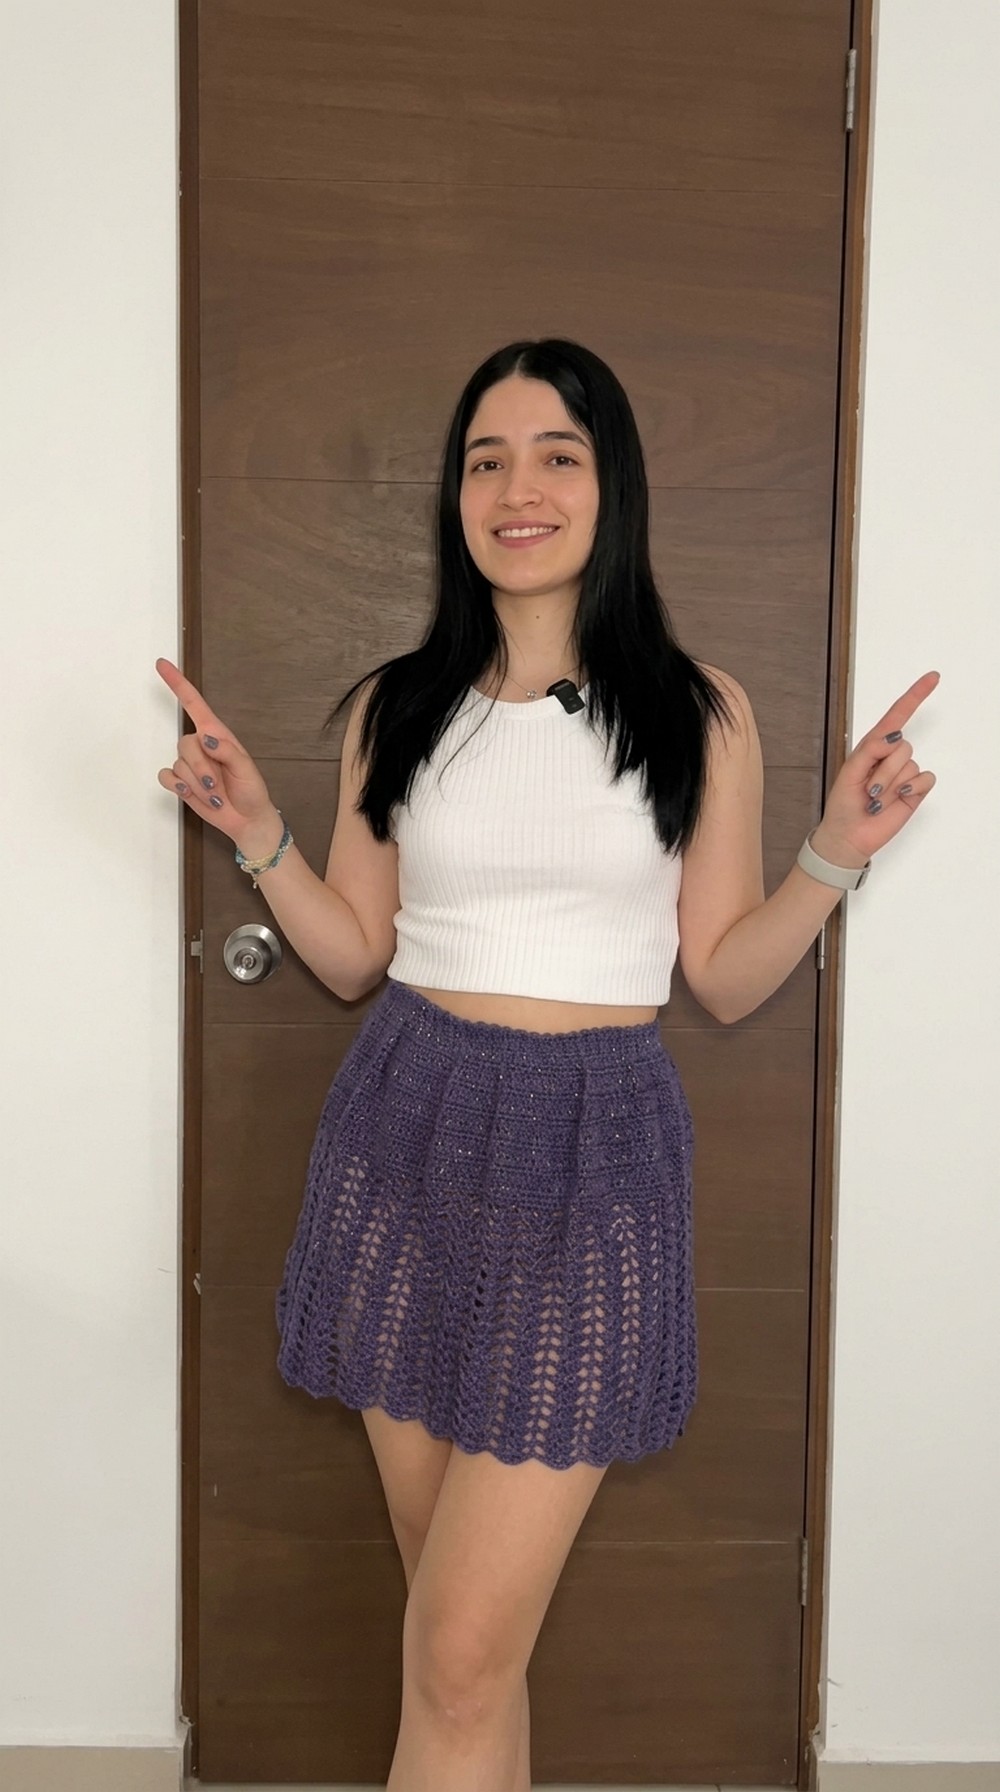
It pairs beautifully with all kinds of outfits, from simple tops to dressy blouses, giving you many looks for different occasions. Plus, the elastic waistband makes it fit snug and comfy. A quick and enjoyable project that turns out both trendy and practical.
Crochet Mini Mesh Skirt Pattern
Materials Needed
Yarn
- Type: 100% cotton yarn with metallic threading for added shine and texture.
- Quantity: Approximately 140 grams, depending on the chosen size and skirt length.
Crochet Hooks
- Primary Hook: 4mm crochet hook, used for the general pattern.
- Secondary Hook: Optional 3mm hook for tighter work when attaching the elastic.
Elastic Band
- Thin elastic band, commonly available at crochet stores or used in jewelry making.
Other Tools
- Scissors: To cut yarn and elastic.
- Measuring Tape: To measure waistband and skirt dimensions.
- Tapestry Needle: To weave in ends and attach the elastic.
Gauge
- Gauge Measurement: Yarn thickness is approximately 1.5mm. Ensure you measure your stitches (e.g., single crochet) for consistency and accuracy before starting the full project.
Finished Size
Skirt Length
- Approximately: 38 cm from the waistband to the hem. Adjust the length based on personal preference.
Waistband Width
- Approximately: 60 cm unstretched, designed to fit snugly once elastic is added.
Pattern Instructions
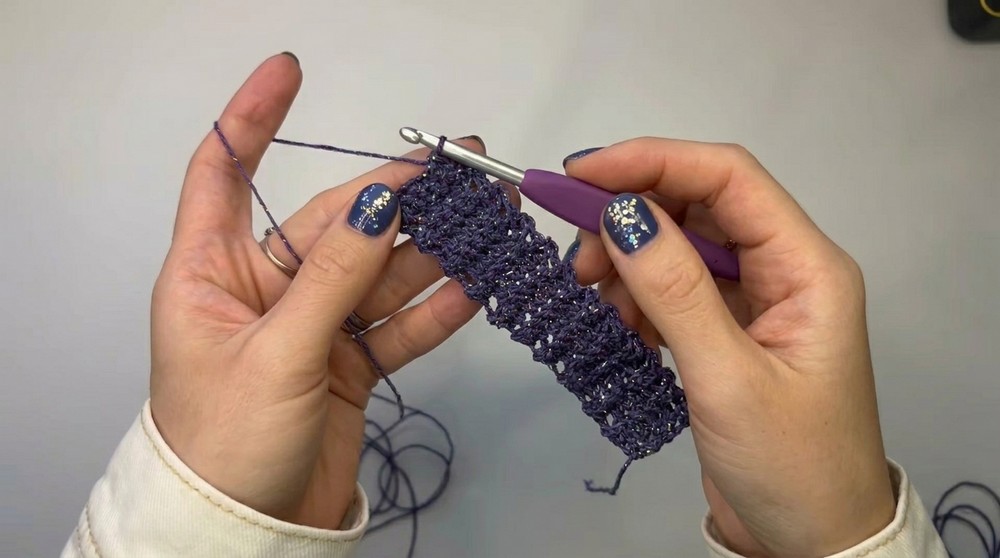
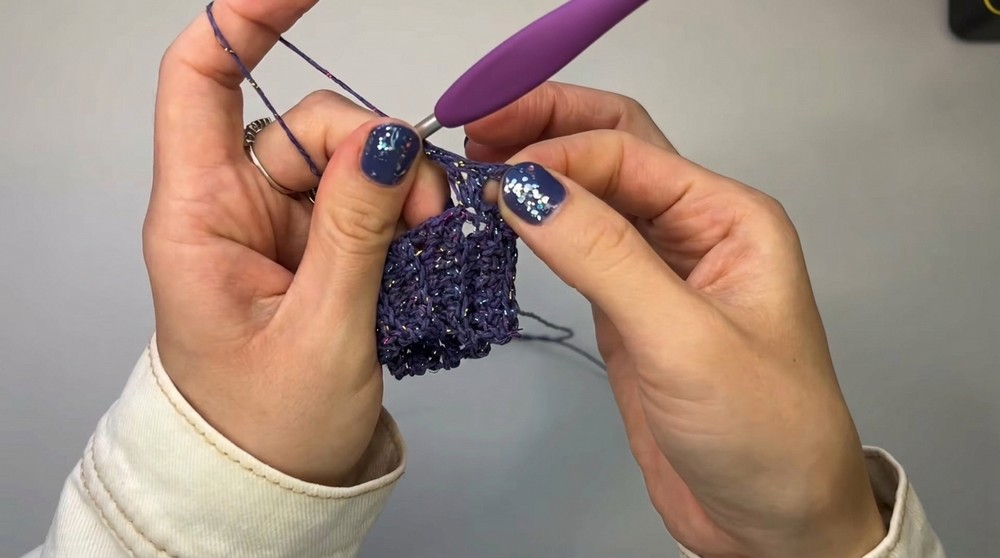
Step 1: Waistband (Pretina)
Instructions:
- Begin with a slip knot.
- Chain 6 stitches for the width of the waistband.
- Add 1 extra chain to create height (total of 7 chains).
- Turn the work and start single crochet stitches across.
- You will have 6 stitches in total for each row.
- For a ribbed effect, work each stitch into the back loop only of the chain.
- At the end of every row:
- Chain 1 for height, turn your work, and repeat single crochet stitches into the back loop only.
Customization Notes:
- Repeat rows until the band measures your waist circumference.
- Example: For a waistband of 60 cm, you may require 110 rows.
- Always stretch the band gently when measuring, as crocheted fabric expands over time.
Joining the Waistband:
- Once the desired length is achieved, fold the band in half.
- Match the first row with the last row and join them using single crochet stitches.
- This creates a seamless circular waistband.
Step 2: Foundation Row
- Work one row of single crochet stitches along the bottom edge of the waistband.
- Use one single crochet stitch per row in the waistband (e.g., if the waistband has 110 rows, you will work 110 single crochet stitches).
- If there are a few extra or fewer stitches, it will not affect the result.
- Close this row with a slip stitch to form the foundation for the rest of the skirt.
Step 3: Increasing the Width
- Begin the increase rows to add volume:
- Chain 2 (counts as your first double crochet stitch).
- In the same stitch, work another double crochet.
- This is an increase stitch.
- Repeat: Work 2 double crochet stitches into each stitch around.
- Close the round with a slip stitch in the second chain from the starting stitch.
Customization Notes:
- To increase more volume:
- Add a second round of increases by varying the frequency. For example:
- Option A: One increase stitch followed by 1 regular double crochet stitch.
- Option B: One increase stitch followed by 2 regular double crochet stitches.
- Add a second round of increases by varying the frequency. For example:
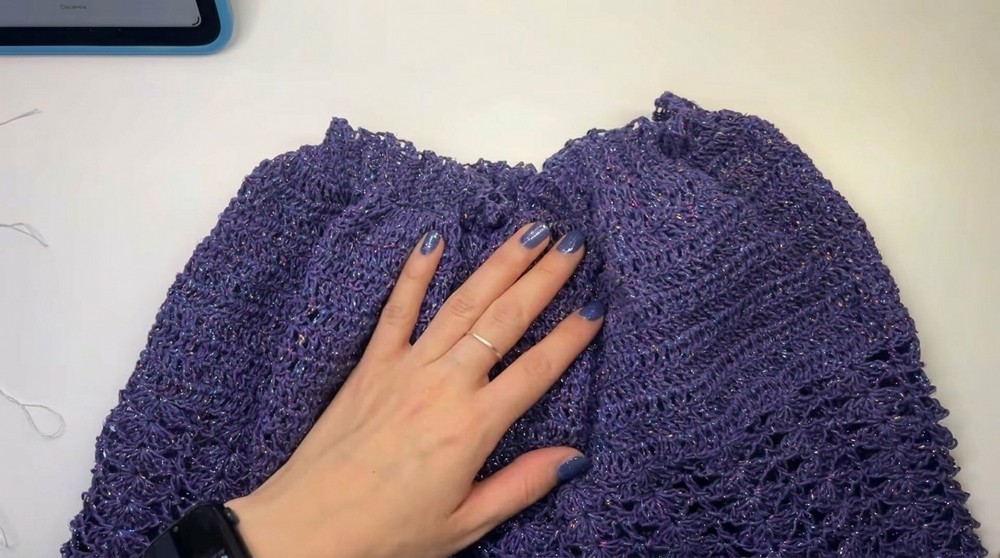
Step 4: Main Skirt Body
- Begin the normal double crochet rows:
- Chain 2 for height at the start of each round.
- Work 1 double crochet into every stitch from the previous row.
- At the end of each row, close with a slip stitch in the second chain from the starting stitch.
- Before starting new rows, turn the work to add structure and prevent curling.
Customization Notes:
- You can add as many rows as needed to achieve your preferred length.
- Example: The sample skirt included 11 rows of double crochet stitches, measuring 12.5 cm.
Step 5: Adding Decorative Fan/Abanico Stitches
First Fan Row:
- Chain 2 for height.
- Skip 3 stitches from the previous row and work 7 double crochet stitches into the 4th stitch to create a fan.
- Skip another 3 stitches and work 1 double crochet stitch in the next stitch.
- Alternate between fans and single double crochet stitches across the row.
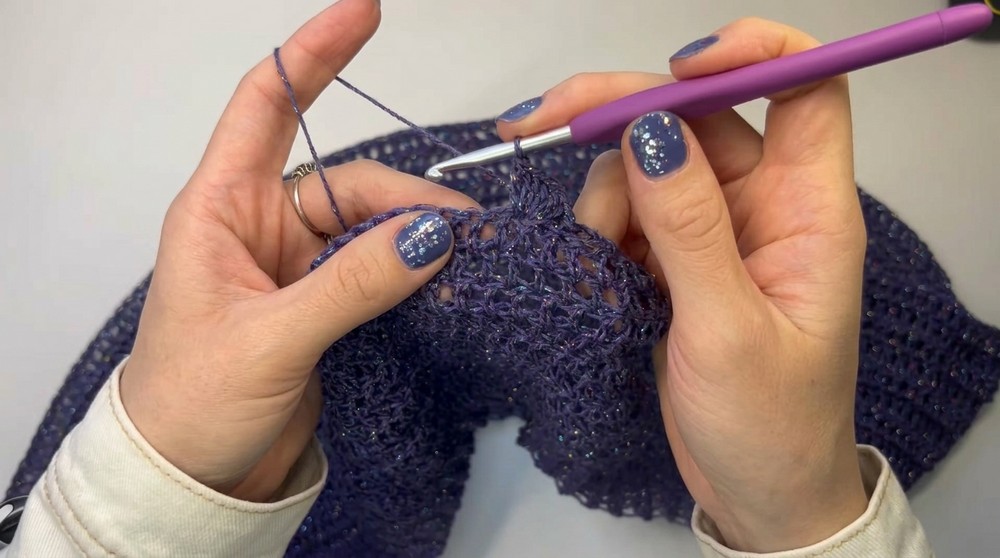
Adjustments for Ending the Row:
- If the stitch count does not align perfectly at the end, adjust by skipping only 2 stitches instead of 3 before working the final fan.
Consecutive Fan Rows:
- Chain 2 for height.
- Locate the center (4th stitch) of each fan in the previous row and work a new fan stitch (7 double crochets) into that center stitch.
- Work 1 double crochet into the single double crochet stitch from the previous row.
- Repeat for every fan from the previous row.
Step 6: Adding Elastic for the Waistband
- Prepare the elastic as if it were yarn:
- Create a slip knot and leave a longer tail for easier weaving later.
- Insert the elastic through the bottom loops of the waistband.
- Work slip stitches into the loops.
- Keep the elastic slightly stretched as you work, ensuring the waistband adjusts snugly.
- Close the row with a slip stitch and tie off both ends securely.
- If additional tension is required, repeat this process at the top edge of the waistband.
Special Techniques
- Back Loop Only: Creates a ribbed, elastic waistband.
- Fan Stitches: Adds texture and flare to the skirt.
- Elastic Placement: Adjusts the snugness of the waistband without affecting stitch work.
Conclusion & Final Remarks
This crochet skirt pattern creates an elegant, customizable piece that perfectly blends functionality and visual appeal. The waistband’s ribbed effect ensures comfort and a snug fit, while the decorative fan stitches add flair. For added comfort, elastic ensures the waistband fits perfectly regardless of stretch due to wear.
Customization Ideas
- Use multicolor yarn for a vibrant look.
- Add longer fan stitch rows for a flowy, maxi skirt variation.
- Incorporate beads into fan stitches for added embellishment.
Enjoy crocheting this versatile and functional skirt, perfect for any occasion.