Learn a free crochet granny square guide to make colorful piece for blankets, bags, or home decor while enjoying a relaxing and fun crochet time.
Brighten Your Wardrobe with Free Crochet Granny Square Pattern
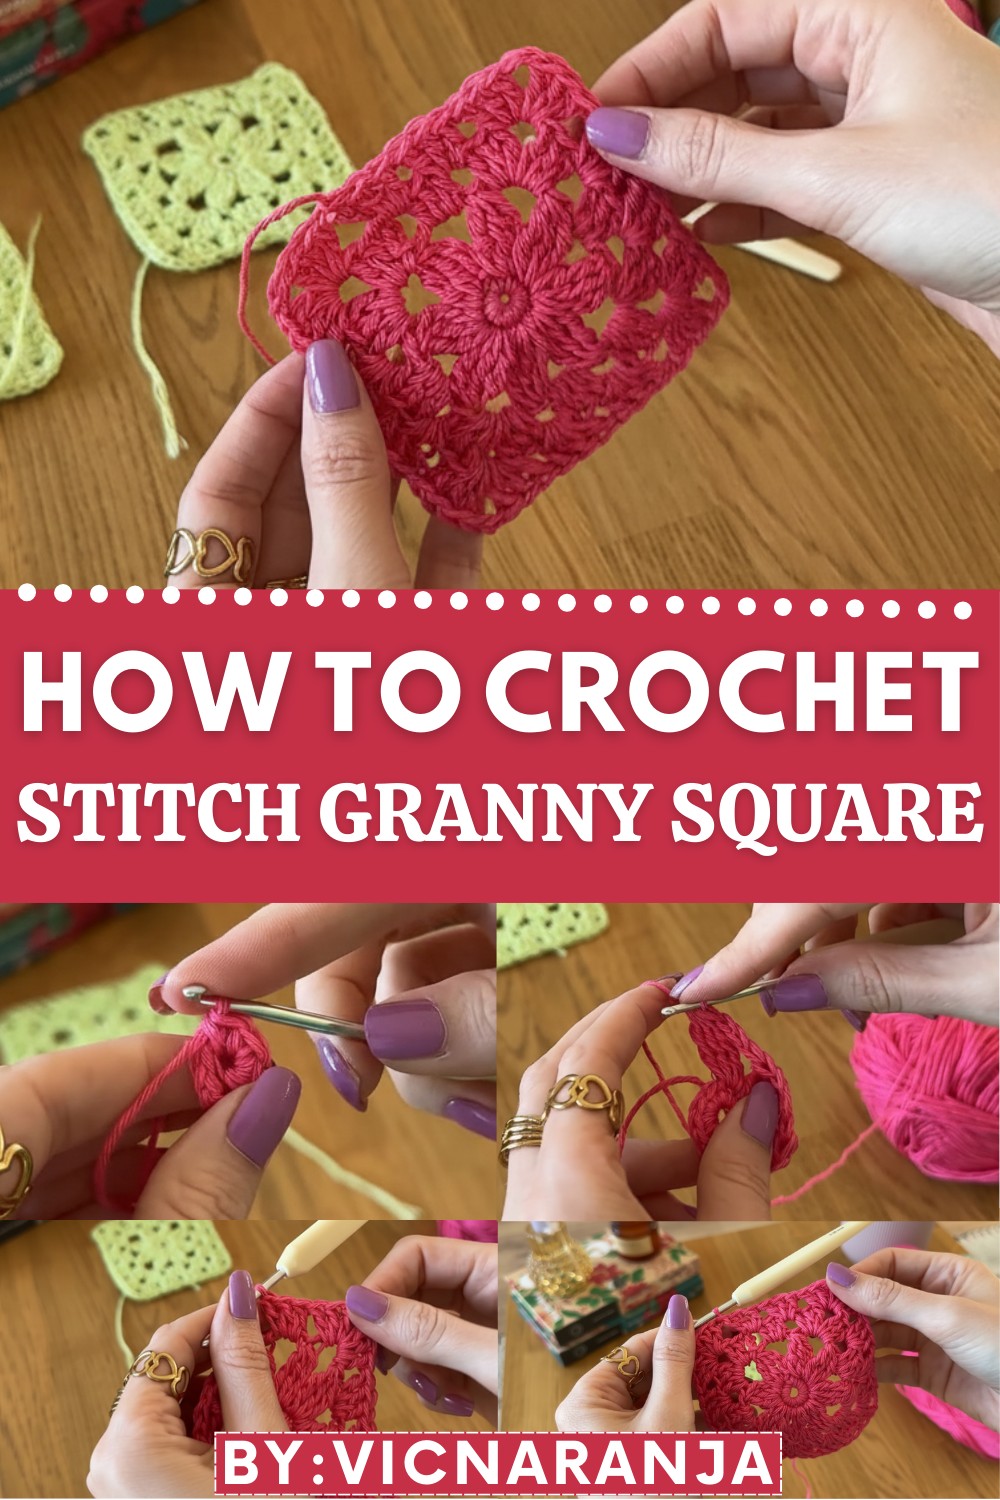
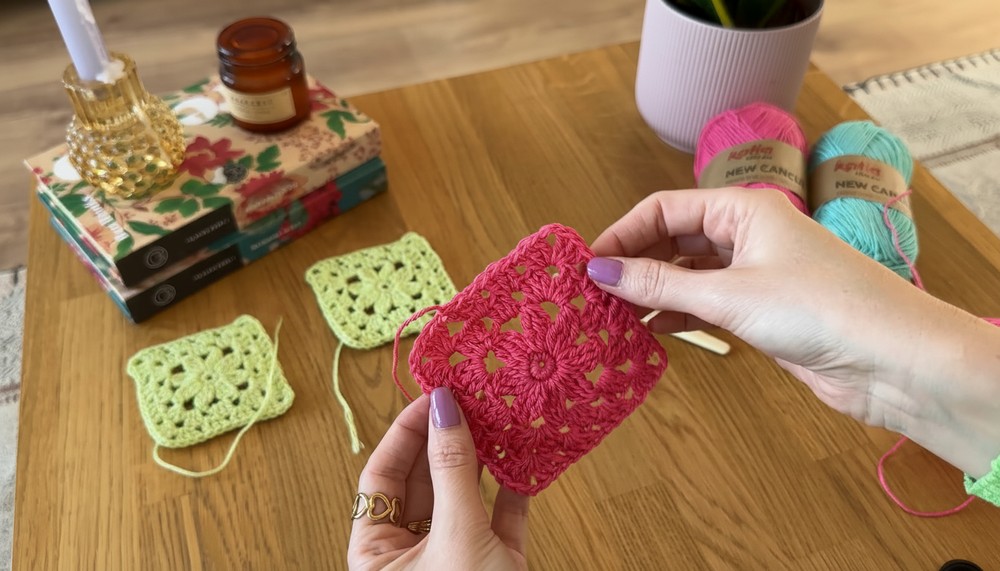
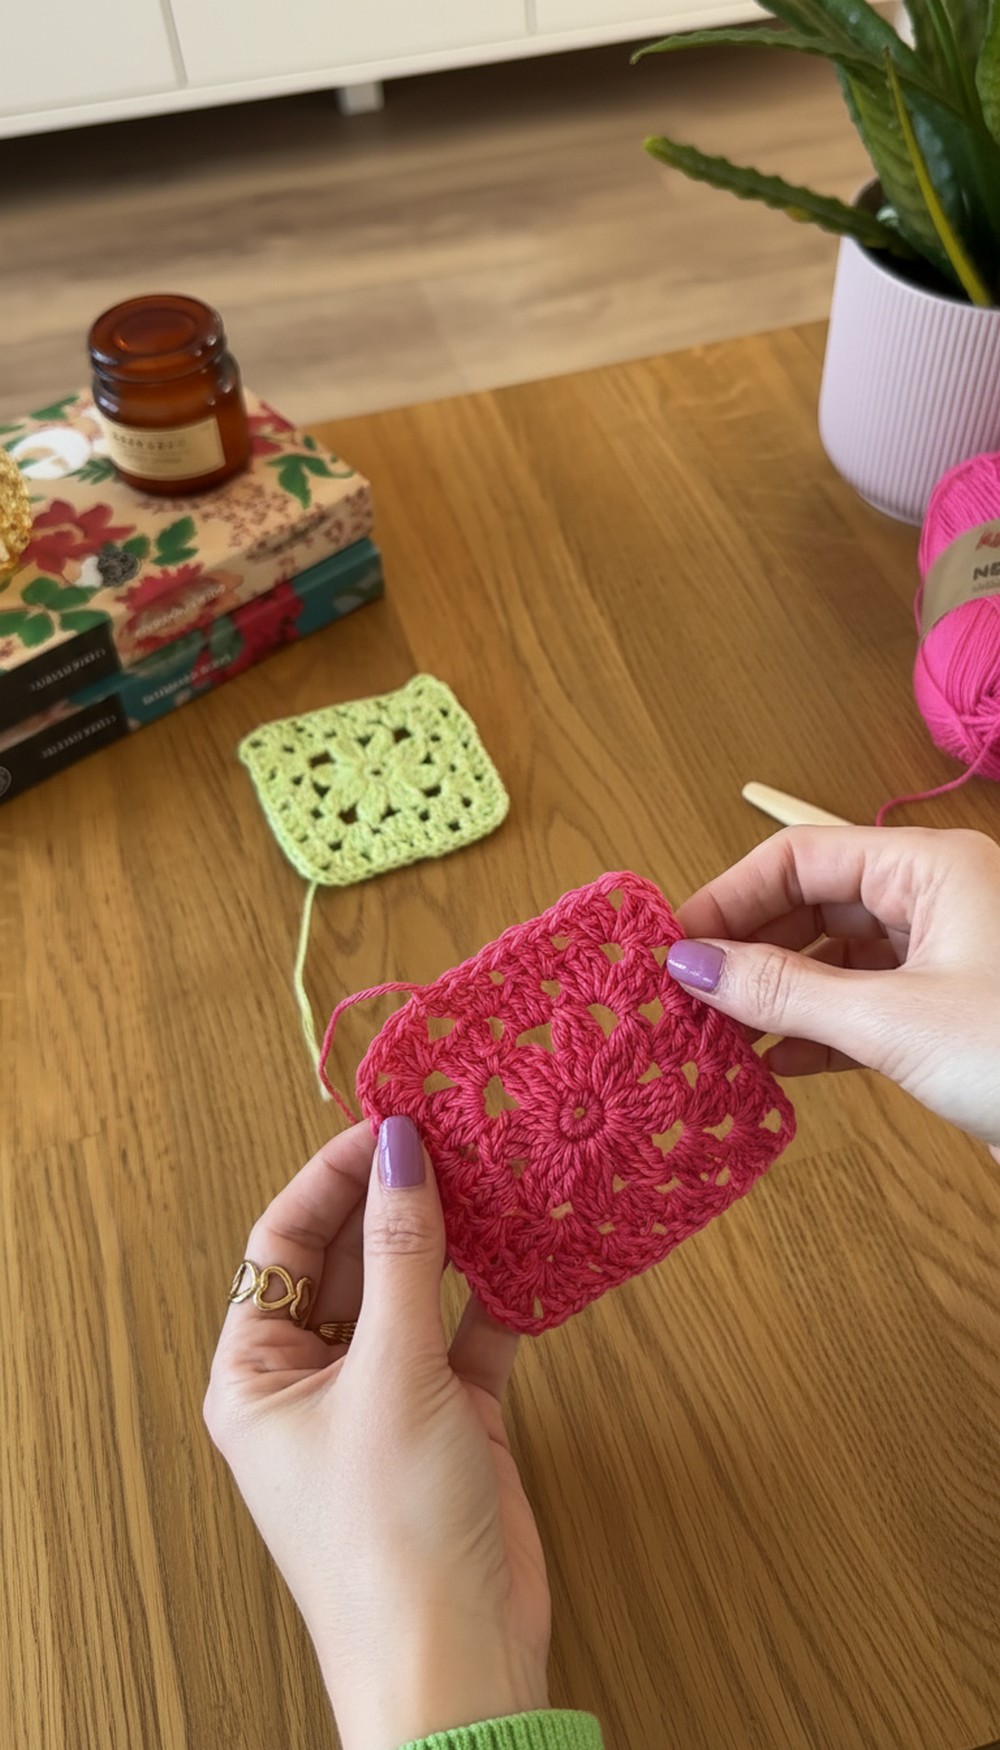
Making a colorful square with a pretty flower in the middle is a fun way to create something beautiful for your home. This project uses soft yarn to make a small square that has a bright blossom with eight petals right in the center. You can use this Free Crochet Granny Square Pattern to join many squares together to make a big warm blanket or a stylish bag for school.
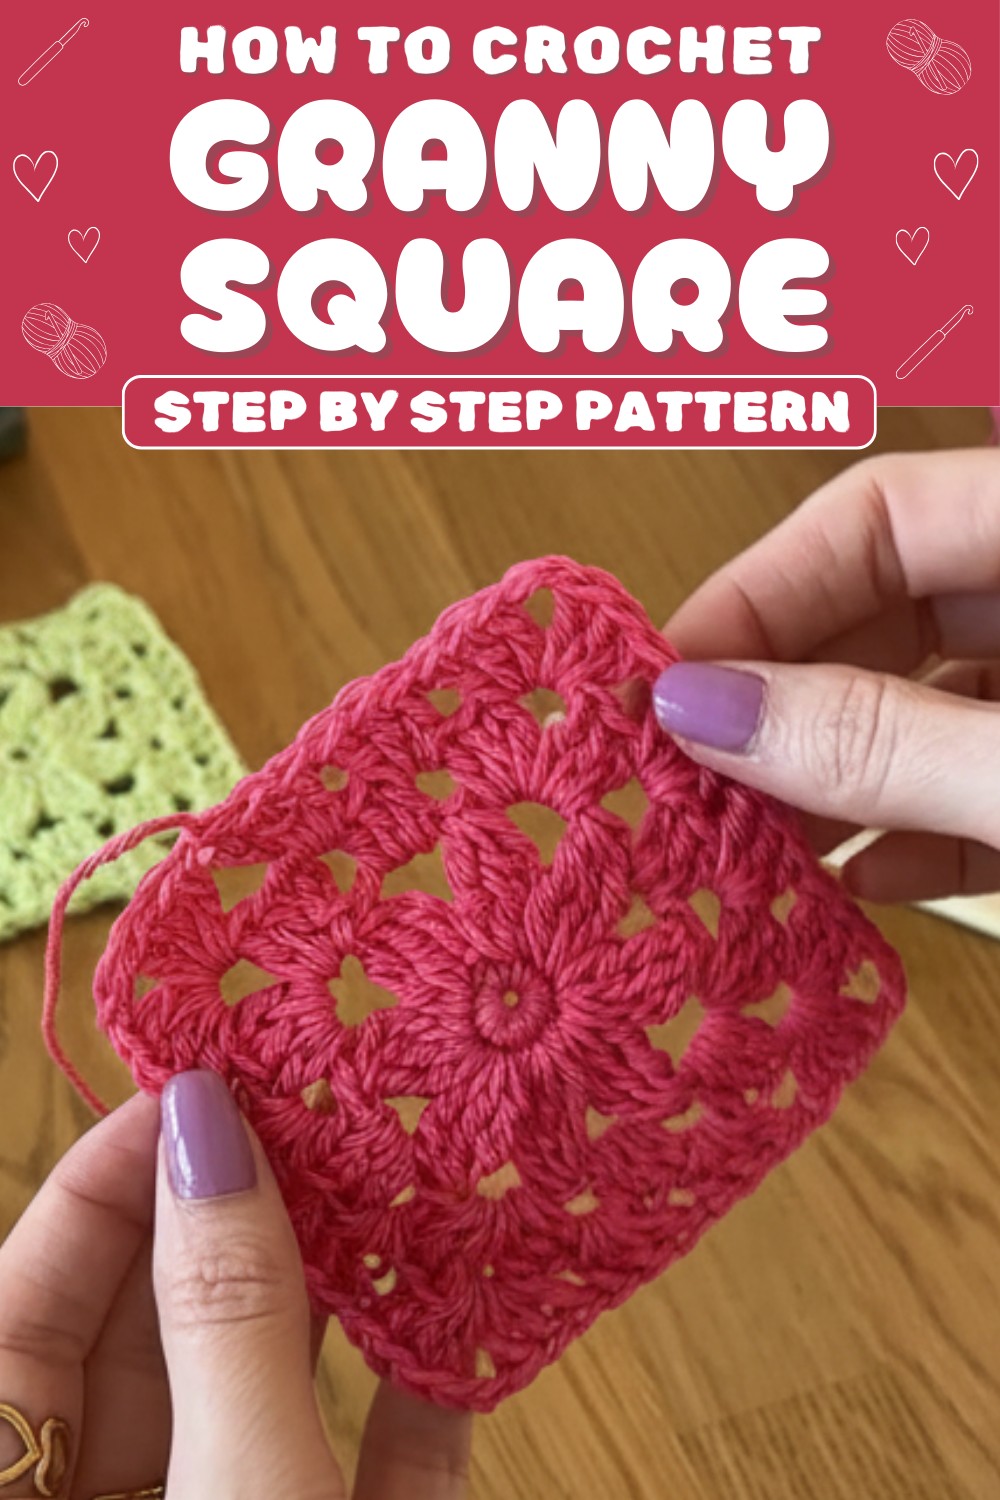
It features strong edges that make it very easy to sew many pieces together into one large treasure. You will love how this cheerful square make your room look extra bright and happy every single day.
Crochet Granny Square Pattern
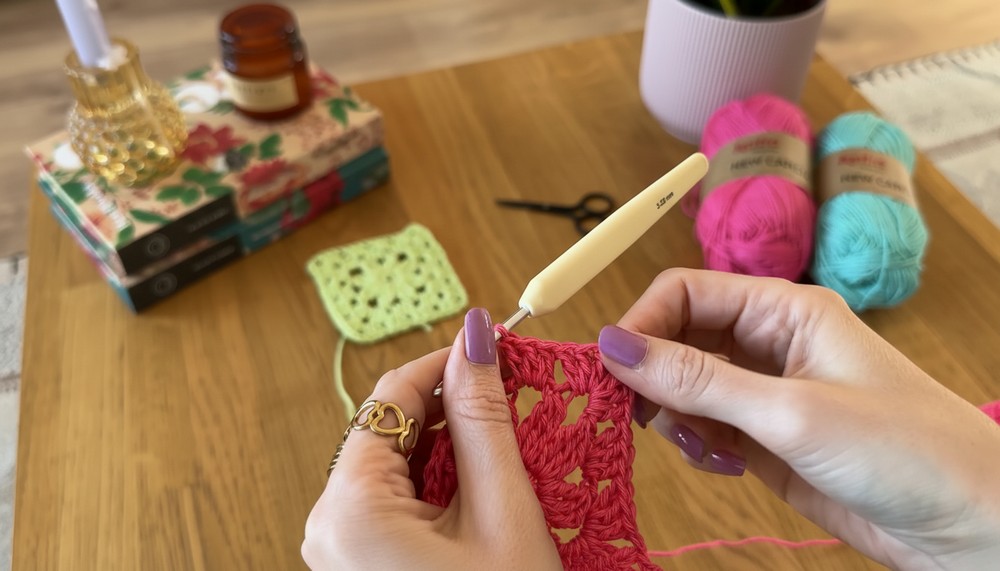
Materials
- Yarn:
- Katia’s “New Cancun” yarn (or any summer friendly yarn).
- This design can be adapted to any yarn thickness; feel free to experiment.
- Crochet Hook:
- Size 3.25 mm recommended (adjust size as required for different yarn weights).
- Additional Tools:
- Pair of scissors.
- Yarn needle to weave in loose ends.
Special Techniques
- Slip Knot: Used to begin the foundation chain.
- Chain Stitch (ch): Making the base and separating sections.
- Slip Stitch (sl st): Used to join rounds seamlessly.
- Single Crochet (sc): Creates the tightly stitched center.
- Double Crochet (dc): Forms the petals and builds the granny shape.
- Double Treble Crochet (dtr): Adds extra height and texture for petals and corners.
Pattern Instructions
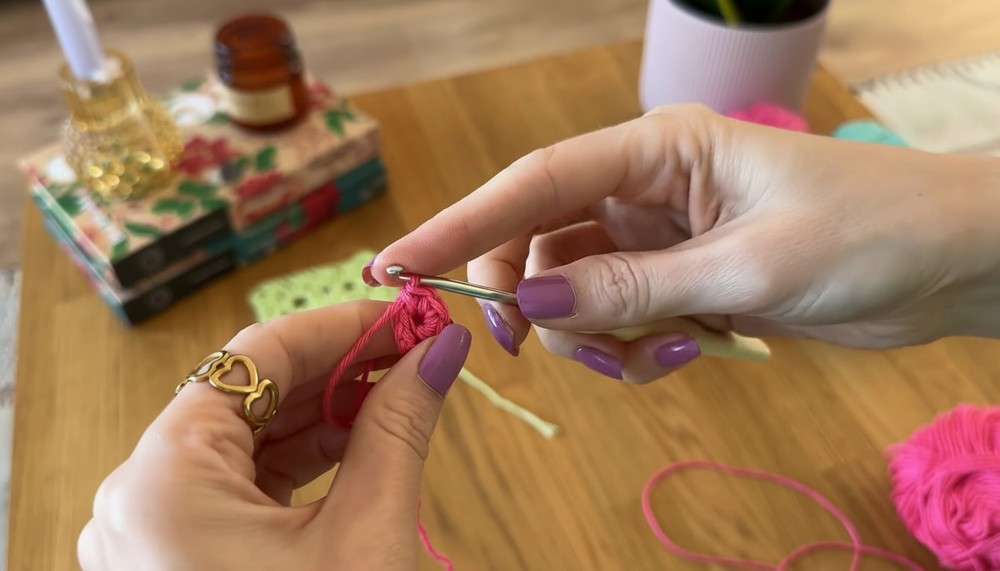
Round 1: Floral Center
- Start with a slip knot:
- Make a slip knot and place it on the hook.
- Chain 4:
- Create four chain stitches, forming a loop (the flower’s center).
- Join the chain ring:
- Insert the hook into the first chain and close with a slip stitch (sl st). You now have a small circle to work into.
- Insert the hook into the first chain and close with a slip stitch (sl st). You now have a small circle to work into.
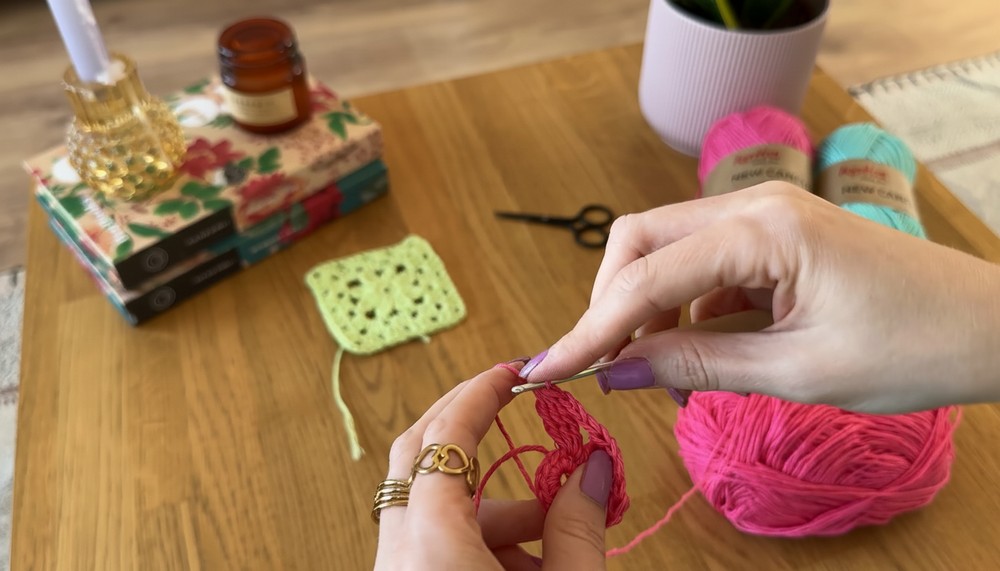
- Single Crochet into the loop:
- Chain 1 to begin the next row. Crochet 8 single crochets (sc) directly into the center of the circle.
- Finish the round:
- End by joining the last single crochet to the first single crochet using a slip stitch.
Round 2: Petals
- Start the first petal:
- Chain 3 (counts as the first stitch).
- Make 2 double treble crochets (dtr) without closing the stitches directly into the same stitch.
- Yarn over and pull through all loops on the hook to close.
- Add separation:
- Chain 3 to separate petals.
- Create the next petal:
- In the next stitch, crochet 3 double treble crochets (dtr) (again, with incomplete stitches) into the same stitch.
- Pull through all loops to close.
- Repeat for all petals:
- Continue the pattern (3 dtr + chain 3) in each stitch around. You should have a total of 8 petals separated by chain 3 spaces.
- Close the round:
- Join the last chain 3 to the first petal with a slip stitch.
Round 3: Granny Square Shape
- Move to separation spaces:
- Slip stitch into the next chain space (the separation between petals).
- Slip stitch into the next chain space (the separation between petals).
- Crochet the first corner:
- Chain 3 (acts as the first dc).
- Into the same space, make 2 double crochets (dc), chain 2, then make 3 double crochets (dc) to form the corner of the square.
- Crochet the side:
- In the next chain space, crochet 3 double crochets (dc).
- Repeat the corner and side instructions:
- For the next chain space, crochet 3 dc, ch 2, 3 dc (second corner).
- For the next space, crochet 3 dc (second side).
- Continue the alternating corner side pattern until the round is complete.
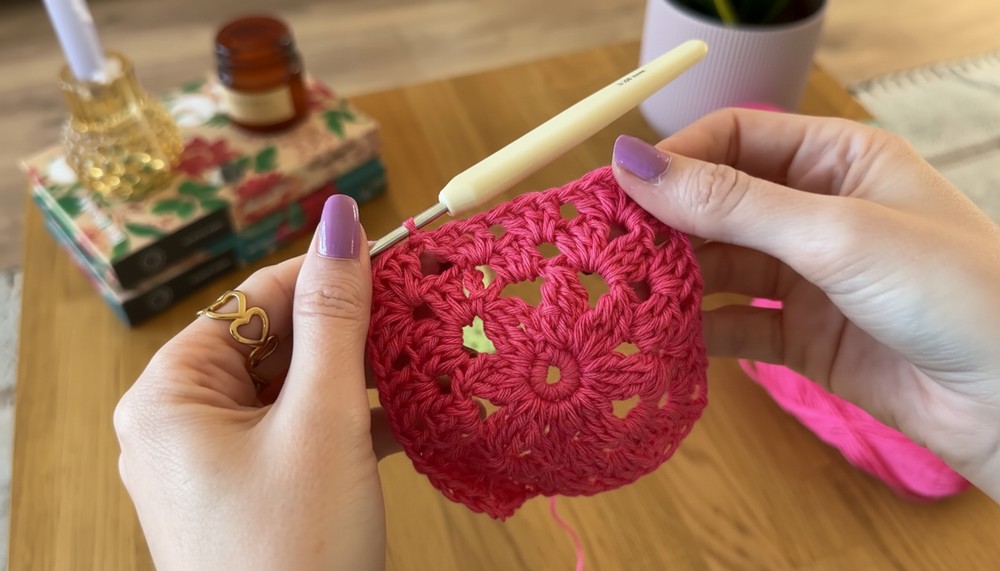
- Close the round:
- Join the last stitch to the top of the initial chain 3 with a slip stitch.
Additional Rounds (Optional)
If you want a larger square:
- Repeat the granny square sequence for each new round:
- Corners (3 dc, ch 2, 3 dc).
- Sides (3 dc in each gap space).
- Ensure that after each round, you increase the number of gap blocks for the sides while maintaining 4 corners.
Finishing
- Weave in ends:
- Use a yarn needle to securely weave in any loose ends on the back.
- Blocking:
- For a perfect finish, gently block your granny square by pinning it to a board and spraying it with water. This will make your stitches uniform and your square edges cleaner.
- Evaluate usage:
- Decide where you’ll use your granny square. Options include sewing multiple squares together for larger projects or placing it as a decorative piece.
- Decide where you’ll use your granny square. Options include sewing multiple squares together for larger projects or placing it as a decorative piece.
Final Words
This granny square flower is a versatile and fun crochet project that allows for endless creativity. You can make them small and delicate for embellishments or expand them into large squares for blankets, cushions, or tablecloths. Change up colors or yarn textures for a unique look in every square.
Tips for Success
- Experiment with Yarn: Try different thicknesses and colors for personal touches.
- Count Carefully: Maintain stitch counts for consistent petals and edges.
- Use Marker Pins: If transitioning between rounds feels tedious, use pins to mark corners and start points.
- Plan Ahead: Before adding rounds, decide whether you want a petite floral accent or a larger project.
- Have Fun: This granny square is meant to be a delightful experiment, so let creativity flow.