Learn how to crochet some colorful smiling face keychains inspired by emojis with a step-by-step tutorial. The steps include creating tassels with loops, adding chains, and using wooden beads for decorative touches. The detailed instructions ensure beginners and experienced crocheters can follow along.
The final outcome is a beautifully crafted and customizable project, combining technique and creativity.
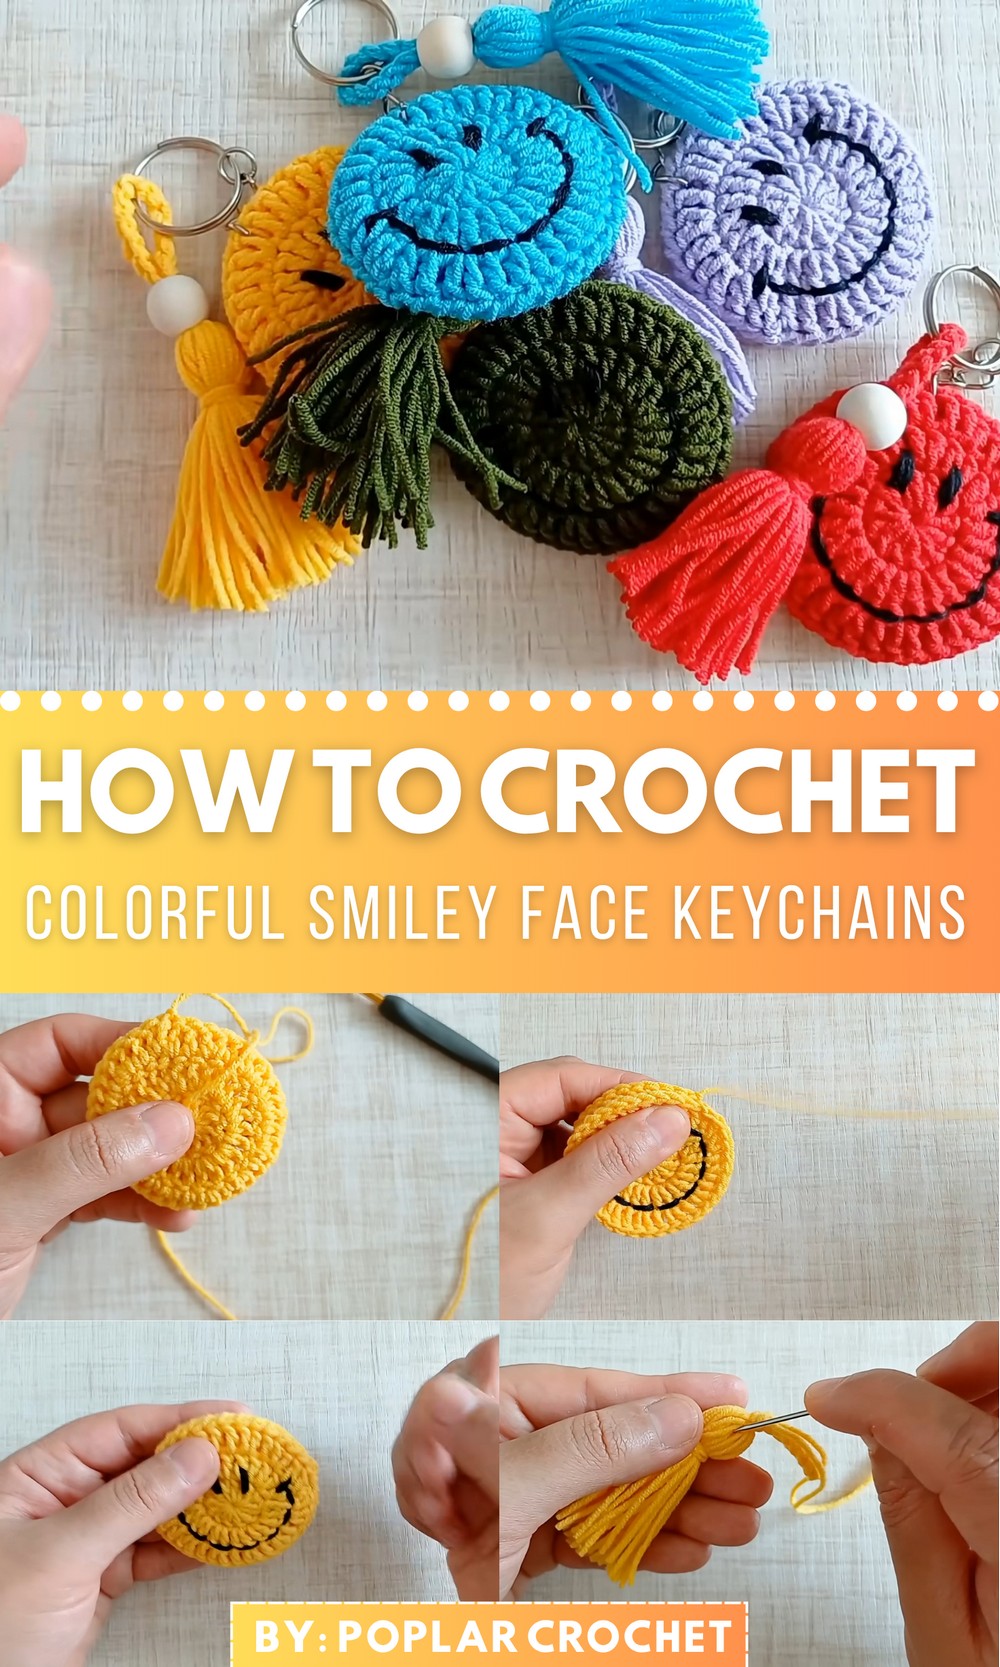
Crochet Colorful Smiley Face Tutorial
The pattern opens with the host introducing the crochet project—a decorative and functional item enhanced with tassels and beads. The focus is on crafting a creative and personalized piece that can be used for gifts or home decor. The host highlights the materials, including acrylic yarn, a 3mm crochet hook, wooden beads, and scissors.
Crochet Smiley Face Keychain Pattern
Finished Size
- The finished smiley face measures approximately 5cm (2 inches) in diameter.
- Tassel length: Around 5cm (2 inches) from the wooden bead.
- Keychain strap length: Adjustable based on the number of chain stitches.
Materials
To create one smiley face keychain, you will need:
- Crochet Hook: Size 3mm.
- Yarn: Acrylic yarn in the following colors:
- Yellow for the face.
- Black for stitching the smiley face features (eyes and mouth).
- Color of choice for the tassel and strap.
- Wooden Bead: 1cm diameter.
- Keychain Ring.
- Scissors.
- Tapestry Needle: For sewing and finishing details.
Gauge
- Gauge isn’t strictly required for this project as it is decorative.
- Approximate gauge: 13 double crochets (dc) x 7 rows = 5cm.
Special Techniques Used
- Magic Ring: To begin the circle smoothly.
- Wrap yarn around fingers to form a loop. Insert hook through the loop, yarn over, and pull up a loop. Secure with a chain.
- Double Crochet (DC): Yarn over, insert hook, pull up loop (3 loops on hook), yarn over, pull through two loops, yarn over, pull through last two loops.
- Slip Stitch (Sl St): Insert hook into stitch, pull up loop, and pull through the loop on the hook.
- Tassel Technique: Wrapping yarn to create even loops for the tassel.
Pattern Instructions
Part 1: Smiley Face Circle
- Start with a Magic Ring:
- Create a loop and secure with a chain.
- Row 1:
- Chain 3 (counts as 1 double crochet).
- Work 12 double crochets (dc) into the ring.
- Pull the ring tight to close the circle.
- Join with a slip stitch (sl st) into the top of the first chain. (Total: 13 stitches).
- Row 2:
- Chain 3.
- Work 2 double crochets into each stitch around (increase in every stitch).
- Join with a slip stitch into the top of the first chain. (Total: 26 stitches).
- Row 3:
- Chain 3.
- Alternate increases: Work 2 double crochets into the next stitch and 1 double crochet into the next stitch. Repeat this pattern around.
- Join with a slip stitch, then chain 1 for finishing. (Total: 39 stitches).
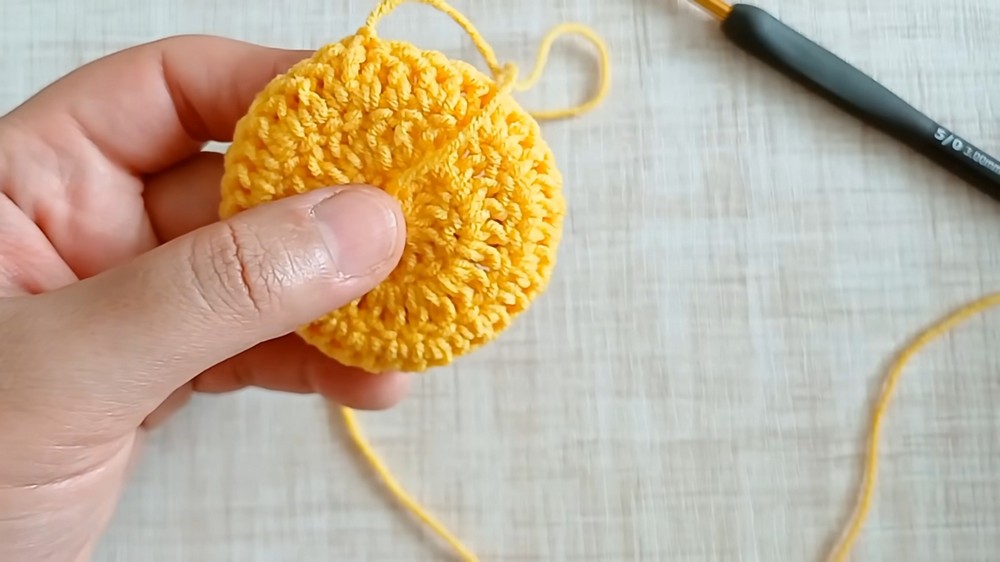
Tip: Maintain consistent tension to ensure the circle is even.
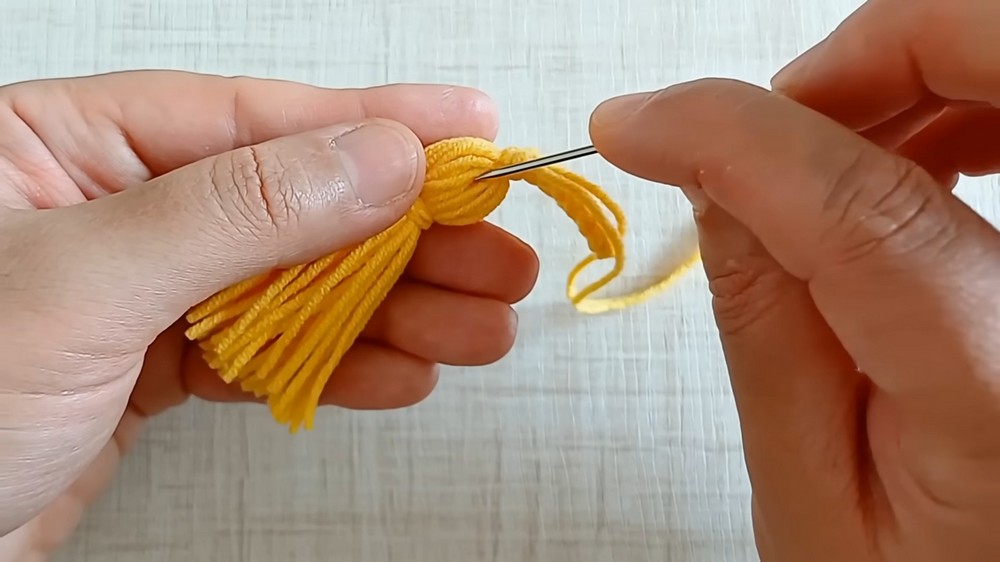
Part 2: Tassel
- Cut Yarn:
- Measure and cut 50cm of yarn.
- Make Loops:
- Wrap the 50cm yarn multiple times around an object or cardboard (approximately 30 loops).
- Secure the Tassel:
- Tie the wrapped loops firmly at the top with a piece of yarn.
- Trim the bottom loops evenly to create a clean tassel appearance.
- Attach Bead:
- Insert the 1cm wooden bead onto the tied section of the tassel for added decoration.
- Insert the 1cm wooden bead onto the tied section of the tassel for added decoration.
Tip: Ensure the top of the tassel is tied tightly to prevent unraveling.
Part 3: Strap
- Foundation Chain:
- With yarn, chain 15 stitches to form the strap.
- Secure the Strap:
- Join the chain into a ring using 1 slip stitch (sl st), followed by 1 chain stitch.
Part 4: Finishing Details
- Sew Smiley Features:
- Use black yarn and a tapestry needle to stitch the eyes and mouth onto the face.
- For eyes: Stitch two filled circles or simple vertical lines.
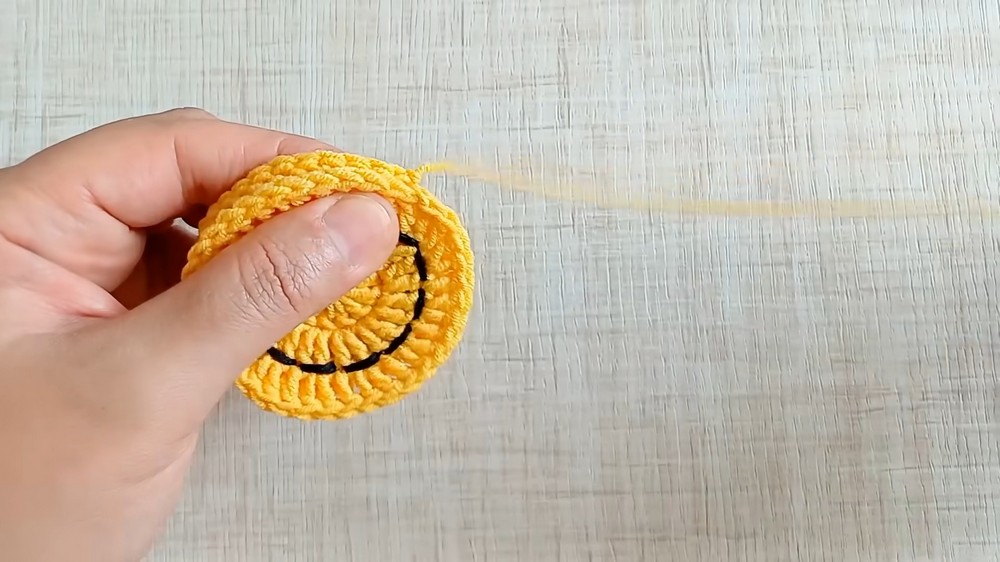
- For mouth: Create a curved stitch (corners up for a smile).
- For eyes: Stitch two filled circles or simple vertical lines.
- Use small, neat stitches for a clean finish.
- Use black yarn and a tapestry needle to stitch the eyes and mouth onto the face.
- Attach Components:
- Attach the tassel, bead, and strap securely to the keychain ring using a tapestry needle.
Customization Ideas
- Color Variations:
- Use different face colors (e.g., red for a heart-inspired smiley or blue for a cool vibe).
- Match tassel and strap color with themes or personal preferences.
- Features:
- Add eyebrows, blush details, or a wink expression to the smiley face for unique character designs.
- Personal Embellishments:
- Add sequins, buttons, or glitter accents around the tassel or face.
Tips for Success
- Ensure Even Tension: Keep yarn tension consistent to create smooth stitches, especially in the circle rows.
- Count Stitches: Regularly count your stitches to ensure proper increases and symmetry.
- Choose Durable Yarn: Acrylic yarn is recommended for durability.
- Test Tassel Placement: Ensure the tassel is well-balanced visually on the keychain.

Important Remarks
- This crochet smiley face keychain serves as both a practical and decorative item. It’s ideal for beginners as it utilizes simple stitches and techniques.
- Finished keychains make excellent handmade gifts or party favors.
- Always block finished pieces lightly if crochet fabric needs smoothing.
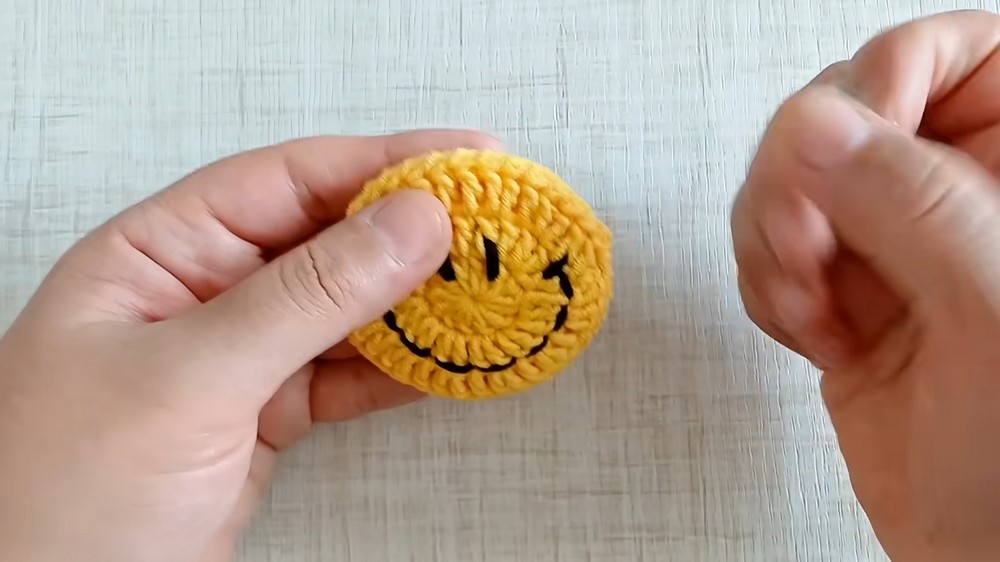
Conclusion
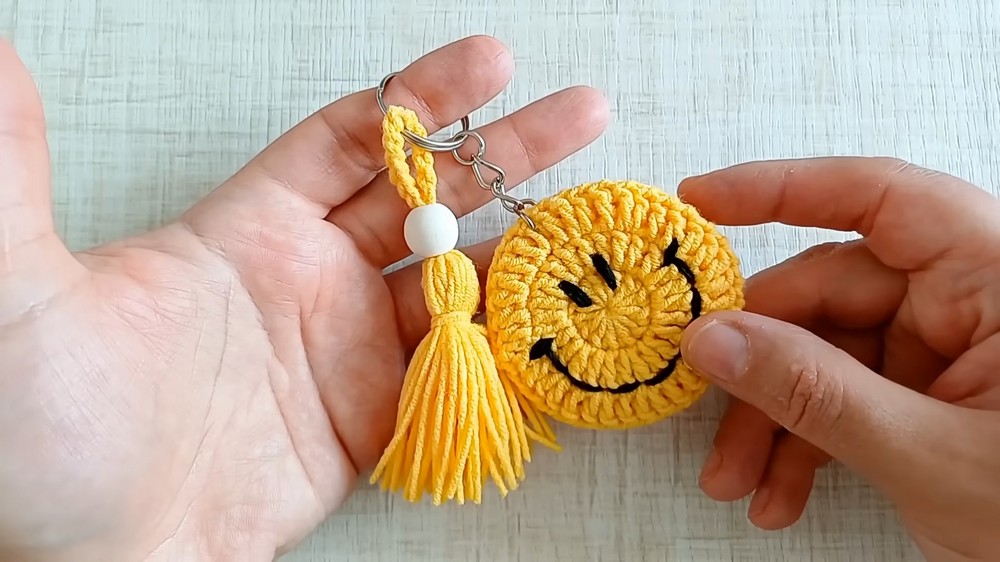
Your smiley face keychain is now complete! The final product features an adorable smiley face with a tassel and wooden bead that adds charm and functionality. Perfect for attaching to bags, keys, or gifting. Play with colors and features to design personalized keychains for friends and family.
Video Guide