Style your outfit with a Free Crochet Bralette Crop Top Pattern that lets you create a light and trendy top perfect for summer looks beach days and casual wear.
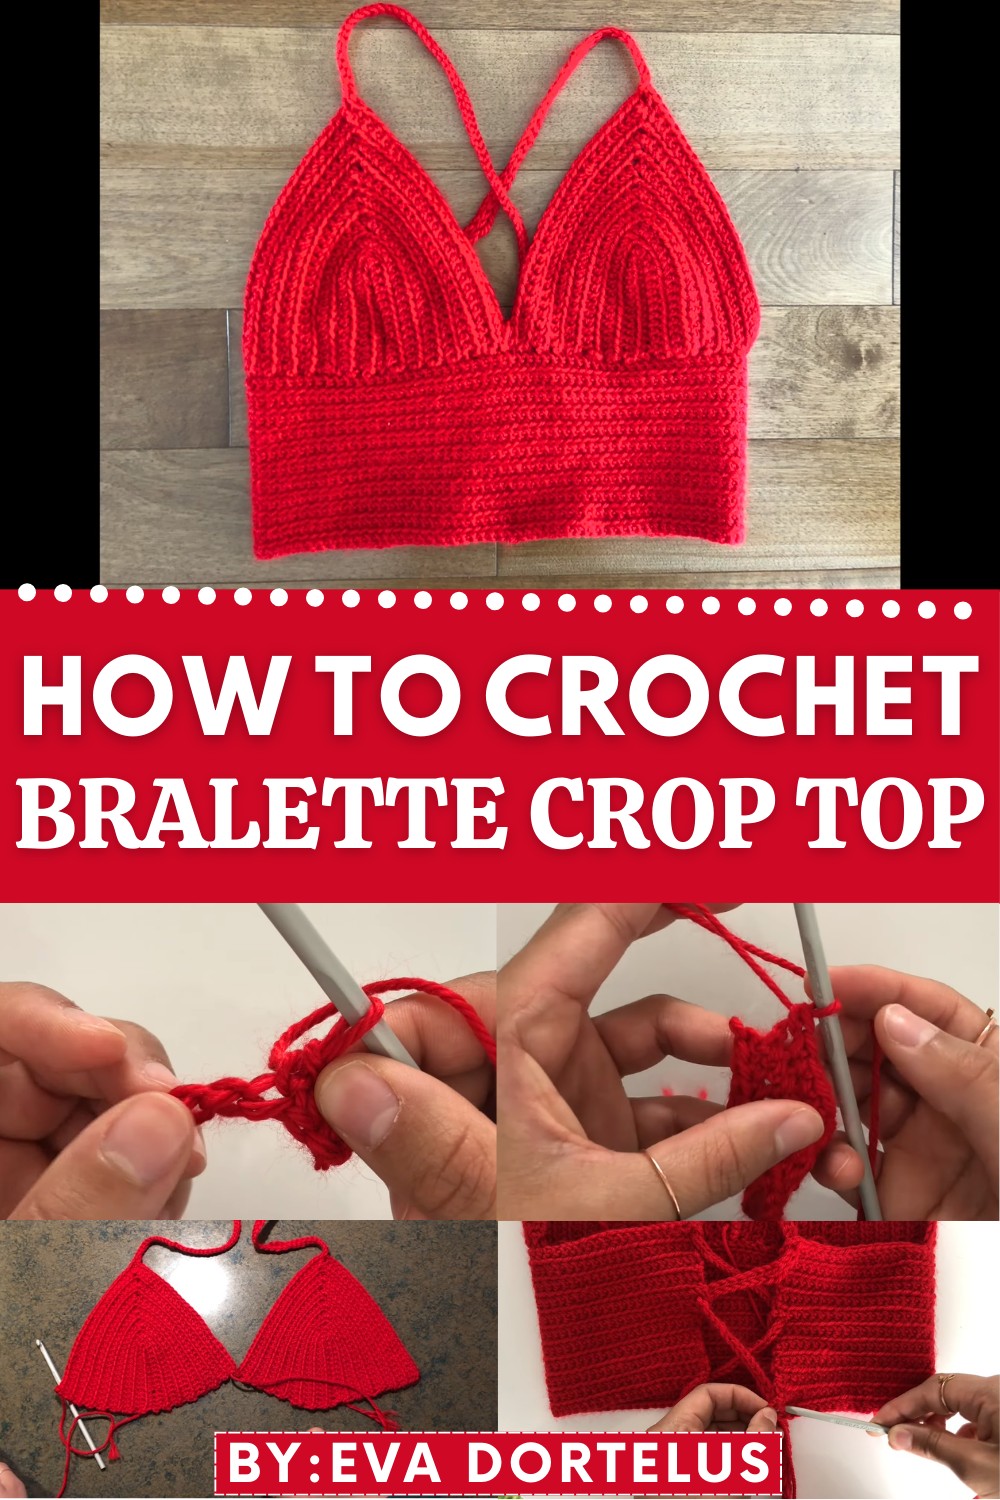
Design Your Own Free Crochet Bralette Crop Top with This Pattern
A crochet bralette crop top is a fun project that creates stylish clothing perfect for warm weather. This free crochet pattern lets you design a unique and beautiful bralette that is trendy and comfortable to wear. It is lightweight, airy, and looks great as part of a beach outfit or paired with your favorite jeans. The bralette features simple stitching that creates a triangle shaped top with delicate straps, making it perfect for sunny days or casual outings.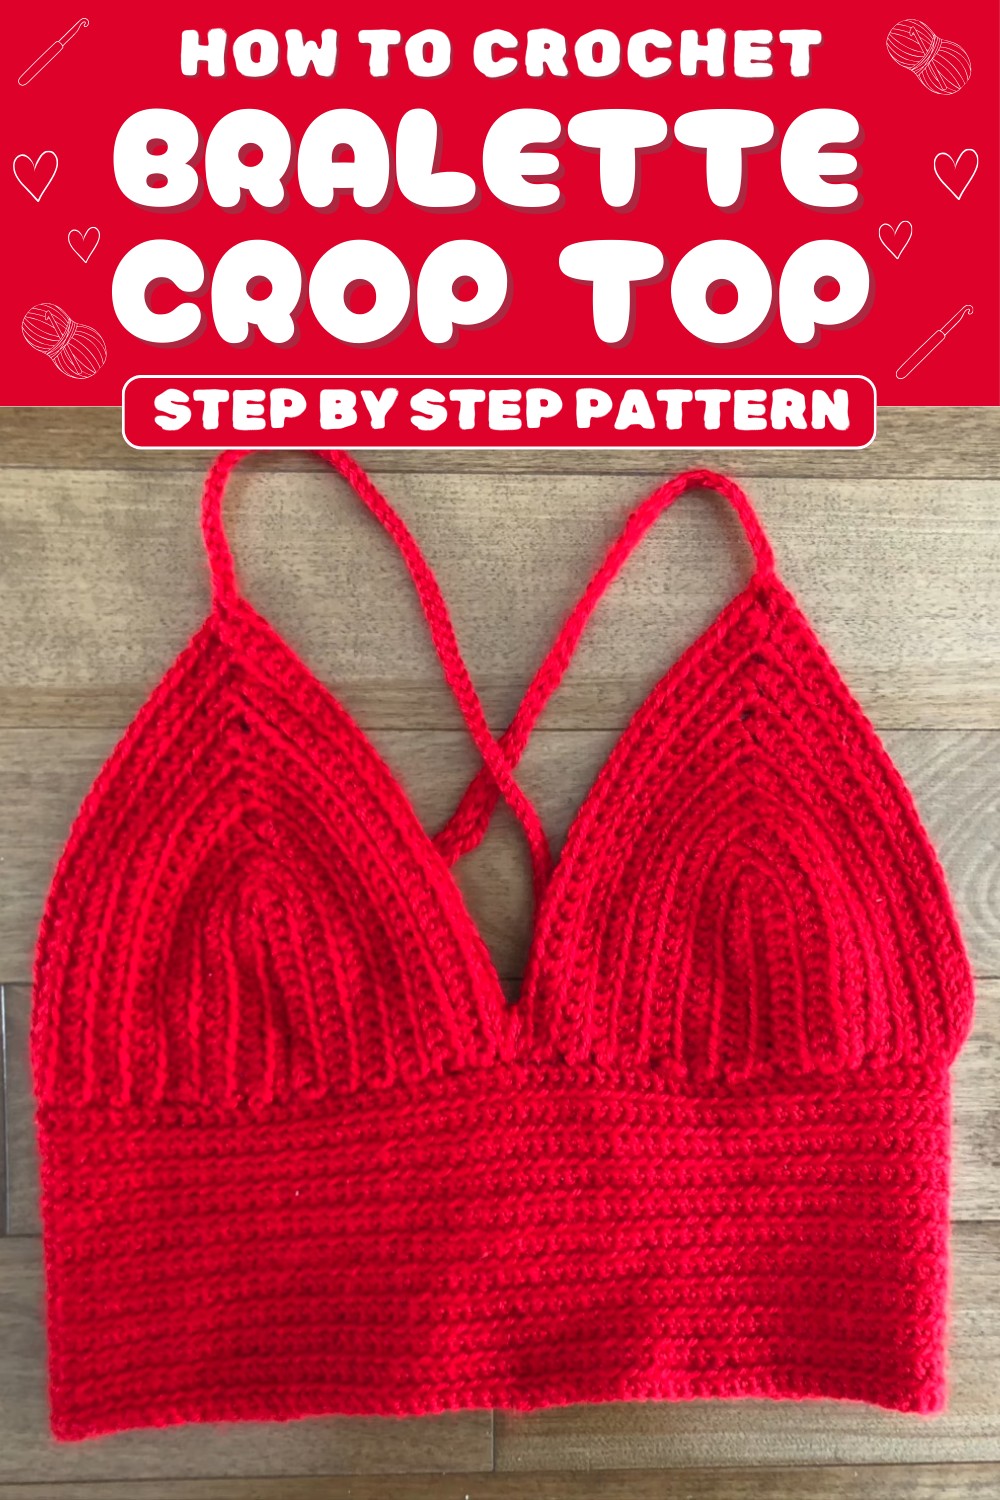
The pattern is easy to follow, and you can make it your own by using different colors of yarn or adding decorations like tassels or beads. The crop top is designed for both style and practicality, offering a flattering fit that suits many body shapes. Whether you are new to crochet or already love crocheting, this bralette pattern is a lovely way to add handmade beauty to your wardrobe.
Crochet Bralette Crop Top Pattern
Materials Needed
- Yarn:
- Medium weight yarn (size 4).
- 100% acrylic, 50 grams per skein.
- Only one skein was used, with some leftover.
- Crochet Hook:
- Size 5 mm recommended for this project.
- Tools:
- Scissors.
- Yarn needle for finishing off and weaving ends.
Gauge
Although no specific gauge is mentioned, check progress after the first few rows for consistency. Ensure the stitches are creating a flexible, soft texture that matches the size adaptations below.
Finished Size
The length and width are adaptable. Quantities provided are guidelines for smaller, medium, and larger sizes. Example base sizes from the video:
- Size 32D or equivalent: 15 chain stitches for the foundation row.
- Size 32B: Reduce to 12 chain stitches.
- Size 28A: Start with approximately 10 chain stitches.
Measurements may differ; measure the chest area for wearable projects or check the length needed for straps.
Special Techniques and Abbreviations
- Slip Knot: Beginning the chain.
- Chain Stitch (ch): Create the foundation.
- Single Crochet (sc): Used in rows and edging.
- Double Crochet (dc): Adds depth or texture to designs.
- Slip Stitch (sl st): Joining rows seamlessly.
- Custom fitting/base measurement: Measure before deciding chain counts.
Pattern Instructions
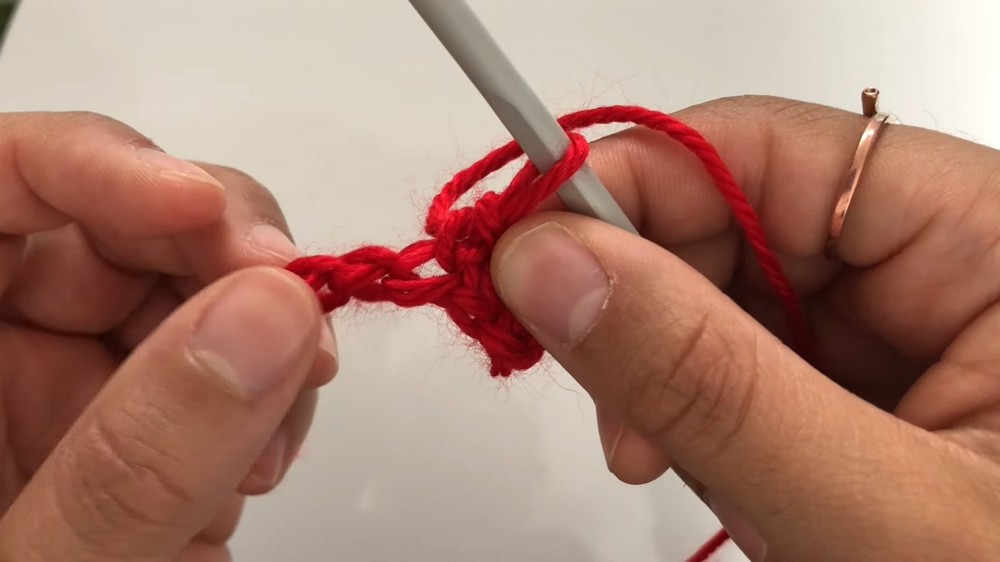
Step 1: Foundation
- Start with a slip knot:
- Create a slip knot and place it on your hook. Start by pulling the yarn through to adjust the loop snugly.
- Chain stitches:
- Chain according to the chosen size (e.g., 15 chains for 32D). Ensure the chain length matches the base region (e.g., chest area) of the intended design.
- Chain according to the chosen size (e.g., 15 chains for 32D). Ensure the chain length matches the base region (e.g., chest area) of the intended design.
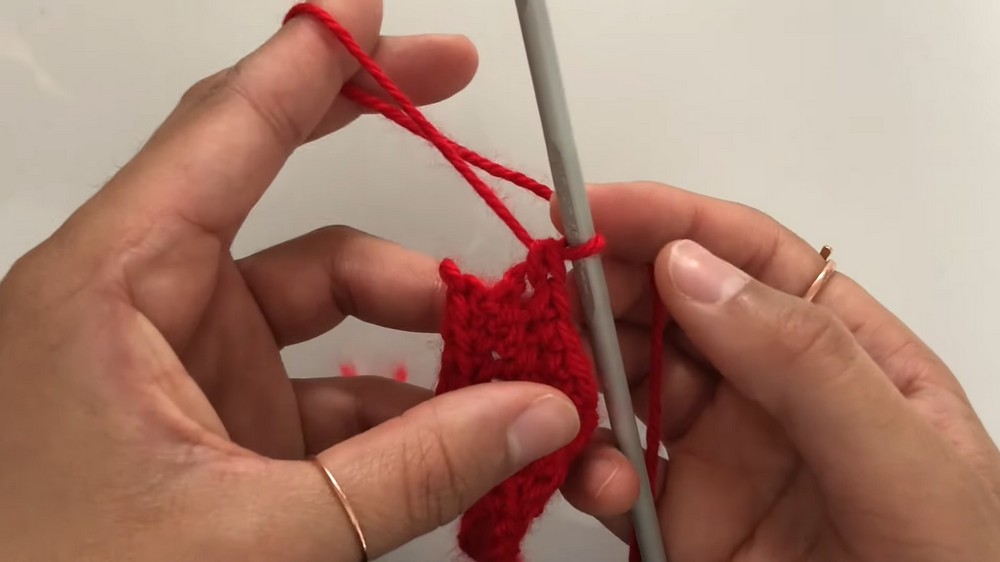
Step 2: First Row
- Begin crocheting single crochets (sc):
- Skip the first chain closest to the hook.
- Insert the hook into the second chain and create one sc.
- Repeat sc in each chain until the row is complete.
- Turn your work:
- Chain one after completing the row to prepare to crochet back across.
- Chain one after completing the row to prepare to crochet back across.
Step 3: Triangle Shape
- Locate the center point in the row (middle stitch).
- To grow the triangular shape, insert three single crochets (sc) into this middle stitch during every row to emphasize triangular rounding.
- Crochet towards the edges. Ensure the stitches are consistent. Repeat turning and continue this pattern until the triangle gains the desired width and length.
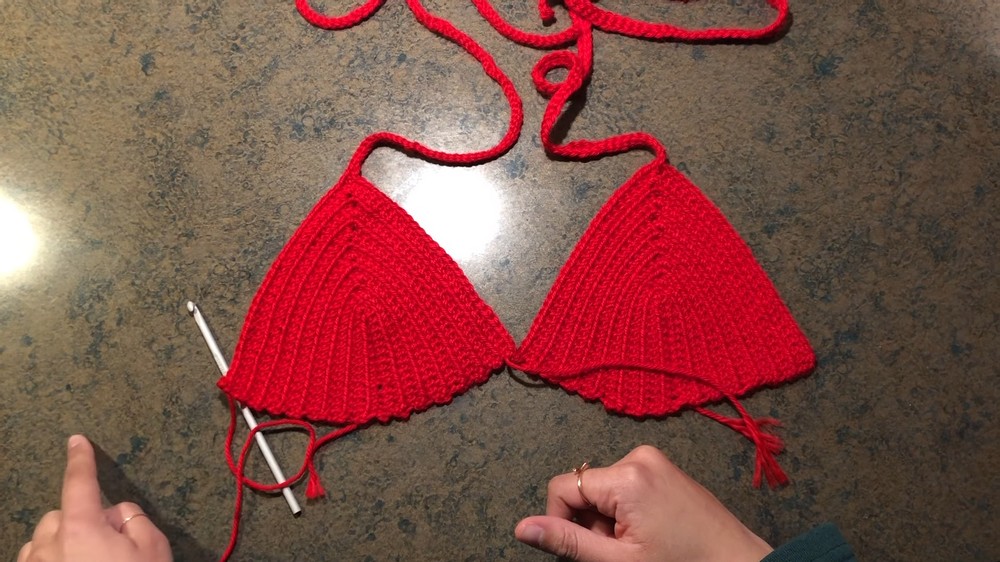
Step 4: Creating Straps
- Once you are satisfied with the triangle’s size, start creating straps from one edge:
- Chain approximately 160–166 stitches (adjust length depending on the user’s measurements or preference).
- Return by single crochet (sc):
- Start from the last chain and crochet sc into each chain stitch, moving back toward the triangular base.
- Ensure symmetrical straps are crocheted on both ends of the base of the triangle.
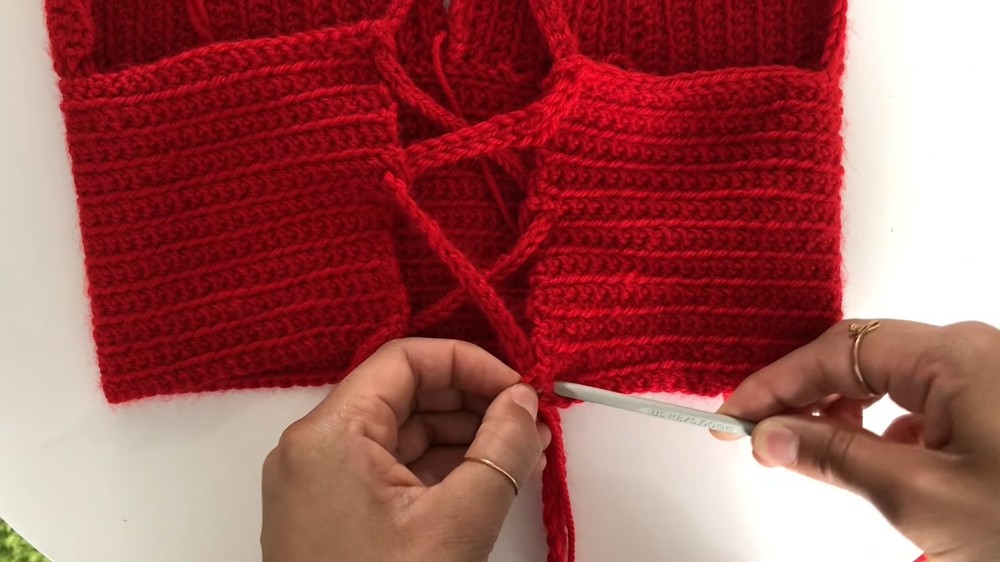
Step 5: Joining Triangular Pieces
- When your triangular pieces and straps are finished, position the triangular pieces together.
- Align edges neatly and decide where straps and attachments will meet.
- Slip stitch for joining:
- Insert your hook through the corresponding points of both triangles.
- Pull the yarn through both loops (sl st).
- Ensure attachments (straps or triangular shapes) are joined securely and evenly.
Tips for Success
- Test Measurements Frequently: For wearable projects, double check the fabric against your body or size references.
- Keep Stitches Consistent: Uneven stitches might stretch improperly. Use markers to maintain uniformity.
- Adjust Rows for Custom Sizes: Stop adding rows once the triangle achieves the desired size for wearable crochet.
- Pause Before Straps: Decide whether wider or shorter attachments are required. Measure strap lengths for accurate usage.
Customization Ideas
- Color Customization: Use different yarn colors to create vibrant or solid designs. Consider multicolored yarn blends for dynamic patterns.
- Add Texture: Incorporate decorative stitches like bobbles, shells, or other intricate patterns.
- Additional Embellishments: Add tassels, beads, fringe, or embroidery to personalize further.
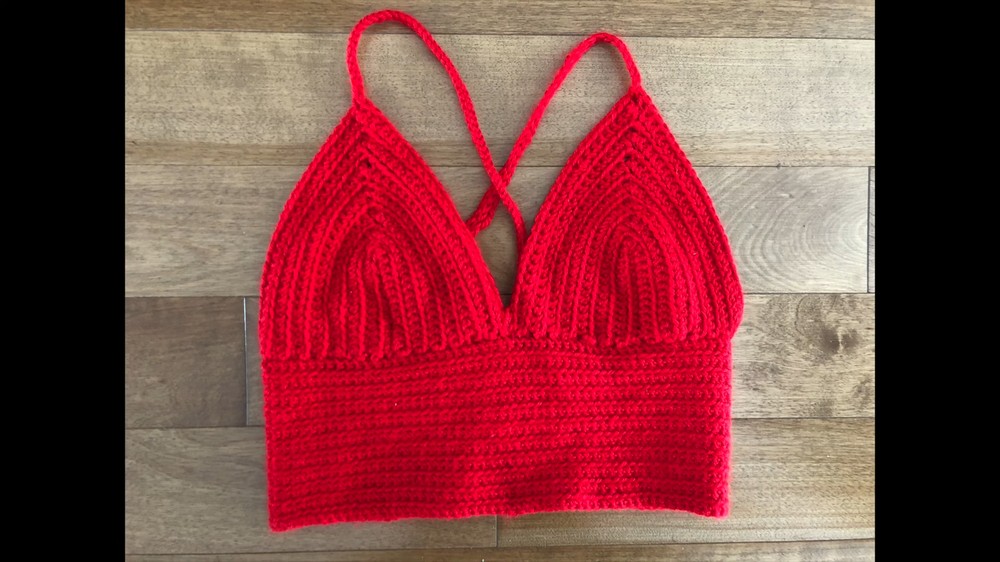
Conclusion
This step by step guide offers comprehensive instructions to recreate the crochet triangular accessories, explicitly focusing on its ease of creation, adaptability, and aesthetic appeal. It’s a lighthearted, charming project suitable for beginners aiming to crochet wearable or decorative pieces. With one skein of yarn, the final product captures attention with its warm, handmade feel—perfect for sunny days or to complement casual outfits.