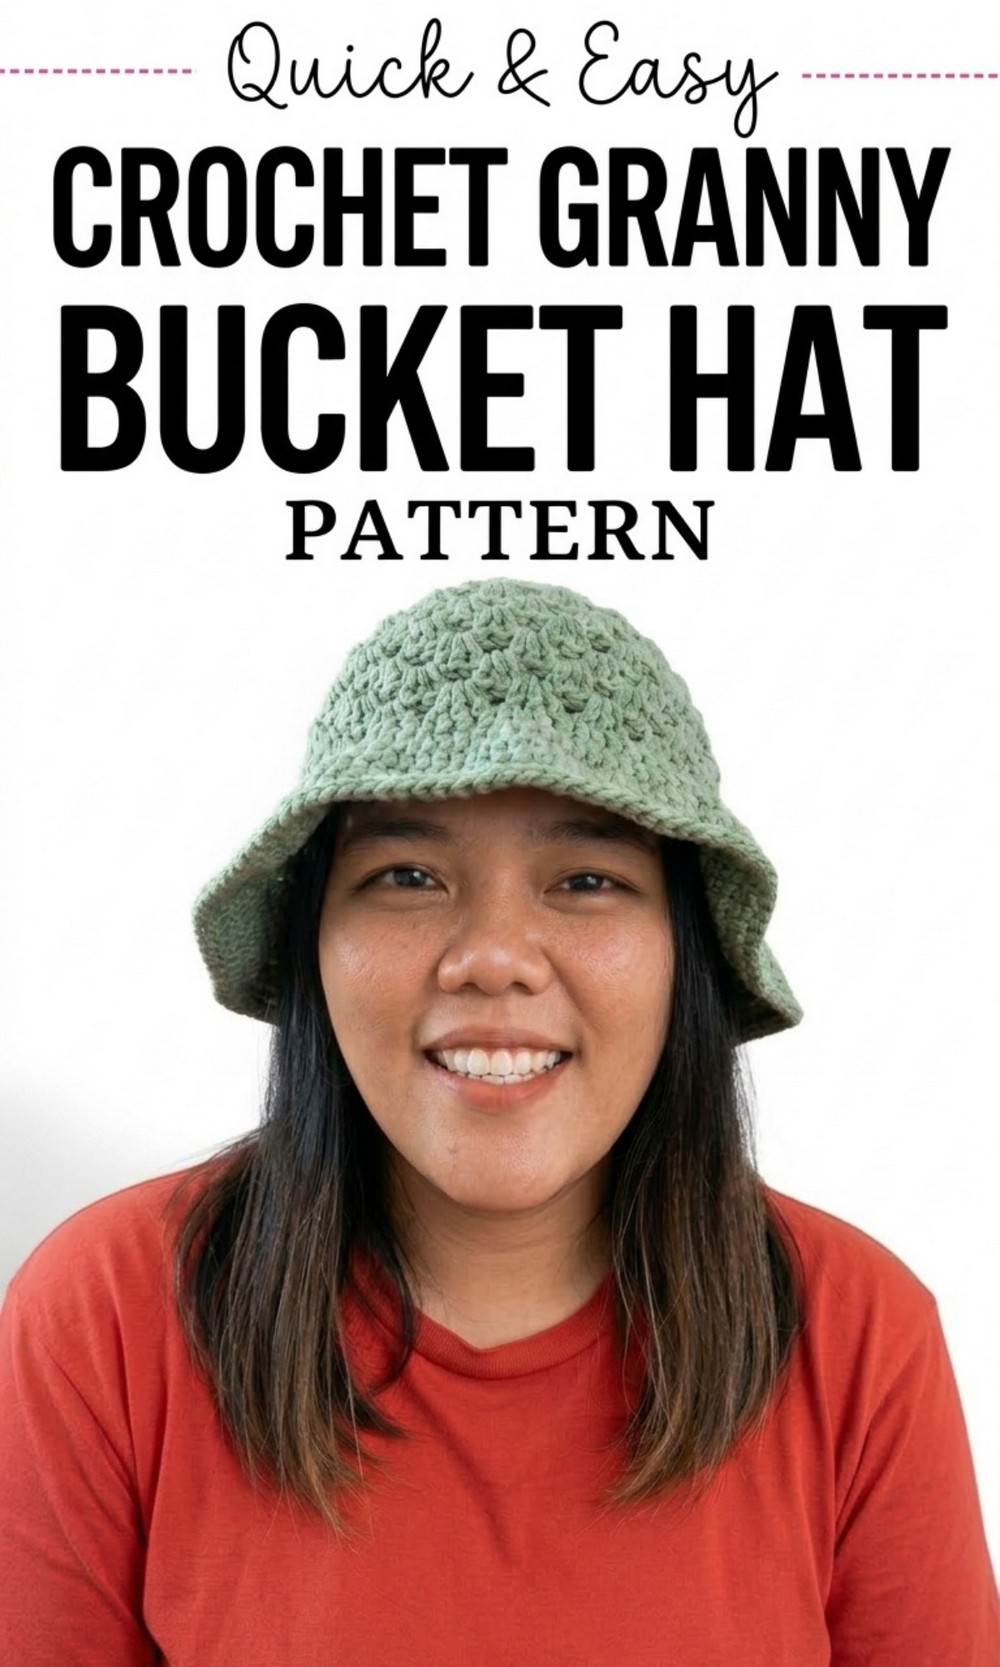
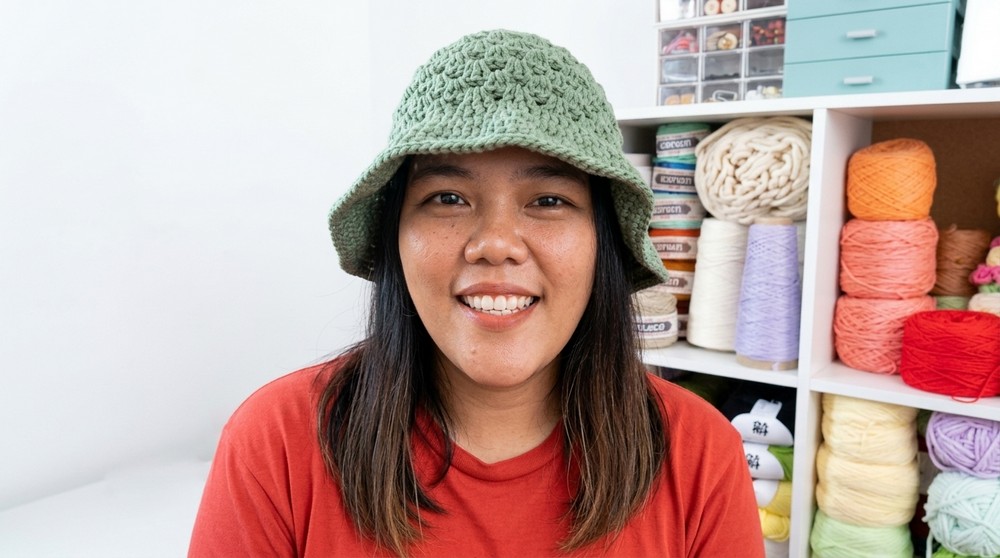
Bring color to your style with a Free Crochet Granny Bucket Hat Pattern that helps you create a trendy and comfy hat perfect for sunny days and daily wear.
Free Crochet Bucket Hat Pattern for the Trendiest Look
This hat is perfect for adding a unique touch to your outfits while staying cozy and comfortable. The classic granny stitch gives it a charming and elegant design, and the wide brim adds a playful, stylish flair while offering shade on sunny days.
Made with worsted weight yarn, it’s lightweight, breathable, and soft, making it ideal for everyday wear or special occasions. This versatile Crochet bucket hat pattern is not only a fashion statement but also a great gift idea for family and friends. 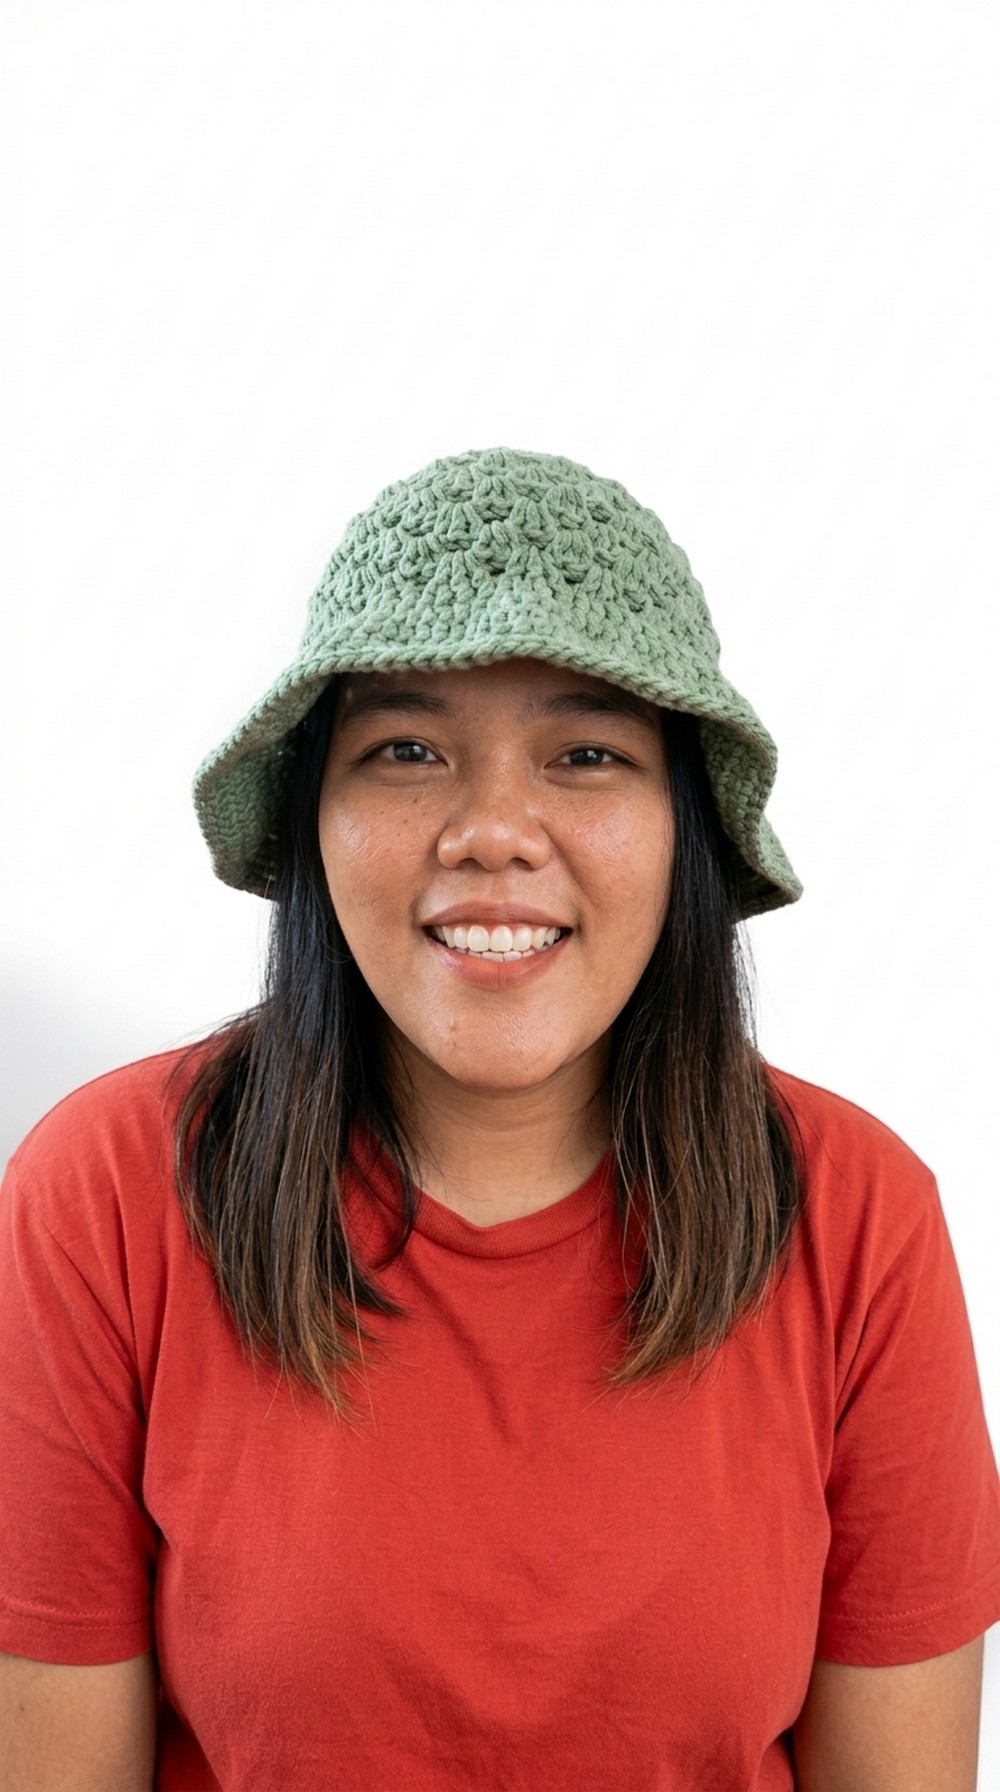
Customize it with your favorite colors to match your mood or outfit. Whether you’re new to crocheting or already love crocheting, this pattern is simple, delightful, and a wonderful way to create something uniquely yours.
Simple Crochet Granny Bucket Hat Pattern
Materials
To create this simple granny bucket hat, you will need the following:
- Yarn: 5 ply milk cotton yarn (Category 4 or worsted weight yarn)
- Hook: 4.5 mm crochet hook
- Stitch Marker: To mark the first stitch of each round
- Yarn Needle: For weaving in ends
- Pair of Scissors
Special Techniques
- Magic Ring: A looped method to begin your work, ensuring the starting circle can tighten completely.
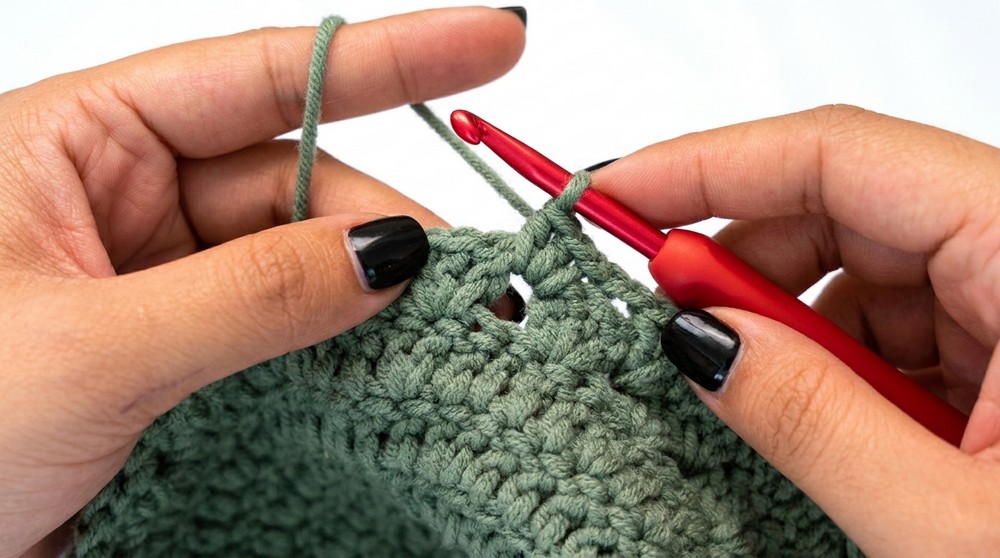
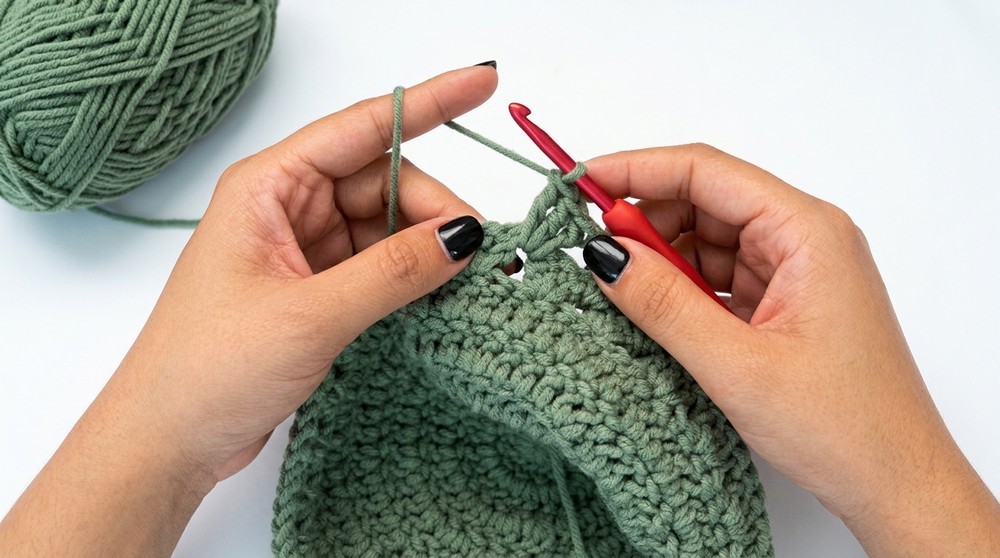
- Double Crochet (dc): Yarn over, insert the hook into the stitch, yarn over, pull up a loop, yarn over, pull through two loops, yarn over again, and pull through the remaining two loops.
- Single Crochet (sc): Insert the hook into the stitch, yarn over, pull up a loop, yarn over, and pull through both loops.
- Slip Stitch (sl st): Insert the hook into the stitch, yarn over, and pull through both the stitch and the loop on the hook.
- Chain (ch): Yarn over and pull through the loop on your hook.
Pattern Overview
This pattern consists of three parts:
- Crown: Create increased rounds using a magic ring.
- Hat Body: Crochet simple granny clusters.
- Brim: Add shape and structure to the hat for a bucket like effect.
Pattern Instructions
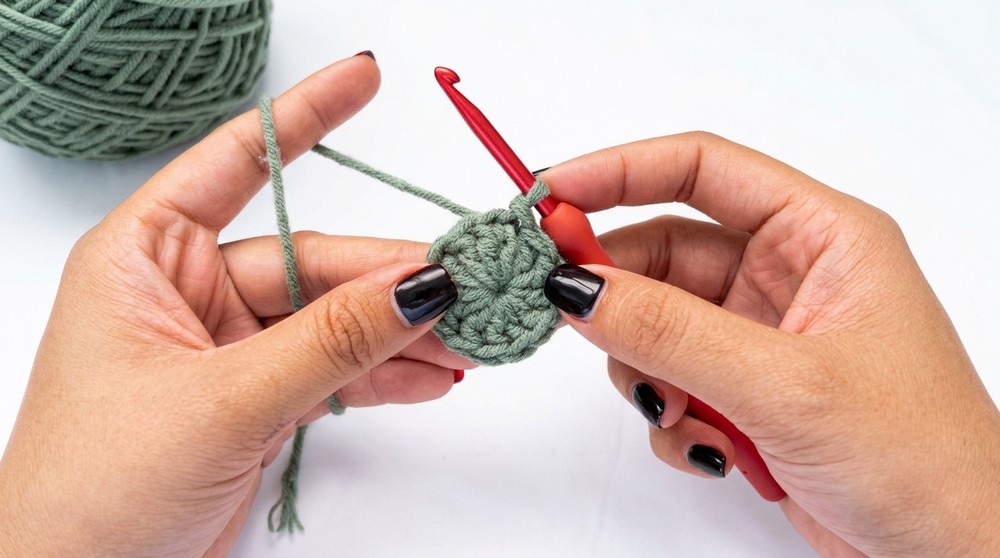
Step 1: Crown
- Create a magic ring.
- Round 1: Chain 2 (does not count as a stitch). Work 12 double crochets (dc) into the ring. Pull the yarn tail to close the ring tightly. Join with a slip stitch (sl st) to the first double crochet. Mark the first dc with a stitch marker. (Total: 12 stitches)
- Round 2: Chain 2. Work 2 dc in each stitch around. Join with a sl st to the first dc. Move the stitch marker to the first dc. (Total: 24 stitches)
- Round 3: Chain 2. Work the following sequence around: 1 dc in the next stitch, 2 dc in the following stitch. Join with a sl st. (Total: 36 stitches)
- Round 4: Chain 2. Work the following sequence around: 1 dc in each of the next 2 stitches, 2 dc in the following stitch. Join with a sl st. (Total: 48 stitches)
- Round 5: Chain 2. Work the following sequence around: 1 dc in each of the next 3 stitches, 2 dc in the following stitch. Join with a sl st. (Total: 60 stitches)
- Round 6 (Optional, for larger sizes): Chain 2. Work the following sequence: 1 dc in each of the next 4 stitches, 2 dc in the following stitch. Join with a sl st. (Total: 72 stitches)
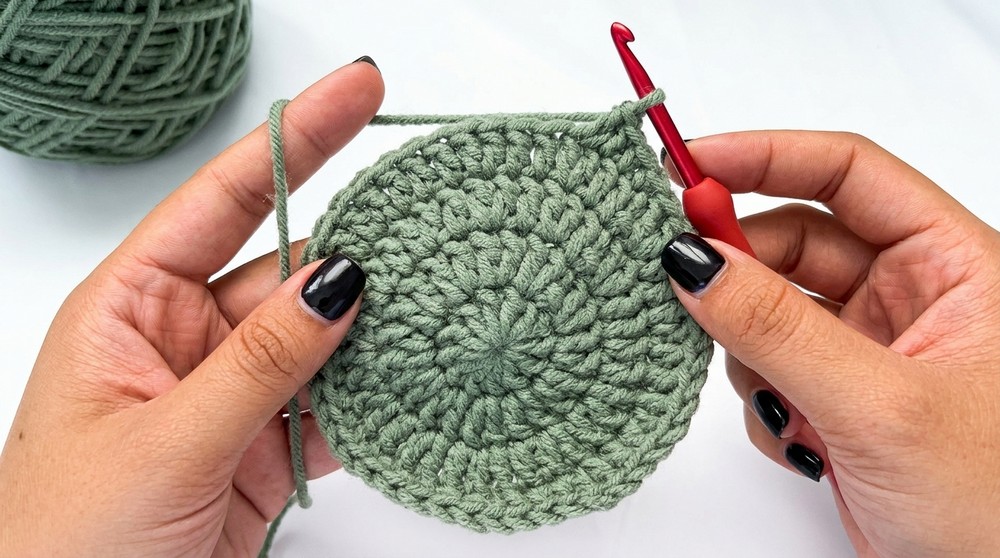
Measure your crown, If your crown measures approximately 6 inches (15 cm) in diameter, you are ready to proceed to the next step. If not, adjust the number of rounds accordingly.
Step 2: Hat Body
The body is crocheted using the classic granny stitch, which consists of clusters of three double crochets made into spaces.
- Round 1 (Granny Stitch Setup):
- Chain 2 (counts as 1 dc). Work 2 dc into the same stitch.
- Skip 2 stitches, and work 3 dc in the next stitch.
- Repeat: Skip 2 stitches, 3 dc in the next stitch around.
- End the round with 2 skipped stitches and join with a sl st to the top of the chain 2.
- Round 2 (Granny Stitch Repeat):
- Chain 2 (counts as 1 dc), turn your work, and work 2 dc into the same space.
- Work 3 dc into each space between clusters from the previous row.
- End the round with 3 dc, and join with a sl st.
- Repeat Round 2 for a total of 7 to 8 rounds, or until the body height measures approximately 3.5 inches (9 cm).
Step 3: Brim
- Round 1 (Brim Setup):
- Chain 2. Work 1 dc in each of the next 2 stitches. Then increase (2 dc in the same stitch).
- Repeat: 1 dc in each of the next 2 stitches, then increase.
- End the round with an increase and join with a sl st to the first dc.
- Round 2:
- Chain 2. Work 1 dc in each of the next 3 stitches. Then increase.
- Repeat: 1 dc in each of the next 3 stitches, then increase.
- End the round with an increase and join with a sl st.
- Round 3:
- Chain 2. Work 1 dc in each of the next 9 stitches. Then increase.
- Repeat: 1 dc in each of the next 9 stitches, then increase.
- End the round with an increase and join with a sl st.
- Round 4:
- Chain 2. Work 1 dc in every stitch around. Do not increase.
- End with a sl st to the first dc.
- Round 5 (Final Row):
- Chain 1. Work 1 single crochet (sc) in each stitch around.
- End with a sl st to the first sc.
Finishing the Hat
- Fasten Off: Chain 1, cut the yarn, and leave a long tail for sewing or weaving.
- Weave in Ends: Use a yarn needle to weave in all loose ends securely on the inside of the hat.
- Shape the Hat: Lay the hat flat and gently shape or block it if necessary.
Final Words and Tips
- Yarn Choice: For a soft and comfortable hat, opt for milk cotton or any other worsted weight pliable yarn.
- Check Tension: Ensure your stitches are consistent. If the hat feels too loose or too tight, adjust your hook size accordingly.
- Customization: Add embellishments such as flowers, buttons, or ribbons for a personalized touch.
- Care Instructions: Hand wash your hat with cold water and mild detergent. Lay flat to dry to maintain its shape.