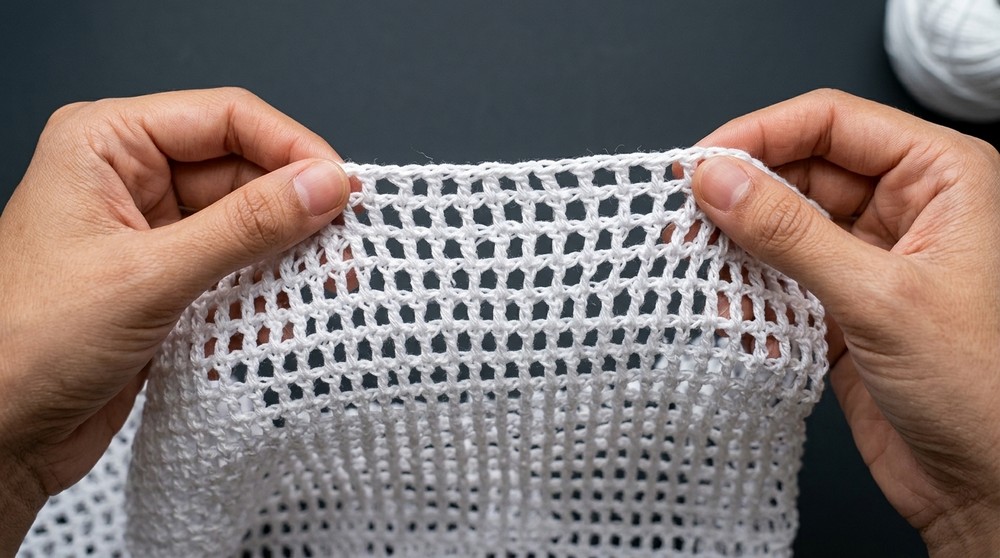
Style your warm weather outfits with a lightweight and trendy crochet mesh crop top that’s designed to keep you cool, comfortable, and effortlessly stylish.
Here is an easy and stylish crochet project that anyone can enjoy making. This trendy and breathable crop top is perfect for warm days and outdoor fun. Its beautiful mesh design gives it a lightweight and airy feel, making it both comfortable to wear and eye catching. You can choose to make it in any color or even mix and match your favorite shades to add a unique and personal touch to your creation.
Quick and Fun Free Crochet Mesh Crop Top Pattern Idea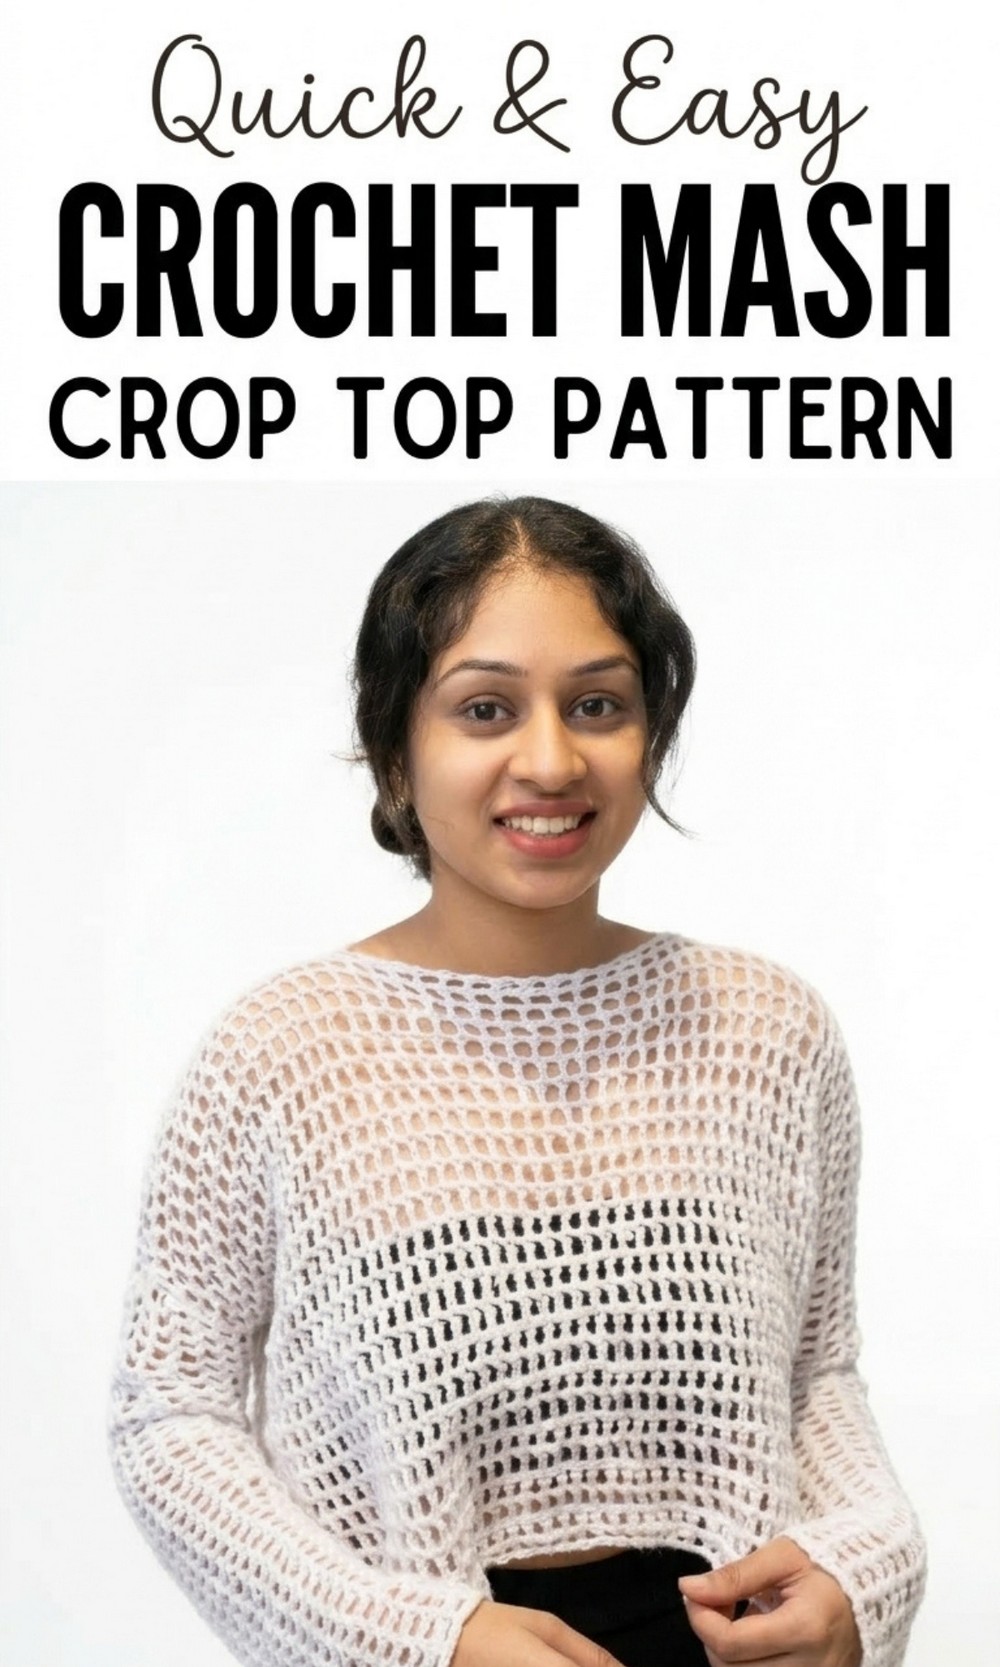

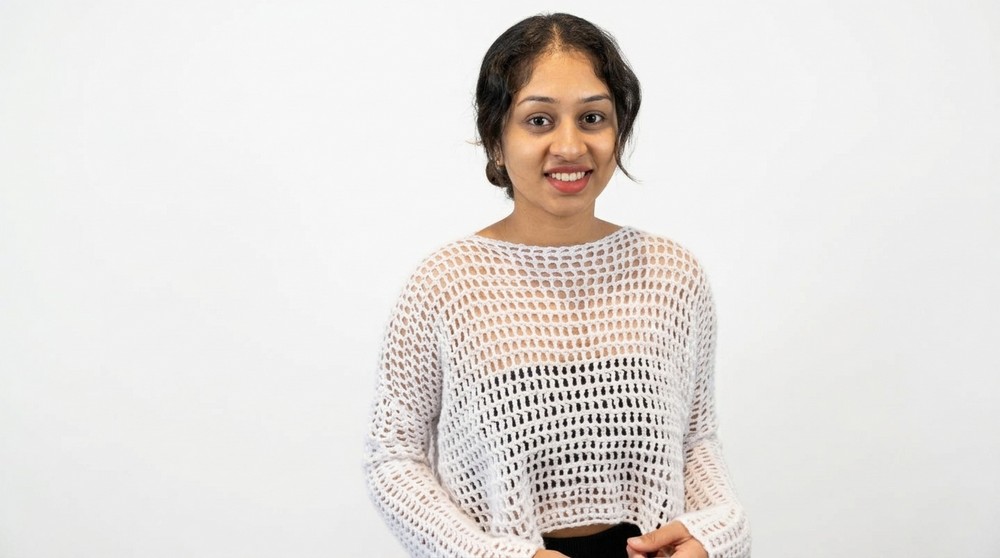
This top is incredibly versatile, making it a wardrobe must have. Pair it with jeans, skirts, shorts, or layer it over a dress for an effortlessly chic look. Its modern design is perfect for summer outings, beach days, or even as a comfy cozy outfit for relaxing indoors. With its adjustable straps and open mesh pattern, this top can fit any style and occasion with ease.
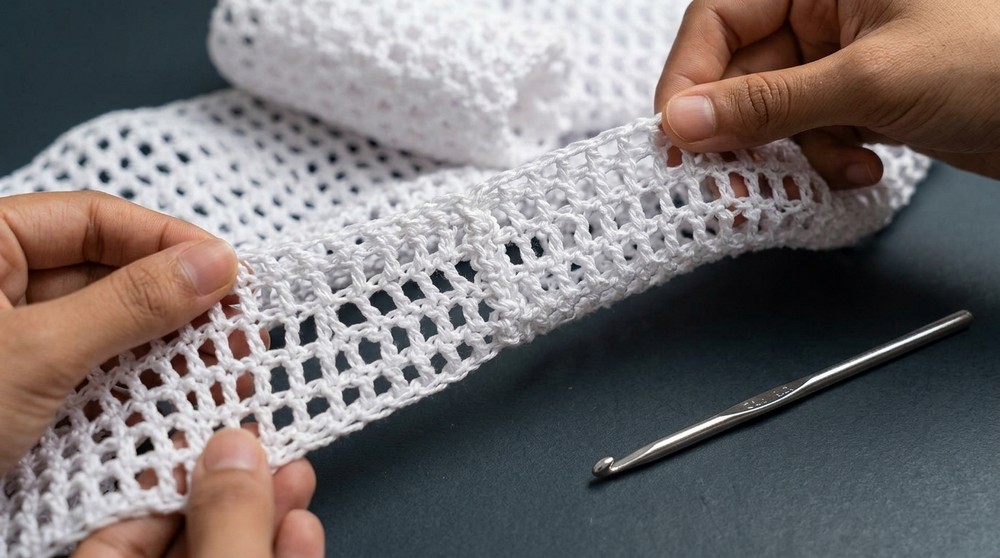
The best thing about this project is how simple and fun it is to create. Whether you’re a seasoned crocheters or just starting out, the step by step process is beginner friendly. You need only a few tools: yarn, a crochet hook, and scissors, to bring this trendy top to life. The open design also means you’ll spend less time working on it, and it will be ready to wear quicker than you think.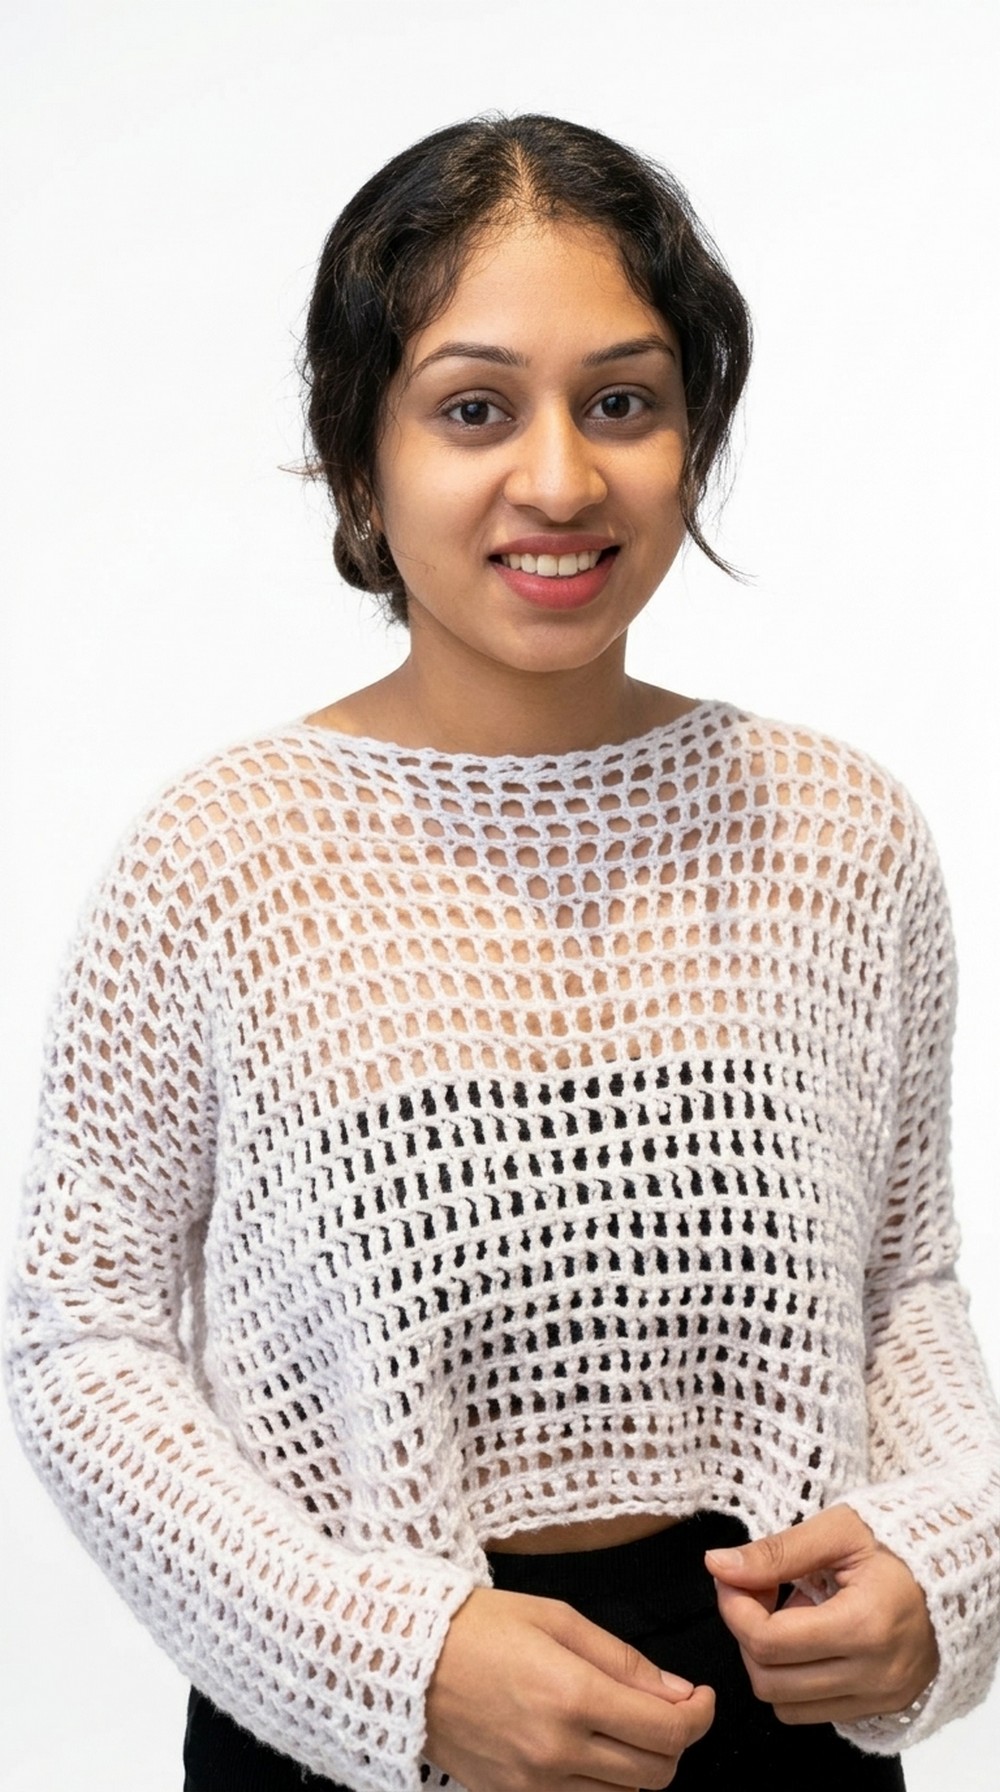 This pattern is not only a great way to enhance your skills, but it’s perfect for making thoughtful, handmade gifts. Friends and family will love receiving such a stylish, custom made item filled with creativity and care. With its unique look, ease of creation, and endless style possibilities, this crochet project is an exciting and rewarding choice for anyone.
Crochet Crop Top Pattern Step by Step Instructions
Materials Required
- Yarn:
- Two strands of medium weight yarn (alternatively, mix two colors for a unique look).
- Recommended yarn: Any #4 medium weight yarn.
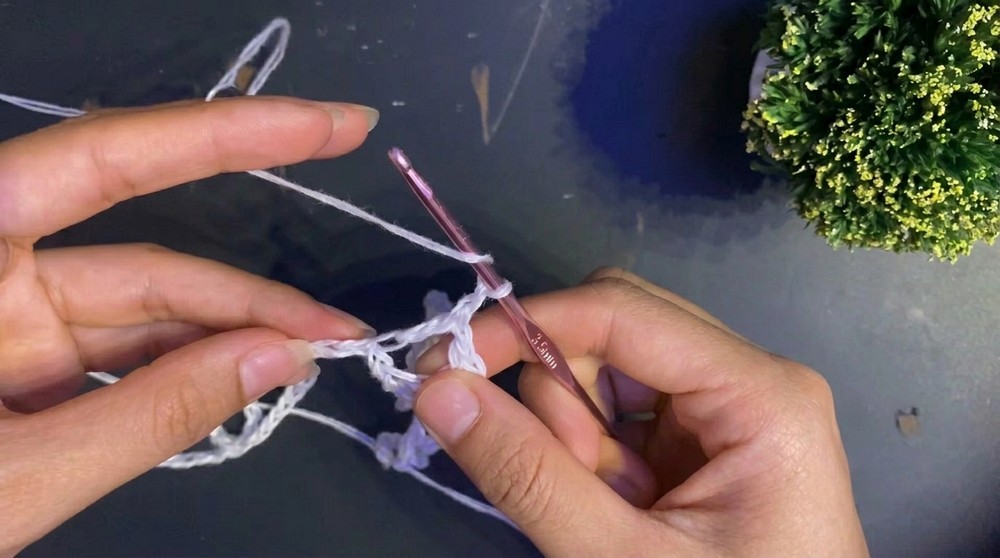
- Crochet Hook:
- 3.5 mm crochet hook.
- Scissors:
- A sharp pair of scissors to cut the yarn neatly.
- Stitch Markers:
- Use stitch markers to mark your starting and ending points for easy tracking.
- Measuring Tape:
- To measure yourself and ensure a perfect fit.
Gauge
- 10 x 10 cm square = 16 double crochets (dc) x 8 rows.
- Adjust your hook size if your gauge does not match.
Finished Size
- Medium Size: Fits a bust size of approximately 34–36 inches.
- Length: Customizable based on personal preference.
Note: To scale the size, refer to the size adjustments in the customization section below.
Special Techniques
- Foundation Chain: The base for your crop top, customized for your size.
- Double Crochet (dc): The primary stitch used throughout the project.
- Joining Panels: How to connect different panels for the final top shape.
Pattern Instructions
Step 1: Start with the Bust Panel
- Foundation Chain:
- For a medium size, chain 110.
- If you want a smaller size (small), chain 100; for a larger size (large), chain 120. Adjust in multiples of 10 as needed.
- Add 4 additional chains after completing the foundation chain (this creates turning space).
- Row 1:
- Work 1 double crochet (dc) into the 5th chain from the hook.
- Skip 1 chain and work 1 dc into the next.
- Repeat across the row.
- At the end of the row, chain 4 and turn.
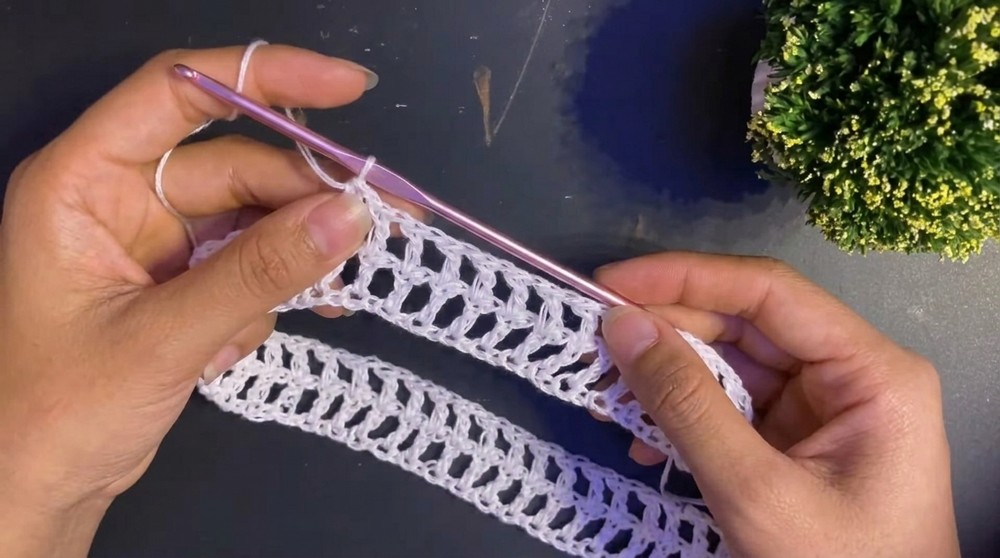
- Row 2:
- Continue by skipping the first stitch and working 1 dc into every second stitch.
- Repeat until the row is complete.
- Continue to repeat Row 2 until you achieve the desired length for the bust panel (approx. 10 inches for medium size).
- Fasten off and leave a long tail for sewing.
Step 2: Make the Back Panel
- Foundation Chain:
- Repeat the same steps as the bust panel for a matching size.
- For medium size, chain 110, then add 4 extra chains.
- Rows:
- Repeat the same pattern as the bust panel for an identical back panel.
- Stop when the back panel matches the length of the front panel.
- Fasten off and leave a long tail for attaching the panels together.
Step 3: Make the Straps
- Foundation Chain:
- For straps, chain 80 for a medium size.
- Small size: Chain 70.
- Large size: Chain 90.
- Adjust based on your shoulder to bust distance.
- Rows:
- Work 1 single crochet (sc) into each chain across.
- Chain 1, turn, and repeat for 3–4 rows to make sturdy straps.
- Fasten off and leave tails for attaching the straps.
- Make 2 straps following this process.
Step 4: Joining the Panels
- Place the front and back panels on top of each other, ensuring right sides face inward.
- Use a yarn needle or crochet hook to sew the side seams together.
- Leave openings at the top for your arms (4–6 inches from the top for medium size).
- Leave openings at the top for your arms (4–6 inches from the top for medium size).
- Secure the seams with a slip stitch or whip stitch for durability.
- Attach the straps at equal distances on both sides of the bust panel using stitch markers to ensure alignment before sewing them in place.
Step 5: Final Touch – Decorative Border
- To add a neat edge, work a border using single crochet or picot stitches around the neckline, armholes, and bottom of the crop top.
- For a scalloped edge:
- Work 5 double crochets into one stitch, skip 1 stitch, and single crochet into the next.
- Repeat around the edges for a decorative finish.
Tips and Customization Ideas
- Customization for Size:
- To increase or decrease the size of the crop top, adjust the initial foundation chain in multiples of 10.
- For longer or shorter crop tops, simply add or reduce the number of rows to suit your body length.
- Color Variations:
- Use two different strands of yarn for a mixed color effect.
- Create stripes by alternating yarn colors every few rows.
- Embroidery or Applique:
- Add embroidered flowers, beads, or other applique designs to personalize your crop top.
- Alternate Neckline Options:
- Modify the neckline shape (square, V neck, or round) by reducing stitches in the bust panel gradually towards the center.
- Creative Strap Placement:
- Try criss crossing the straps or adding adjustable buttons for a trendy look.
Conclusion
With this crochet crop top pattern, you’ll not only enhance your crochet skills but also create a stylish and customized outfit piece that perfectly fits your size and preferences. Its versatility allows you to combine colors, patterns, and stitches to make it uniquely yours. Remember, the finished crop top should feel comfortable and have a snug, flattering fit.
Take your time during the making process, and don’t hesitate to experiment with yarn combinations and border styles. The joy of crocheting lies in turning simple stitches into something truly spectacular.
Important Remarks
- Final Look:
- Once your crop top is complete and turned to the right side, it should have clean seams, delicate straps, and a snug fit along the bust and waistline.
- The decorative border will give it a polished and professional look.
- Care Instructions:
- Handwash in cold water to maintain its shape and texture.
- Lay flat to dry to prevent stretching.
- Gift or Wear:
- This crochet crop top makes for a thoughtful and beautiful handmade gift. Whether you wear it yourself or share it with someone, the result is sure to stand out.
Enjoy making your crop top and feel proud of the handmade beauty you’ve created.