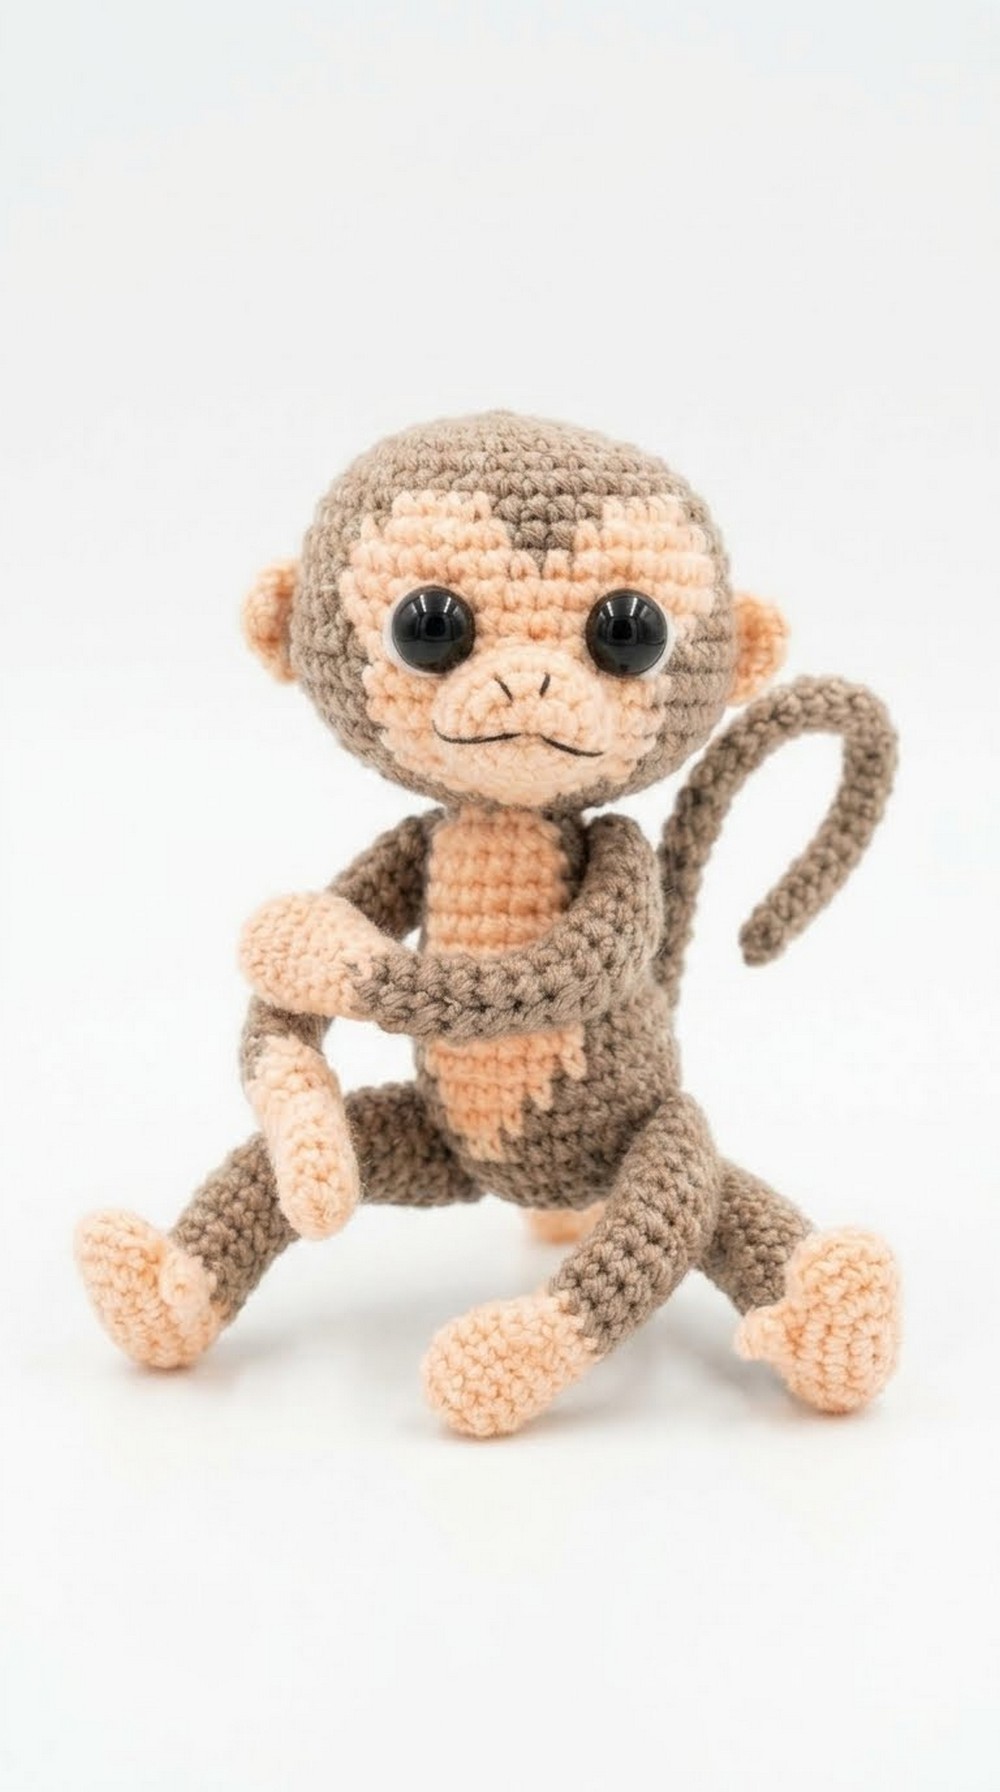
Bring a jungle friend into your home with this free crochet monkey amigurumi pattern and make a lovable toy full of charm and fun.
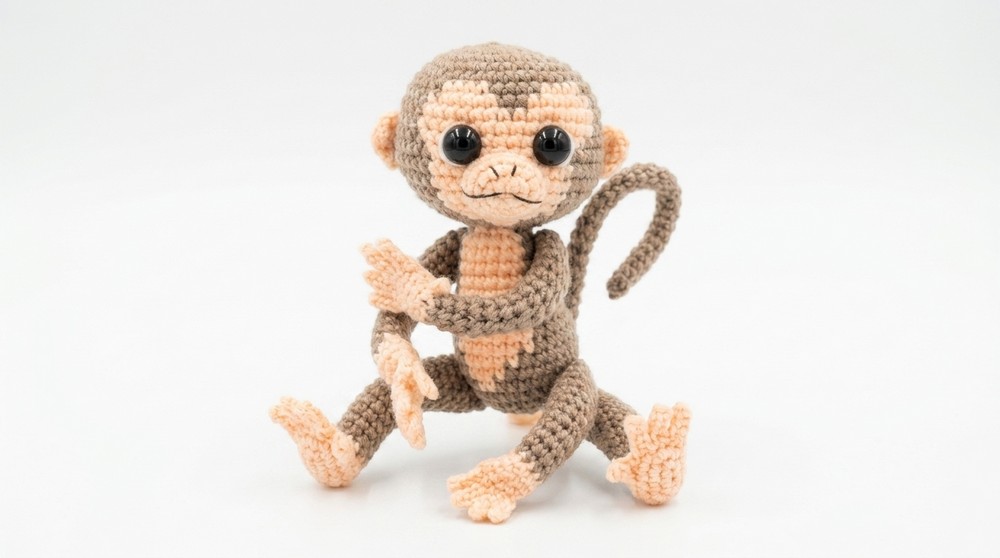
Standing about 15 cm tall with extended legs and 9.5 cm when sitting, this charming crochet monkey is a delightful project for all skill levels. If you prefer a smaller version, you can crochet one measuring 11.5 cm tall with extended legs and 7 cm when sitting, simply by using thinner yarn. The design is simple yet versatile, allowing you to create a cute and cuddly monkey that’s perfect for kids, gifts, or even home decor.
The Cutest Crochet Monkey Amigurumi For Playtime And Display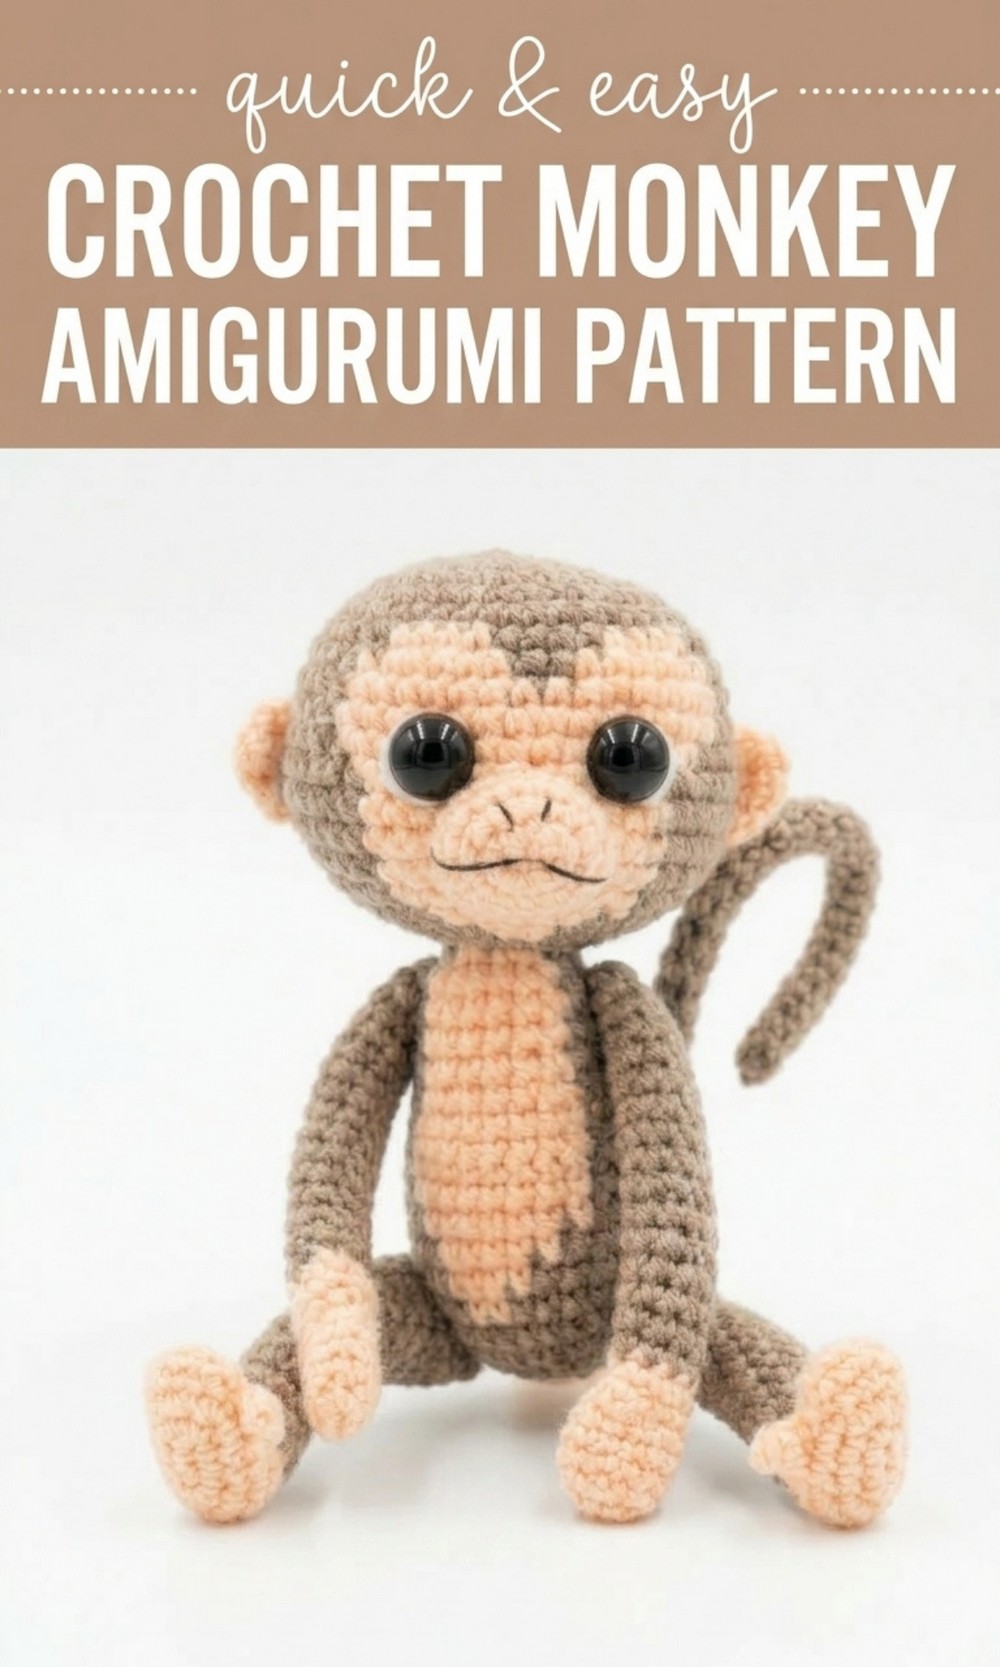

The monkey has a cheerful and playful appearance, with floppy ears, a round head, and a soft, adorable tail. You can customize its look with your favorite yarn colors, giving it a classic brown and pink style or trying out brighter hues for a more vibrant character. The step by step pattern is incredibly easy to follow, using basic stitches such as the magic circle, single crochet, increases, and decreases, so even beginners can enjoy crocheting this little friend.
One of the most exciting features is its attention to detail. The monkey can hold a tiny crocheted banana as an accessory, which adds even more cuteness and personality. Its expressive face can be enhanced with safety eyes or embroidered details, making it both charming and unique.
Another great thing is that it doesn’t require a lot of yarn, so it’s budget friendly while also being fun to make. Whether as a child’s companion, a thoughtful handmade gift, or a lovable decoration, this crochet monkey is bound to bring smiles to everyone who sees it. Start creating yours and experience the joy of making something so heartwarming with your own hands.
Crochet Monkey Amigurumi Pattern
Finished Size
- Small Monkey: Approximately 7 cm tall when sitting, 11.5 cm tall when legs are straight.
- Large Monkey: Approximately 15 cm tall when legs are straight and 9.5 cm tall when sitting.
- Banana: Varies depending on yarn thickness.
This makes the monkey versatile, as it can be crocheted in two different sizes depending on your materials.
Materials Needed
For Large Monkey:
- Yarn:
- 2 mm acrylic yarn or lightweight cotton yarn.
- Colors suggested include brown (body), pink (face and feet), and white (highlights like the muzzle and peel of the banana).
- Hook: 2.5 mm crochet hook.
- Stuffing: Polyester fiberfill or similar.
- Accessories (optional): Safety eyes (size 10 mm for large and 8 mm for the small monkey), embroidery thread for adding expressions to the face.
For Small Monkey:
- Yarn: 0.5 mm cotton or mohair yarn.
- Hook: Adjust to 1.5 mm.
- Yarn Technique: Use two strands—one strand from the outer layer and the other from the yarn’s internal core.
Other Essentials:
- Stitch markers to mark rows.
- Scissors for cutting yarn ends.
- Sewing needle for securing parts neatly.
Gauge
Gauge is not particularly crucial for this pattern, but consistency in stitch tension is essential to maintain proper proportions. Test your tension on scrap yarn if switching to alternative materials.
Special Techniques
- Magic Circle: Create seamless starts for circular crochet work.
- Single Crochet (sc): The primary stitch used throughout the pattern.
- Increase (inc): Work two sc stitches into the same stitch to expand the project.
- Decrease (dec): Combine two stitches into one—for an invisible decrease, pick up the front loops only.
- Crocheting in Back Loop Only (BLO): Used for row definition, especially in details like shaping fingers or creating textures.
Customization Ideas
- Add bright, playful colors such as yellow, orange, or teal.
- Customize accessories like a bow, scarf, or hat to give the monkey more personality.
- Use expressive safety eyes or embroidery for facial features.
- Include small add ons such as a toy banana in one hand or mini clothes.
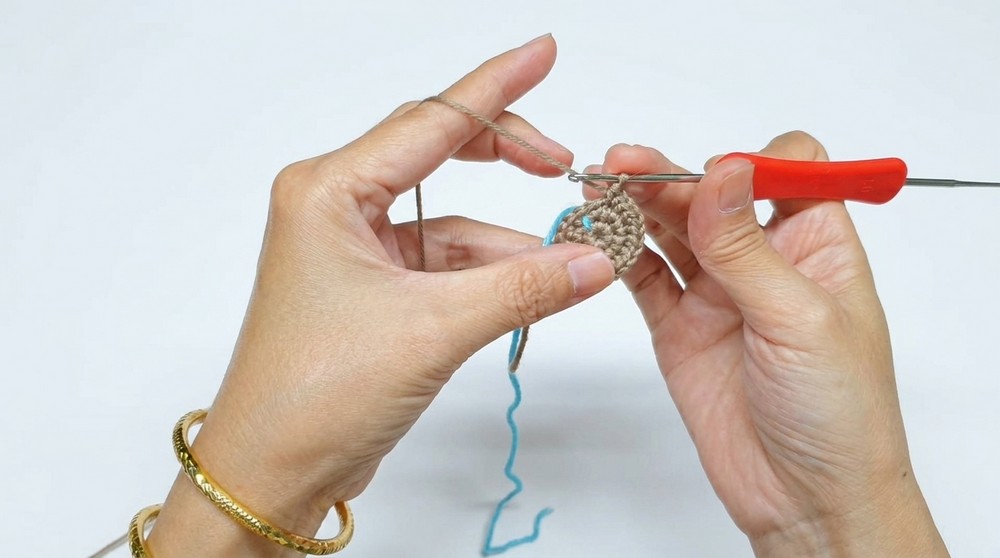
Pattern Instructions
HEAD
- Row 1: Start with a magic circle. Create 8 single crochet (sc) stitches. Pull tightly to close the circle.
- Row 2: Work 8 increases (2 sc in each stitch), resulting in 16 stitches.
- Row 3: Alternate stitches with a pattern: 1 sc, 1 inc (repeat 8 times, making 24 stitches).
- Row 4: Work 3 sc followed by an increase (3 sc, 1 inc). Repeat 6 times for a total of 30 stitches.
- Rows 5 12: Continue in spirals, gradually increasing by predetermined intervals for shaping the round head. Exact stitch counts should match proportional scaling for large or small monkey sizes.
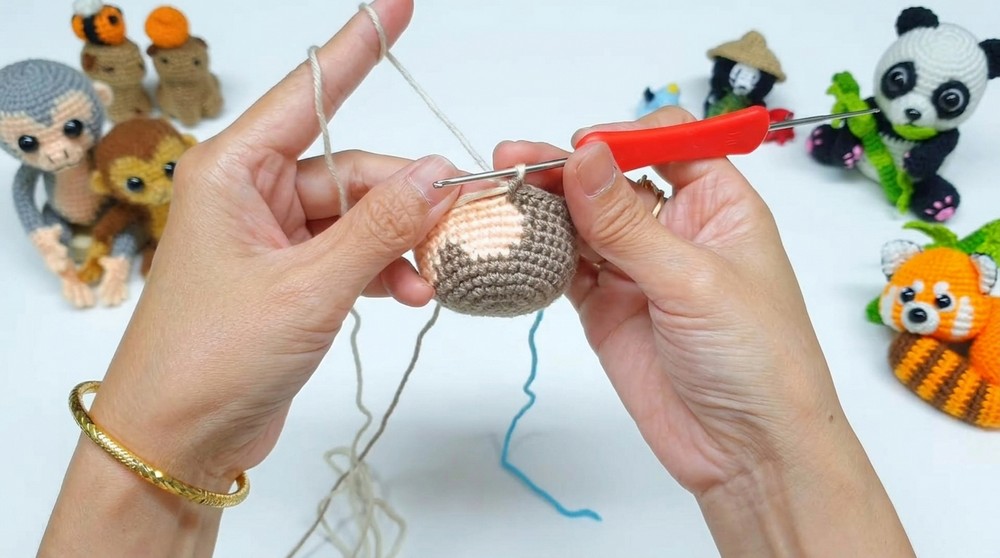
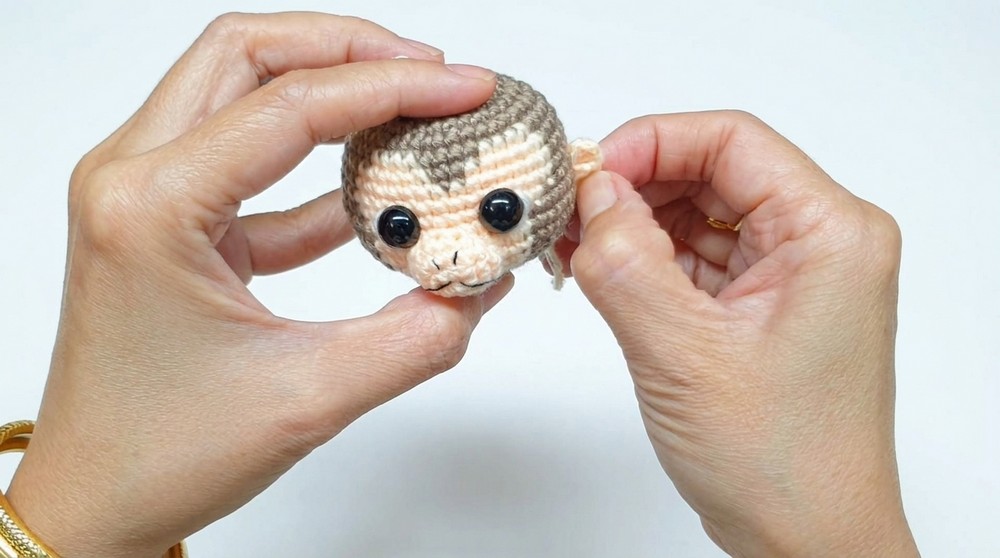
- Add safety eyes between Rows 11 and 12. Position them evenly, and secure them tightly.
- Stuff the head firmly with fiberfill before closing off.
MUZZLE
- Row 1: Chain 4 stitches. Work sc across the chain and make 3 sc into the end stitch. Continue across the opposite side of the chain.
- Rows 2 3: Work increases on edges to shape an oval muzzle that rounds out nicely.
- Attach the muzzle around Rows 12 16 of the monkey’s head securely. Add slight stuffing before sewing it down if needed.
- Embroider a black nose and mouth using embroidery thread.
EARS
- Row 1: Chain a series of stitches (based on proportional size: around 6 for small monkey, 10 for large monkey).
- Use stitches half double crochet (hdc) and double crochet (dc) to form rounded edges for the ears. Crochet into one side and opposite.
- Attach ears symmetrically between Rows 11 and 13 on both sides of the head.
ARMS
- Row 1: Create chain stitches to form fingers. Work slip stitches into the chain, followed by patterns of single crochet and connected chains for texture.
- Assemble all fingers (approximately 4 per hand) into a round. Begin working single crochet stitches in a spiral (about 8 sc per round).
- Alternate light stuffing as the arm grows longer.
- Brown Yarn Transition: Connect the arm to the main body after securing the shoulder portion with cotton stuffing.
LEGS
- Follow similar techniques as the arms for finger toes. Adjust slight sizing variations depending on monkey size:
- For the foot: Use pink yarn for Row 1–5, followed by brown transitions starting Row 6–10.
- Work longer legs and expand the stitch count slightly for larger monkeys as per body proportionality.
BODY
- Rows 1 to 4: Based on the head method, gradually increasing for the cylinder shape.
- Rows 5 to 10: Work even rounds for flat height definition.
- Attach arms symmetrically to the shoulder sections once body rounds are even.
- The legs attach near Row 11 downward.
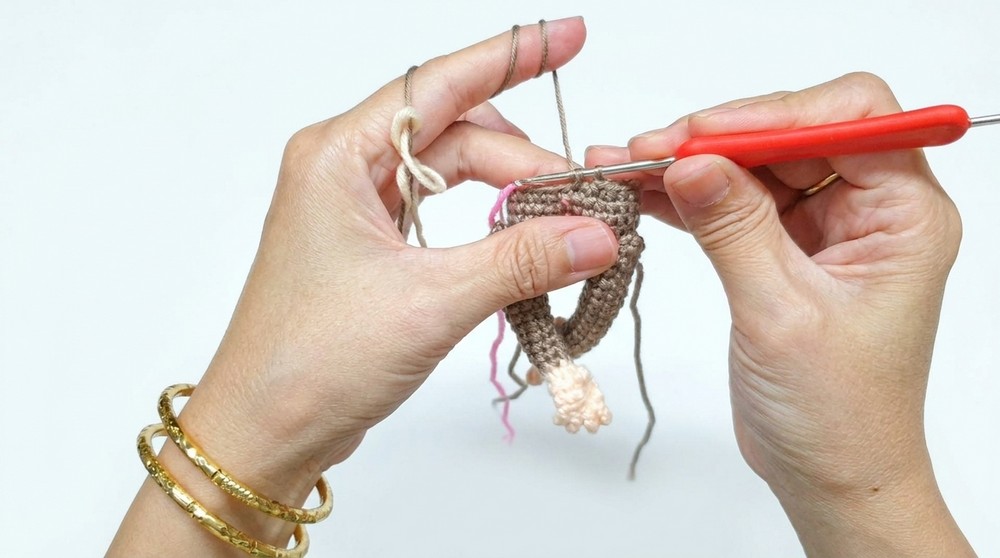
TAIL
- Work a constant base round of 5 single crochet in spirals for about 36 rows.
- Slightly taper down edges softly without stuffing for flexible shaping.
- Attach the tail to the middle rear section of the monkey.
Assembly
- Position arms and legs symmetrically on the body.
- Attach safety eyes snugly to the head. Test alignment beforehand.
- Add tail securely to the rear section of the body.
- Sew foot and hand positioning. Slightly bend thumbs upward for more expression.
- Attach a mini banana playfully into one hand.
Tips for Success
- Glue Finish: Use diluted white glue to harden tips for fingers, toes, and banana peels.
- Stuff Proportionately: Lightweight fiberfill is best for limbs to maintain flexibility.
- Hide Yarn Ends: Pull all ends inside. Use a neat sewing technique to prevent unraveling.
Conclusion
Your detailed monkey crochet project is now complete. With its floppy tail, expressive facial details, and optional banana, the monkey brings vibrant personality and charm to any space. You can easily customize its size by adjusting yarn thickness or make more accessories to enhance its playful look. Whether gifted or kept as decoration, this adorable crochet monkey is sure to be everyone’s favorite. So grab your hook and yarn, and enjoy creating something special.