
Fill your free time with a fun project using this Crochet Pig Amigurumi Free Pattern to make a happy little toy that looks cute on any shelf.
Small farm animals can turn ordinary yarn into playful toys that everyone loves. The original tutorial by Hooks & Needles By Mita offers a wonderful idea for making a friendly pig with an appealing personality.
This Crochet Pig Amigurumi is a soft stuffed animal with a round body, short legs, and a cheerful expression. Its tiny ears, flat snout, and bright eyes give it a funny appearance that catches attention. The gentle pink color adds a warm feeling, while the close crochet stitches create a firm, even surface.
Little Crochet Pig Free Pattern With A Sweet Round Face
The pig’s chubby shape is one of its most interesting features. Its small size makes it suitable for placing on a bedside table, bookshelf, or nursery decor. You can also include it in a farm animal collection alongside cows, sheep, and chickens for a fun countryside theme.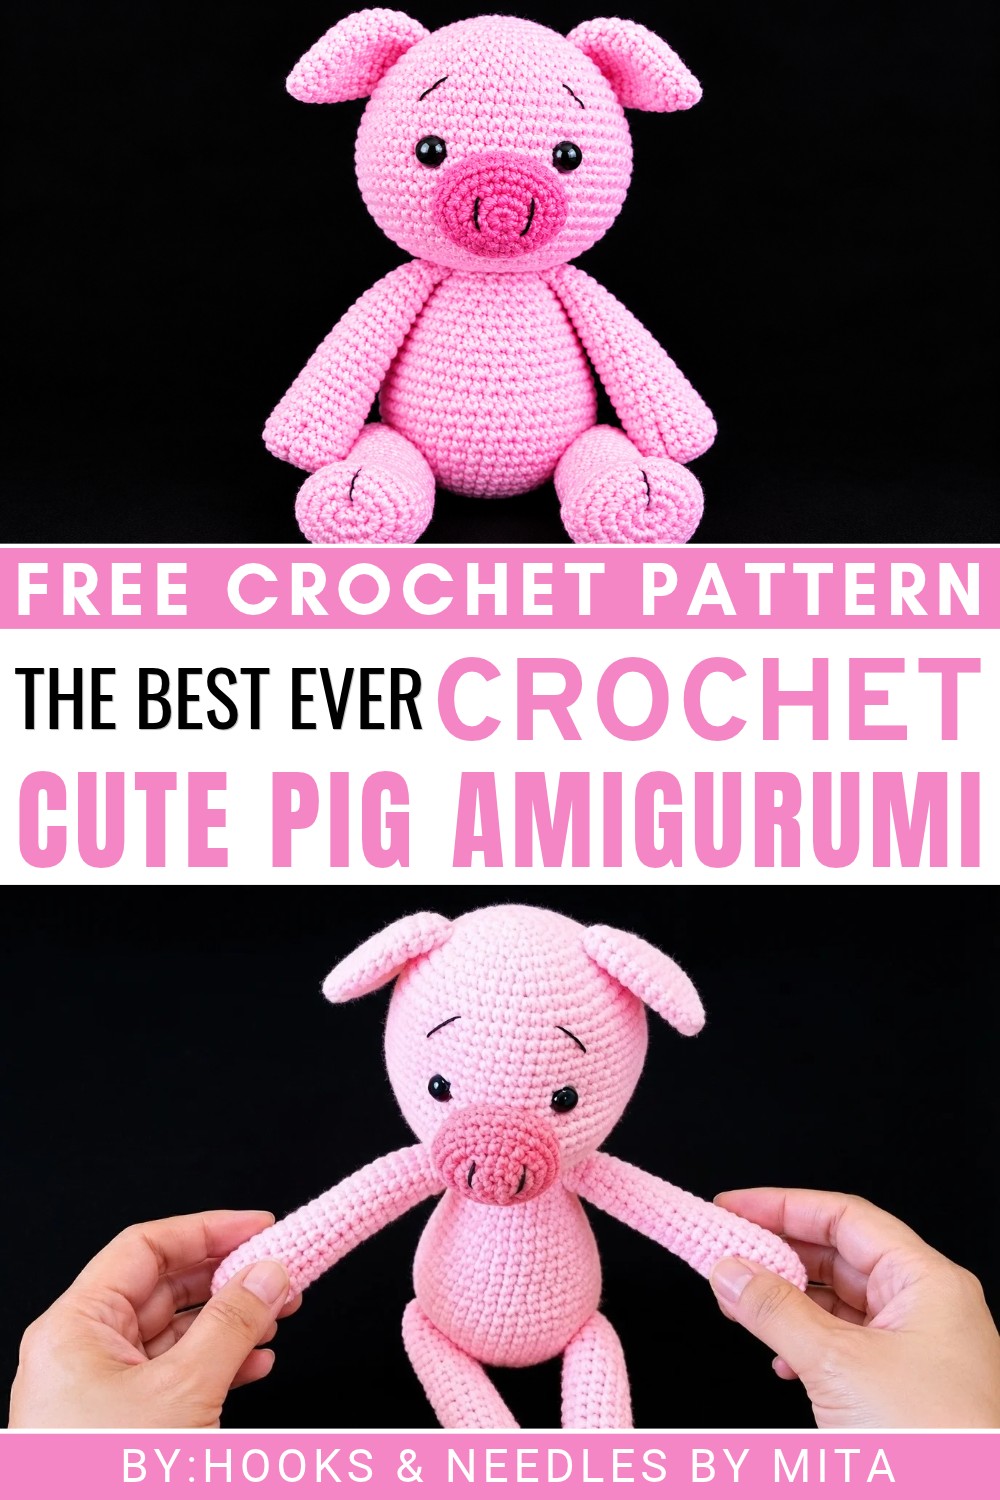 Children may love receiving this pig as a birthday present, while animal lovers can keep it as a desk companion. It is also a charming choice for party favors or a special surprise tucked inside a gift box.
You can select light pink for a traditional appearance or experiment with peach and other gentle shades. A darker snout can give the face more contrast and help the tiny details stand out.
Give this free crochet pig pattern a try and enjoy adding a cheerful farm friend to your collection!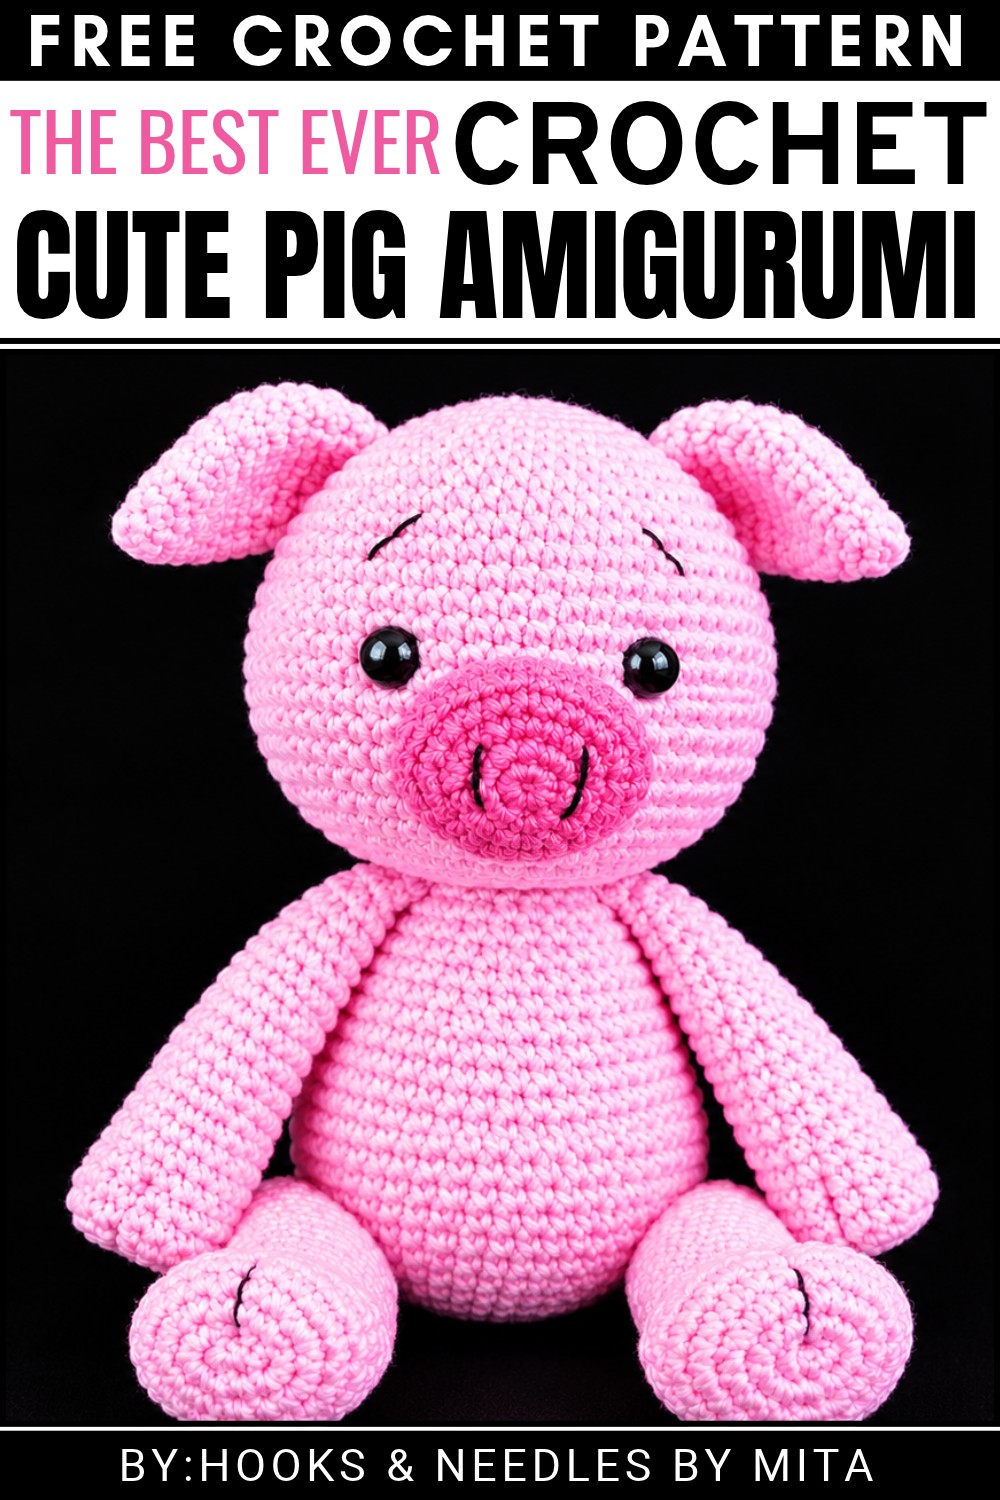
About the Pattern
This crochet piglet is designed with smooth shaping, clear incremental increases and decreases, and a simple assembly. The instructions guide you through the construction of each anatomically accurate component. The snout and ears are carefully detailed for expressive features, while the body, arms, and legs feature gradual shaping for a classic and adorable look. Each element is worked in the round, making for a seamless, polished toy that is both durable and endearing. Its beginner-friendly stitches and straightforward assembly make this an accessible amigurumi project for various skill levels.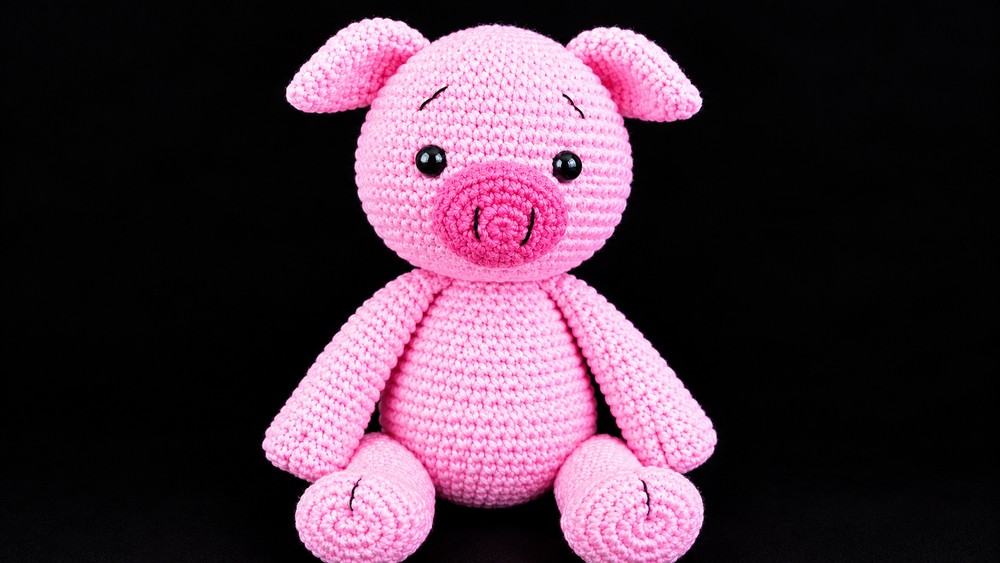
Pattern Basic Points
- Each part (head, snout, ears, arms, legs, body) is worked separately in continuous rounds (spiral).
- Increases form smooth, rounded shapes; decreases close and taper limbs and the body.
- The snout attaches to the head with stuffing for a dimensional face.
- Embroidered features (eyebrows) add a touch of personality.
- Detailed round-by-round instructions for each piece.
- No advanced shaping; all increases and decreases are worked using single crochet.
Special Notes
- Use a stitch marker to keep track of your rounds, moving it up each time you complete a round.
- Stuff each piece as you go, especially before final decreases, to ensure a well-shaped figure.
- Safety eyes can be used, or embroider eyes for small children.
- All pieces are sewn together at the end, so leave long tails for sewing where indicated.
- Pay attention to placement during assembly for a balanced, expressive finish.
Skill Level
Beginner to Intermediate
This project is suitable for crocheters who are comfortable with basic amigurumi techniques such as the magic ring, increasing, decreasing, and working in the round. No advanced stitches are used, but attention to shaping and assembly is required for best results.
Materials
- Worsted weight yarn in light pink (main), dark pink (snout/ears detail), black (eyebrows/eyes if embroidered)
- 3.0 mm to 4.0 mm crochet hook (match size to your yarn and tension)
- Polyester stuffing
- Yarn/tapestry needle for sewing and embroidery
- Scissors
- Stitch marker
- Pins for positioning parts
- (Optional) 8–10 mm safety eyes
Measurements
- Finished piglet is approximately 20–24 cm (8–9½ inches) tall when made with the suggested yarn and hook.
Gauge and Stitch Pattern
- Gauge is not critical but use a smaller hook to create tight stitches—stuffing should not show.
- Main stitch: Single crochet (sc) in continuous spiral rounds.
Stitch Abbreviations
- sc – single crochet
- inc – increase (2 sc in same stitch)
- dec – decrease (single crochet two stitches together)
- MR – magic ring
- st(s) – stitch(es)
- BLO – back loop only
Special Stitches Used
- Magic Ring (MR): Used for starting all rounds in a tight spiral.
- Increase (inc): 2 sc into the same stitch to create shape.
- Decrease (dec): Single crochet two stitches together to taper or close.
- Back Loop Only (BLO): Work only into the back loop for textured shaping (used on snout).
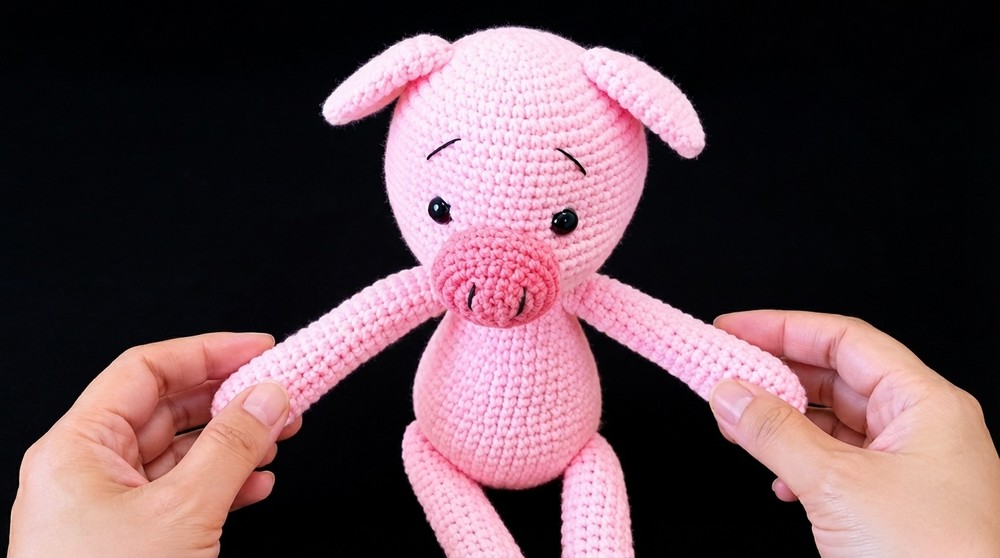
Crochet Piglet Pattern
Head
- R1: MR, 6 sc.
- R2: 6 inc (12 sc).
- R3: (1 sc, inc) x 6 (18 sc).
- R4: (2 sc, inc) x 6 (24 sc).
- R5: (3 sc, inc) x 6 (30 sc).
- R6: (4 sc, inc) x 6 (36 sc).
- R7: (5 sc, inc) x 6 (42 sc).
- R8: (6 sc, inc) x 6 (48 sc).
- R9: (7 sc, inc) x 6 (54 sc).
- R10–R15: 54 sc per round (6 rounds).
- R16: Mark positions for eyes at the 24th and 35th stitches.
- R17: (8 sc, inc) x 6 (60 sc).
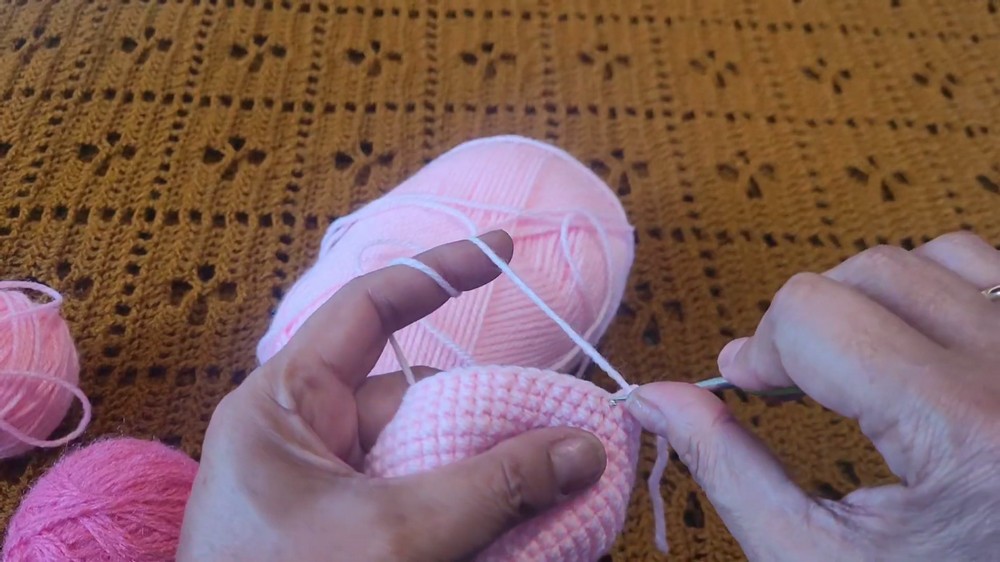
- R18–R19: 60 sc per round (2 rounds).
- R20: (8 sc, dec) x 6 (54 sc).
- R21: 54 sc.
- R22: (7 sc, dec) x 6 (48 sc).
- R23: (6 sc, dec) x 6 (42 sc).
- R24: (5 sc, dec) x 6 (36 sc).
- R25: (4 sc, dec) x 6 (30 sc).
- R26: (3 sc, dec) x 6 (24 sc).
- R27: (2 sc, dec) x 6 (18 sc).
- R28: (1 sc, dec) x 6 (12 sc).
Stuff the head firmly and close, leaving a long tail for sewing.
Snout
- R1: MR, 6 sc.
- R2: 6 inc (12 sc).
- R3: (1 sc, inc) x 6 (18 sc).
- R4: (2 sc, inc) x 6 (24 sc).
- R5: (1 sc, inc in BLO) x 13, finish with 26 sc (use BLO for round 5).
- R6: 26 sc (normal, both loops).
Leave a long tail for sewing.
Ears– Make 2
- R1: MR, 6 sc.
- R2: 6 inc (12 sc).
- R3: (1 sc, inc) x 6 (18 sc).
- R4–R6: 18 sc each round.
- R7: (1 sc, dec) x 6 (12 sc).
- R8–R10: 12 sc per round.
Leave a long tail for sewing; flatten ear.
Arms – Make 2
- R1: MR, 7 sc.
- R2: 7 inc (14 sc).
- R3: (1 sc, inc) x 7 (21 sc).
- R4–R13: 21 sc each round.
- R14: (5 sc, dec) x 3 (18 sc).
- R15–R18: 18 sc each round.
- R19: (4 sc, dec) x 3 (15 sc).
- R20–R22: 15 sc each round.
- R23: (3 sc, dec) x 3 (12 sc).
- R24: (1 sc, dec) x 4 (8 sc).
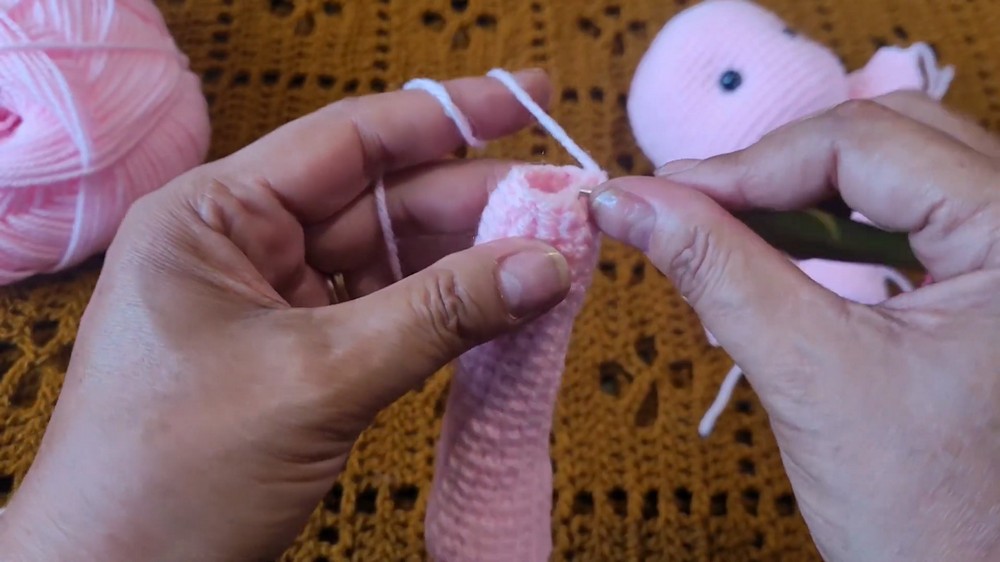
- R25: 8 sc.
Stuff lightly; leave long tail for sewing.
Legs – Make 2
- R1: MR, 6 sc.
- R2: 6 inc (12 sc).
- R3: (1 sc, inc) x 6 (18 sc).
- R4: (2 sc, inc) x 6 (24 sc).
- R5–R10: 24 sc each round.
- R11: (4 sc, dec) x 4 (20 sc).
- R12–R15: 20 sc each round.
- R16: (3 sc, dec) x 4 (16 sc).
- R17–R22: 16 sc each round.
- R23: (2 sc, dec) x 4 (12 sc).
- R24–R30: 12 sc each round.
Stuff leg and leave long tail.
Body
- R1: MR, 6 sc.
- R2: 6 inc (12 sc).
- R3: (1 sc, inc) x 6 (18 sc).
- R4: (2 sc, inc) x 6 (24 sc).
- R5: (3 sc, inc) x 6 (30 sc).
- R6: (4 sc, inc) x 6 (36 sc).
- R7: (5 sc, inc) x 6 (42 sc).
- R8–R14: 42 sc each round.
- R15: (5 sc, dec) x 6 (36 sc).
- R16–R18: 36 sc each round.
- R19: (4 sc, dec) x 6 (30 sc).
- R20–R22: 30 sc each round.
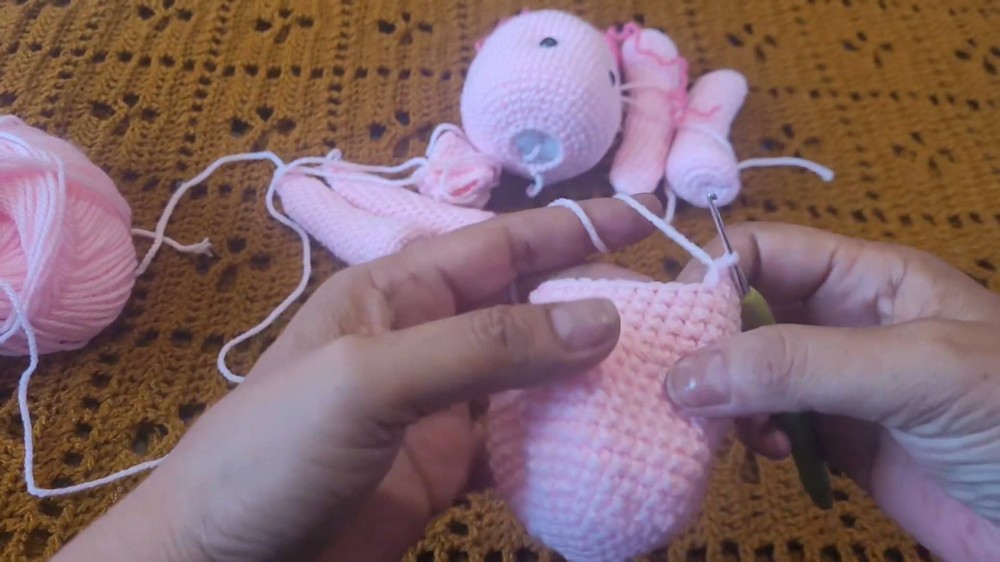
- R23: (3 sc, dec) x 6 (24 sc).
- R24–R25: 24 sc each round.
- R26: (2 sc, dec) x 6 (18 sc).
- R27: (1 sc, dec) x 6 (12 sc).
Stuff body firmly and leave tail for sewing.
Assembly & Finished Size
- Attach the snout to the center of the face, stuffing lightly for definition.
- Sew the ears between the 4th and 9th rounds on both sides of the head.
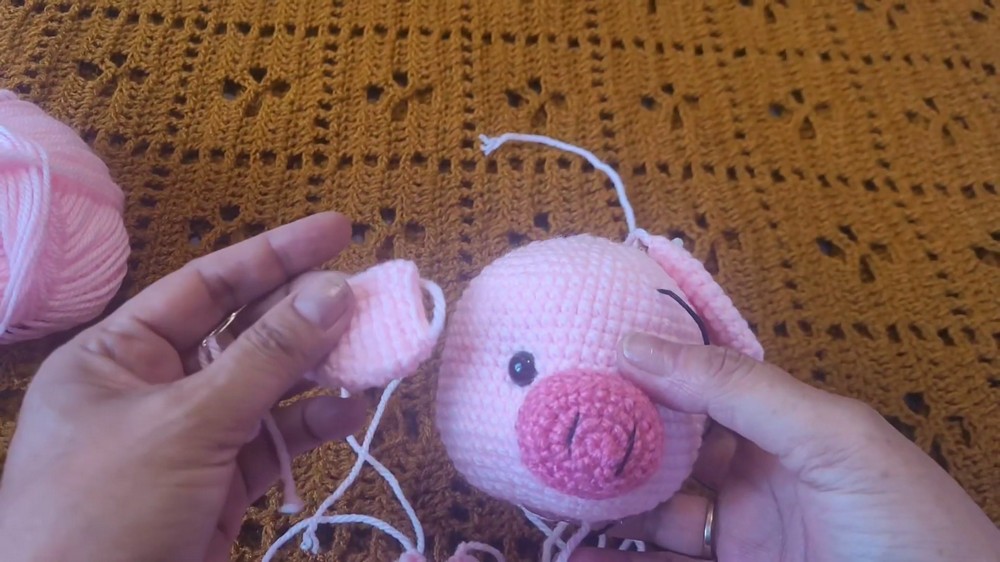
- Embroider eyebrows across the 3rd row using black thread for expression.
- Sew the head to the narrow end of the body, ensuring the snout faces forward.
- Align arms with the ears and attach to the upper body.
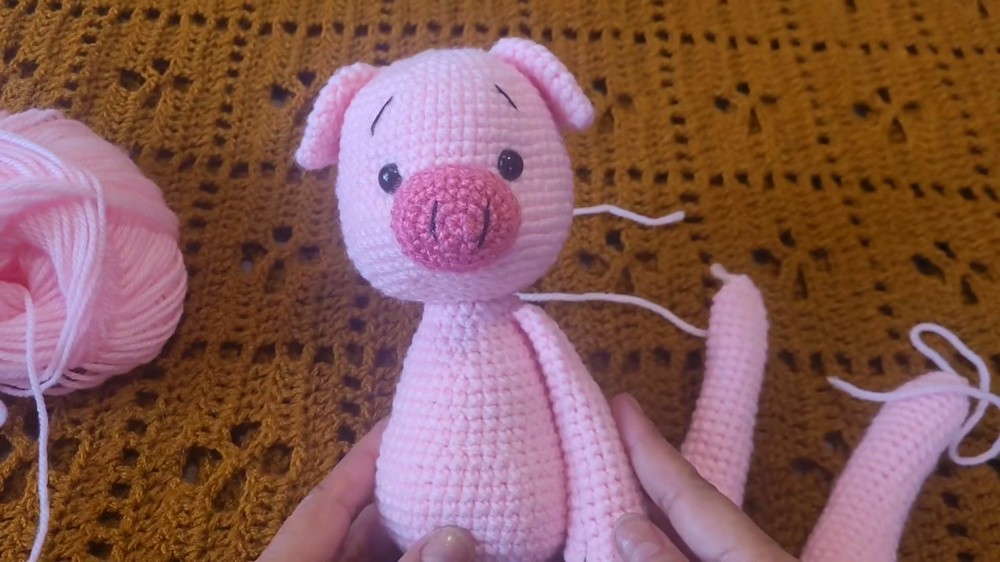
- Attach legs directly beneath the arms along the lower body, ensuring the piglet sits or stands upright.
- Weave in all yarn ends and gently shape the finished piglet.
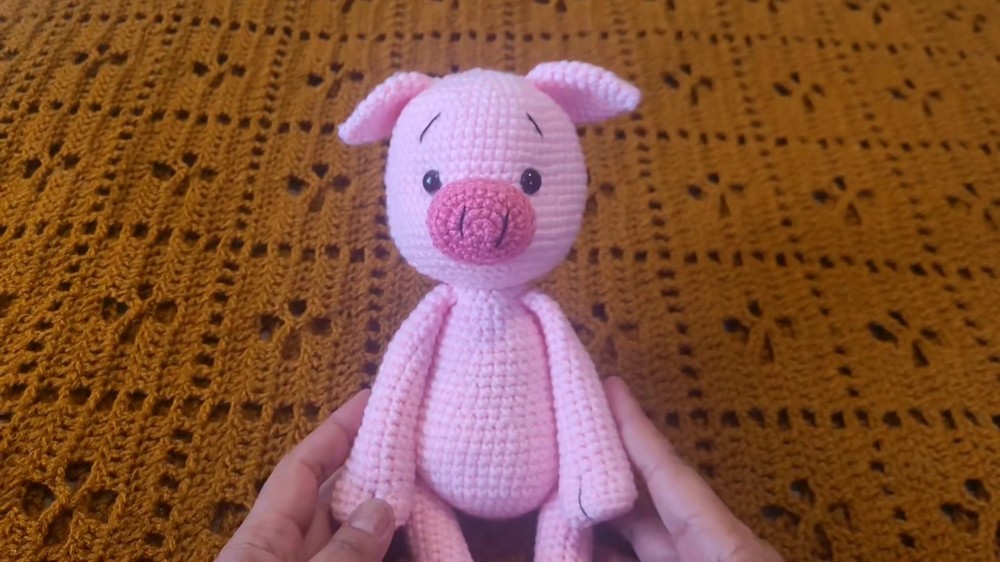
With all pieces joined, your completed piglet stands 20–24 cm tall. Carefully placed limbs, filled body parts, and embroidered features create a balanced, charming character.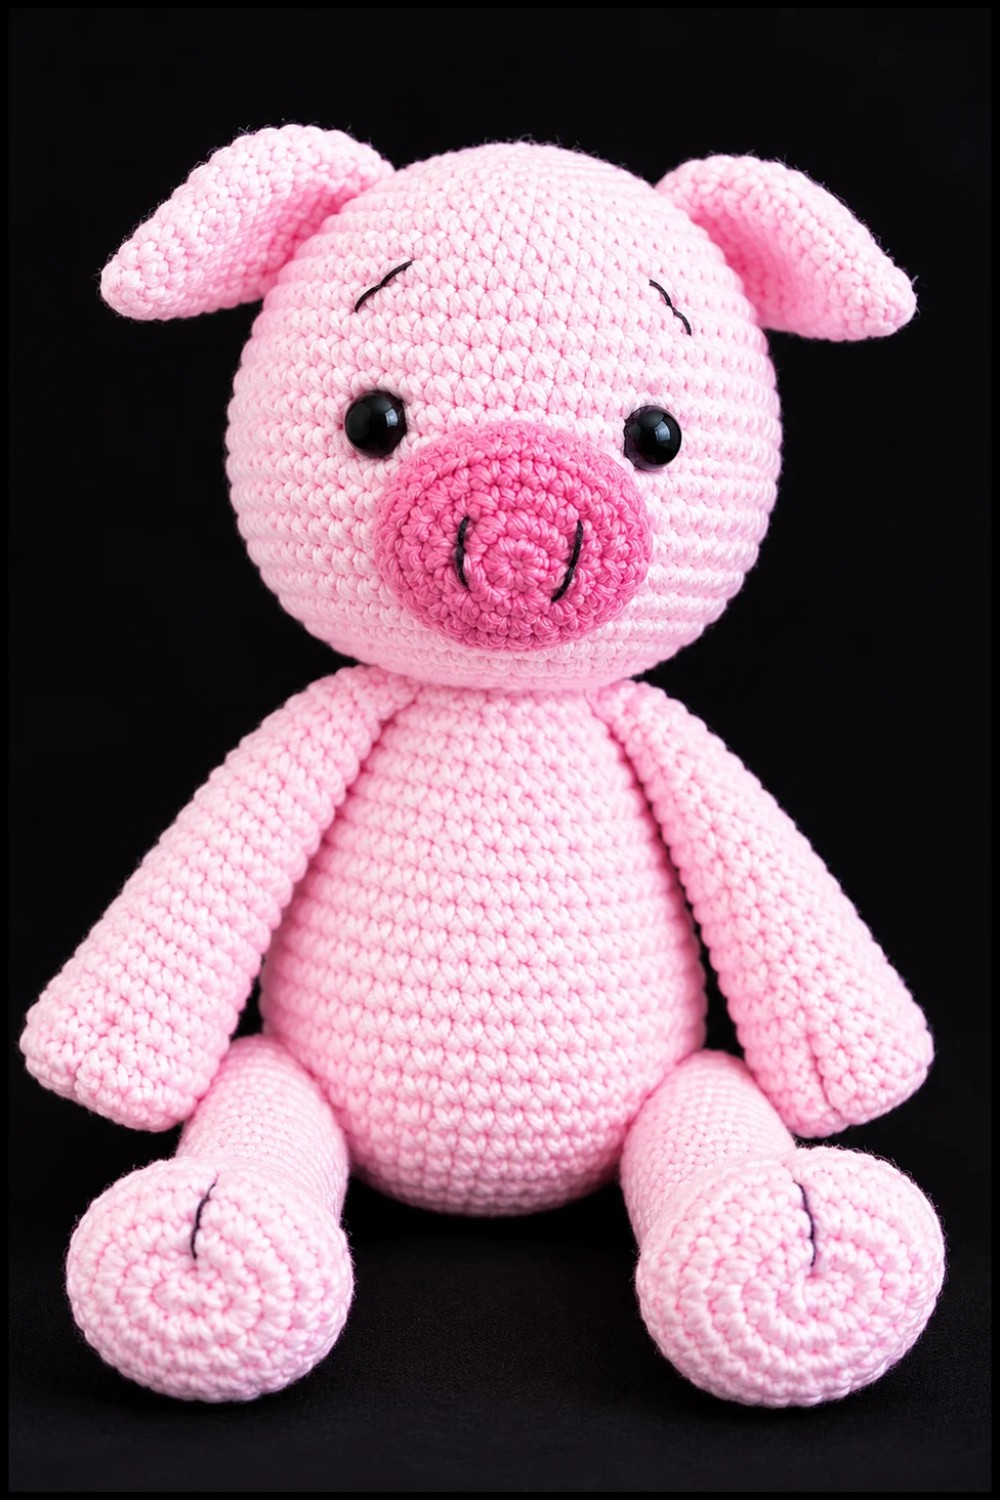
Conclusion and Ending Words
This piglet pattern offers a delightful introduction to amigurumi techniques, blending simple stitches with incremental shaping for a soft, expressive toy. Each piece is constructed with clarity, allowing even novice crocheters to create polished, lasting figures. Consistent tension and precise assembly ensure the classic look of this lovable piglet, making it a rewarding project for makers exploring three-dimensional crochet. Proper materials, clear construction, and a touch of embroidery transform basic shapes into a joyful keepsake suitable for play, display, or thoughtful gifting.
