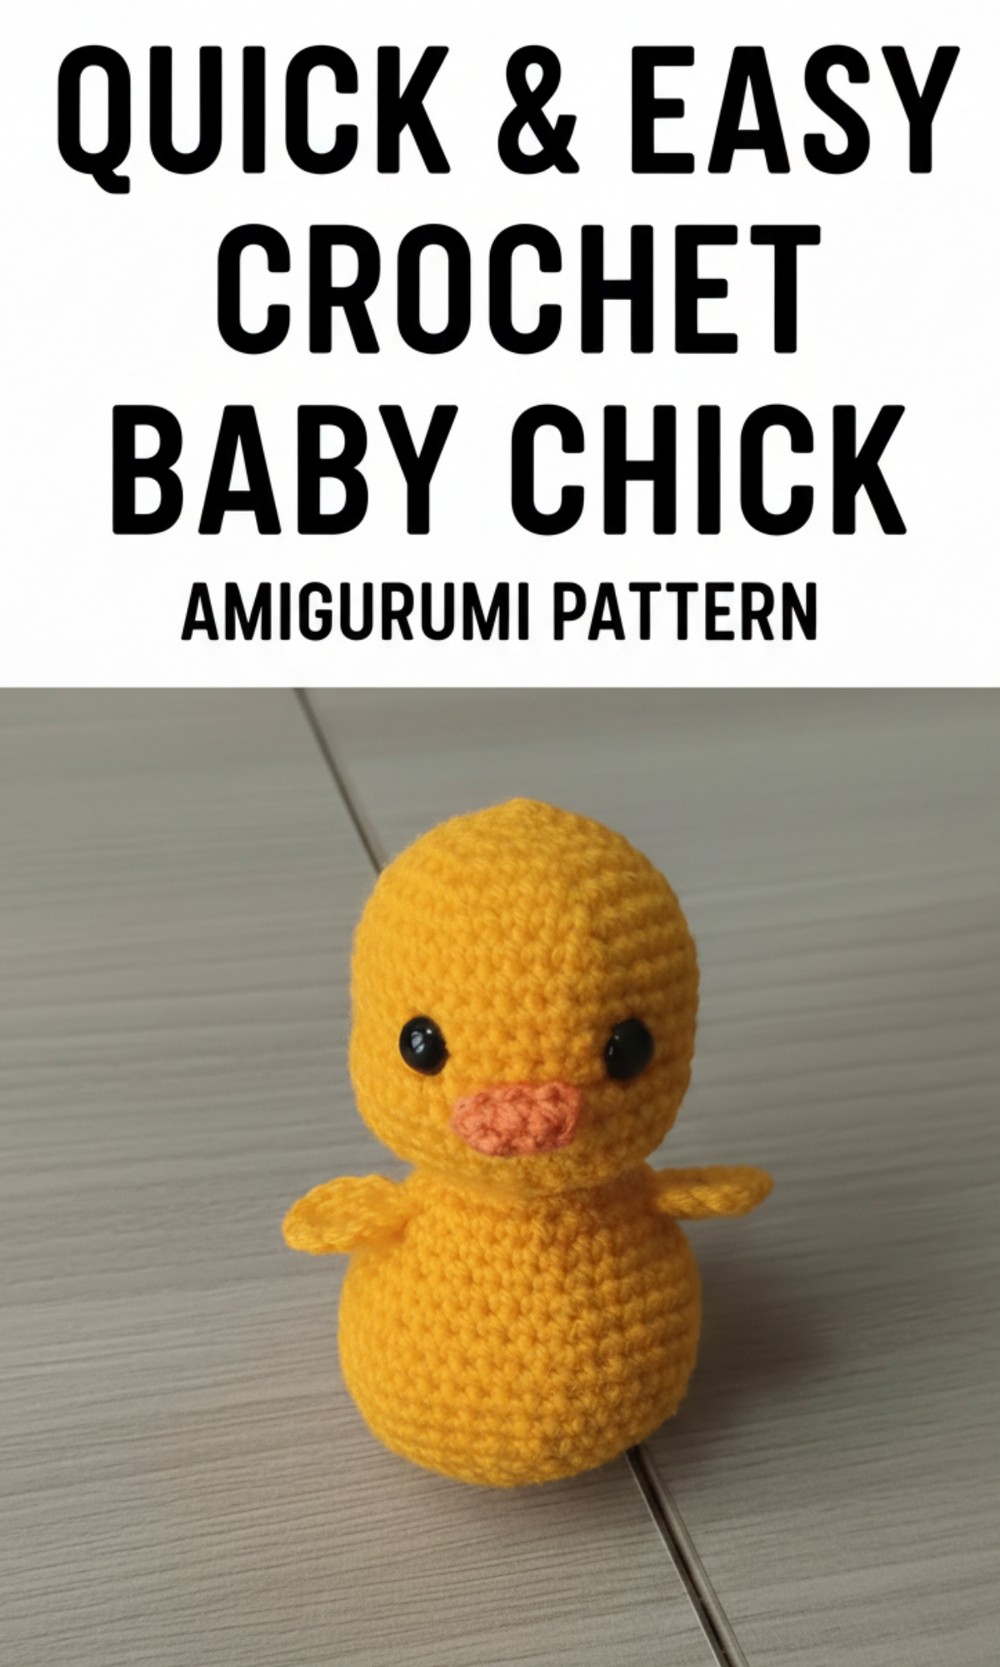
Try this free crochet baby chick amigurumi pattern and turn simple yarn into an adorable, soft toy with a tiny wings, and a cheerful orange beak that will melt anyone’s heart.
Quick Free Crochet Baby Chick Pattern for Easter use
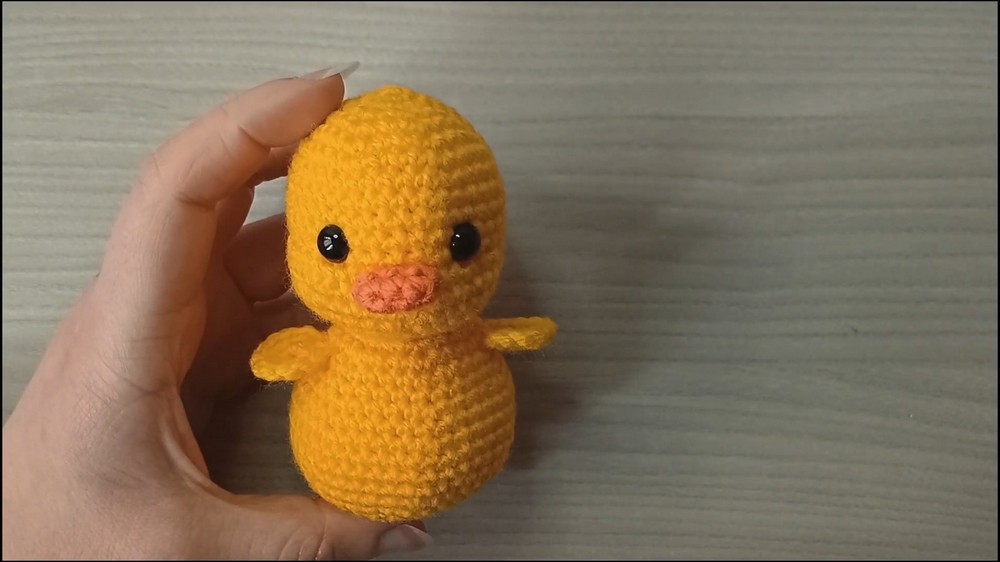
Whether you use it as an Easter decoration, a playful desk buddy, or a thoughtful gift, this baby chick will bring a smile to everyone’s face. Its bright yellow body, small round shape, and charming orange beak make it look absolutely adorable. The soft little wings and rosy cheeks add extra cuteness, while its bright, shiny eyes give it a cheerful personality.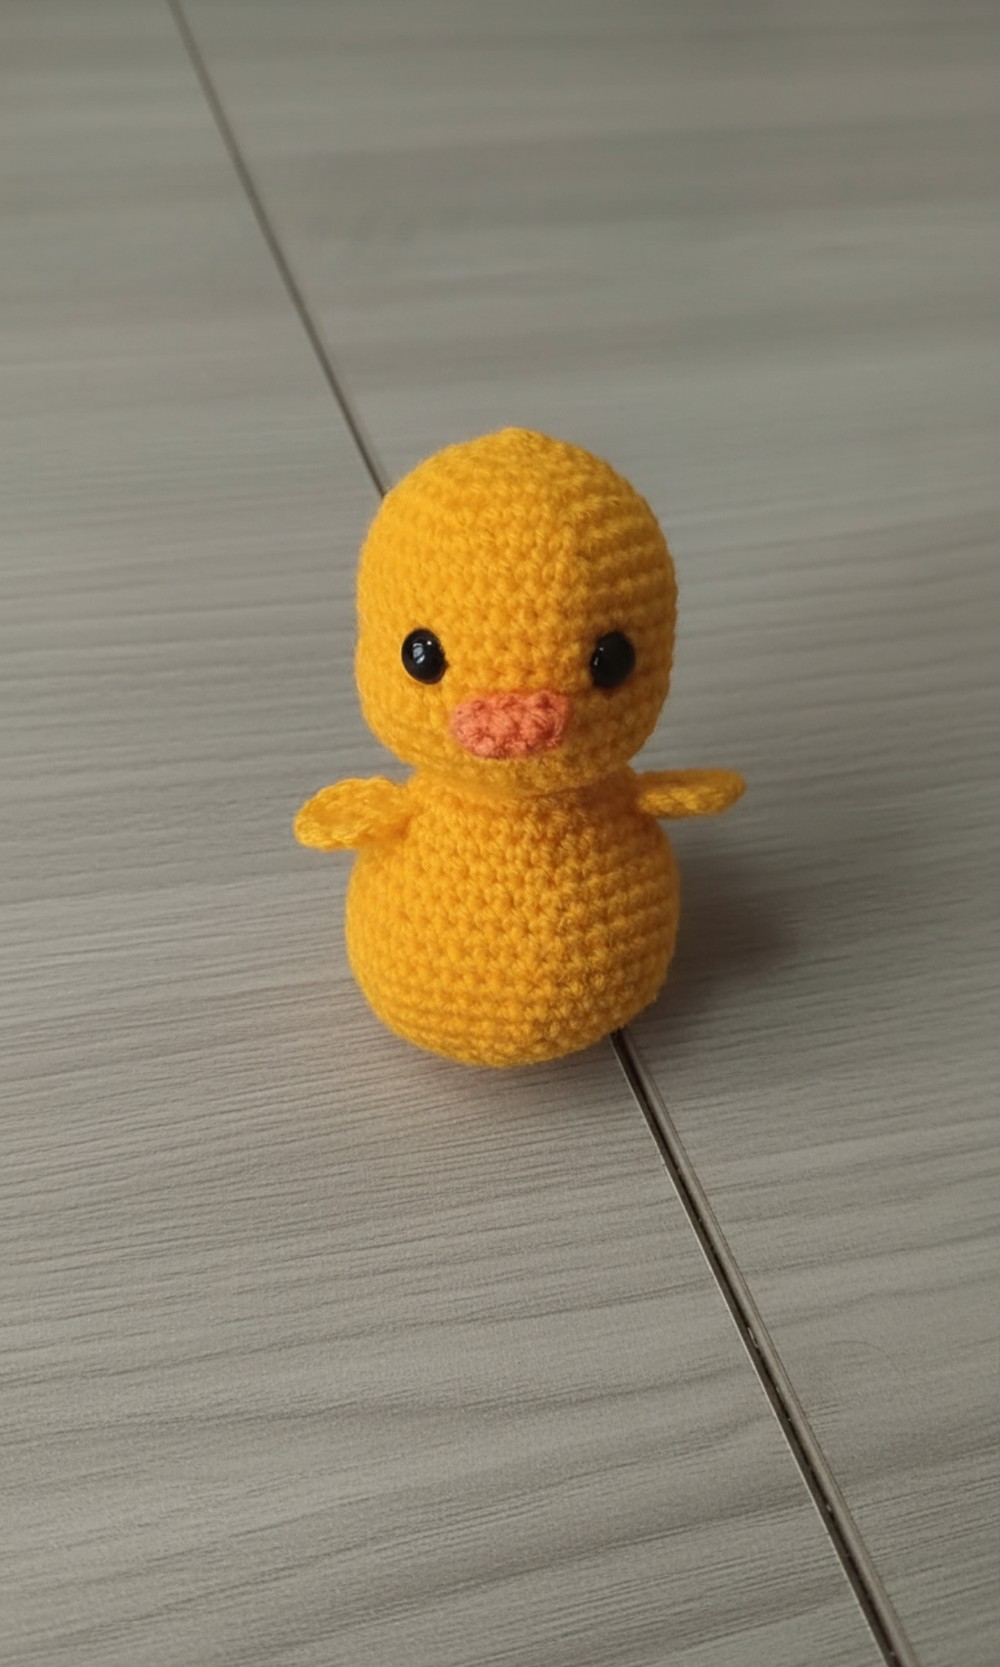
The head and body are made together, so there’s very little sewing needed. This tiny chick is not just fun to make but also a delightful companion to brighten your day. It’s a quick, creative project that turns out so lovable, you’ll want to make a whole family of chicks.
Crochet Baby Chick Pattern
Materials Needed
- Yarn: Yellow and orange yarn in a weight of your choice. The sample uses yellow for the chick’s body and orange for the beak. Adjust the hook size if using a different yarn weight.
- Crochet Hook: 3 mm crochet hook (or size appropriate for your yarn).
- Safety Eyes: 10 mm safety eyes. Alternatively, you can embroider the eyes with black thread or yarn.
- Tapestry Needle: Used for sewing. If unavailable, you can use a regular needle and thread.
- Scissors: For cutting yarn.
- Toy Stuffing: For shaping the chick.
Gauge
Gauge is not critical for this project. However, ensure that your stitches are tight enough to prevent stuffing from showing through.
Finished Size
The finished size may vary based on the yarn and hook used. The original tutorial produces a small, handheld chick approximately 4–5 inches tall.
Special Techniques
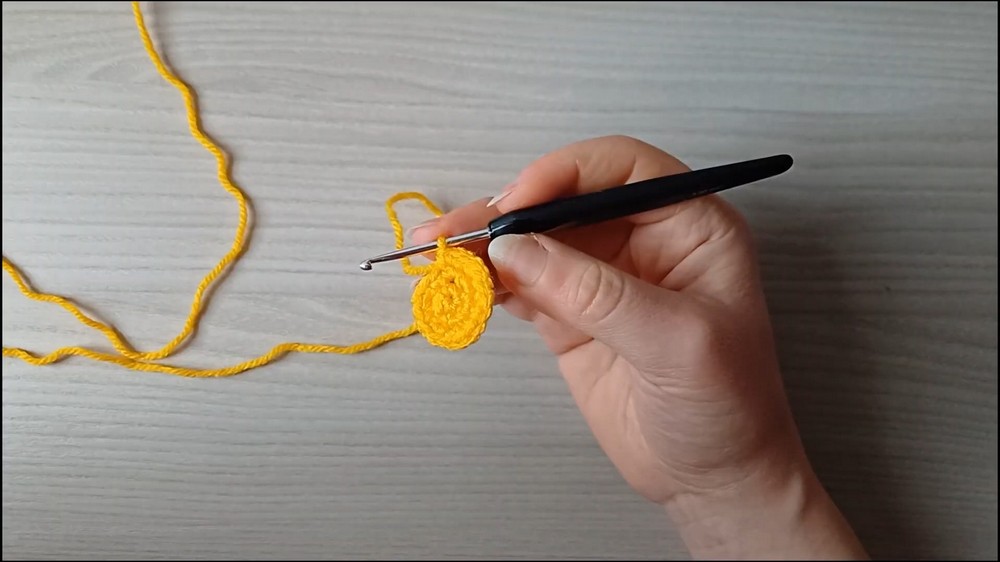
- Magic Ring: A method used to start crocheting in the round.
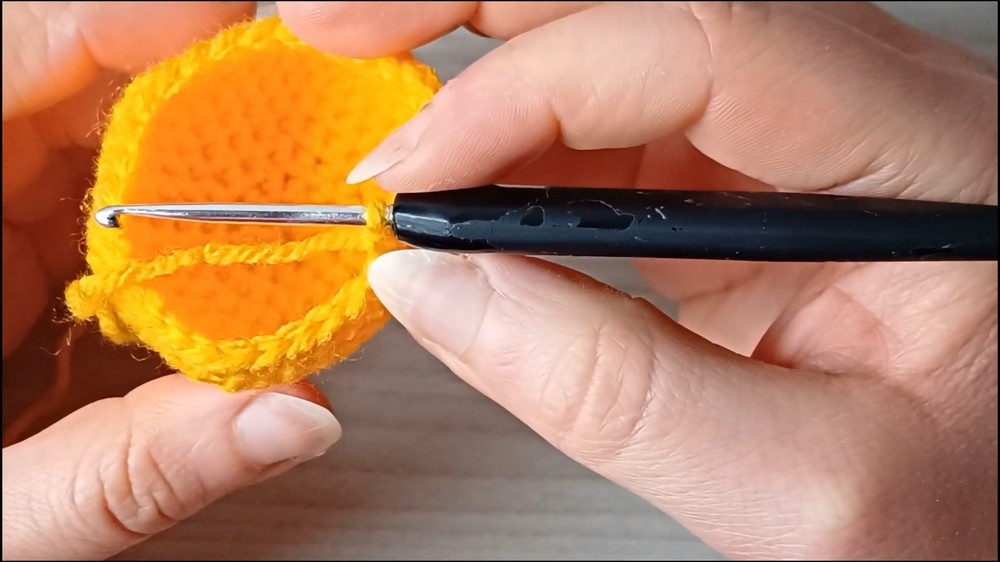
- Working in Front Loops Only (FLO): Inserts the hook into only the front loop (closest to you) of the stitch.
Pattern Instructions
Abbreviations
[US Terminology]
- ch: Chain
- sc: Single Crochet
- inc: Increase (2 sc in 1 stitch)
- dec: Decrease (single crochet two stitches together)
- FLO: Front Loops Only
Head & Body (Worked in One Piece)
- Round 1: Work 6 sc into a magic ring. [6]
- Round 2: Inc in each stitch around. [12]
- Round 3: (1 sc, inc) repeat 6 times. [18]
- Round 4: (2 sc, inc) repeat 6 times. [24]
- Round 5: (3 sc, inc) repeat 6 times. [30]
- Round 6: (4 sc, inc) repeat 6 times. [36]
- Rounds 7–10: Sc in each stitch around. [36]
- Round 11: (4 sc, dec) repeat 6 times. [30]
- Round 12 (FLO): (1 sc, inc, 2 sc, inc) repeat 6 times. [42]
- Round 13: Sc in each stitch around. [42]
- Round 14: (5 sc, dec) repeat 6 times. [36]
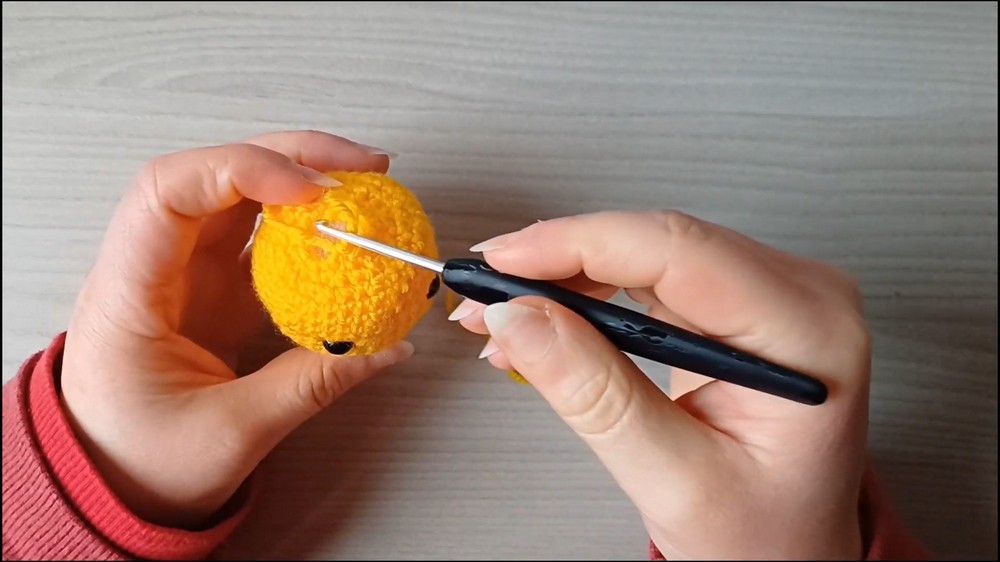
- Place Safety Eyes: Position the eyes between rounds 10 and 11, about 6 stitches apart. Secure them tightly.
- Round 15: (4 sc, dec) repeat 6 times. [30]
- Round 16: (3 sc, dec) repeat 6 times. [24]
- Round 17: (2 sc, dec) repeat 6 times. [18]
- Round 18: (1 sc, dec) repeat 6 times. [12]
- Start Stuffing: Begin to stuff the head, focusing on shaping it. Ensure the bottom is well stuffed but avoid widening the neck.
- Round 19 (Body Begins): Inc in each stitch around. [24]
- Round 20: (3 sc, inc) repeat 6 times. [30]
- Rounds 21–22: Sc in each stitch around. [30]
- Round 23: (4 sc, inc) repeat 6 times. [36]
- Round 24: Sc in each stitch around. [36]
- Round 25: (5 sc, inc) repeat 6 times. [42]
- Rounds 26–28: Sc in each stitch around. [42]
- Round 29: (5 sc, dec) repeat 6 times. [36]
- Round 30: Sc in each stitch around. [36]
- Round 31: (4 sc, dec) repeat 6 times. [30]
- Round 32: (3 sc, dec) repeat 6 times. [24]
- Round 33: (2 sc, dec) repeat 6 times. [18]
- Round 34: (1 sc, dec) repeat 6 times. [12]
- Round 35: Dec 6 times. [6]
- Fasten Off: Leave a tail, sew the hole closed using a tapestry needle, and hide the yarn tail inside.
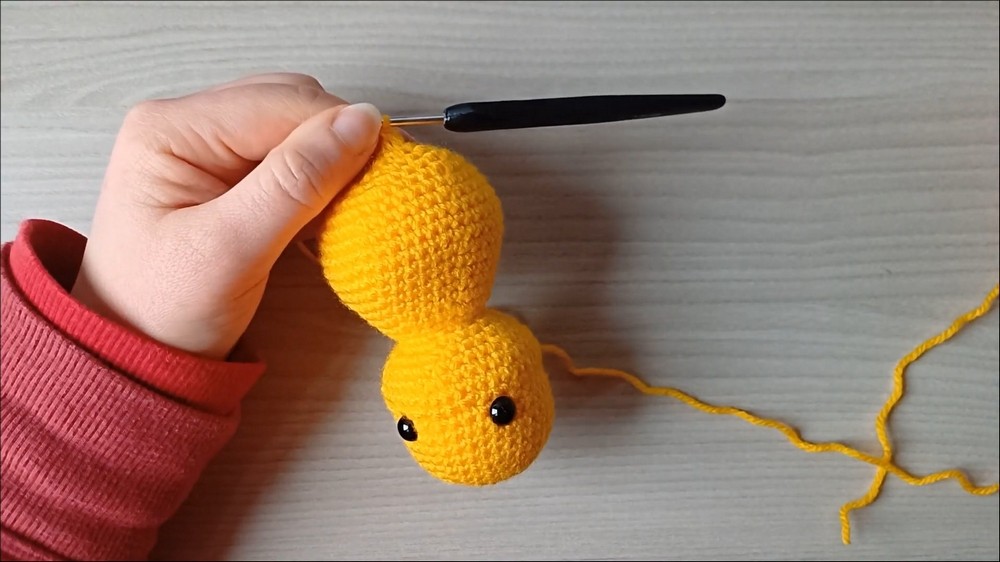
- Fasten Off: Leave a tail, sew the hole closed using a tapestry needle, and hide the yarn tail inside.
Wings (Make 2)
- Round 1: Work 6 sc into a magic ring. [6]
- Round 2: Inc in each stitch around. [12]
- Fasten Off: Leave a long tail for sewing.
Attaching the Wings
- Sew the wings onto round 21 of the body, aligned with the outer edges of the safety eyes. The wings should be symmetrical on both sides.
Beak
- Start with a Magic Ring.
- Ch 4.
- Work the following into the chain:
- Sc in the 2nd ch from the hook.
- Sc in the next ch.
- 3 sc in the last ch.
- Turn your work and crochet along the opposite side of the starting chain:
- Sc in the next ch.
- 2 sc in the last ch. [8 in total for Round 1]
- Round 2: Sc in each stitch around. [8]
- Fasten Off: Leave a long tail for sewing.
Attaching the Beak
- Sew the beak onto round 12, ensuring it is centered between the eyes. Use the remaining tail to secure it, focusing on shaping the beak snugly.
Tips for Perfect Results
- Stuffing: Avoid overstuffing the neck to maintain its shape and prevent it from becoming too wide. Push more stuffing into the head and body.
- Safety Eyes: Double check their placement before securing to ensure symmetry.
- Shaping the Head: Use the FLO round (round 12) to help define the chubby cheek shape of the head.
Customization Ideas
- Colors: Use pastel colors or variegated yarn for a more whimsical look.
- Accessories: Add a tiny bow, a scarf, or a small tuft of fluff on the head for extra charm.
- Size: Use bulky yarn and a larger hook to make a bigger chick.
Final Look
Your finished baby chick will have a rounded body, small wings, a pointed beak, and adorable little eyes. This soft and cuddly creation is great as a gift, decoration, or just to brighten up your space.
Conclusion and Important Remarks
This crochet baby chick pattern is perfect for both beginners and experienced crocheters who want to create something fun and adorable. With its minimal sewing and easy shaping techniques, it’s an enjoyable project for practicing your skills. Don’t hesitate to experiment with colors and sizes to make your design truly unique.