Snuggle up with a charming waffle stitch pillow that brings soft texture and cozy vibes to your space in a fun and simple way anyone can try.
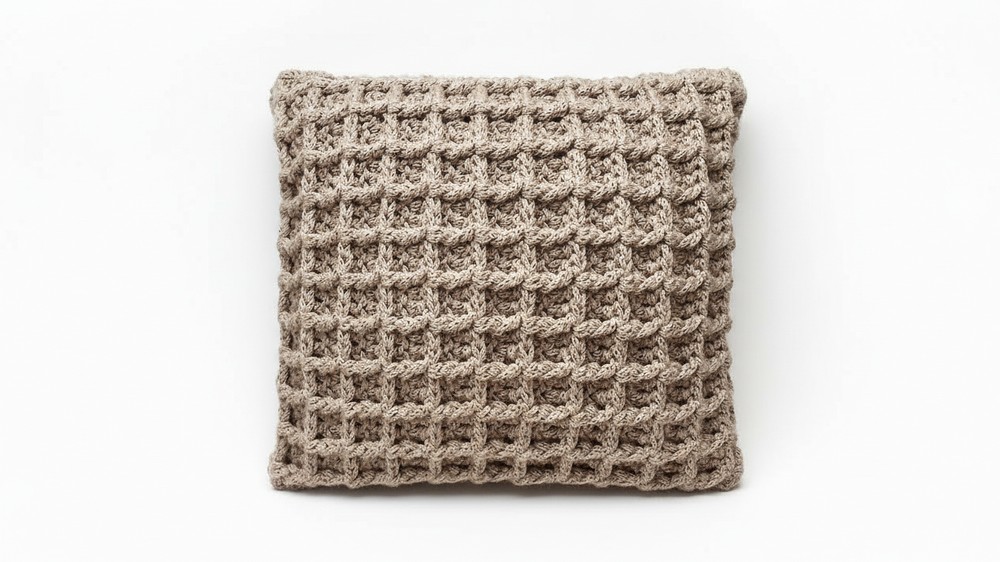
This pillow stands out with its special bumpy texture that feels soft and cozy. Its thick, puffy look makes it perfect for adding warmth and comfort anywhere you sit or rest. The unique raised squares give the pillow a lovely, handmade charm that catches the eye without being too fancy. You can place it on your couch, chair, or bed to brighten up the space and make it feel more inviting.
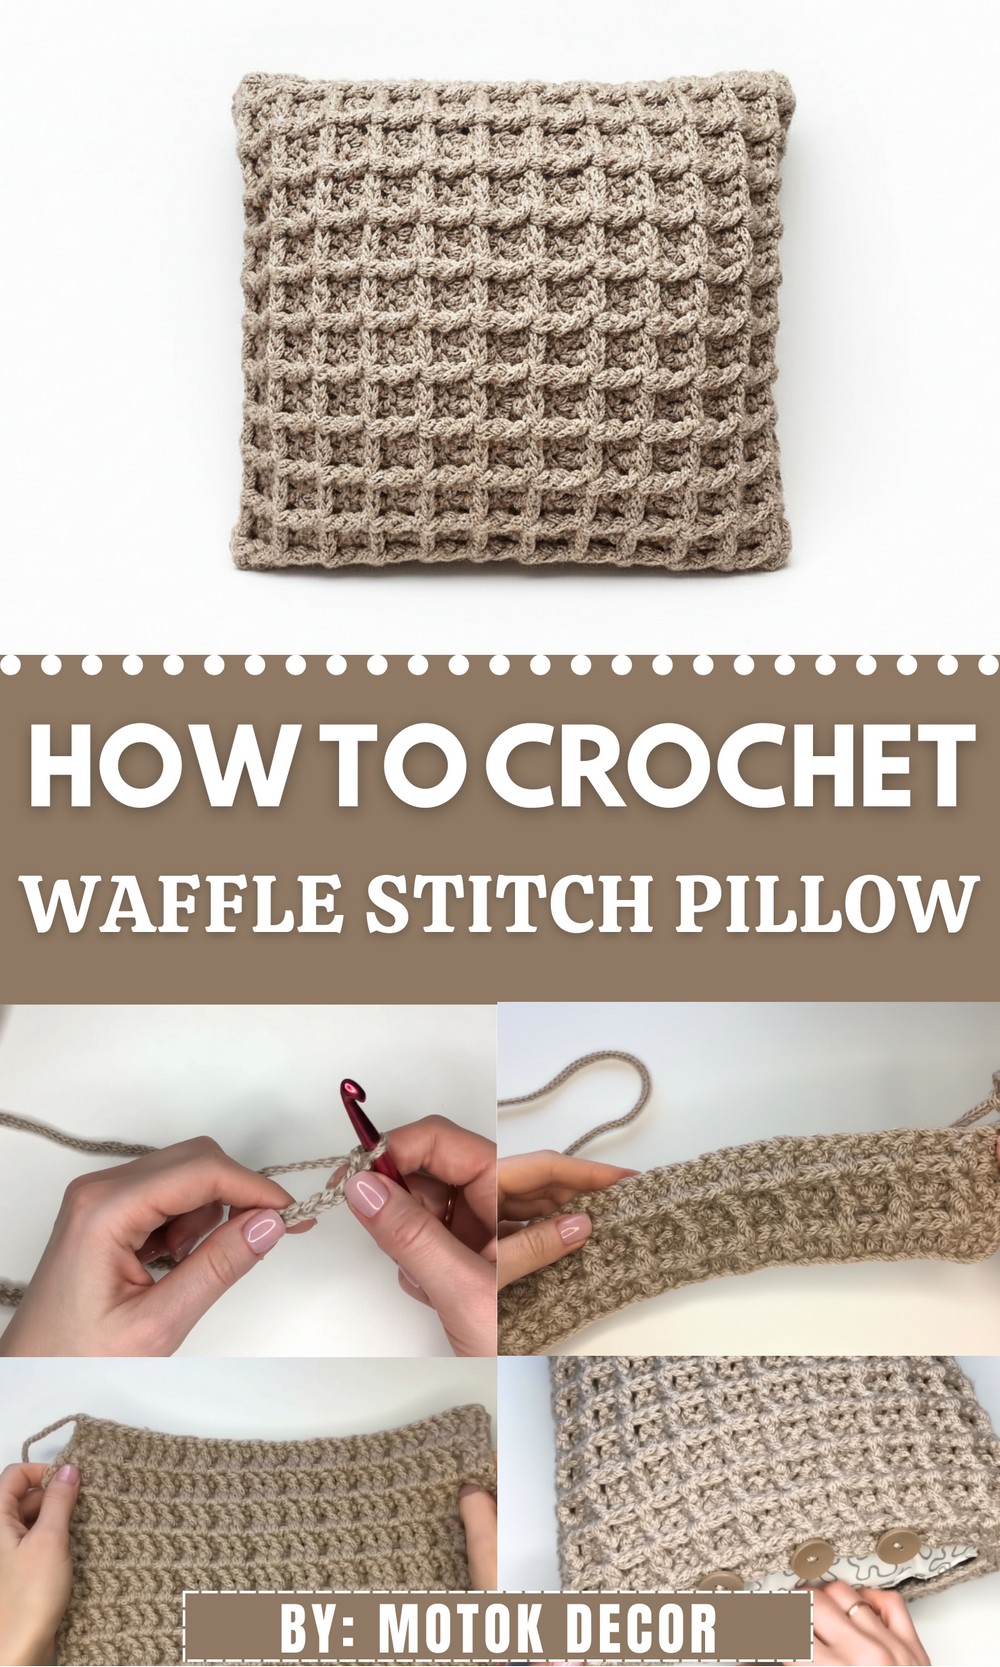
Plush & Puffy Crochet Waffle Stitch Pillow You’ll Love
Not only does it look great, but it also adds a gentle cushion that supports your back or head. The soft yarn used means it’s nice to touch and hugs you gently when you lean on it. This pillow’s simple yet interesting pattern fits well with many styles of rooms—from modern to rustic. It’s a great way to bring a cozy feeling to any corner, making your home feel warmer and more welcoming with just one little touch.
Crochet Pillow Cover with French Fry Pattern
Skill Level
Intermediate – Suitable for crocheters with basic knowledge of chains, double crochets, stitch manipulation, and sewing on buttons.
Materials Needed
- Yarn: Merino wool blend yarn, approx. 250 meters (adjust based on size and gauge)
- Crochet hook size 5 (Mercedes brand recommended)
- 3 buttons
- Needle for sewing buttons
- Scissors
Special Features
- French fry relief stitch pattern – textured and voluminous
- Soft and cozy merino wool yarn
- Buttoned closure for easy pillow insertion and removal
- Customizable size by adjusting chain count and rows
Pattern Instructions
Step 1: Foundation Chain
- Make a chain with a total number of stitches multiple of 3 plus 2 extra for balance. For a 30 x 30 cm pillow, chain 38 stitches.
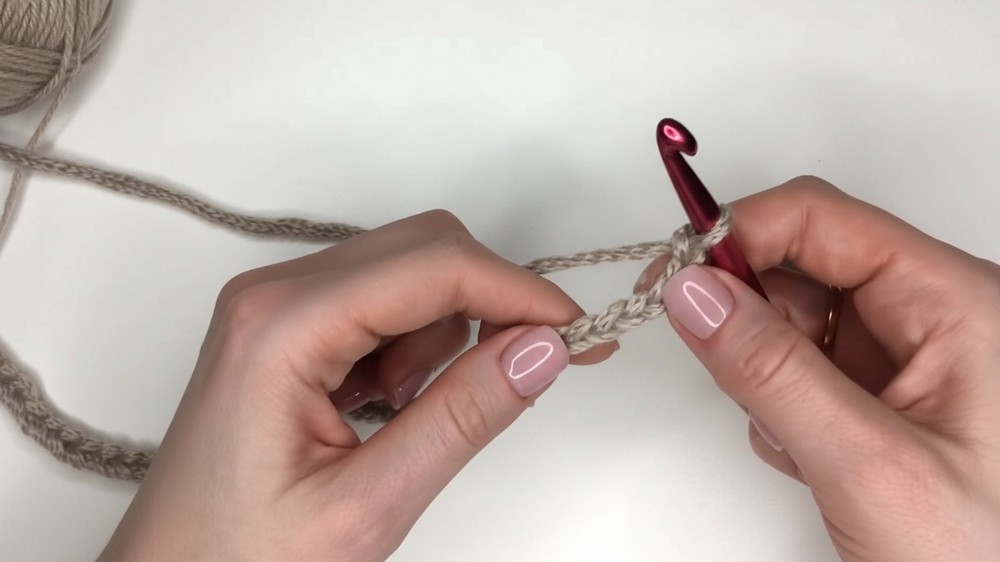
- To create an air loop: make a slip loop with the tip above the working yarn and crochet using standard chain technique for even loops.
Step 2: Row 1 – Double Crochet (dc)
- Chain 5 to act as your first double crochet and chain 2 (counts as initial stitches for height).
- Skip 4 chains from the hook and yarn over, insert the hook into the 5th chain from the hook.
- Yarn over, pull through (3 loops on hook), yarn over and pull through 2 loops, yarn over and pull through the last 2 loops (double crochet).
- Yarn over, insert hook into next chain, yarn over, pull through, yarn over, pull through 2 loops, yarn over, pull through last 2 loops — continue to the end of the row.

- The row ends with a double crochet in the last chain.
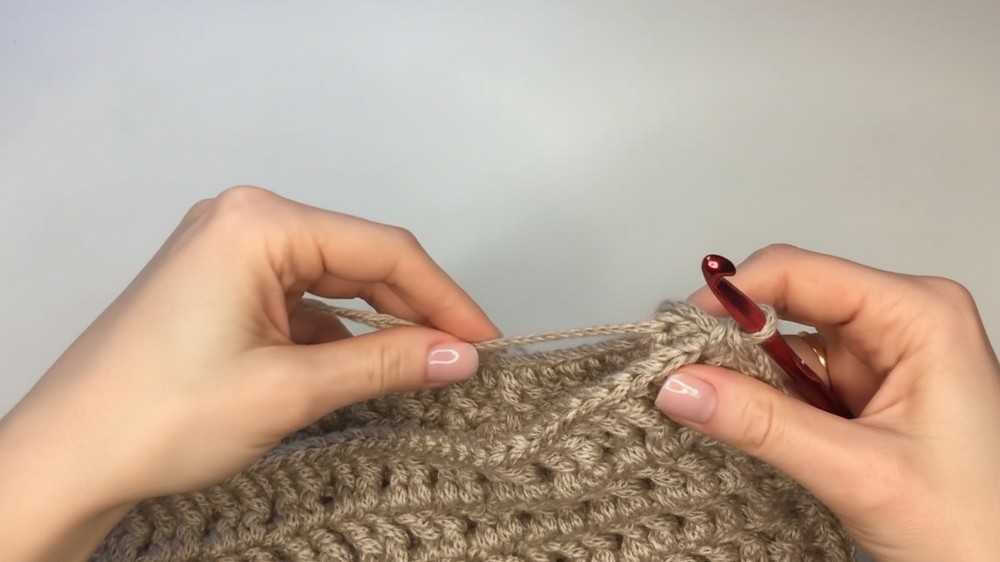
Step 3: Row 2 – Pattern Start (Relief Stitch)
- Chain 3 to begin next row, turn your work.
- Work the French fry relief stitch pattern:
- Yarn over, insert hook behind the front loop and post (around the post from front to back) of the stitch two rows below, pull up a loop (3 loops on hook), yarn over, pull through 2 loops, yarn over, pull through 2 loops (front post double crochet).
- Crochet one regular double crochet in the next stitch.
- Alternate — 2 relief stitches, then 1 regular double crochet.
- Repeat this pattern across the row.
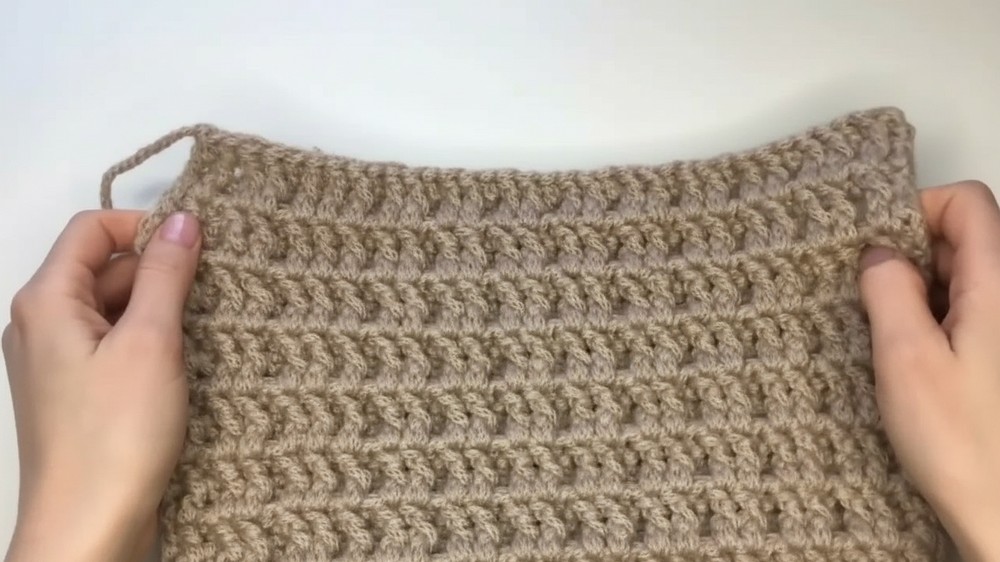
Step 4: Row 3 to 50 – Repeat Pattern
- Repeat the relief stitch pattern row, always starting with a relief stitch followed by one or two regular double crochets as before, adjusting for skipped loops in previous rows.
- The front will show square indentations and texture formed by the relief stitches.
- Continue until you reach the desired height for your pillow (Sveta used 50 rows).
Step 5: Joining Edges
- Once the panel is the right size, prepare to join the two ends:
- Fold panel in half, wrong sides together, matching stitch patterns at edges.
- With yarn needle and yarn tail, join edges using invisible slip stitch seam, pulling yarn through corresponding stitches on both sides for a neat join.
- Secure and hide yarn ends.
Step 6: Sewing Side Panels
- With wrong side facing out, fold fabric so edges match.
- Using yarn and hook, sew sides by working single crochet stitches evenly spaced along both edges.
- Hide yarn tails and make sure stitching is smooth and not too tight to maintain fabric elasticity.
Step 7: Closing Bottom Section
- Knit a small section (6 single crochets) at the bottom edge to close the pillow cover completely.
- Work single crochets under the loops of the previous rows, finishing securely.
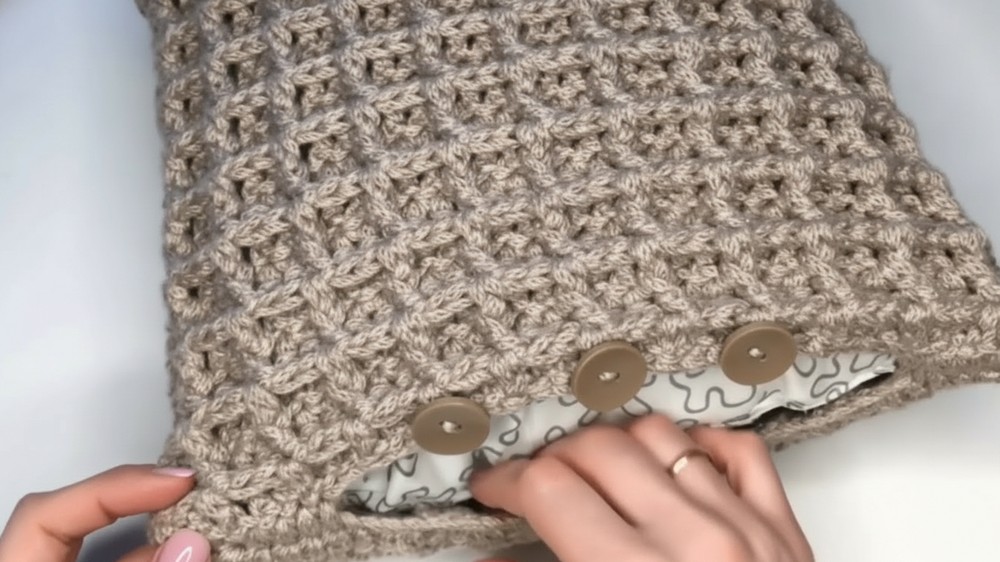
Step 8: Finishing and Button Application
- Turn the cover inside out.
- Sew buttons onto one side carefully so they line up with the spaces between stitches on the opposite flap for a neat closure.
- Use a needle and yarn for sewing buttons securely.
Tutor’s Suggestions
- Maintain consistent tension throughout to preserve pattern texture.
- Count stitches regularly to avoid missing relief stitches which change spacing.
- Use stitch markers to mark button placement before sewing.
- Wash and block your pillow cover if needed to even out stitch patterns.
Uses
- Stylish pillow covers for home decor
- Unique handmade gift ideas
- Showcase texture variations in crochet patterns
Tip
To keep the relief (French fry) stitches prominent, avoid overly tight stitching and try to crochet this pattern on a slightly loose gauge.
Conclusion
This French fry stitch pillow cover offers a lovely textured look with soft merino yarn and a practical button closure. With patience and attention to stitch count, you can create a cozy pillow cover perfect for any room.