Sprout joy in your car with this Free Crochet Hanging Plant Car Pattern, bringing playful charm, cheerful vibes, and cozy greenery to any ride.
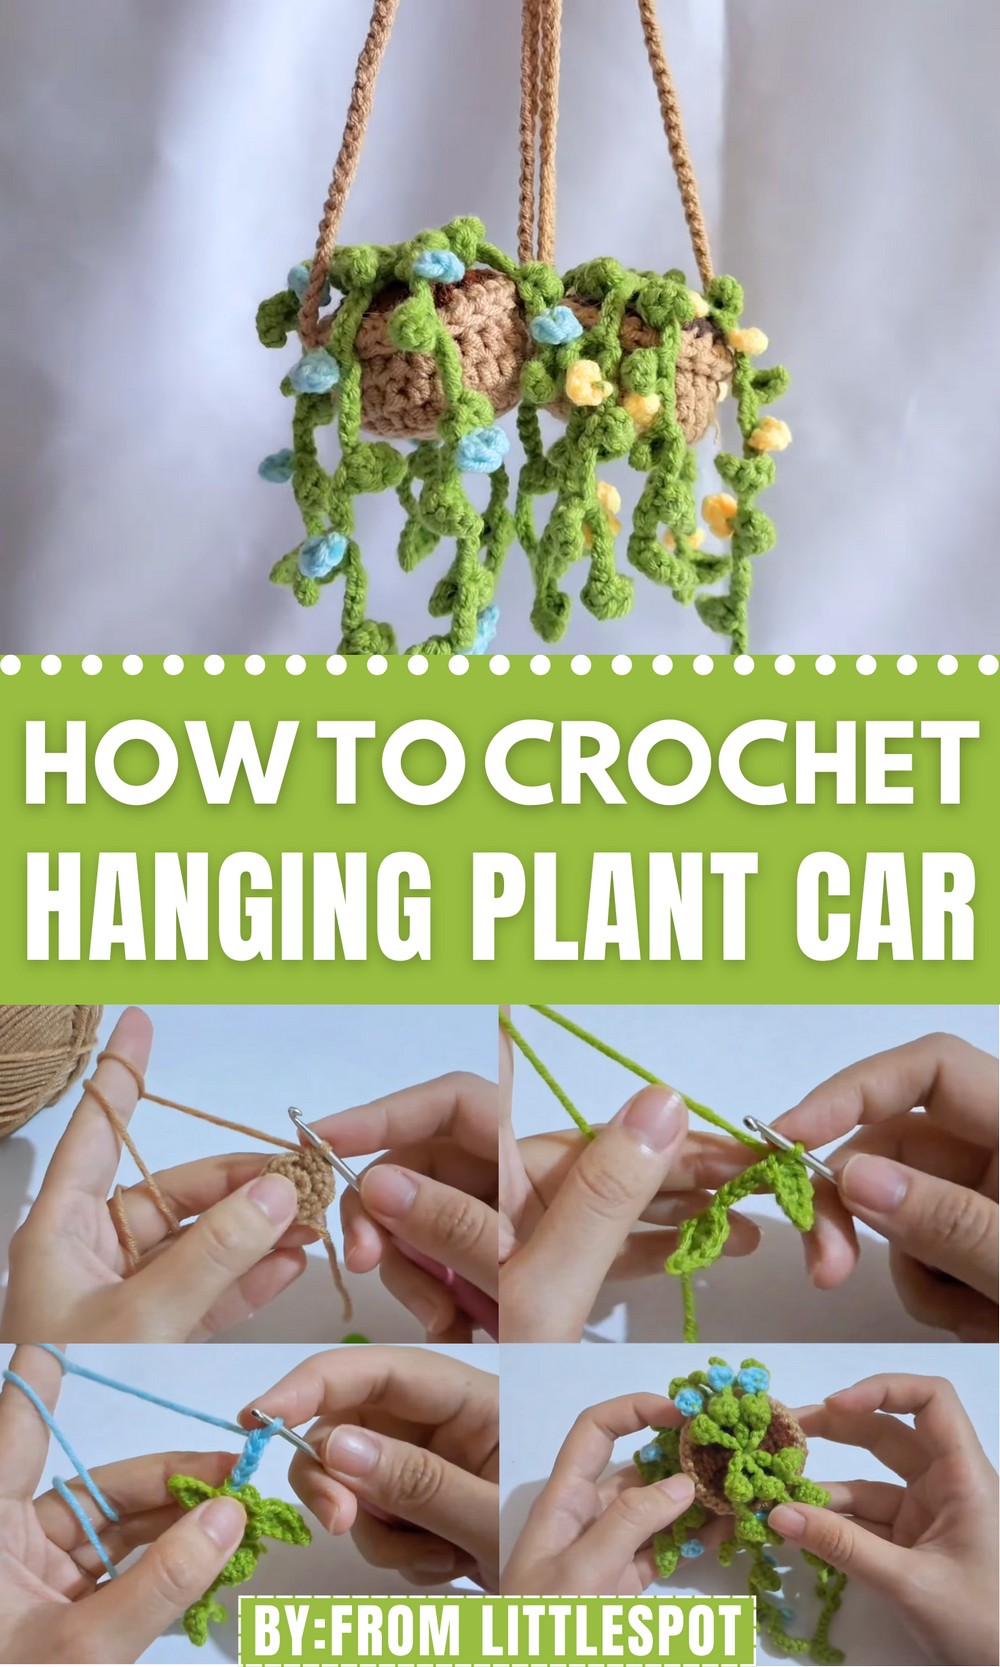
The specialty of this project rests in its versatility; it can be crafted in various colors, paired with different plants, real or faux or used as a charming gift or ornament. Beyond its visual appeal, it provides practical benefits: easy to hang, move, and maintain, this piece adds greenery and personality to any room without taking up floor space.
The pattern also offers a satisfying crafting experience, suitable for both beginners and seasoned makers. Combining creativity, charm, and functionality, this hanging plant car brings a whimsical, cheerful touch to interiors, transforming ordinary décor into a lively and memorable accent full of character.
Special Features
- Compact and Decorative: Its small, lightweight design makes it perfect for enhancing car mirrors, desks, or corners in your home.
- Customizable: Adjust the number of leaves, strings, and flowers for a fuller or simpler look.
- Beginner-Friendly Elements: The project incorporates basic crochet techniques, with moderate difficulty elements explained clearly.
Level of Difficulty
Intermediate
This project combines fundamental stitches (such as single crochet, half double crochet, and slip stitches) with some intermediate techniques like invisible finishes, working in front or back loops only, and sewing pieces together. Beginners can attempt this with patience and a little guidance.
Tutor’s Suggestions
- Use a Stitch Marker: Mark the start of each row to avoid confusion, especially in the circular sections of the pot and soil.
- Count Stitches Carefully: Pay close attention to the increases or repetitions to avoid misalignment.
- Customize Freely: Adjust chain lengths, colors, and flower placements to match your vision of the plant.
- Keep Tension Consistent: This ensures the pot and soil maintain their structure.
Materials Needed
- Yarn:
- Pot: Neutral color (e.g., grey, terracotta)
- Soil: Brown
- Leaves: Green
- Flowers: Bright colors (optional).
- Crochet Hook: Suitable for the yarn weight (recommended 3.5mm–4mm).
- Stuffing: Polyester filling to shape the pot.
- Yarn Needle: For sewing pieces together and weaving in ends.
- Scissors: For cutting yarn.
Step-by-Step Instructions
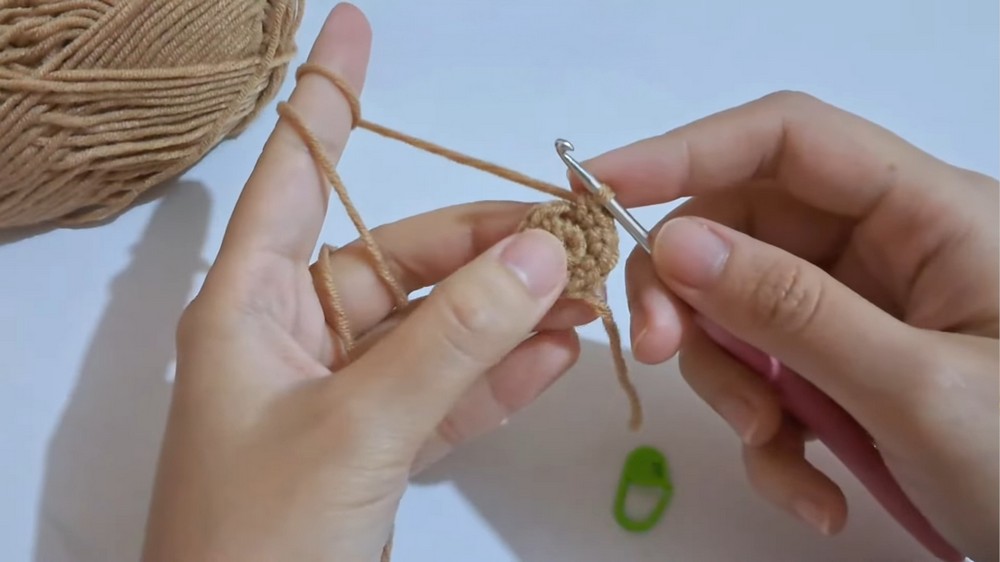
Step 1: Making the Pot
- Magic Ring and Starting Row:
- Start with a magic ring and 6 single crochets (SC) into the ring.
- Close the ring by pulling the yarn tail tightly.
- Increase Rounds to Shape the Base:
- Row 2: Make 2 SC in each stitch (12 stitches total).
- Row 3: Alternate 1 SC, 1 increase (18 stitches total).
- Row 4: Alternate 2 SC, 1 increase (24 stitches total).
- Row 2: Make 2 SC in each stitch (12 stitches total).
- Form the Pot Walls:
- For Row 5, work into the back loop only: 1 slip stitch, chain 2, and continue with half double crochets (HDC) in the back loop only.
- Rows 6-8: Continue with HDC in both loops (no increases).
- Finish the Pot Top Rim:
- For Row 9, work into the front loop only with HDC.
- Once complete, cut the yarn and use an invisible finish: insert the tail through the second stitch from the last and back into the back loop of the last stitch.
- Fold down the rim to complete the pot.
Step 2: Making the Soil
- Follow the Pot’s Base Pattern:
- Repeat Rows 1–4 from the pot instructions to create a circular base for the soil.
- Leave a Long Tail:
- Cut the yarn, leaving a long tail to sew the soil into the pot later.
Step 3: Making the Leaves
- Foundation and First Leaf:
- Begin with a slip knot and chain 7.
- Start in the second chain:
- Slip stitch (SL ST) in the first chain.
- Single crochet (SC) in the next chain.
- Half double crochet (HDC) in the next chain.
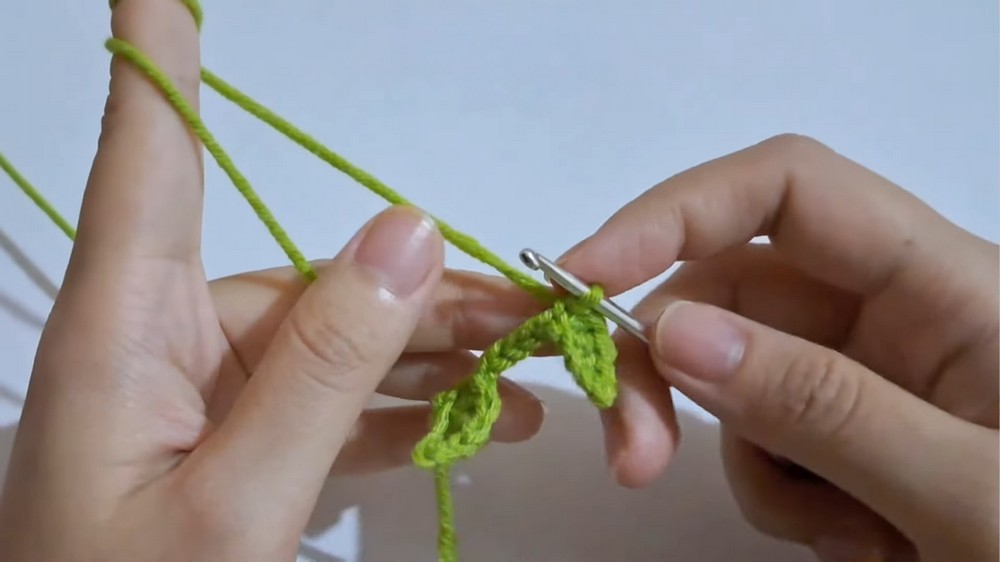
- Double crochet (DC) in the next chain.
- Add a SL ST in the same chain where the DC is worked.
- Create Strings with Multiple Leaves:
- Chain 10 to space before starting a new leaf.
- For each new leaf, skip the first chain and repeat the pattern: SL ST, SC, HDC, DC with a SL ST in the same chain.
- Adjust String Length:
- Create as many leaves as you like. For a fuller pot, make at least 5–6 leaf strings. Ensure you make an even number of strings to keep the balance.
- Secure and Weave Ends:
- Once complete, cut the yarn and weave in the ends.
Step 4: Adding Flowers (Optional)
- Attach Yarn to a Leaf String:
- Use a slip knot to attach a new color yarn anywhere on the string.
- Form Small Flowers:
- Chain 4 and SL ST back into the same point to form a flower.
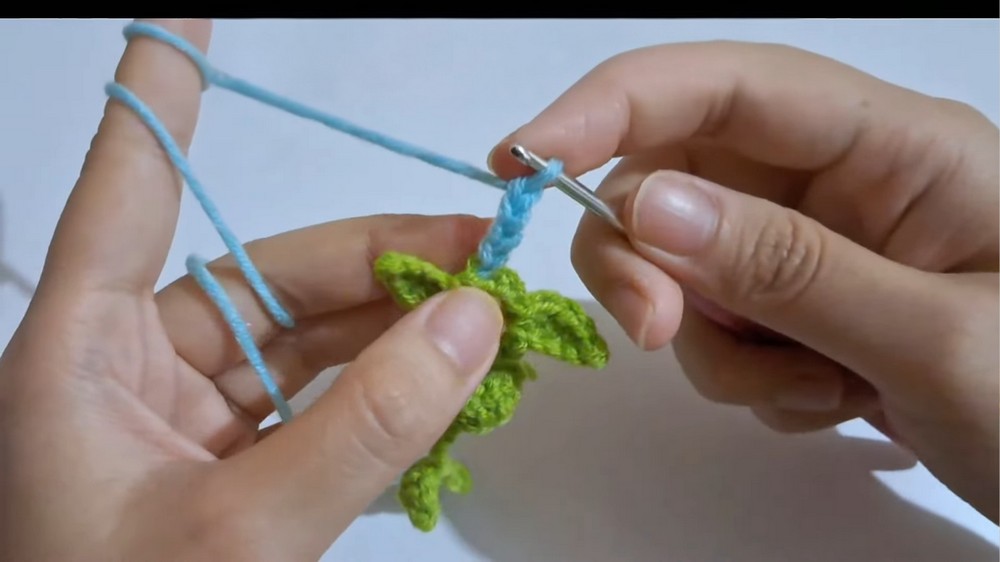
- Repeat this process for 2–3 flowers on each string, then weave in all ends.
- Chain 4 and SL ST back into the same point to form a flower.
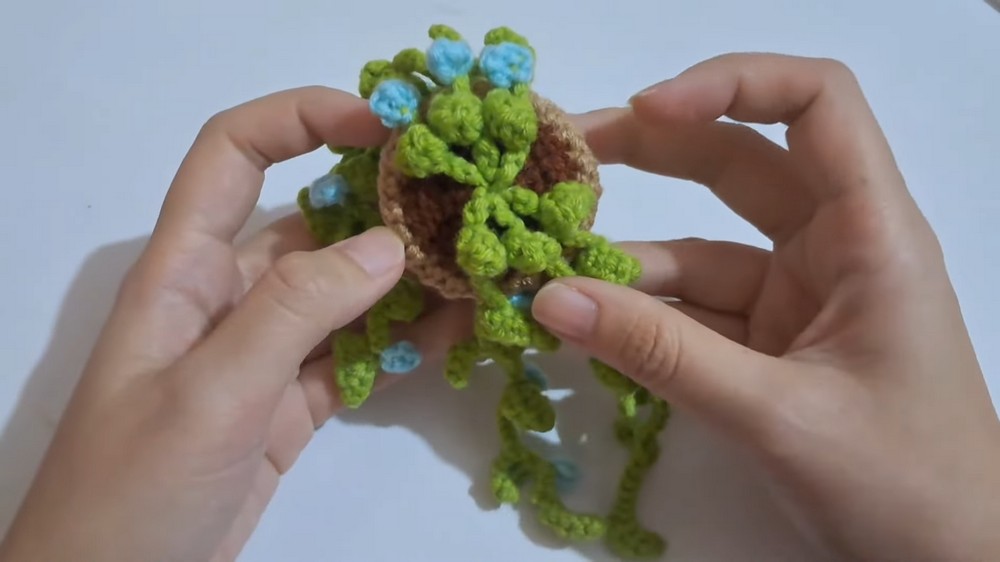
Step 5: Assembling the Plant
- Inserting the Leaves:
- Thread the leaf strings through the center of the soil piece, evenly distributing the strings.
- Secure the Leaves:
- Tie knots in sets of two strings to firmly secure them inside the soil.
- Sew the Soil to the Pot:
- Align the soil on the inside of the pot.
- Using the back loops of both pieces, sew them together. Leave a gap before completing to insert stuffing.
- Once stuffed, close the gap and weave in any ends.
Step 6: Adding the Hanging String
- Create a Hanging String:
- Divide the leaf strings into two equal groups.
- Insert new yarn through the 7th row of the pot and tie it in a knot to anchor it.
- Chain for Desired Length:
- Crochet a chain (roughly 12 inches for this project), and secure the other end to the opposite side of the pot.
- SL ST to secure and weave in ends.
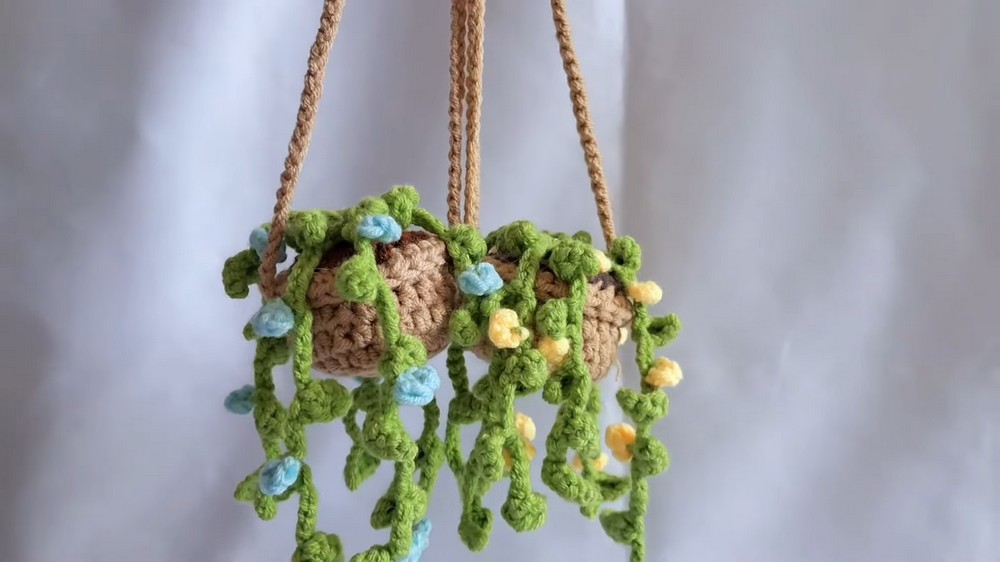
Conclusion
Your crochet hanging plant is now complete! This creative project can serve as a unique home decoration, a car mirror accessory, or a thoughtful handmade gift. Its vibrant, delicate design brings a natural feel to any space.
Possible Uses
- Room Decor: Perfect for desks, window ledges, or shelves.
- Car Mirror Accessory: A lightweight, durable option for decorating your car.
- Gifting: A wonderful handmade present for friends and family.
Bonus Tip
Always ensure that your leaf strings are evenly distributed to keep the plant balanced. If one side feels too heavy, simply add another string of leaves to counterbalance.