Scent your surroundings with charm using this Free Crochet Lavender Bag Charm Pattern, adding delicate elegance and a calming touch to any space or bag.
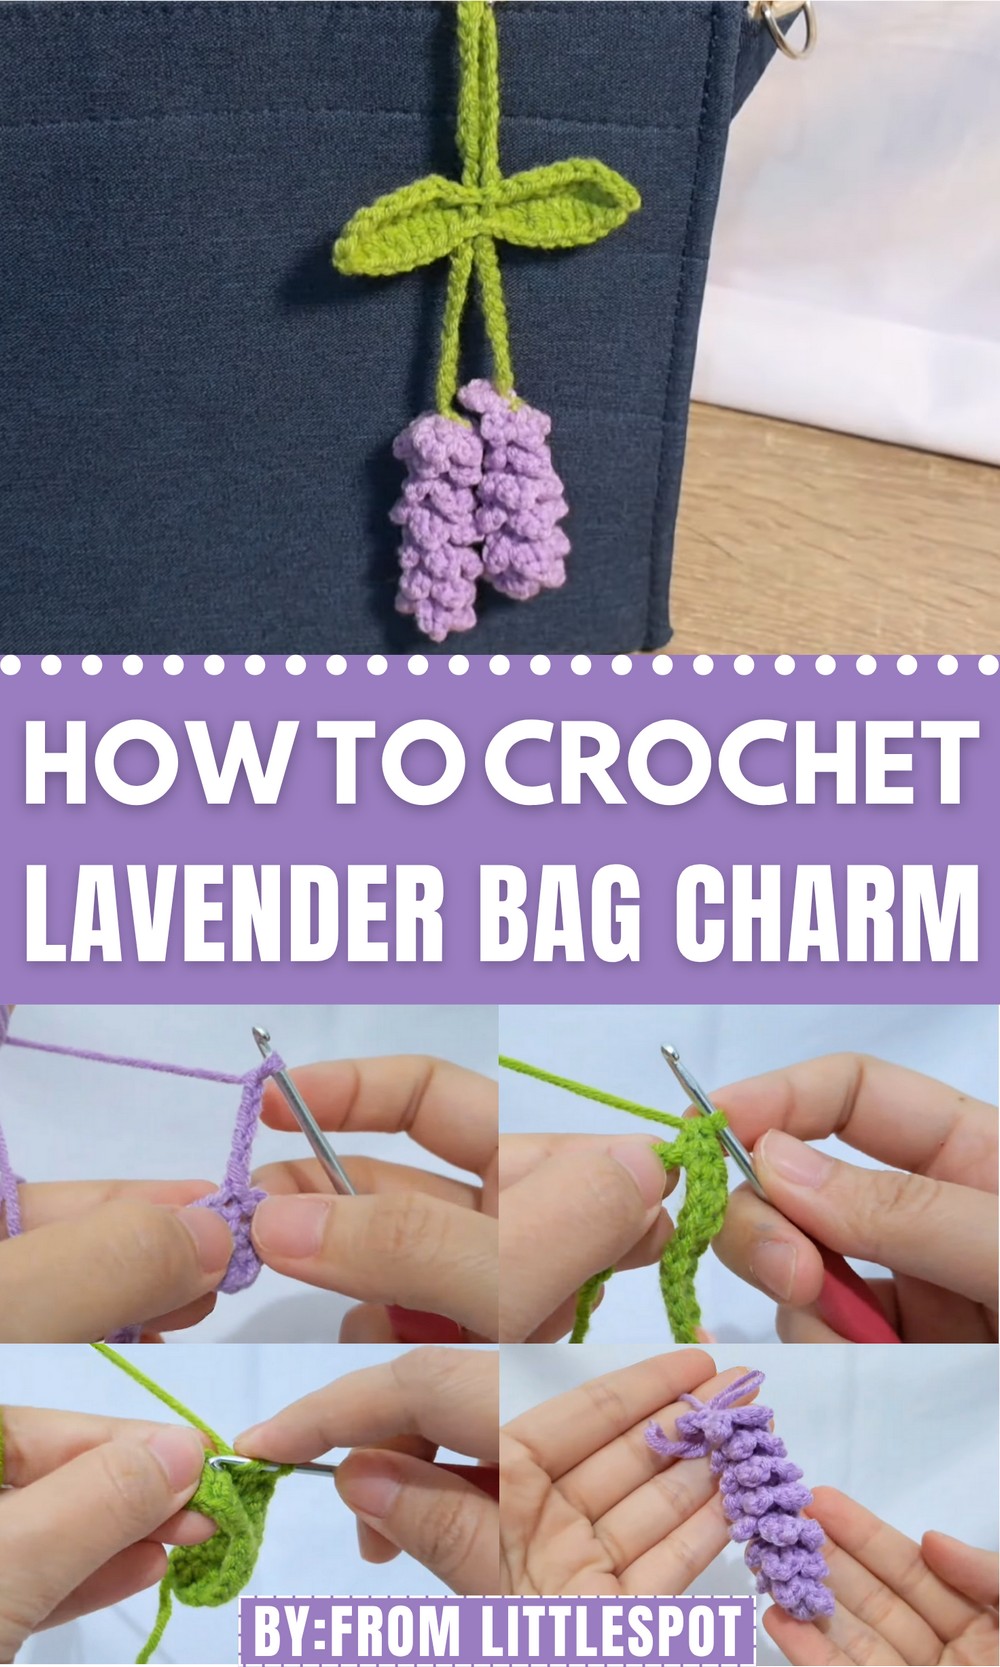
Its appeal lies in the delicate details, where layered stitches form soft petals and slender stems, creating a realistic yet whimsical miniature flower. The specialty of this charm rests in its versatility, it can be made in varying sizes, paired with ribbons or clasps, and used as a gift topper or personal keepsake. Beyond its decorative appeal, it provides subtle functionality, keeping small spaces fresh if filled with dried lavender or simply acting as a charming accent to carry on the go.
Lightweight, durable, and easy to attach, it offers a quick and satisfying crocheting experience for both beginners and experienced makers. Combining handmade elegance, practicality, and sensory charm, this bag accessory turns ordinary items into delightful accents, adding warmth, personality, and a gentle touch of nature-inspired beauty wherever it appears.
Materials Needed
- Yarn: Choose lightweight yarn in lavender (flower), green (leaf), and coordinating shades.
- Crochet Hook: Ideally between 2.5 mm to 3.0 mm, depending on the yarn.
- Yarn Needle: Needed for sewing flower pieces, string, and leaf together.
- Scissors: For cutting yarn.
- Optional Attachments: Ball chains, cable rings, or other hooking accessories (for attaching to a bag).
Special Features of This Charm
- Double Lavender Layers: To achieve a fuller look, two pieces of the lavender flower are sewn together for added dimension.
- Realistic Leaf Details: The leaf pattern mimics the shape and texture of real lavender leaves using varied crochet stitches.
- Customizable String: The string length can be adjusted based on your personal preferences.
Level of Difficulty
This project is rated Beginner-Friendly to Intermediate. Some techniques like the double crochet cluster and shaping the leaf may require practice. However, clear step-by-step guidance ensures even those newer to crochet can follow along.
Tutor’s Suggestions
- Maintaining Yarn Tension: Keep your stitches tight while working the lavender flower pattern to ensure it doesn’t look too loose or spaced out.
- Customizing Lengths: Feel free to adjust the size of the chain foundation (for both the lavender and the string) to suit your desired dimensions.
- Avoid Over-Curling: When twisting the crocheted lavender to tighten it, don’t overdo it—this can warp the structure.
Step-by-Step Instructions
Part 1: Making the Lavender Flower
- Start with a Slip Knot:
- Wrap yarn around your fingers, create two lines, and hook under the first. Hook into the second, hold the yarn tip, and pull both sides tight.
- Foundation Chain:
- Make 33 chains.
- Make 33 chains.
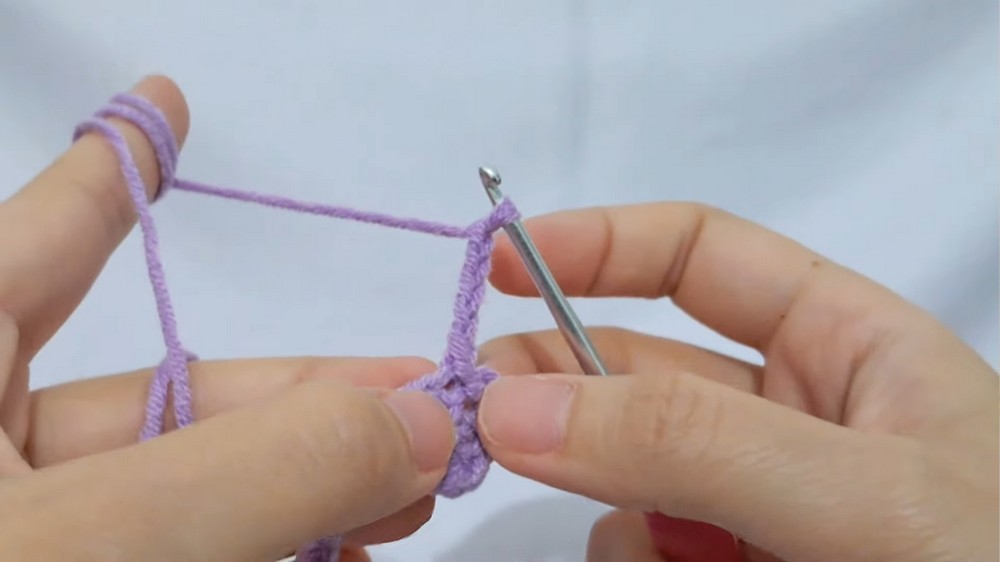
- Begin Working Double Crochets:
- Skip the first two chains, work two double crochets into the third chain.
- Double Crochet: Yarn over, insert the hook into the chain, pull yarn out, yarn over, pull through the first two loops, and repeat to pull through the final loop.
- Skip the first two chains, work two double crochets into the third chain.
- Create Petal Structure:
- Work a slip stitch in the next chain.
- Chain 5, then work another slip stitch in the same chain.
- Repeat until the End:
- Alternate between slip stitches and petal formations (using chains and slip stitches).
- Tighten the Lavender:
- Twist the completed stitch row clockwise to tighten the structure.
- Finish:
- Cut the yarn and weave in the ends.
- Repeat the process to make two lavender flower pieces.

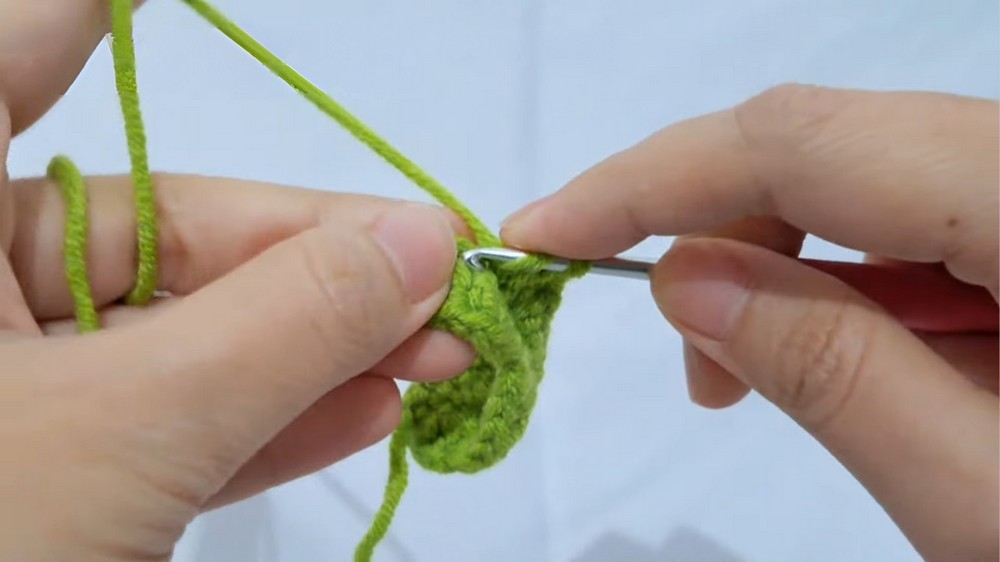
Part 2: Making the Leaf
- Start with a Slip Knot:
- Follow the technique from the lavender flower.
- Foundation Chain:
- Make 19 chains.
- First Row of Stitches:
- Skip the first chain, work:
- A single crochet in the second chain.
- A half double crochet in the next chain.
- Double crochets in the next five chains.
- Skip the first chain, work:
- Mirror the Pattern:
- As you reach the center, reverse the pattern with:
- A half double crochet.
- A single crochet on the last chain.
- As you reach the center, reverse the pattern with:
- Repeat on the Other Side:
- Mirror the same stitch sequence on the reverse side of the foundation chain.
- Finish:
- Cut the yarn and weave in the ends.
Part 3: Making the String
- Slip Knot and Foundation Chain:
- Create a slip knot and a chain of 50 (or any length around 20 cm).
- Finish:
- Leave a long tail for sewing after cutting the yarn.
Part 4: Assembling the Charm
- Attach the String to the Leaf:
- Use a needle to thread the string into the middle of the leaf.
- Sew the Lavender Flowers:
- Use the leftover tails to secure the two lavender pieces together.
- Attach the flower cluster to the string and leaf using a knot for reinforcement.
- Optional Attachments:
- Add a ball chain or cable ring to make the charm even more versatile.
- Add a ball chain or cable ring to make the charm even more versatile.
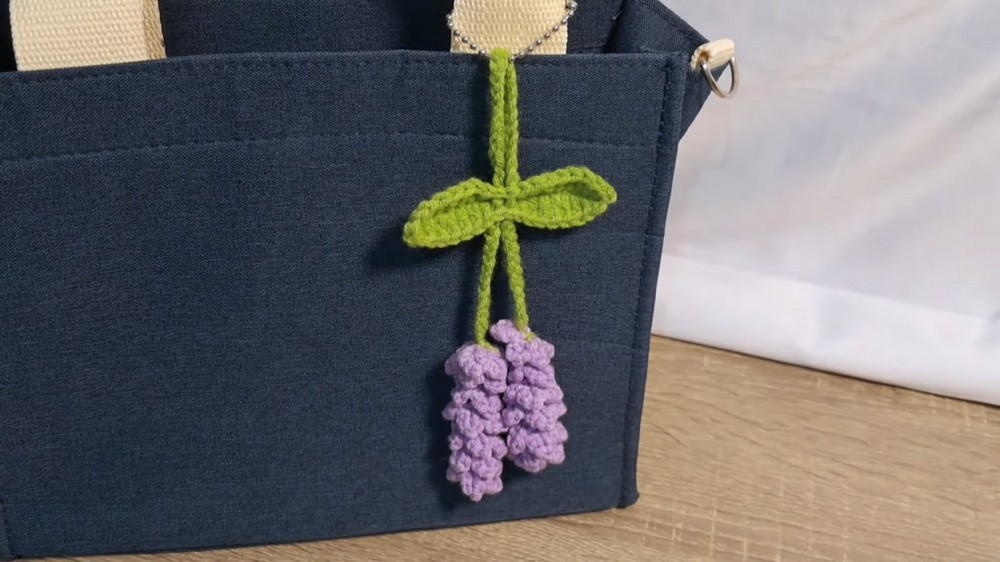
Conclusion
With your lavender bag charm complete, you now have a lovely handmade accessory that can brighten up bags, lanyards, keychains, or gifts. Its detailed yet easy-to-follow pattern makes this an excellent project for beginner to intermediate crocheters, and the result is both functional and visually pleasing.
Bonus Tip
To keep the lavender flower sturdy and maintain its shape, lightly starch the finished piece. This will ensure the petals and curves stay crisp, even with repeated use.