
Wear this Crochet Sun Hat Free Pattern on warm days for a lovely handmade accessory with a wide brim, pretty stitches, and a relaxed look for beach trips.
Вязание спицами и крючком с Мариной is the creative mind behind the original YouTube tutorial for making a simple and beautiful Crochet Sun Hat. Huge credit goes to Marina for sharing her clear and friendly instructions that make this project easy and enjoyable for everyone.
Lightweight Crochet Sun Hat Free Pattern For Outdoor Wear
The Crochet Sun Hat is a lovely handmade accessory designed to shield your face from the sun while adding a touch of charm to any outfit. Its main features are a wide, protective brim and a breathable texture, perfect for warm weather. Whether you’re spending a day at the beach, gardening, or taking a casual walk, this hat offers both style and sun protection.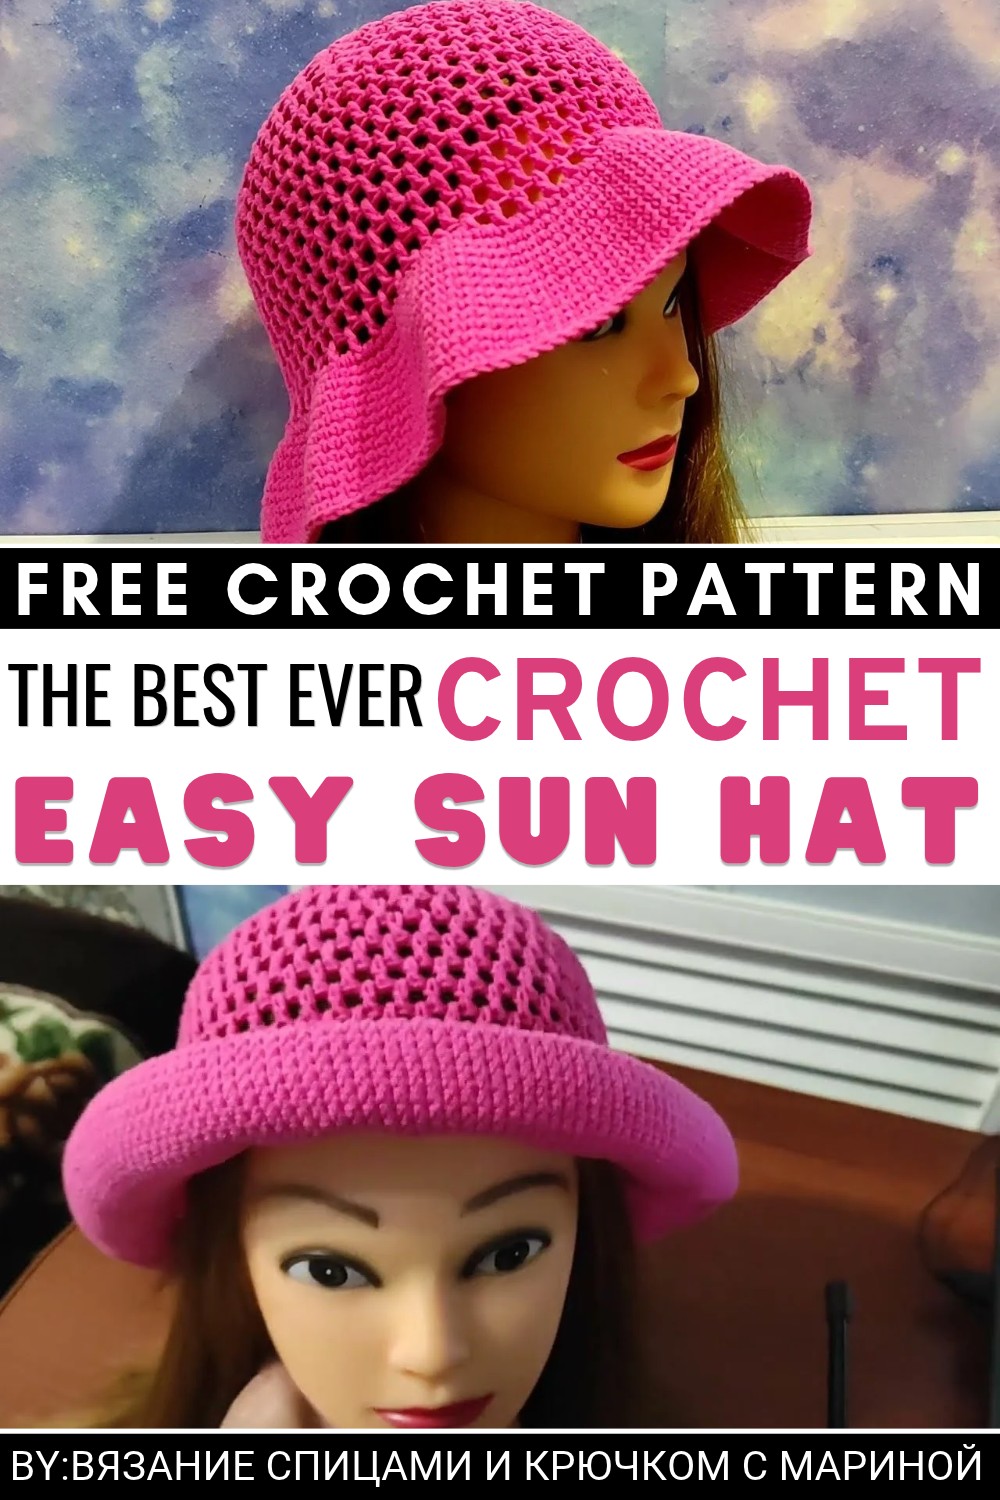 What makes this project really special is how you can customize it. You can choose your favorite yarn colors, personalize the size, or decorate it with ribbons and flowers, making each hat unique to your personality. The design is simple enough for beginners but still looks neat and professional.
The process starts by crocheting a small circle for the crown and gradually increasing stitches in rounds to shape it. Then, the brim is made by continuing in rounds with more stitches to widen it. In this pattern use basic stitches like single crochet and double crochet, and she explains every step clearly so anyone can follow along.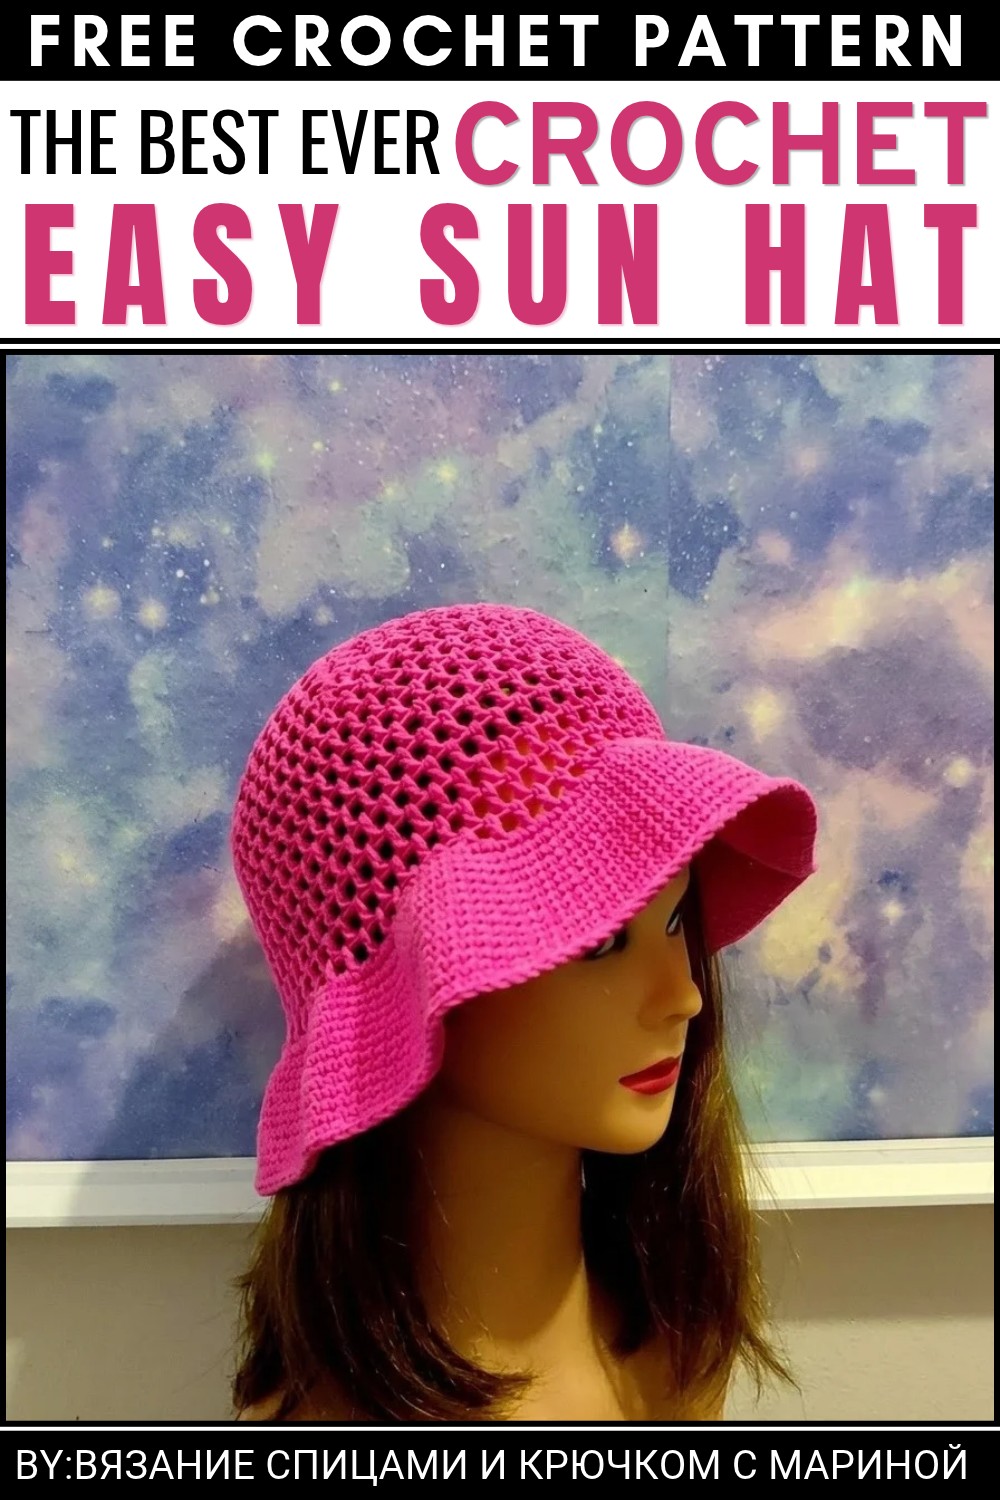 This Crochet Sun Hat is not only fun but also results in a beautiful, practical accessory that brightens up any sunny day!
Crochet Panama Hat Pattern
About the Pattern
This crochet panama hat combines a classic airy brim with a structured crown, making it a stylish and functional accessory for sunny days. With strategic increases, an even-sided body, and a gently flaring brim, the hat uses lightweight, breathable cotton-acrylic yarn and a fine hook for comfort and crisp stitch definition. Construction is divided into three distinct project phases: the crown, the sides (tulya), and the brim, employing a mix of round-based increases and continuous spiral techniques for a seamless finish.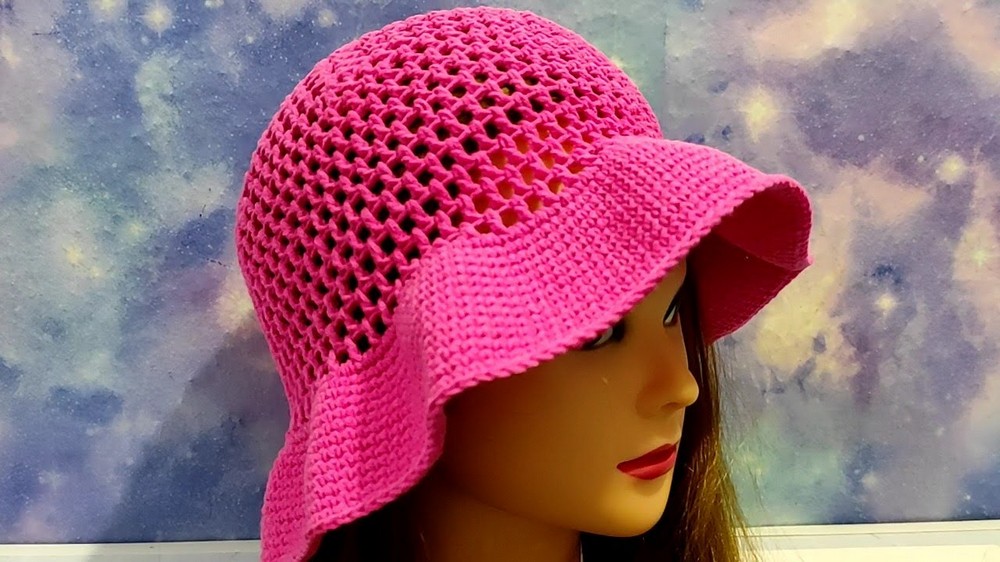
Pattern at a Glance
- Structured crown with radiating increases
- Straight body walls for a flattering fit
- Flared brim for sun protection and an elegant profile
- Block-based double crochet pattern for a classic woven look
- Seamless join technique to reduce visible splices
Important Notes
- Maintain even stitch and chain counts while increasing to ensure a flat, smooth crown.
- The brim is worked in spiral rounds for a clean edge with no obvious seams.
- Alternate joining technique (slip stitch/half double crochet) in the body is essential to prevent seam spiraling—do not skip this detail.
- Select lightweight, inelastic yarn; excessive stretch can distort the shape.
Difficulty Level
Advanced Beginner to Intermediate: Requires magic loop start, smooth round increases, working in the round, basic stitch knowledge, and managing seamless joins.
Supplies Needed
- YarnArt JEANS (55% cotton, 45% acrylic), approximately 1–2 balls depending on head size
- 3 mm crochet hook
- Scissors
- Tapestry needle for weaving in ends
- Measuring tape
Size & Measurements
- Fits most adult heads (approx. 54–58 cm circumference)
- Finished crown diameter before sides: approx. 17–18 cm
- Body/side wall length: 10–13 cm (customizable for preference)
- Brim width: approx. 7–9 cm (adjust by working extra or fewer rounds as desired)
Gauge & Stitch Details
- Gauge: 10 x 10 cm = approximately 20 double crochets x 10 rows
- Foundation: Magic loop for invisible starting point
- Brim: Increase rate may be adapted for tighter or looser flair
Crochet Abbreviations
- ch — chain
- dc — double crochet
- sc — single crochet
- hdc — half double crochet
- sl st — slip stitch
- sp — space
- st — stitch
- rnd — round
Special Stitch Guide
- Magic Loop: Adjustable loop start for a tight crown center.
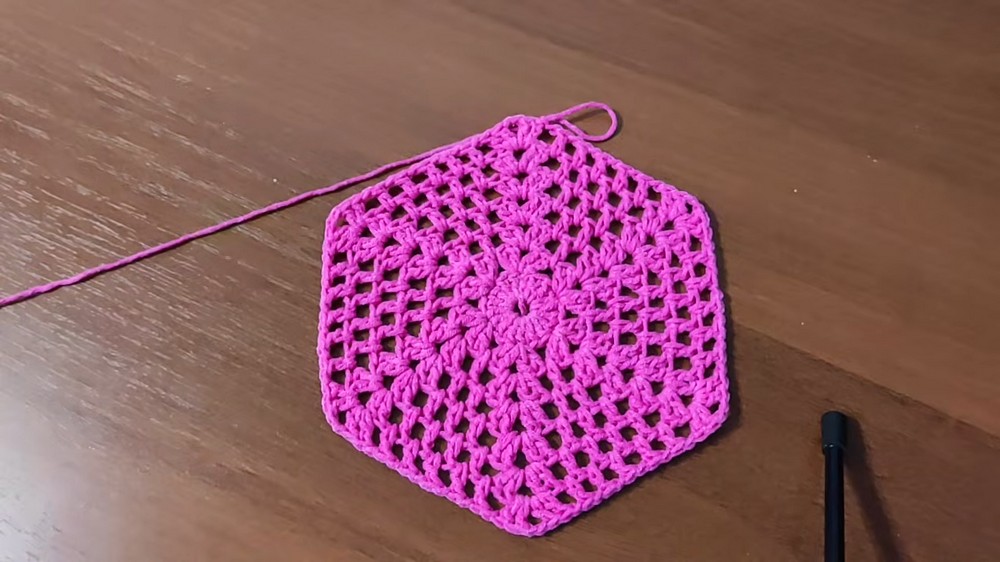
- Block Increase: Working groups of 4 dc separated by ch-2 at the crown, expanding each round as described.
- Alternating Join: Switching between sl st and hdc at the end of body rounds to prevent joining seam from spiraling.
Complete Crochet Pattern
Crown (Bottom of the Hat)
Round 1 (Foundation):
- Begin with a magic loop.
- Within the loop, ch 3 (counts as first dc), then work 17 dc (total 18 dc including the initial ch-3).
- Tighten the loop and sl st into the top of the beginning ch-3 to join.
Round 2:
- Ch 3 (counts as first dc), dc in same st, ch 2.
- [Work 4 dc (one in each of next 4 sts), ch 2] repeat around.
- Adjust end to have even distribution—ensure a block of 4 dc between each ch-2 sp.
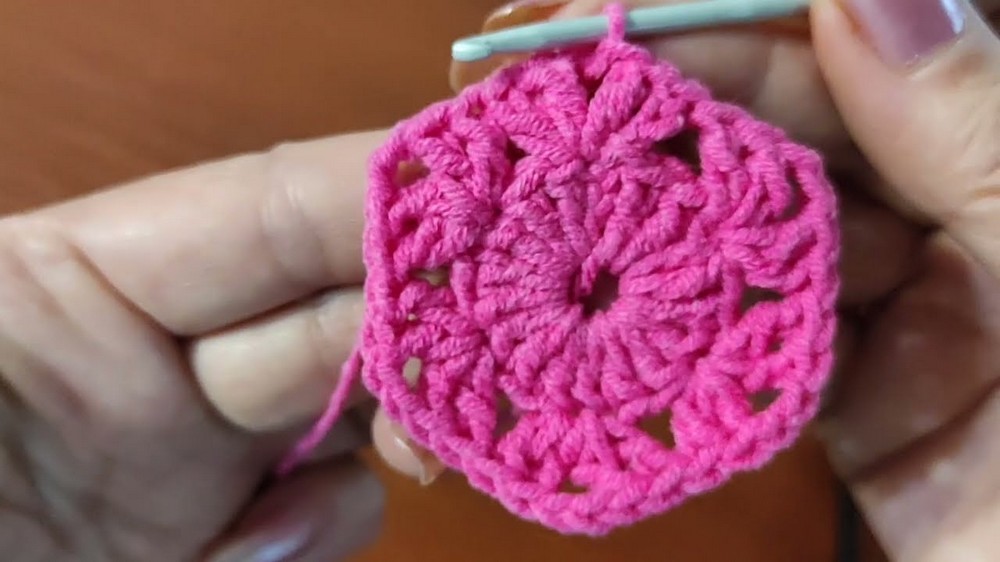
- Sl st to top of starting ch-3 to join.
Rounds 3 to 8 (Increasing):
- In each sector, increase the number of dc between ch-2 sps as follows:
- Rnd 3: In each ch-2 sp, work starting ch-3, 1 dc, then [dc in next st] × 4, ch 2, repeat (rest of round as established)
- Rnd 4–8: In each new round, increase by adding another dc into each sector; always maintain ch-2 sp between sectors.
- Continue this sequence, expanding with new double crochets in each sector, until the flat crown measures approx. 17–18 cm in diameter or as required for your head circumference. Most hats will reach this size in 6–8 rounds.
Body (Tulya/Side Walls of the Hat)
Transition Round:
- Begin working evenly, no increases: ch 3 (counts as 1 dc), ch 1, skip a stitch, dc in next st, ch 1, repeat across round.
- Your pattern should now be a sequence of dc, ch 1, dc, ch 1.
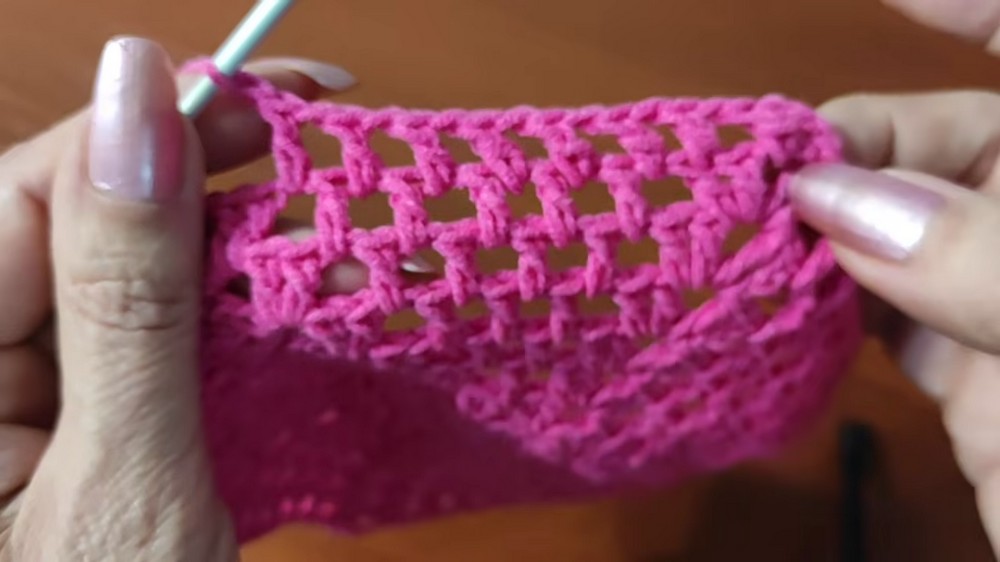
- Join with a sl st or hdc (alternate between them every other round in next step).
Body Rounds (Pattern Repeat):
- Continue working rounds using the pattern: [dc in next dc, ch 1, skip 1, repeat] all around.
- At the end of each round, alternate how you join:
- One round: sl st to the starting ch-3
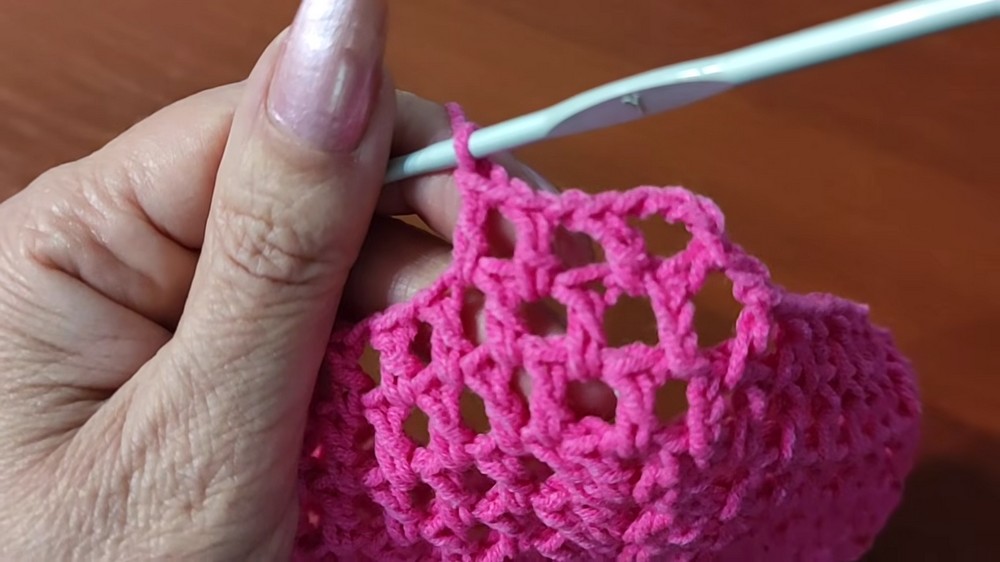
- Next round: hdc join for a staggered effect, which keeps the joining seam from spiraling
- One round: sl st to the starting ch-3
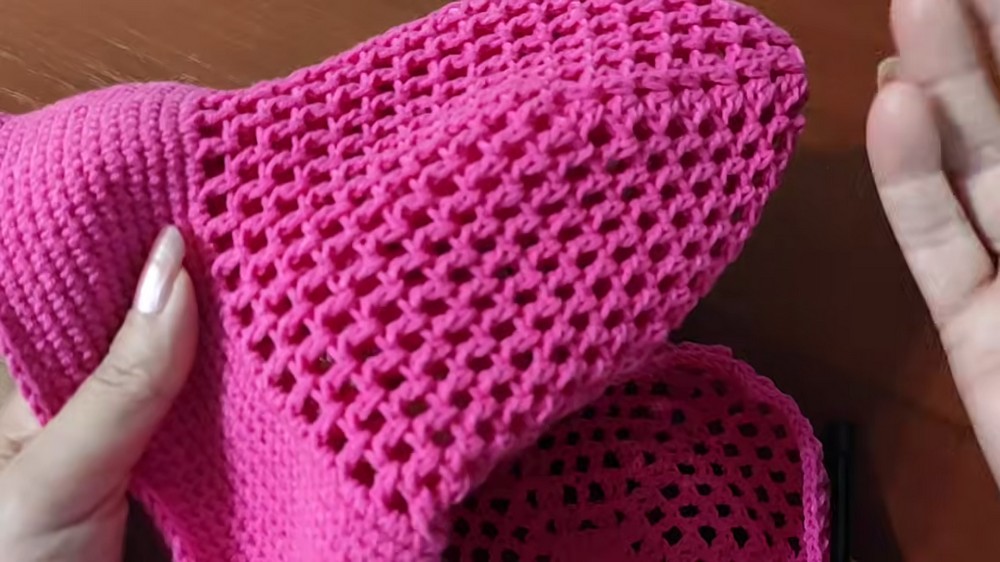
- Repeat these body rounds, maintaining the dc, ch 1 mesh structure, until the hat side wall measures about 10–13 cm or your desired hat depth.
Brim
Brim Base Round:
- To transition from the body to the brim and create the beginning flare:
- Work 1 sc in each dc, and 2 sc in each ch-1 sp from the previous round.
- This will gently increase the stitch count and start the gentle ruffle of the brim.
Continuous Brim Rounds:
- Now begin working the brim in a continuous, unjoined spiral (mark your first stitch if needed for counting).
- Sc in each stitch around. To keep the brim even, increase:
- About every other stitch or as needed (example: [sc in next st, sc in next st, 2 sc in next st]), adjusting intervals if the brim starts to ruffle too little or too much.
- Continue for approximately 13 rounds or until the brim reaches desired width.
- When brim is complete, sl st into next stitch to finish and fasten off.
- Weave in all tails with a tapestry needle.
Assembly & Finished Size
- Shape the hat gently with your hands. Lay flat to dry if blocking is needed for extra crispness.
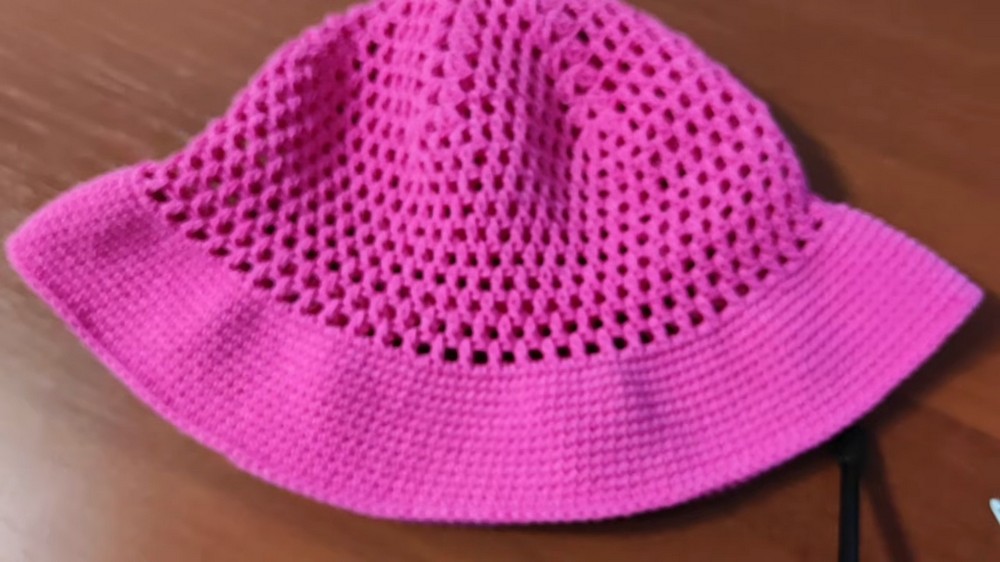
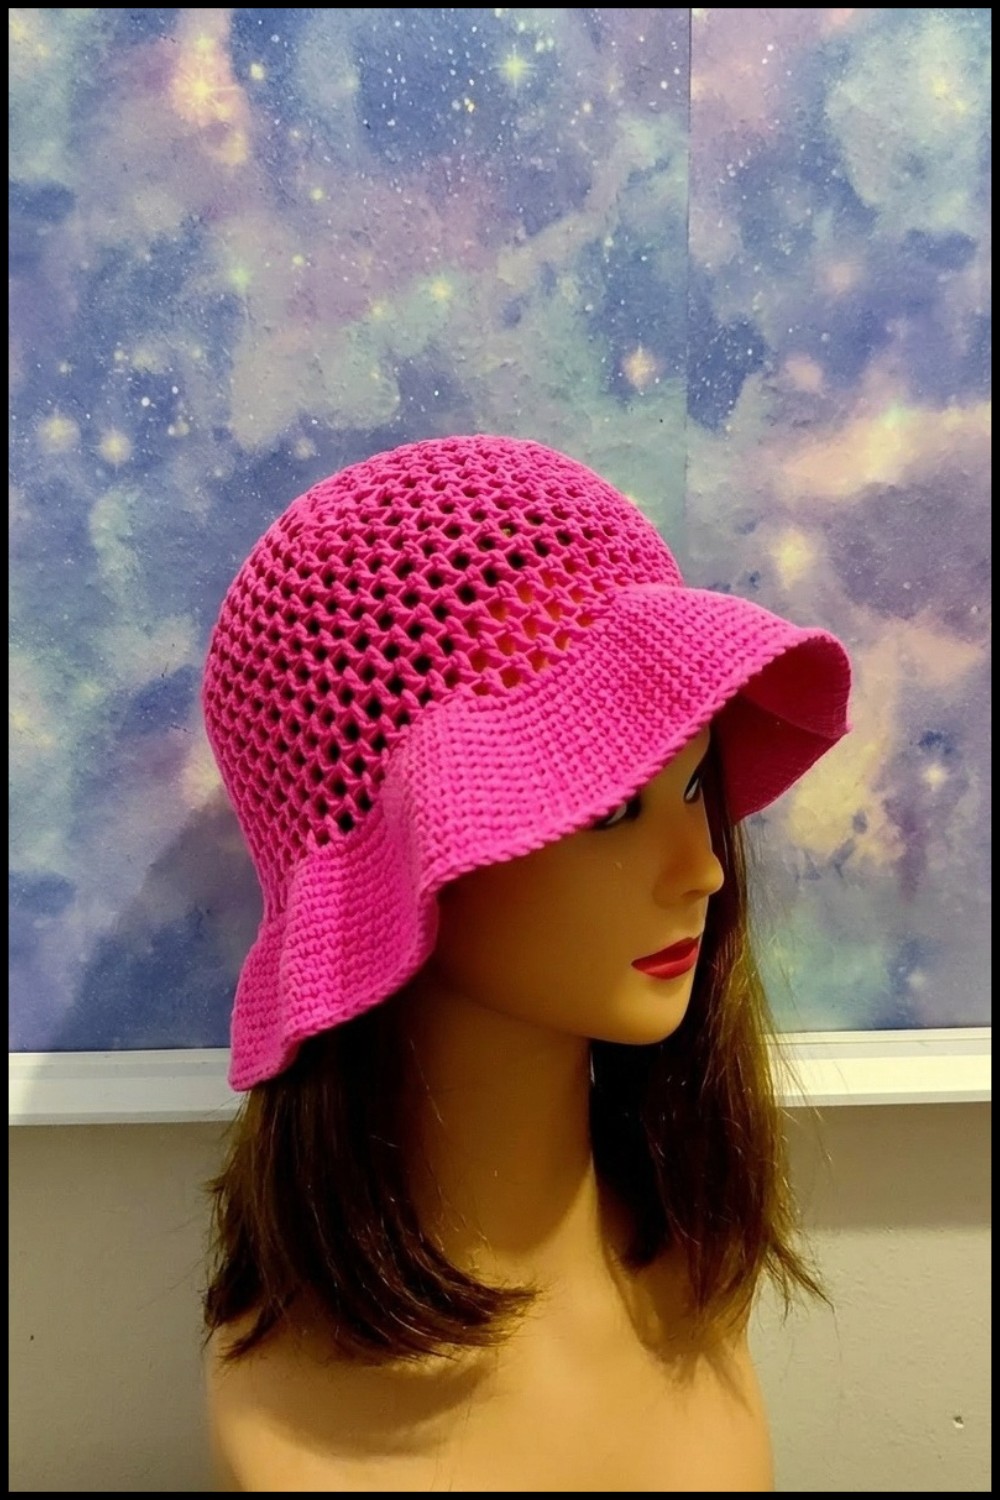
- Finished hat should have a smooth, flat crown, a vertical side wall, and a flared brim that stands outward and downward for sun coverage.
- Edges are clean and nearly seamless thanks to alternating join methods.
Conclusion
This panama hat pattern offers a balance between tailored structure and airy comfort, making it an excellent summer accessory. The detailed construction phases ensure a consistent result, and the careful planning for joins and increases results in professional-quality shaping from crown to brim. The cotton blend used provides lightness, durability, and a crisp, finished look, while allowing easy customization for head size and style preferences. The hat’s modular build, clear patterning, and finishing touches make it a versatile choice for seasonal wear and personal expression.
