
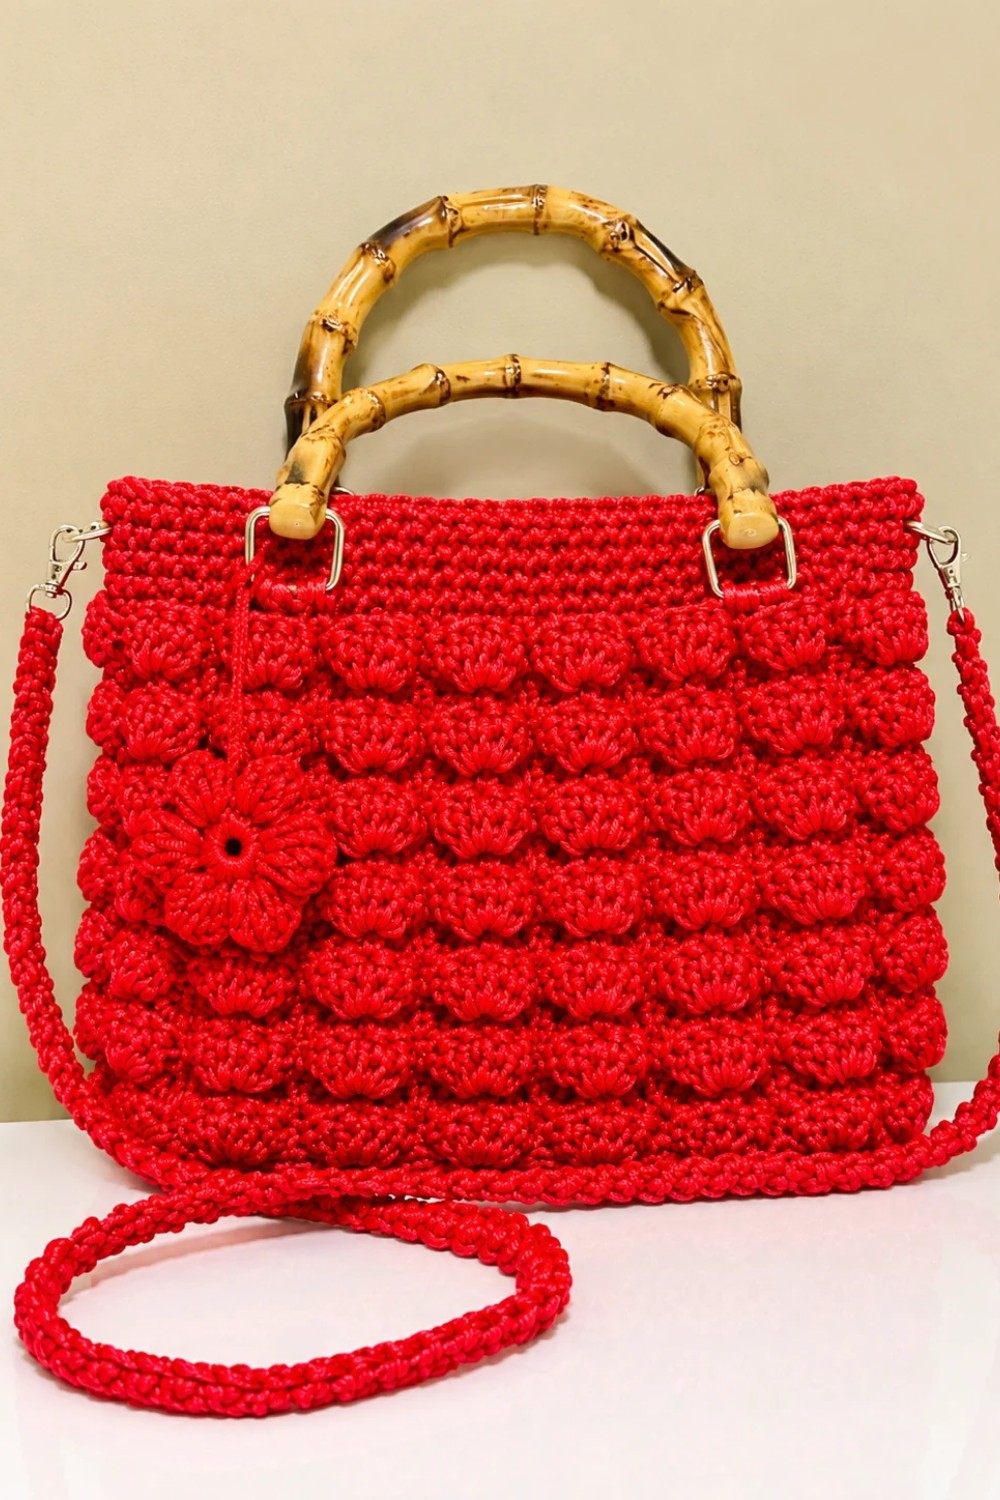
Carry your favorite items with this Crochet Handbag Free Pattern, a charming project with a tidy finish that fits right into your busy daily routine.
Yanet pupo crochet shares this clothing accessory idea for people who love practical crochet projects. The Crochet Handbag offers a lovely way to combine everyday fashion with the beauty of yarn. Its handmade texture gives it a distinctive look, making it an appealing choice for anyone who likes accessories that are both attractive and useful.
Free Crochet Handbag Free Pattern With A Modern Touch
One interesting part of this handbag is how the stitches influence its overall appearance. A closely worked surface can give it a firm structure, while decorative stitch arrangements can provide a softer finish. The handles and upper opening are important parts of its construction. You can choose deep burgundy, warm caramel, or classic navy to complement your personal style.
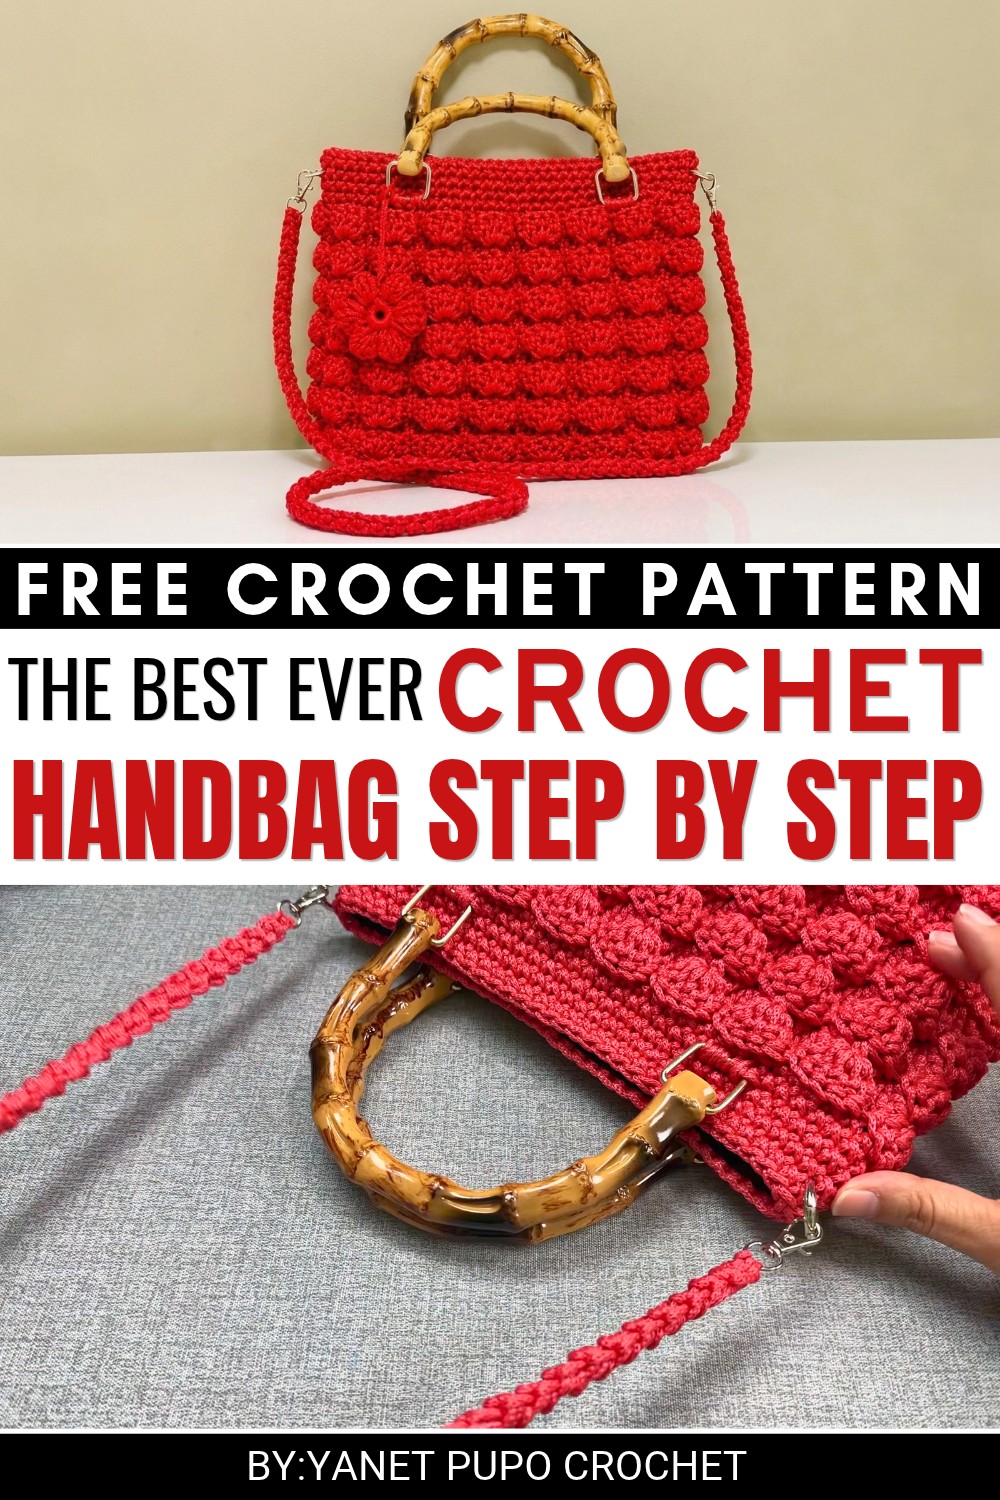 The crocheting process involves forming the main sections according to the tutorial and joining them where necessary. Paying attention to the stitch count helps maintain the correct proportions. Securely attaching the handles is important for carrying belongings, and a carefully finished edge helps give the accessory a tidy appearance.
You can use this handbag for everyday shopping, visiting relatives, or going out with friends. It can hold small personal items such as a wallet, phone, or keys, depending on its size. It also works as a thoughtful handmade present for Mother’s Day or a birthday.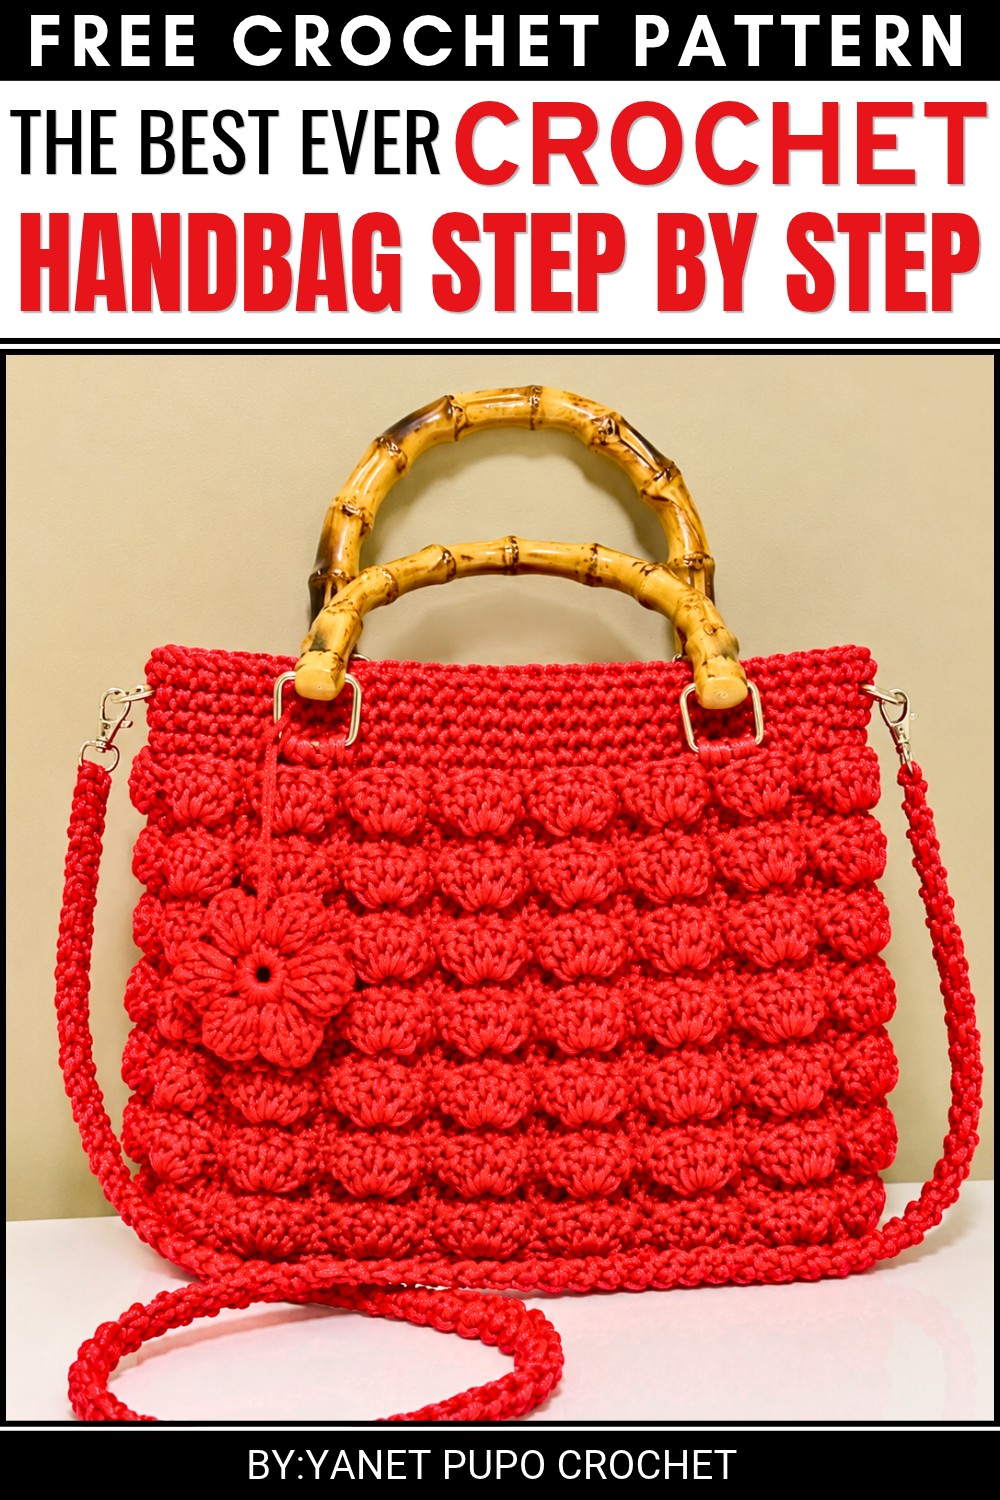 The finished handbag offers an opportunity to choose colors that suit your wardrobe. With regular care, it can remain a useful accessory for many outings.
Crochet Bag with Short and Long Handles
About the Pattern
This bag pattern presents a functional and elegant design, allowing for both short and long handle options. Crafted in sturdy polyester cord, the bag combines strong construction and decorative texture, making it a reliable accessory for daily use. The instructions ensure accuracy with detailed stitch counts and step-by-step assembly, while the finishing options and handle attachments offer versatility suited to a variety of styles.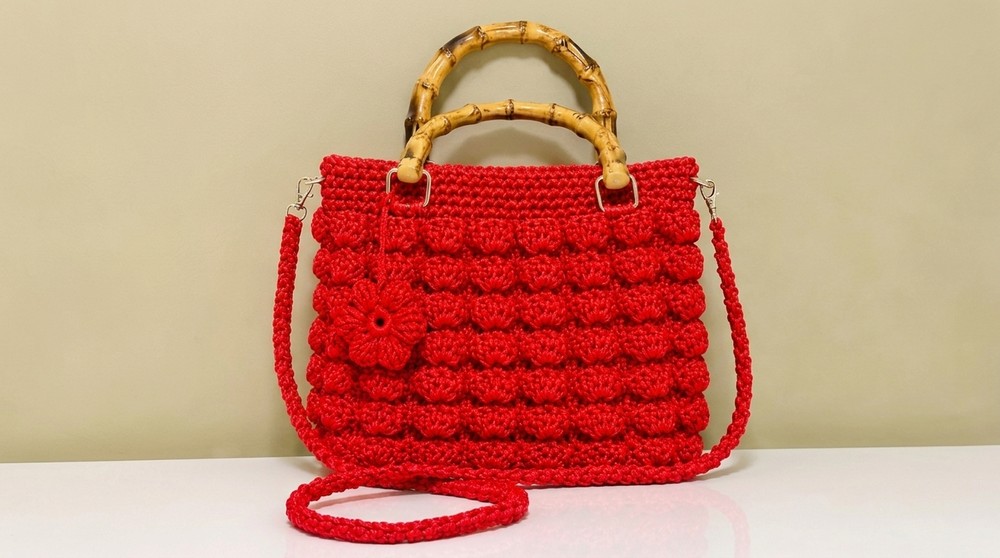
Pattern at a Glance
- Rectangular bag form
- Dual handles: short and long (removable)
- Structured base, decorative fan stitch body, reinforced edge
- Polyester cord yarn, 3.75 mm crochet hook
- Handles: bamboo or wood-look plastic (or similar)
Important Notes
- Consistent stitch and chain counts throughout the pattern maintain structure.
- Use a tapestry needle for hiding yarn ends, especially with slippery cord.
- Modify bag width by changing foundation chain count.
- Decorative fan stitches create strong, attractive texture.
Difficulty Level
Intermediate: Requires comfortable use of basic stitches, working in rounds, reading crochet instructions, and sewing components.
Supplies Needed
- 600g size 4 polyester cord (nylon or polyester)
- 3.75 mm aluminum crochet hook
- Stitch marker
- Tapestry needle
- Scissors
- Lighter (for nylon if needed)
- Bag handles (one short, one long handle with rings)
- Optional: zipper or magnetic snap for closing
Size & Measurements
- Base: 22 cm long x 9 cm wide
- Finished height: Seven rounds of fans visible, or adjust as desired
- Structure: rectangular bag, accommodates everyday items
Gauge & Stitch Details
- Gauge not strictly necessary; keep stitch counts exact as instructed.
- Base rows: Each row is about 1cm wide.
- Firm stitch tension ensures shape.
Crochet Abbreviations
- ch — chain
- sc — single crochet
- dc — double crochet
- sl st — slip stitch
- yo — yarn over
Special Stitch Guide
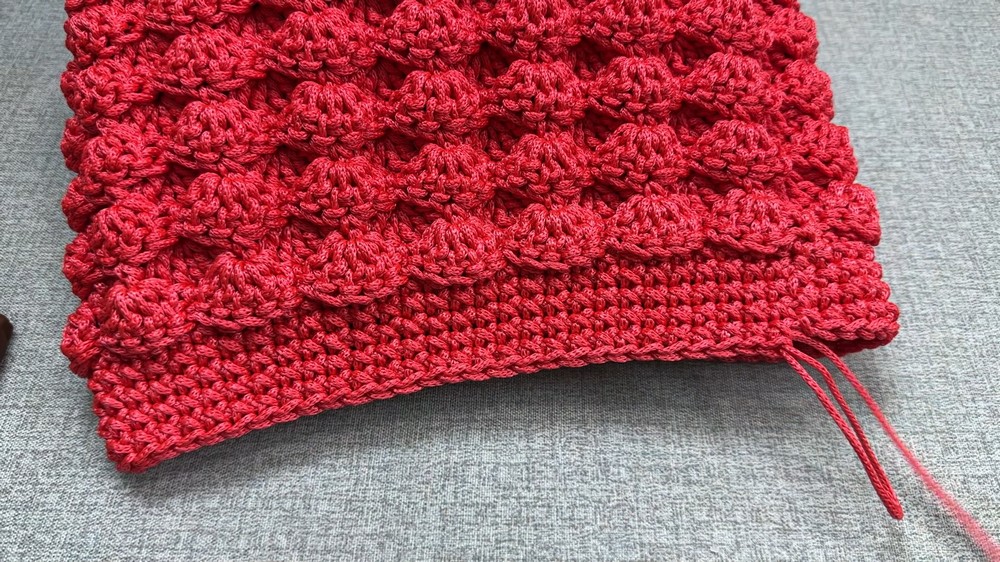
- Fan Stitch: Work five dc in one space (creates fan).
- Back Loop Only (BLO): Insert hook only in back loop for textured edging.
- Single Crochet Edge: Creates tidy, reinforced border.

Complete Crochet Pattern
Bag Base
Round 1:
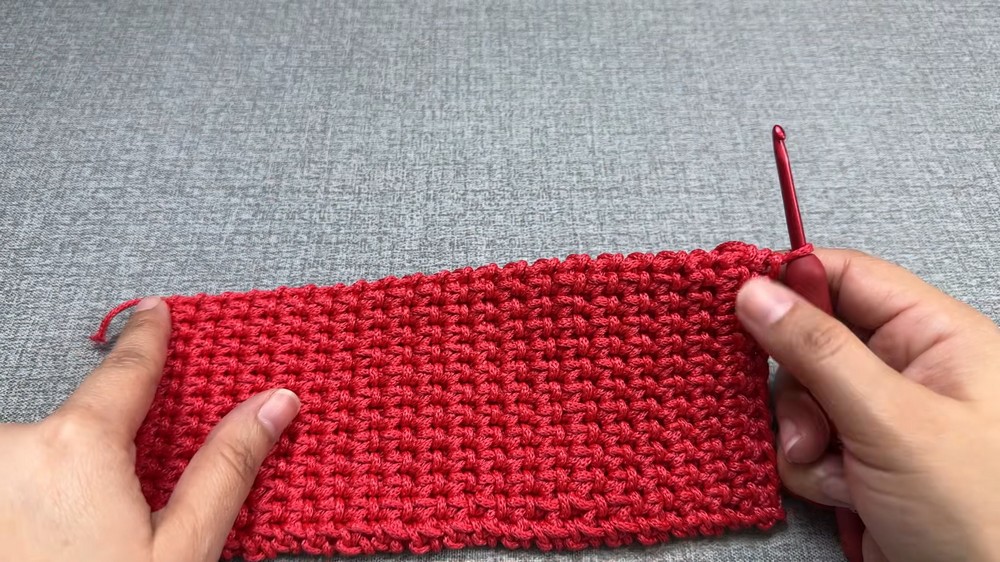
- Make a knot, tighten, and chain 13. Carefully count.
- Skip the last chain, and in the next chain, make a single crochet (sc). Work these stitches with firm tension, not overly tight.
- Proceed across the chain with sc in each. At the end, you should have 12 sc (as one chain is the turning chain).
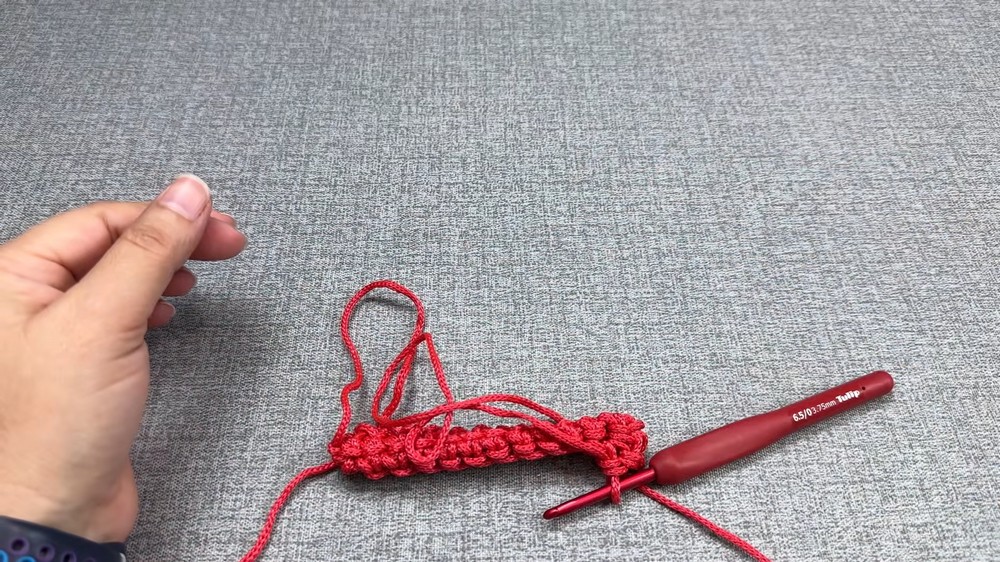
Rounds 2–22:
- At the beginning, chain 1 (does not count as a stitch).
- For each row, insert hook through the chain above and the one below; make a sc.
- Always maintain 12 sc for every row.
- If wider bag is desired, start with 17 chains instead.
- Repeat until 22 rows are complete, for a base about 22 cm x 9 cm.
Final Base Round:
- To finish the base, join the top two loops with the bottom loop for extra firmness.
- Work this joining stitch at the end of the last row.
Shaping the Sides
- Mark your starting corner with a stitch marker.
- On each long side: chain 1 to turn, then make 22 sc evenly distributed.
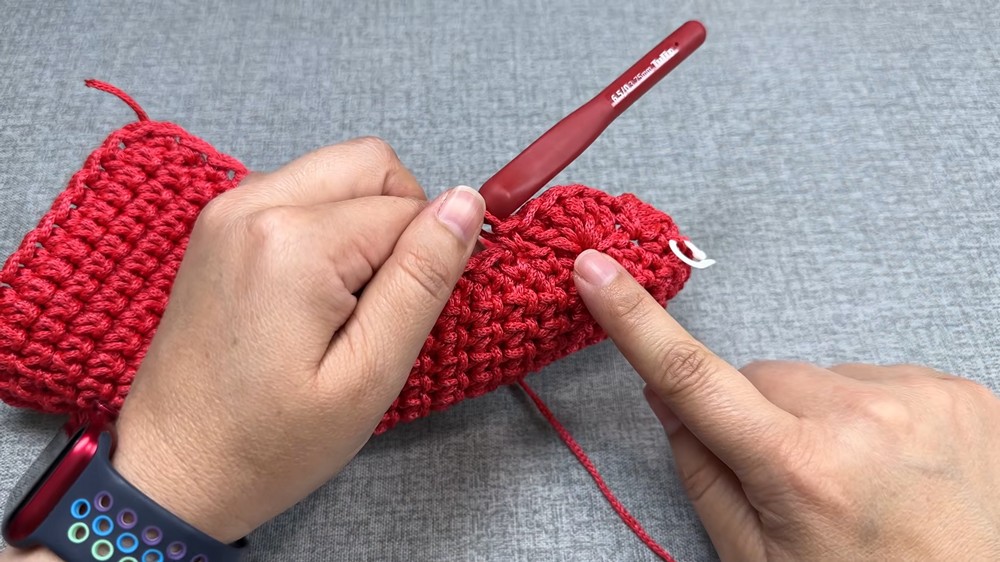
- On each short side: Make 12 sc evenly.
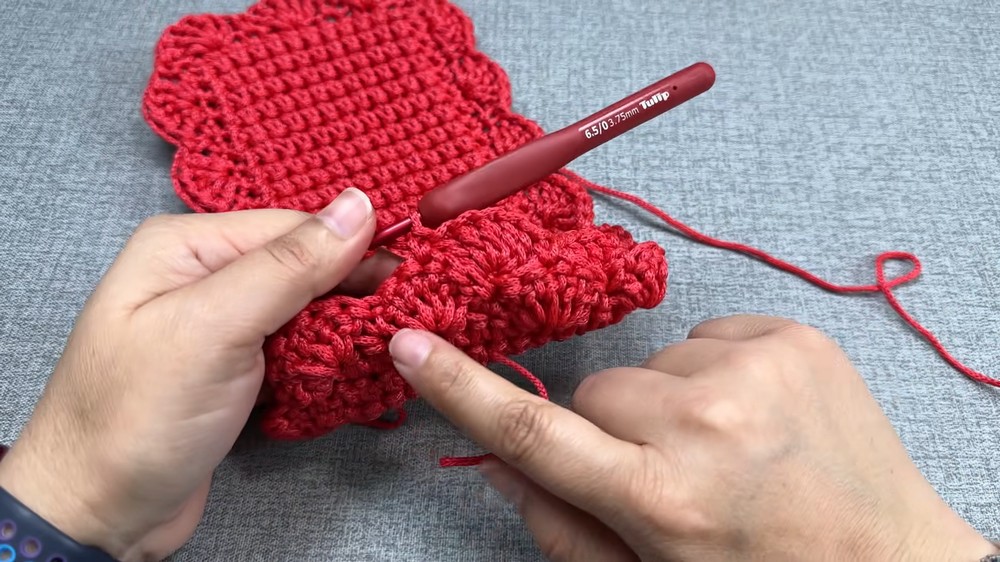
- Begin and end at the marked corner for symmetry.
- Upon completion, cut the yarn and securely hide the yarn end. Burn (for nylon) and use tapestry needle to weave the tail through stitches.
Bag Body
- Attach new yarn at the marked corner.
Body Round 1:
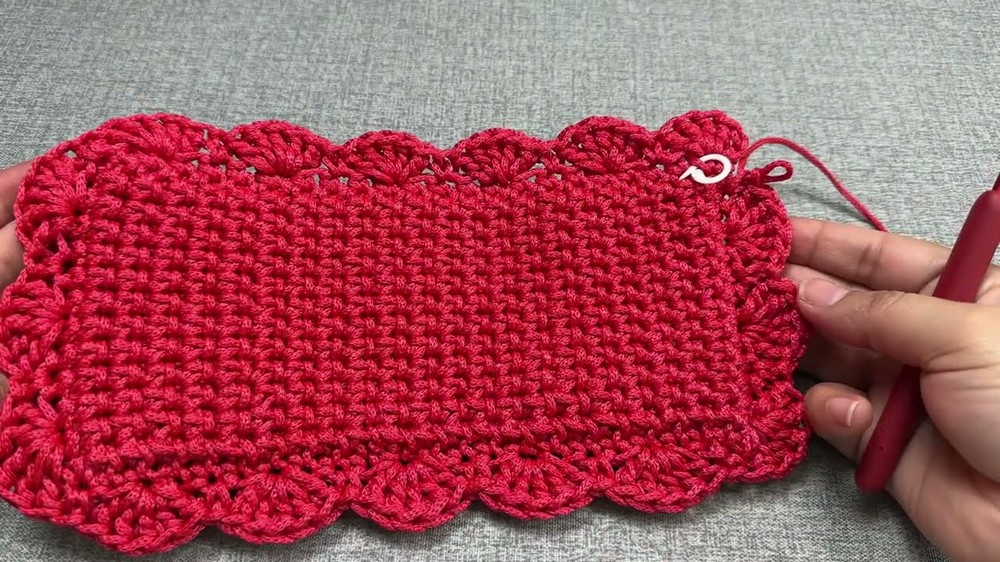
- At the corner, chain 3 (counts as first dc) and make 4 dc in same space (for a total of 5 dc, creating the first fan stitch).
- Fan Stitch: 5 dc in one space.
- Skip one stitch, then make a sc in the next; skip one and work another fan.
- On each short side: three fans. On each long side: four fans.
- At round end, close with a sc and join to the third chain of starting corner with a sl st.
Body Rounds 2 and Onward:
- Chain 1 for height, turn to work in the outside chain.
- In each sc of prior round, work a fan stitch (5 dc).
- In the middle stitch of the fan, make a sc.
- Always work into BLO of sc for texture.
- Pattern sequence: fan in sc, sc in center of fan, repeated around.
- Continue until seven rounds of fans are visible (or to desired height).
Decorative Edge
Edge Round 1:
- Work only in the inside loop (BLO) of chain on edge.
- Make two sc in each fan, then skip one stitch for a snug edge.
- Insert hook, pull yarn, and make a sc.
- Repeat: 2 sc, skip 1, all the way around the edge.
- At round end, join at first stitch by inserting hook from back for smooth finish.
Edge Rounds 2–5:
- Continue with sc rounds; work into each sc of the previous round.
- After each round: join with sl st, chain for height, and repeat.
- Complete 4–5 rounds for a thick edge.
- Join last round with a sl st, cut yarn, and tie a secure knot.
Assembly & Finishing
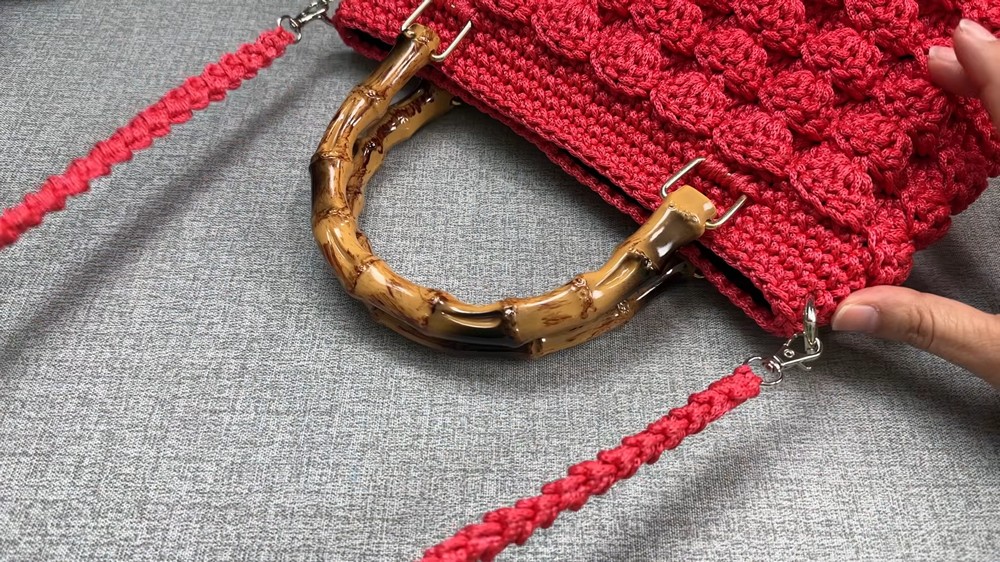
- Sew short handles on each top bag side, using matching yarn. Use sturdy stitches.
- Attach long handle to removable rings, securing through bag side stitches.
- For closure, sew in a zipper or magnetic snap; leaving open is also an option.
- Hide yarn tails inside the bag; do not cut flush, as nylon may slip or unravel.
Conclusion
This bag pattern combines durability and style, offering a practical accessory suitable for daily routines. Accurate stitch placement and careful finishing yield a robust structure with decorative form. The bag’s adjustable features—handles, size, and closure—accommodate personal preference and usage, while polyester cord ensures resilience. The showcased fan stitches and edge details add visual interest and tactile comfort, resulting in a versatile piece for practical and decorative purposes.
