Snuggle up in festive style with this adorable crochet Christmas tree mitten pattern that brings warm holiday spirit to your winter days.
Cold hands can quickly take the joy out of winter days, but these mittens change that completely. Made from soft, warm yarn in bright, festive colors, they bring comfort and cheer with every stitch. Their fun patterns and cozy feel make them perfect for keeping hands snug during snowy walks or chilly evenings by the fire. Not only do they protect from the cold, but their playful design adds a splash of holiday spirit to any outfit.

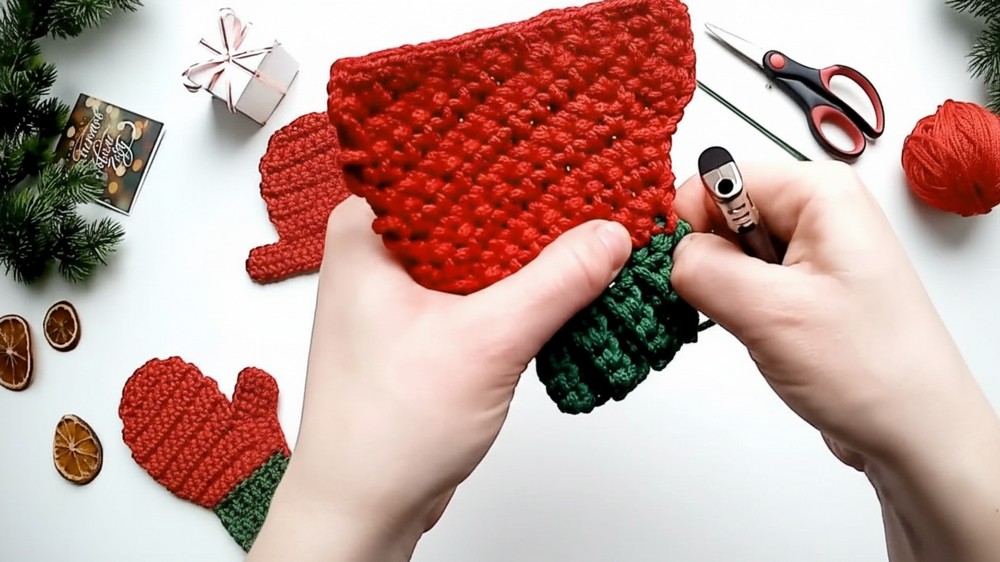
Cozy Crochet Christmas Tree Mitten Pattern for Holiday Warmth
Easy to wear and gentle on the skin, these mittens suit people of all ages and are great for everyday winter use. They also make wonderful handmade gifts, spreading warmth and happiness to friends and family. With these mittens, cold weather feels less harsh and more joyful, turning simple moments into special holiday memories filled with color and comfort.

Crochet Baby Mitten Pattern
Special Features:
- Functional and decorative baby mitten
- Approximate finished size: 15 x 12 cm
- Uses a 3mm polyester cord (or substitute with yarn of your choice)
- Works beautifully as a hot stand or a unique ornament
- Dense and cozy texture using single crochet stitches in turning rows
Difficulty Level:
Beginner to Intermediate – mostly single crochet stitches, working in rows, binding edges, and shaping with increases and decreases.
Materials Needed:
- Polyester cord (3mm thick) or yarn of choice
- Crochet hook size 4
- Needle with a large eye for weaving ends
- Scissors
Pattern Instructions
Step 1 — Prepare the Foundation Chain
- Leave a yarn tail at the start for a hanging loop or securing the mitten.

- Chain 5 air loops, start by looping the working thread around the crochet hook as usual.
- Make a lifting chain loop (chain 5 total).
Step 2 — Row 1: Single Crochet Foundation
- Turn the work, and work single crochet (sc) stitches into the next 4 jumpers (loops) starting from the second jumper from the hook (skip the first).
- You will have 4 single crochet (sc) stitches in total.
- Make one chain loop (ch 1) for lifting.
- Turn to begin the next row.
Step 3 — Rows 2 to 8: Continue Single Crochet in Turning Rows
- For each row, start in the second stitch from the hook, and single crochet (sc) into each of the 4 jumpers across the row.
- Always crochet behind the far arch of the braid (back loops).
- Complete 8 rows total (including Row 1).
- End each row with a chain 1 (ch 1) for lifting.
Step 4 — Bind the Edge
- After finishing 8 rows, work an edge using slip stitches (or connecting loops):
- Insert hook under the edge loops at the rows’ ends, pull thread through and slip stitch to secure.
- Continue slip stitching evenly around to create a neat, rounded edge.
- Cut the excess yarn tail, leaving a length to weave in.

Step 5 — Weave in Ends with Imitation Loop
- Use a needle with a large eye to weave the yarn tail through the lying pigtails (braids) along the edge to hide it.
- Return to the original exit point of the tail, pull snug but not overly tight, to maintain shape.
- Secure the tail invisibly under legs of stitches and trim any excess.
Step 6 — Knit the Main Body in a Contrasting Color
- Attach a new color thread (for example, green).
- Work single crochet (sc) stitches into the far arches of the braids and jumpers, hiding the tail end as you go deeper under the stitch legs.
- Crochet 8 single crochets around the base row forming the start of the mitten.
- End row with a ch 1 for lifting.
- Continue crocheting 8 rows of 8 sc each, creating the body of the mitten.

Step 7 — Increase Rows and Shaping
- At the beginning or end of rows, increase by working 2 sc stitches into one stitch to widen the mitten.
- Continue increasing gradually as the mitten grows.
- On rows with increases, make 8 or more sc stitches, depending on shaping needs.
- Shape the top of the mitten with decreases by crocheting two stitches together where needed.
Step 8 — Crochet the Thumb
- Work chain stitches for the thumb, creating a small loop that you will crochet into.
- Crochet 5 single crochets for the thumb base.
- Continue to work in rows, utilizing the braids and jumpers to secure slack and shape.
- Use increases and decreases to shape the thumb comfortably.

Step 9 — Final Rows and Finishing
- To finish, make last rows of single crochet without increases to smooth edges.
- End with a final imitation loop for neat closure:
- Using a needle with a large eye, insert thread under loops on the edge and pull snug.
- Weave in and hide ends under legs of stitches.
- Trim any excess yarn and optionally lightly secure ends for durability.
Step 10 — Make a Hanging Loop
- Using the starting yarn tail, crochet a loop at the edge of the mitten for hanging.
- Attach securely and weave in ends.
- Optionally decorate with ribbons or beads for a charming look.
Tutor’s Suggestions:
- Keep your tension even throughout for a balanced mitten size.
- Adjust yarn thickness and hook size to create mittens in varied sizes.
- Use a contrasting color for the main body to add visual interest.
- For a hot stand, consider lightly blocking or shaping the final mitten.
Uses:
- Baby mitten ornament / decoration
- Hot pad / stand for cups or small pots
- Charming handmade gift item
- Festive Christmas tree decoration or home décor
Pro Tip:
When working into the far arches of the braids, insert your hook gently and pull up an even loop to maintain consistent stitch height and form a neat, elastic fabric. Blocking your finished piece can enhance the mitten’s shape and make it stand out as décor.
Conclusion:
This project combines simplicity and delicate shaping to create a beautiful and practical baby mitten perfect for various decorative and functional uses. Follow the steps carefully, and you will achieve a gorgeous, cozy mitten.