Let your creativity shine with a Free Crochet Elephant Amigurumi Pattern that makes a soft and charming elephant perfect for heartfelt gifts, or playful fun.
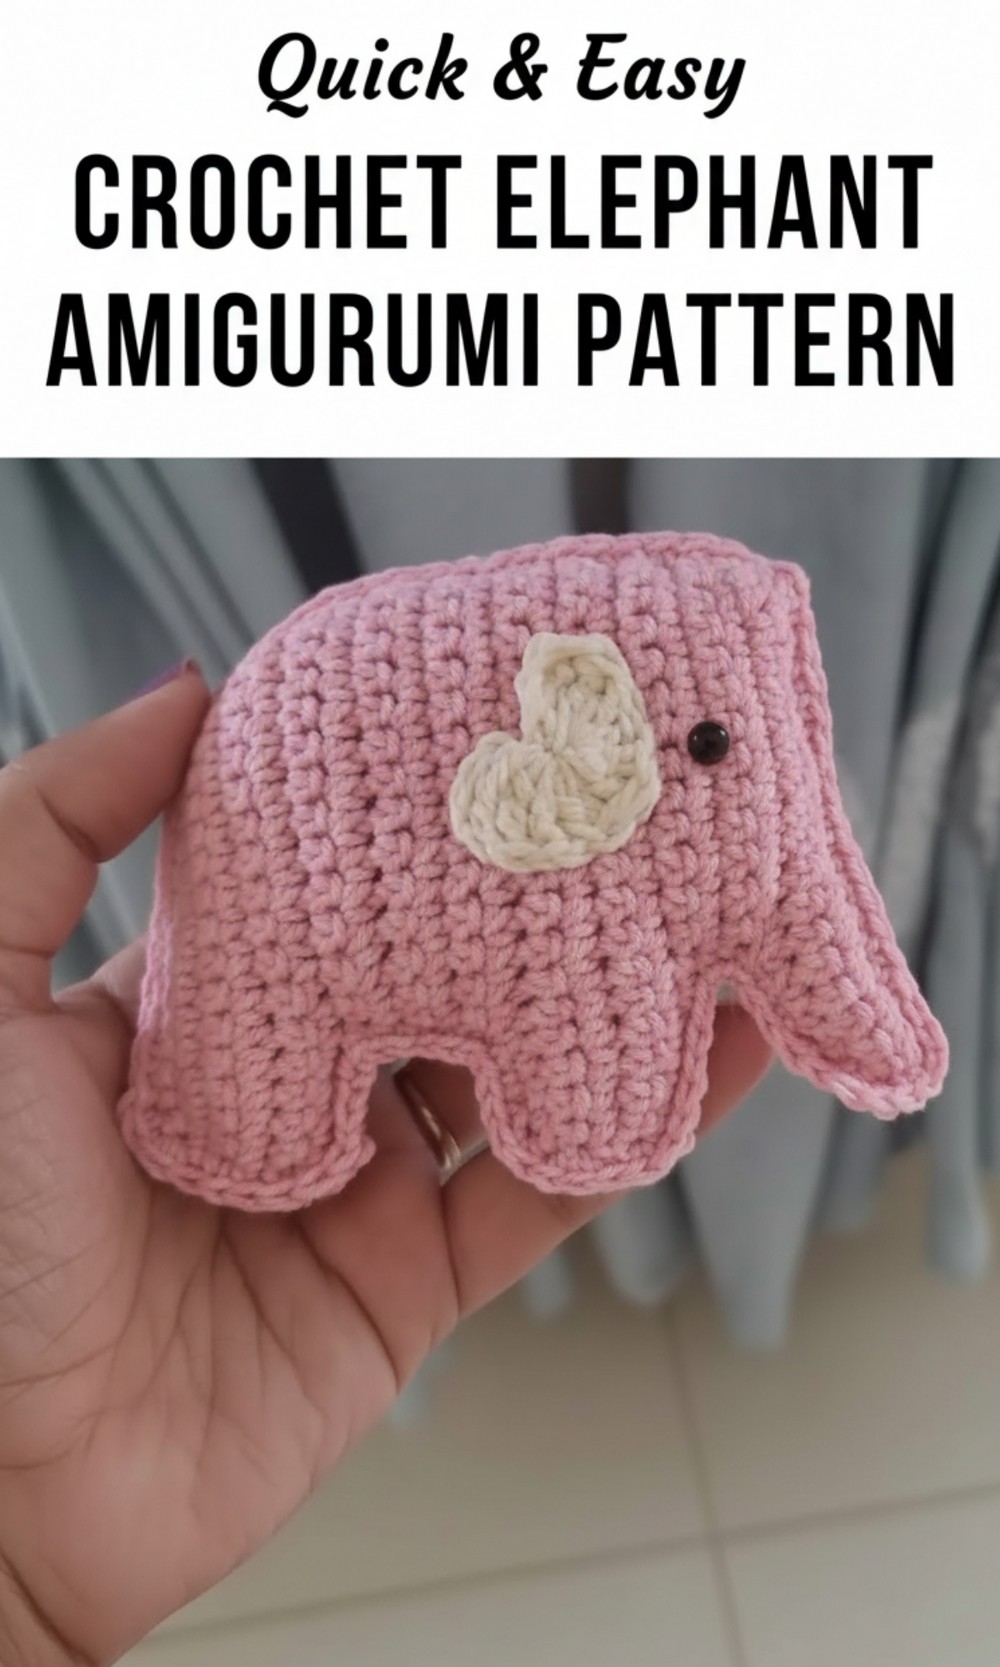
Beautiful Free Crochet Elephant Pattern Perfect for Home Décor
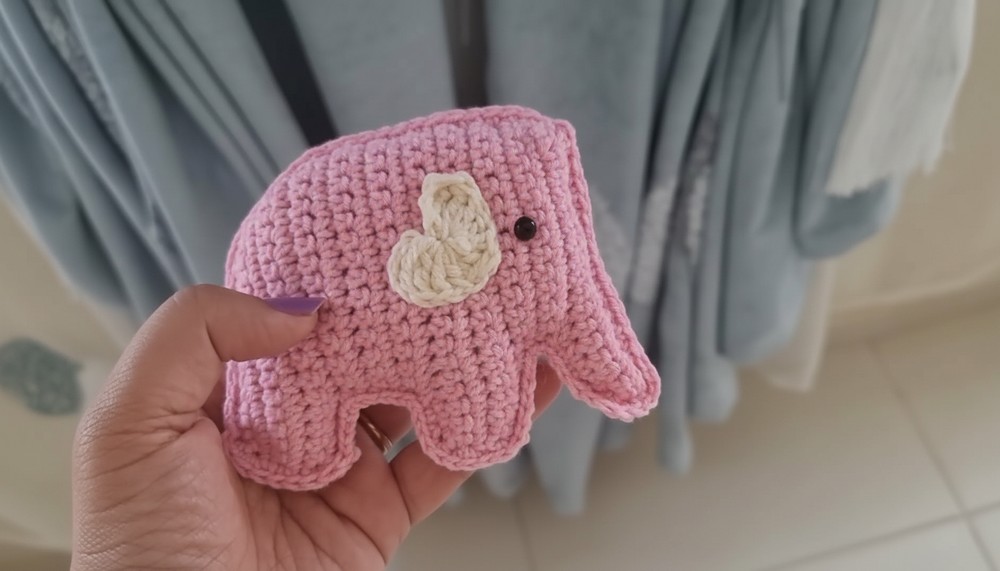
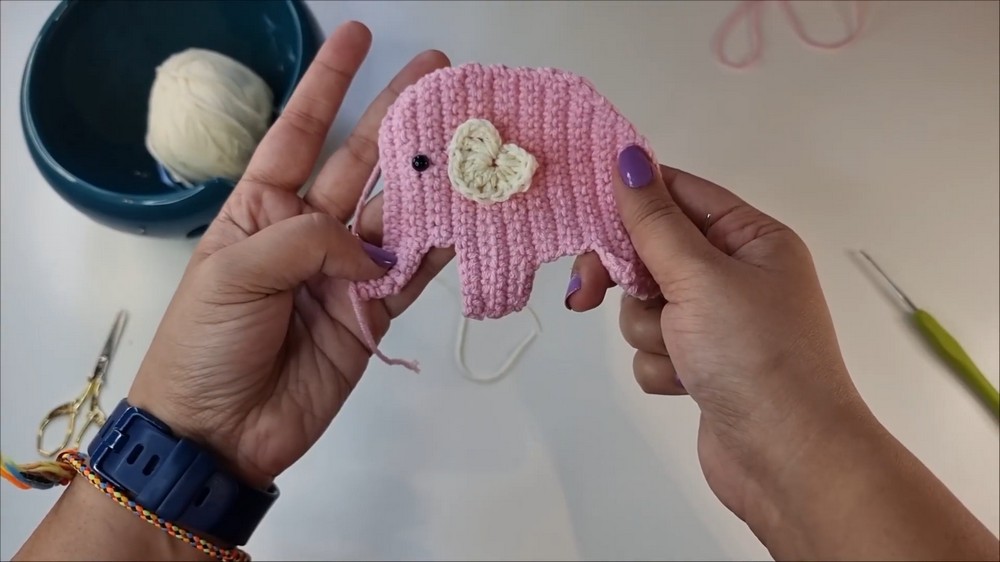
Who wouldn’t love a cute and cuddly elephant to brighten their day? The Free Crochet Elephant Amigurumi Pattern lets you create your very own tiny, huggable elephant that’s as adorable as can be. This sweet little elephant is perfect for anyone who enjoys making handmade treasures.
Whether it’s its heart shaped ears or its playful, squishy body, this crochet elephant is sure to bring smiles wherever it goes. You can use it as a keychain, a fun decoration, or even as a thoughtful gift for someone special. 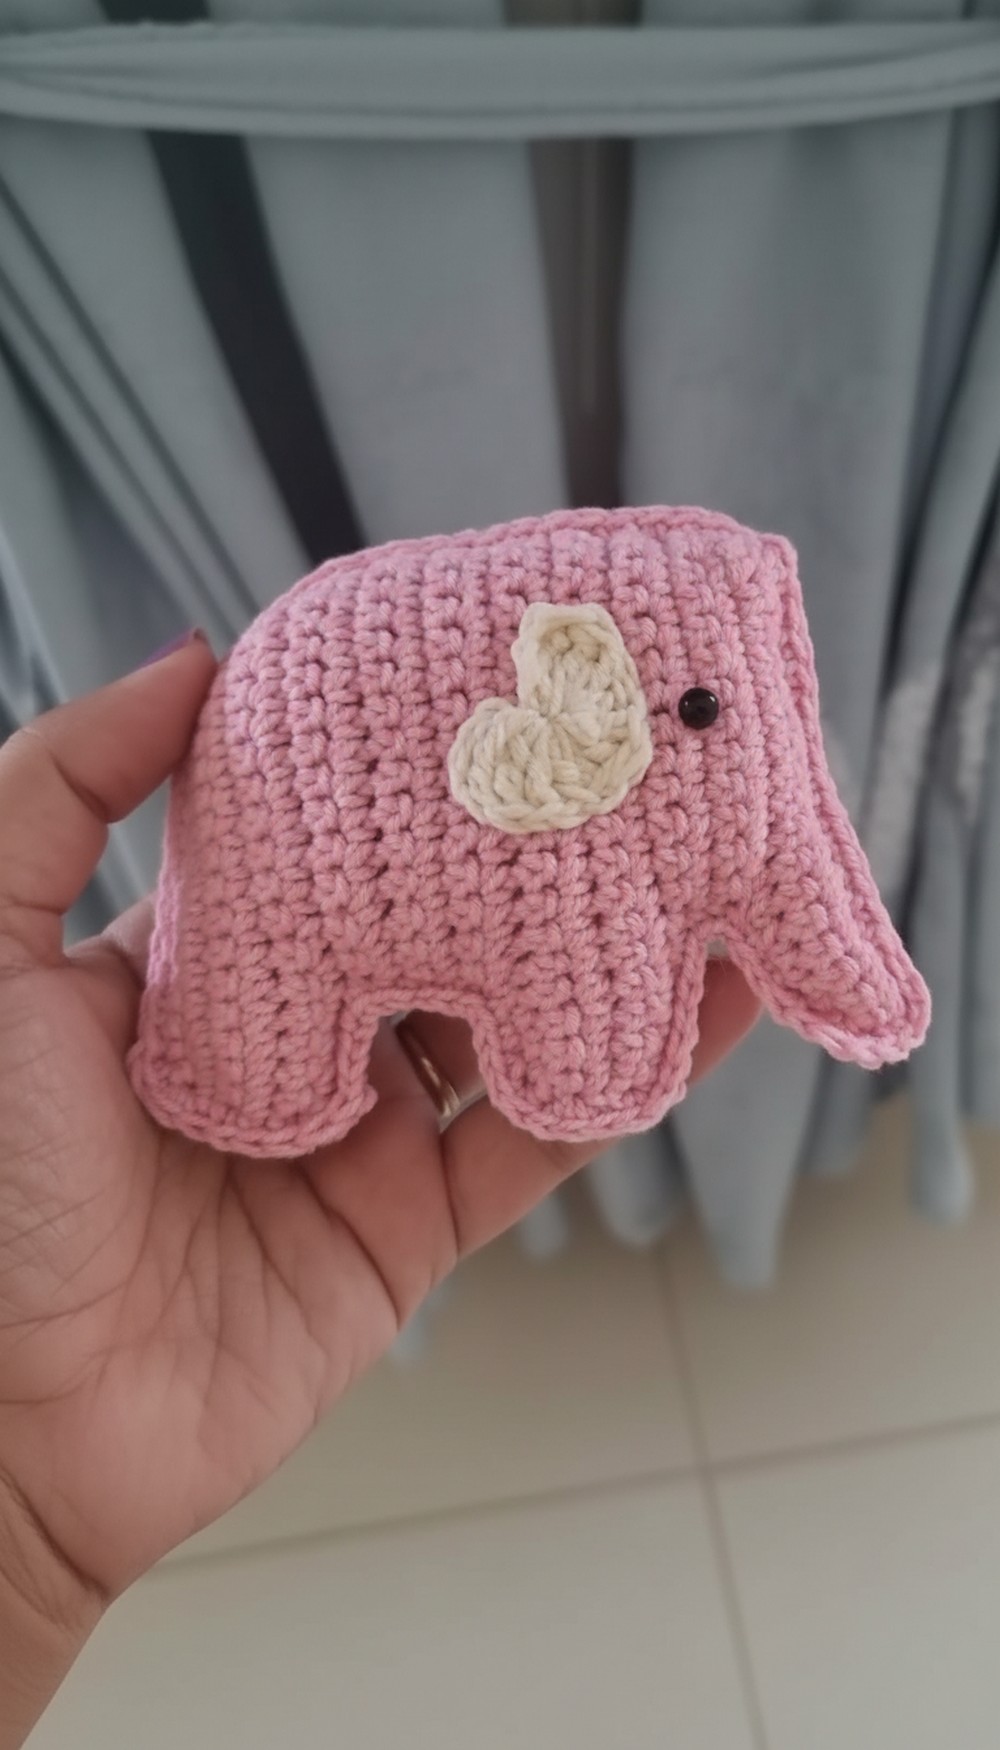
The pattern is super easy to follow, making it beginner friendly and quick to finish. With just some scrap yarn, stuffing, and a little love, you’ll have the cutest elephant to show off. So, grab your crochet hook and start creating something magical today.
Crochet Elephant Pattern
Materials Needed:
- Yarn: Scrap yarn (Sport weight yarn is used in the video). You can use any type of yarn in two colors: one for the body and another for the ears.
- Hook: 2mm crochet hook (adjust size based on your yarn).
- Scissors.
- Safety Eyes: A small pair is preferred (optional).
- Black Embroidery Thread: If you don’t use safety eyes, embroidery thread can be used to create the eyes.
- Beads and Keyring: For creating a charm or keychain (optional).
- Stuffing/Polyfill.
- Tapestry Needle: To sew parts together.
Special Techniques Used:
- Magic Ring Technique.
- Single Crochet (sc).
- Double Crochet (dc).
- Triple Crochet (tr).
- Slip Stitch (sl st).
- Single Crochet Increase (2 sc in the same stitch).
- Single Crochet Decrease (combining two stitches into one).
Step by Step Pattern
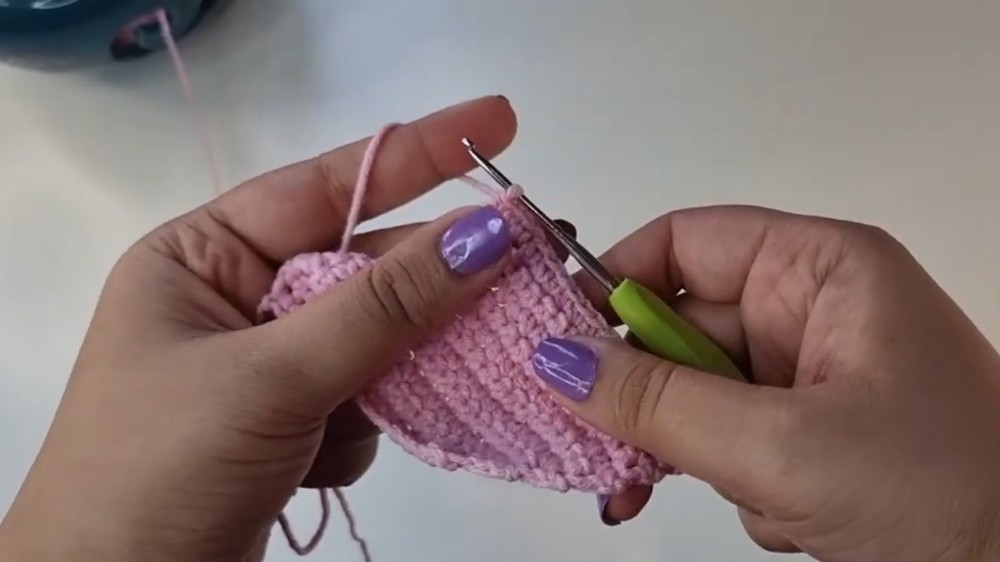
1. Creating the Body and Head:
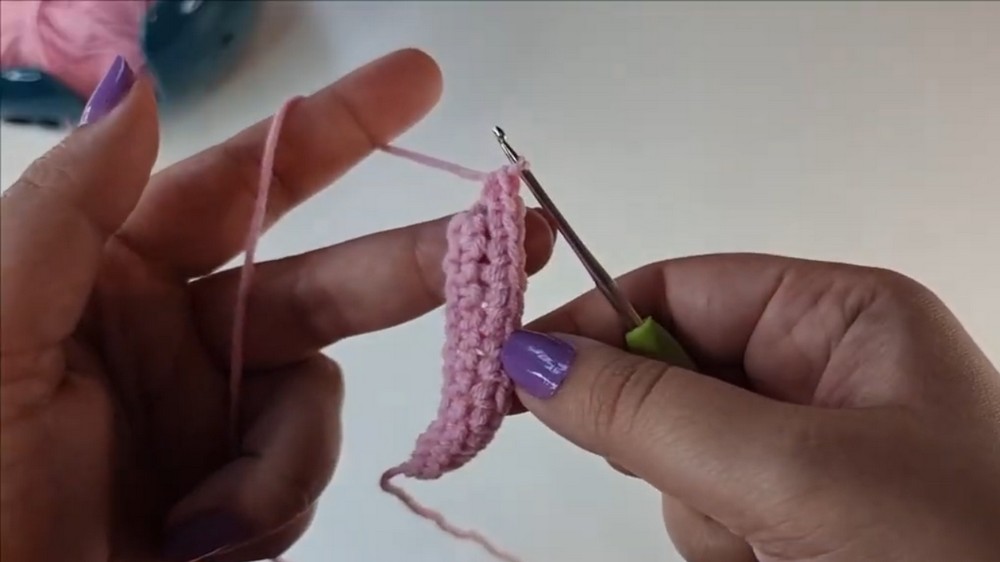
- Foundation Chain:
- Start with a slip knot and chain 15.
- Row 1:
- Skip the first stitch.
- Work 2 single crochets (sc) into the second chain from the hook, then work 1 sc into each stitch across. (15 stitches total).
- Row 2:
- Chain 1, turn work. Work 14 single crochets, then 2 sc into the last stitch (increase). (16 stitches total).
- Row 3:
- Chain 1, turn work. Work an increase in the first stitch followed by 15 sc. (17 stitches total).
- Row 4:
- Chain 1, turn work. Work 16 sc, then increase in the last stitch. (18 stitches total).
- Chain 1, turn work. Work 16 sc, then increase in the last stitch. (18 stitches total).
- Row 5:
- Chain 1, turn work. Work an increase in the first stitch followed by 17 sc. (19 stitches total).
- Row 6:
- Chain 1, turn work. Work 18 sc, then increase in the last stitch. (20 stitches total).
- Rows 7–10:
- Chain 1, turn work. Work 16 sc for each row.
- Row 11:
- Chain 1, turn work. Work 16 sc, then chain 5.
- Row 12:
- Skip the first chain, work 1 sc in each of the remaining chains and in each stitch across. Total of 20 sc.
- Rows 13–16:
- Work 20 sc for four rows.
- Rows 17–18:
- Work 14 sc per row, then chain 7 at the end of Row 18.
- Row 19:
- Skip the first chain, work 18 sc across, leaving the last two stitches, and do a decrease in those.
- Row 20:
- Work a decrease in the first two stitches, then 1 sc across. Decrease in the last two stitches as well.
- Work a decrease in the first two stitches, then 1 sc across. Decrease in the last two stitches as well.
- Row 21:
- Work 1 sc in 16 stitches.
- Second Piece:
- Create a second body piece following the same steps. Keep one piece still attached to the yarn for sewing.
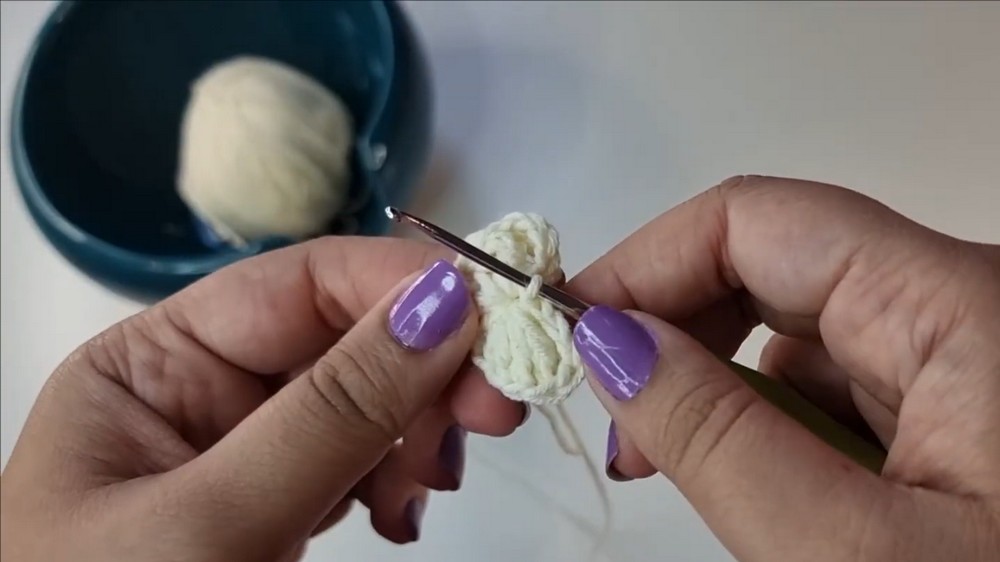
2. Creating the Ears:
- Start with a Magic Ring.
- Chain 3.
- In the magic ring, work the following pattern:
- 2 tr (triple crochet).
- 3 dc (double crochet).
- 1 tr.
- 3 dc.
- 2 tr.
- Chain 3 and slip stitch into the magic ring.
- Tighten the magic ring and leave a long tail for sewing.
- Make a second ear in the same way.
3. Assembling the Elephant:
- Attach the Safety Eyes:
- Place them a few rows above where the trunk begins. Ensure they are positioned symmetrically on both sides. If using embroidery thread, stitch small dots where eyes should be.
- Sew the Ears:
- Use the long yarn tail left on each ear to sew them a few rows above and behind the eyes. You can sew them to look like hearts or leave one side slightly flappy for a playful elephant look.
- Join the Two Body Pieces:
- Align the two body pieces, ensuring they sit accurately on top of one another.
- Use single crochet stitches to join them. Insert the hook through the stitches of both pieces and work single crochets all around.
- Add Stuffing:
- As you crochet around to join the body, leave an opening and add stuffing to make it slightly puffy but still flat. Once stuffed, continue to single crochet the rest of the body edges.
Finishing:
- Secure the yarn with a slip stitch once you’ve crocheted around the body.
- Weave in any loose ends using the tapestry needle.
- Attach keyring or beads if you want to turn it into a charm or keychain.
Tips for Joyful Crocheting:
- Yarn Selection: Use soft yarn for a cuddly look. Experiment with bright or pastel shades for a vibrant finish.
- Safety Eyes: Ensure they are securely fastened if gifting to a child.
- Stuffing Amount: Avoid overstuffing; keep the plushie flat for a modern look.
- Customization: Add embroidery, beads, or embellishments to make your design unique.
- Maintenance: Clean gently with a damp cloth if needed; avoid harsh machine washing.
Final Words:
Congratulations on crocheting your adorable crochet elephant plushie. This cute and quick project is perfect for gifting or keeping as a cheerful décor or accessory. Share your creations with friends and inspire them to make their own.