Make a Crochet Chunky Tulip Pattern that looks soft and beautiful brings a fresh spring feel and is perfect for decorating your room or making lovely handmade gifts.
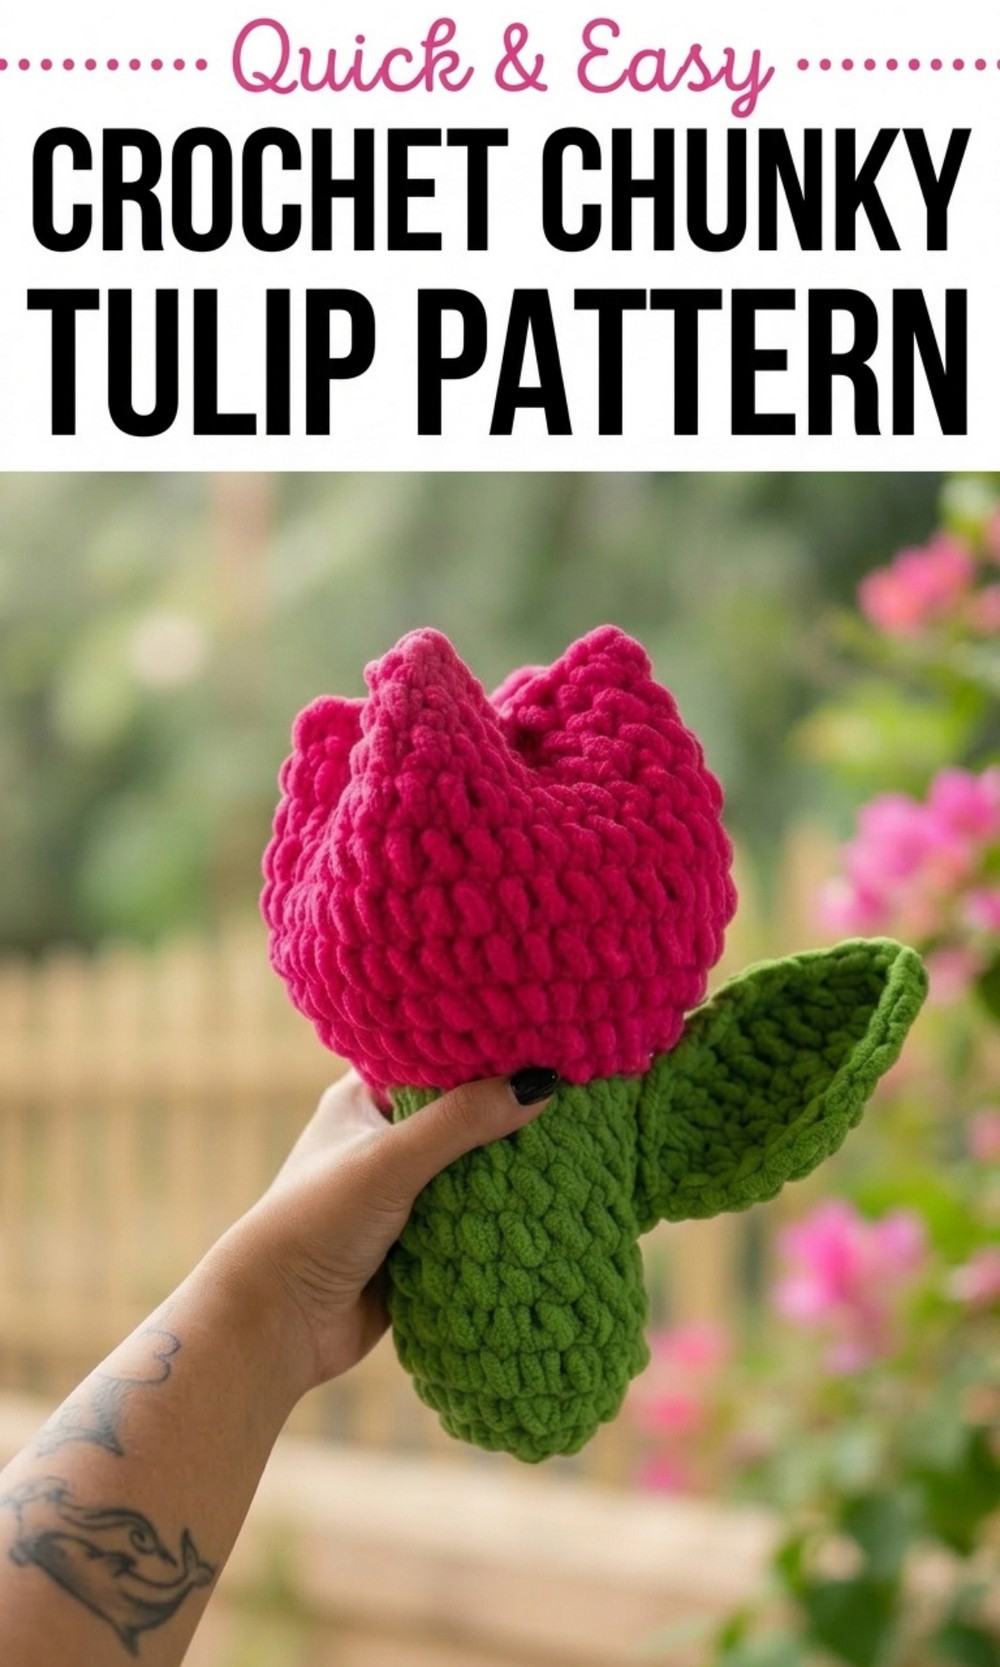
Beautiful Free Crochet Chunky Tulip Pattern You’ll Want to Keep
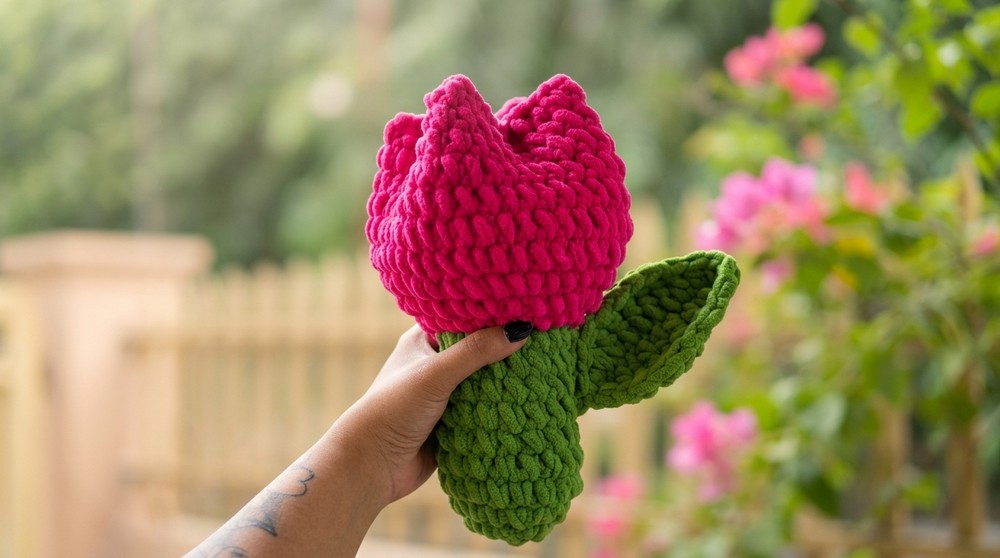
Here’s a fun and creative way to brighten your day—crochet your own cheerful tulip using colorful yarn. The Free Crochet Chunky Tulip Pattern helps you make a soft, chunky, and playful flower that’s perfect for beginners and experts alike.
With its bright pink petals, green stem, and a cute wired leaf, this handmade tulip is full of charm and personality. The project uses soft chenille yarn, giving it a fluffy and cuddly texture that stands out. 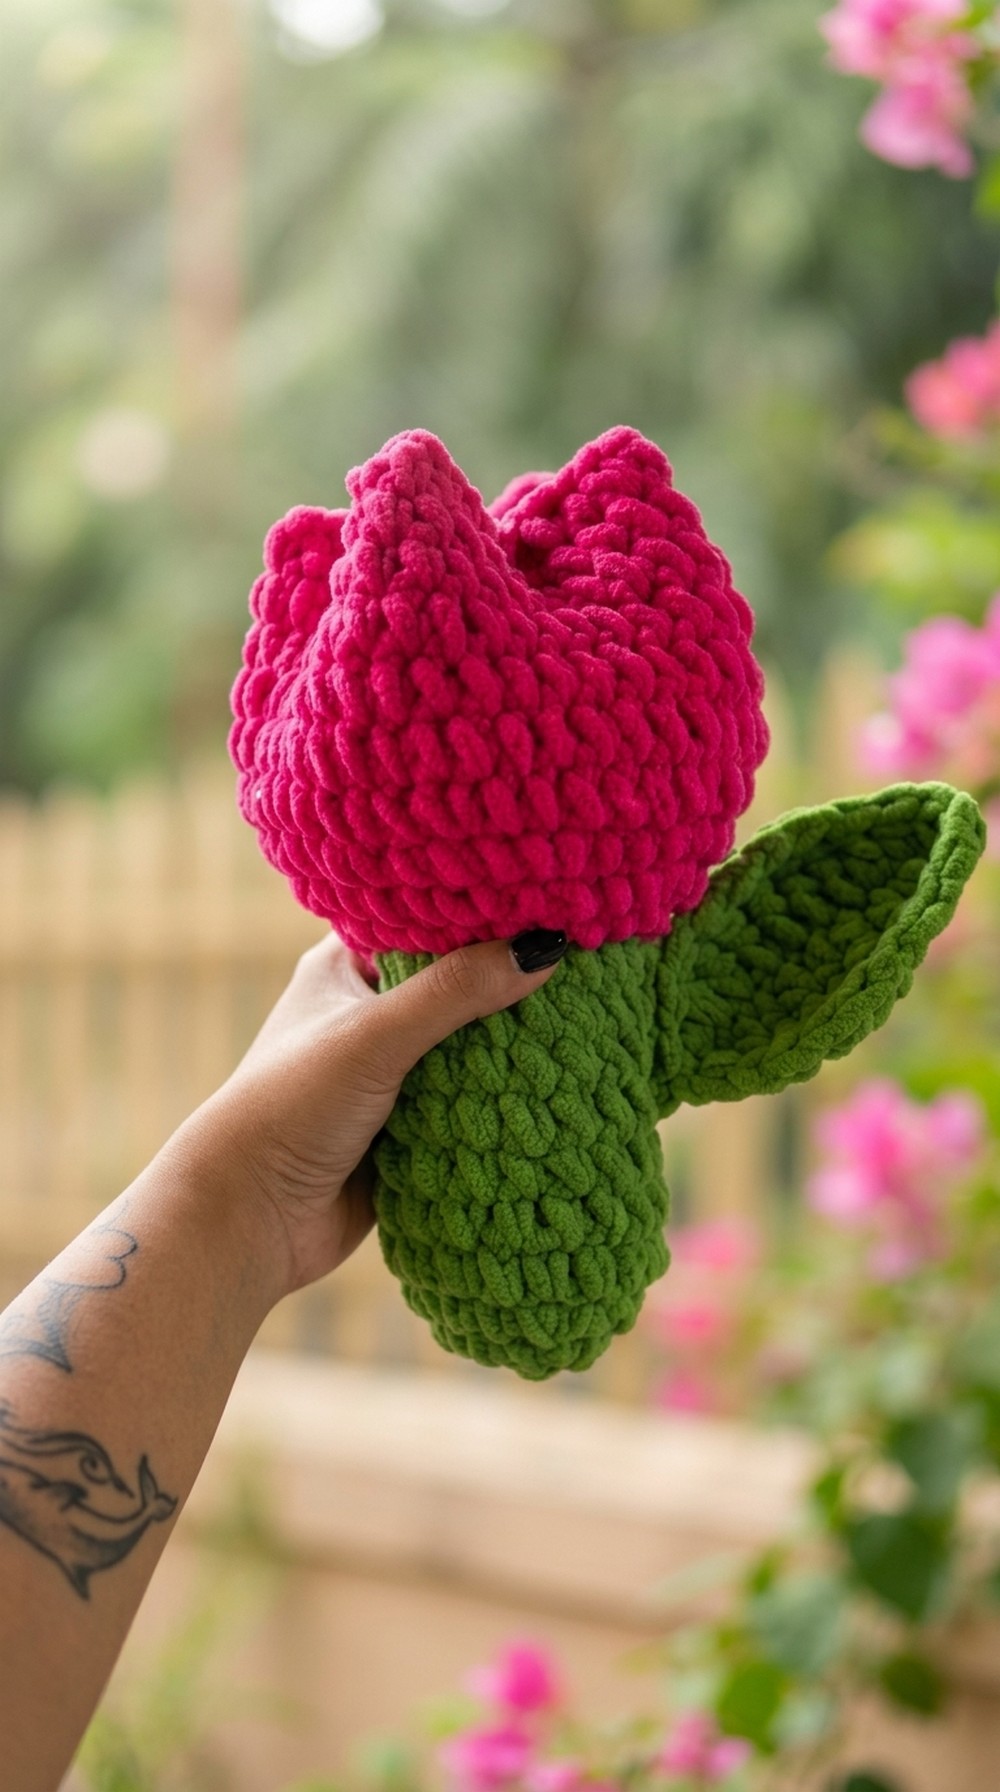
It’s great for decorating your home, gifting to friends, or simply enjoying the joy of crocheting something beautiful. Making this tulip is not just easy, but also incredibly satisfying for any age.
Crochet Chunky Tulip Pattern
Materials Required
- Chunky Chenille Yarn:
- Pink 100g for the tulip bulb.
- Green 100g for the stem and leaves.
- Crochet Hook:
- Recommended: 6.5mm.
- Substitute (used in the tutorial): 6mm.
- Other Tools:
- Stitch marker.
- Yarn needle.
- Scissors.
- Fiber fill (for stuffing).
- Thin wire (to shape the leaf).
Special Techniques
- Magic Circle: Used to start the base of the stem.
- Back Loop Only: Utilized in sections of the tulip bulb for shaping.
- Slip Stitch: Used to finish rounds neatly.
Pattern Instructions
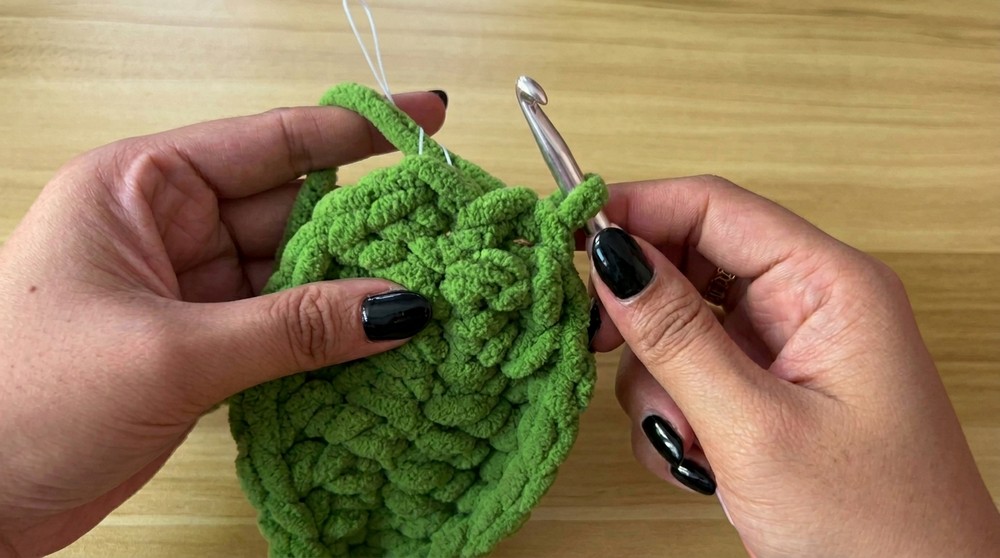
Part 1: Stem
- Start with Green Yarn:
- Begin with a magic circle.
- Chain 1 (does not count as a stitch).
- Row 1:
- Crochet 6 single crochets inside the magic circle.
- Use a stitch marker to mark the first stitch.
- Row 2:
- Make 2 single crochets in each stitch (increase).
- Total stitches: 12.
- Row 3:
- Alternate stitches: Make 1 single crochet in first stitch, then 2 single crochets in next stitch (increase), and repeat the pattern.
- Total stitches: 18.
- Row 4:
- Crochet 1 single crochet in each stitch (no increase).
- Total stitches: 18.
- Row 5 to 10:
- Repeat Row 4 (no increases).
- Continue placing the stitch marker to keep track of rows.
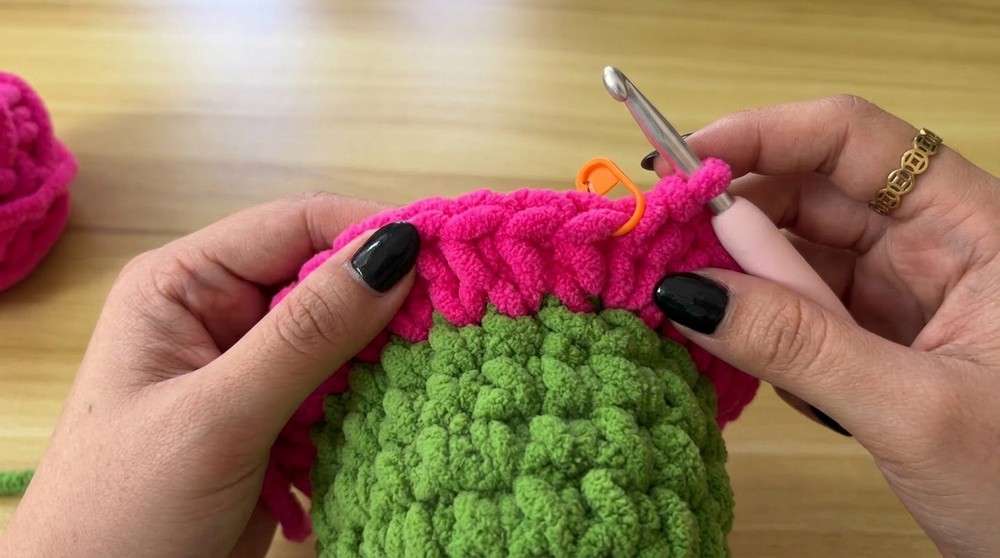
Part 2: Tulip Bulb
Switch to Pink Yarn and use the following steps:
Starting the Tulip Bulb
- After completing Row 10 of the stem:
- Insert the hook into the last green stitch.
- Yarn over, pull through two loops, drop the green yarn, and grab the pink yarn to finish the stitch.
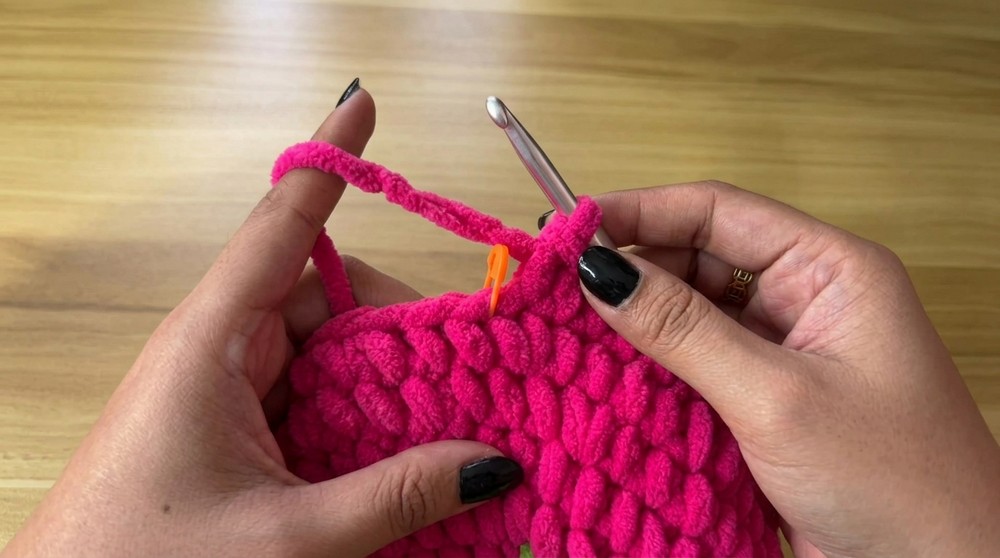
- Row 11 (Back Loop Only):
- Alternate stitches: 1 single crochet in the first two stitches, and then increase (2 single crochets in next stitch).
- Repeat the pattern.
- Total stitches: 24.
- Row 12:
- Work through both loops:
- Alternate stitches: 1 single crochet in the next three stitches, and then increase in the next stitch (2 single crochets).
- Total stitches: 30.
- Row 13 to 14:
- Alternate stitches: 1 single crochet in the next four stitches, then increase in the next stitch.
- Total stitches: 36.
Shaping the Bulb
- Rows 15 to 20:
- No increases: Make 1 single crochet in each stitch.
- Add the stitch marker to track your rows.
Closing the Bulb
- Finishing the Bulb:
- Remove your stitch marker after Row 20.
- Make a slip stitch in the first stitch.
- Cut a long tail, pull through, and fasten off.
- Stuffing:
- Fill the bulb with fiber fill, ensuring it is packed well but can still be closed easily.
- Sewing the Bulb:
- Use the long tail of the yarn and a yarn needle to sew the bulb shut.
- Ensure every stitch is even and secure to maintain shape.
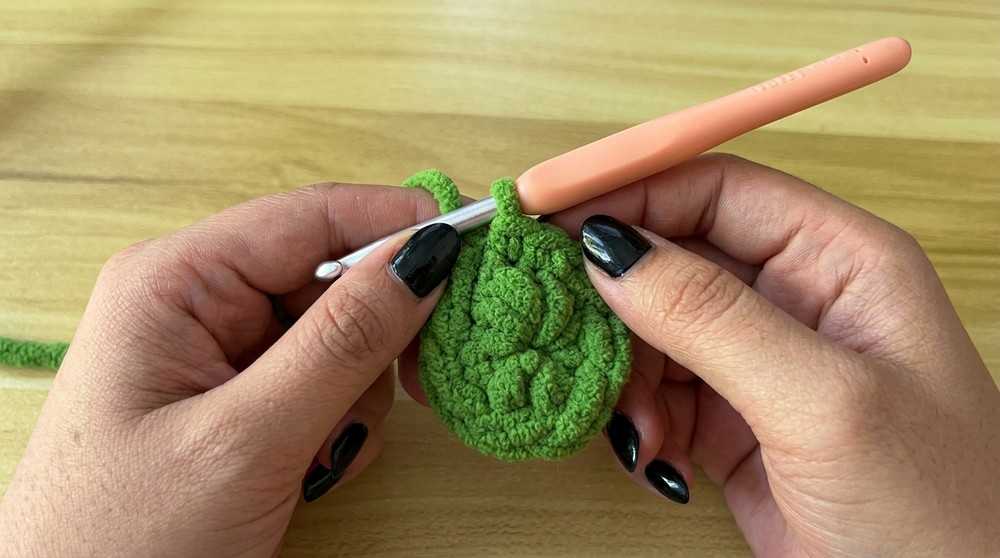
Part 3: Leaf
- Start with Green Yarn:
- Make a slip knot and then chain 10.
- Insert a thin wire through the chain before crocheting into the stitches.
- Leaf Row (Working Over the Wire):
- Starting from second chain from hook:
- 1 single crochet, 1 double crochet, 1 treble crochet (yarn over twice).
- Repeat: 4 treble crochets in the next stitches.
- 1 double crochet.
- 1 half double crochet.
- 3 single crochets in the last stitch.
- Fold the wire gently as you work around.
- Starting from second chain from hook:
- Second Side of Leaf:
- Mirror the pattern on the opposite side:
- 1 half double crochet, 1 double crochet, 4 treble crochets, 1 double crochet, and 1 single crochet.
- Mirror the pattern on the opposite side:
- Finish the Leaf:
- Make a slip stitch to join ends neatly.
- Chain 1, cut yarn, and pull through.
Assembly
- Attach the leaf securely to the stem:
- Use the long tail of the leaf to sew it onto the stem.
- Position the leaf in the desired location and sew all edges firmly.
Finishing
- Hide All Loose Ends:
- Use a yarn needle to weave in all loose ends neatly.
- Trim Excess Yarn:
- Cut any remaining yarn close to the last stitch, ensuring it is secure and does not unravel.
- Cut any remaining yarn close to the last stitch, ensuring it is secure and does not unravel.
Final Words
Congratulations, your chunky tulip is now complete, This project makes a perfect handmade decoration or gift, showing off your crochet skills. Tag the creator if you share your work online; they would love to see your creations.
Tips for Maintaining the Pattern
- Adjust the Yarn Weight: If chunky chenille yarn is unavailable, substitute with a thicker yarn for a similar effect.
- Use Recommended Hook Size: For smoother stitches, use a 6.5mm hook as suggested.
- Wire Placement: Ensure the wire is securely placed within the leaf for stability.
- Stuffing: When adding fiber fill, avoid overstuffing to keep the bulb from distorting.
- Consistency: Check your tension throughout to ensure even stitches.