Layer your outfit with a cozy touch using this free crochet cardigan vest pattern that guides you in a simple way to make a soft and stylish piece for daily wear.
Fall in Love with This Free Crochet Tie Cardigan Vest Pattern
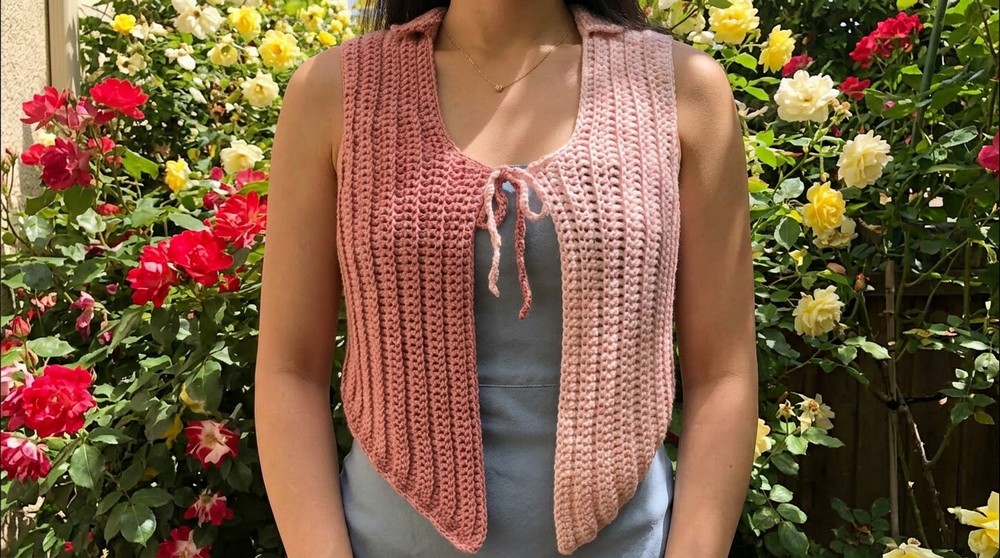
Level up your style with this free crochet cardigan vest pattern that’s both easy to make and a delight to wear. This lightweight vest, made with soft Kobu yarn, combines comfort and elegance with its cotton rayon blend. The chic design features sleek tapered edges, textured back loop stitches, and a graceful, flowy collar that makes it stand out.
Perfect for any season, this cardigan vest adds charm to casual outfits and layers beautifully with dressier looks. It’s customizable to fit any size, so you’ll get a piece that matches your style perfectly. 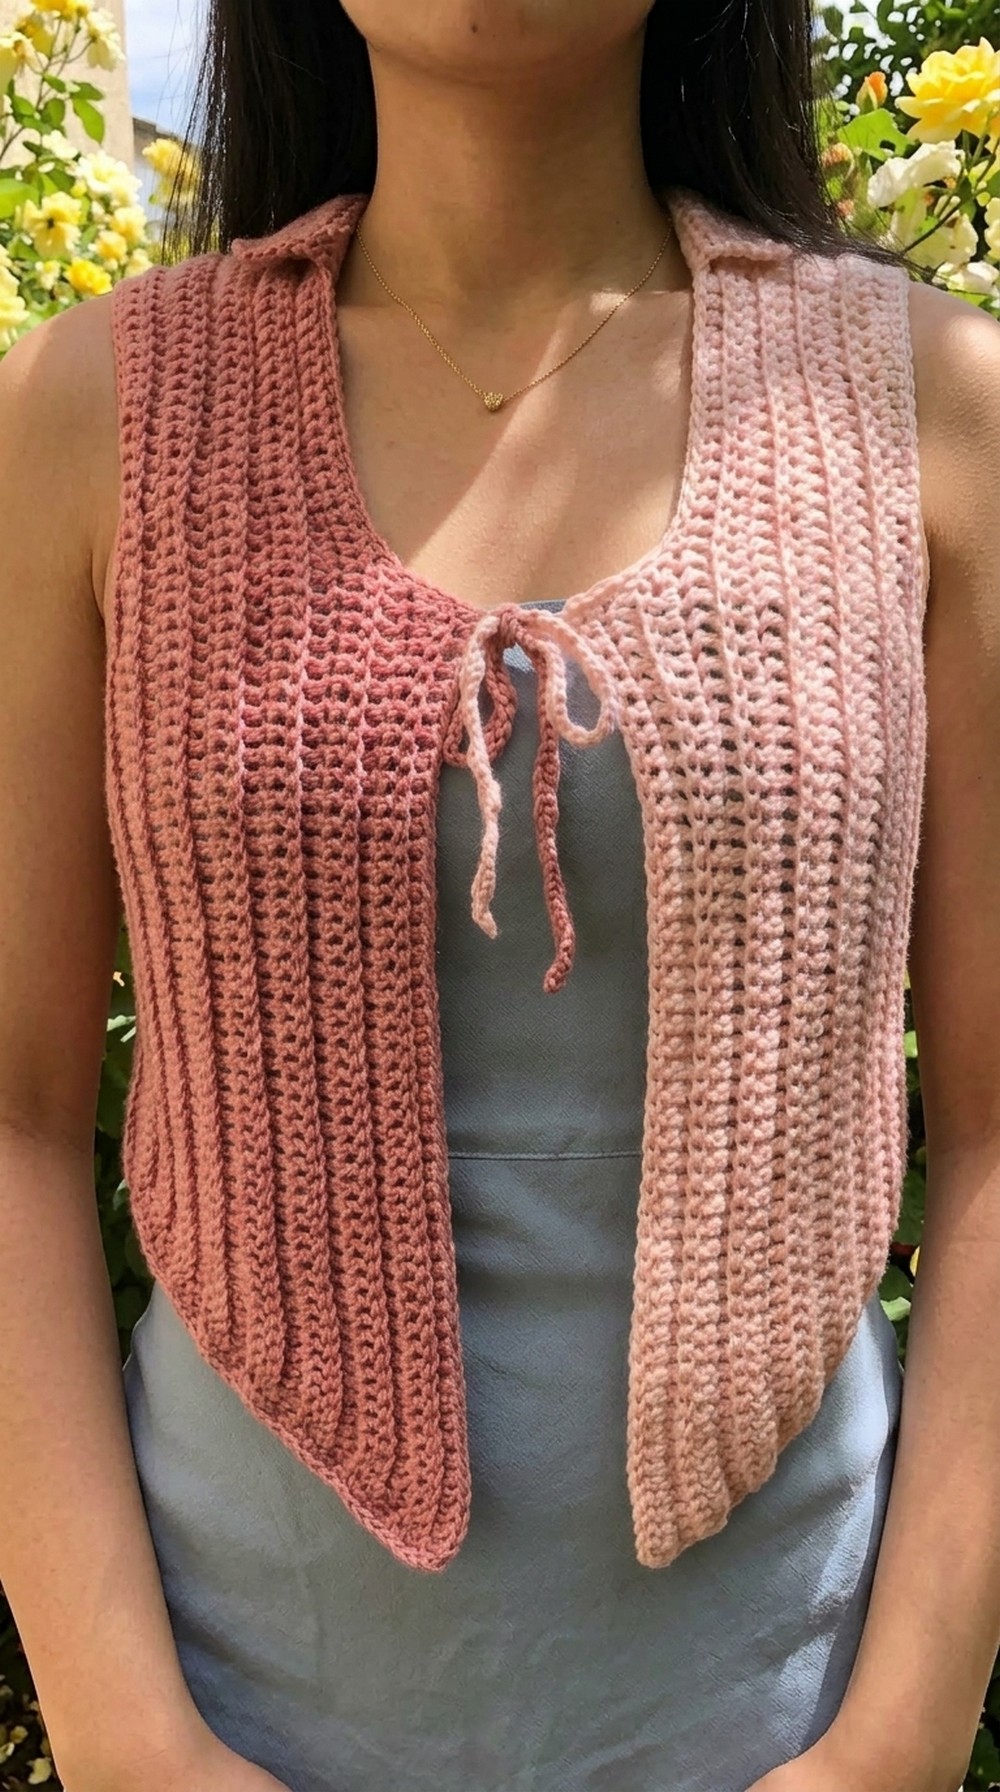
Whether you’re a beginner or an experienced crocheter, this pattern is simple to follow and helps you create a fashionable and functional item. Make something stunning and enjoy a perfect mix of fun and style.
Breezy Crochet Tie Cardigan Vest Pattern
Skill Level: Intermediate
Project Type: Crochet Clothing
Pattern Type: Wrap Cropped Top
This guide will help you recreate this elegant wrap top for your wardrobe. The instructions include materials, stitch details, construction notes, and customization recommendations.
Materials Needed:
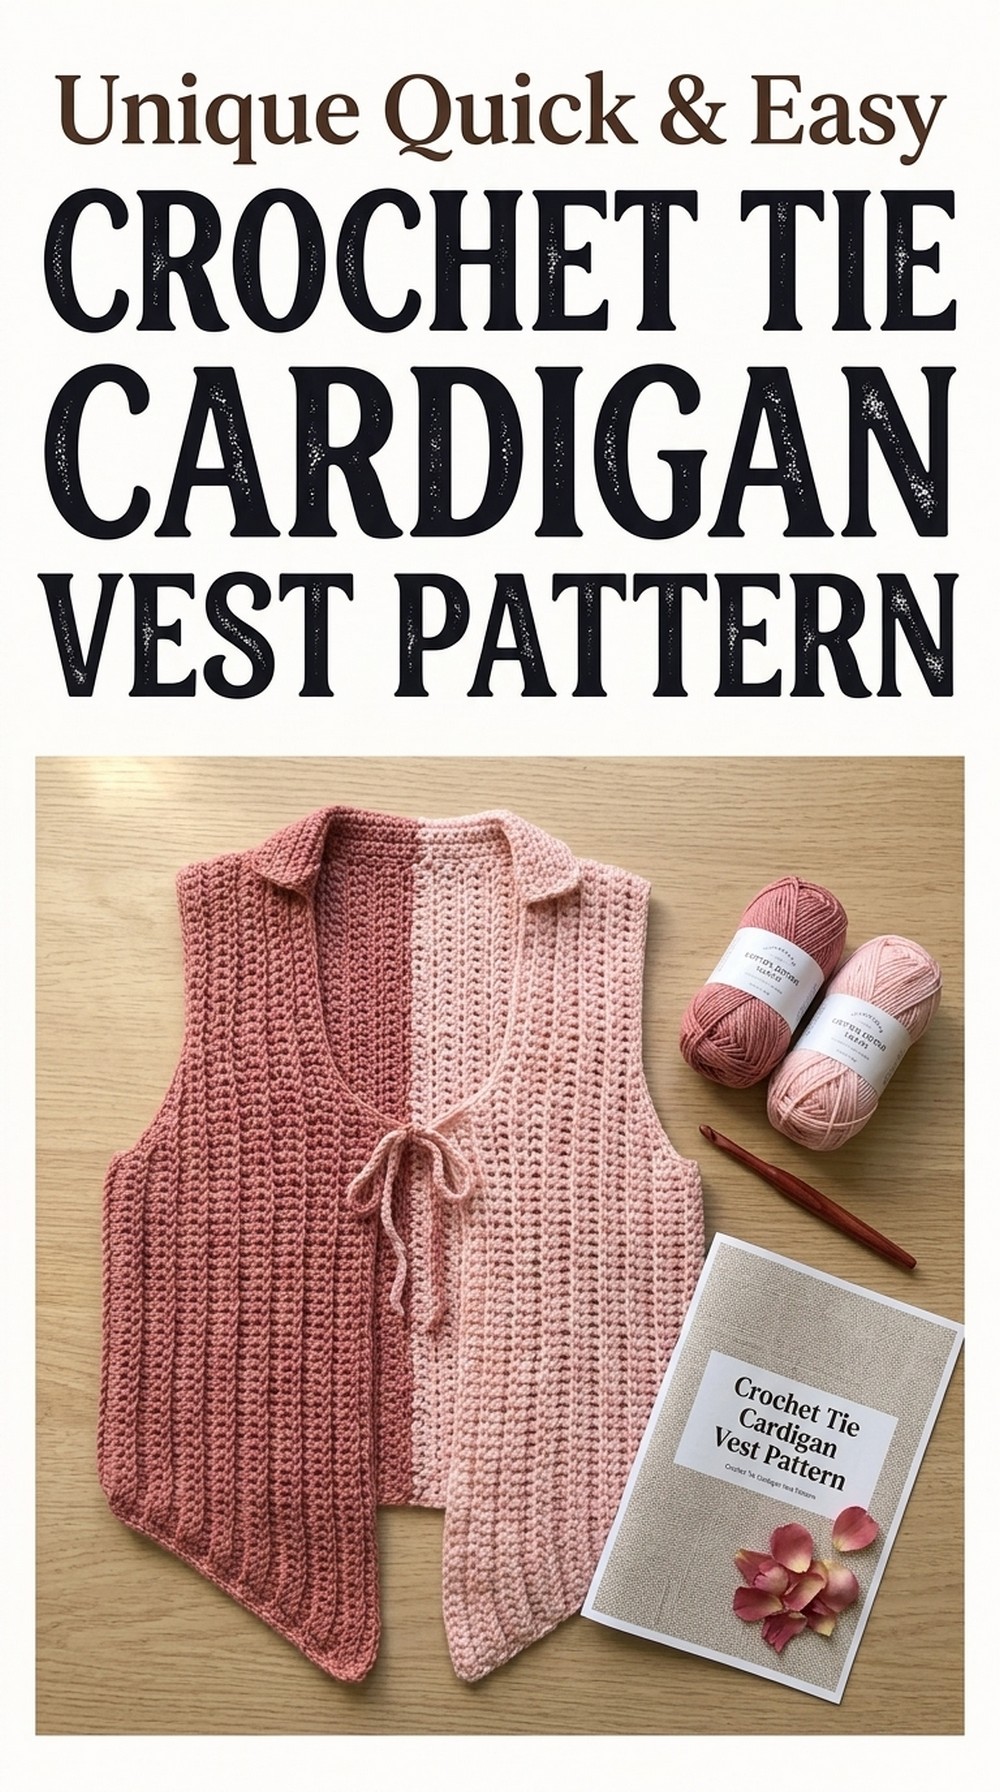
- Yarn: Kobu Yarn by Lion Brand (Lightweight, Category 3; Cotton/Rayon blend)
- Main Color: Light Pink
- Accent Color: Mauve
- Crochet Hooks: 4mm and 3mm
- 4mm is used for the main body.
- 3mm is used for the tie straps.
- Yarn Needle (for weaving in ends).
- Scissors.
- Stitch Markers (for marking rows or points during measurements).
Special Techniques Used:
- Back Loop Only (BLO): To create texture, you’ll work into the back loops only for specified rows.
- Increasing: Work 2 double crochets (dc) into one stitch.
- Decreasing (Double Crochet 2 Together): Use this for shaping the top, especially for the neckline dip.
- Seamless Color Changes: Learn how to switch seamlessly between two colors mid-row.
- Slip Stitch Join: Used for seaming panels together.
Step 1: Front Panels
1.1. Measurement
- Measure from the bottom of your armpit to your waistline (or preferred shortest point of the top).
- This measurement determines the initial foundation chain length. Example: 7 inches = 32 chains for a size Small.
1.2. Foundation Chain
- Using the 4mm hook and your desired color (e.g., Mauve), chain an appropriate length.
- Example for Small: Chain 32.
- Example for Small: Chain 32.
1.3. Row 1 (Double Crochet with Increase):
- After completing the foundation chain, chain 2 (does not count as a stitch).
- Place 2 double crochets (dc) into the 3rd chain from the hook (increase).
- Continue placing 1 dc into each chain across until the last chain.
- In the last chain, place 2 dc (increase).
- Turn your work.
1.4. Rows 2–5 (Increasing at Both Ends):
- Chain 2 at the start of each row (does not count as a stitch).
- In the first stitch, place 2 dc (increase).
- Work dc in Back Loop Only (BLO) across the row.
- In the final stitch, place 2 dc.
Repeat until you complete 5 rows. Measure against your body to ensure the front panel reaches from the underarm to the armpit front.
Step 2: Shoulder Straps
2.1. Adding Chains for Shoulder Strap:
- From the last stitch of Row 5, chain a length that reaches from your armpit to the top of your shoulder. Example for Small: Chain 25 (approximately 5.5 inches).
- Once you create the chain, chain 2 additional stitches for height, then begin working back along the chain length.
2.2. Row 6 Onward (Shoulder Start):
- After turning, place 1 dc in each chain of the strap. Continue across the rest of the row.
- At the end of this strap row, place 2 dc in the bottom corner stitch.
Repeat this process for a total of 9 rows (Increasing at the bottom edge only, while keeping the shoulder strap edge straight).
TIP: Stop the strap rows where the tops align with the base of your neck.
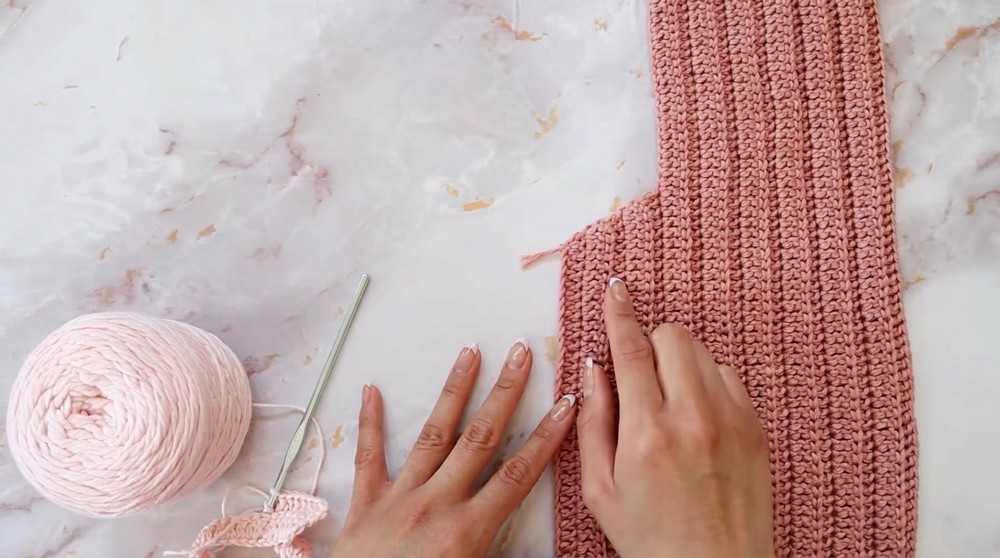
Step 3: Front Neckline Curve (Dip)
3.1. Mark the Dip Starting Point:
- From the top (shoulder strap), measure downward to where the neckline dip will begin. Example: Measure 6.5 inches or 30 stitches from the shoulder edge.
- Place a stitch marker.
3.2. Creating the Dip (Decreasing on One Side):
- Chain 2 at the start of each row.
- At the top (marked dip), dec 2 dc together in the last two stitches of that edge.
- On the opposite edge, continue increasing with 2 dc at the bottom until you complete 3 dip rows.
Measure against your body, ensuring the neckline curves toward the chest’s center.
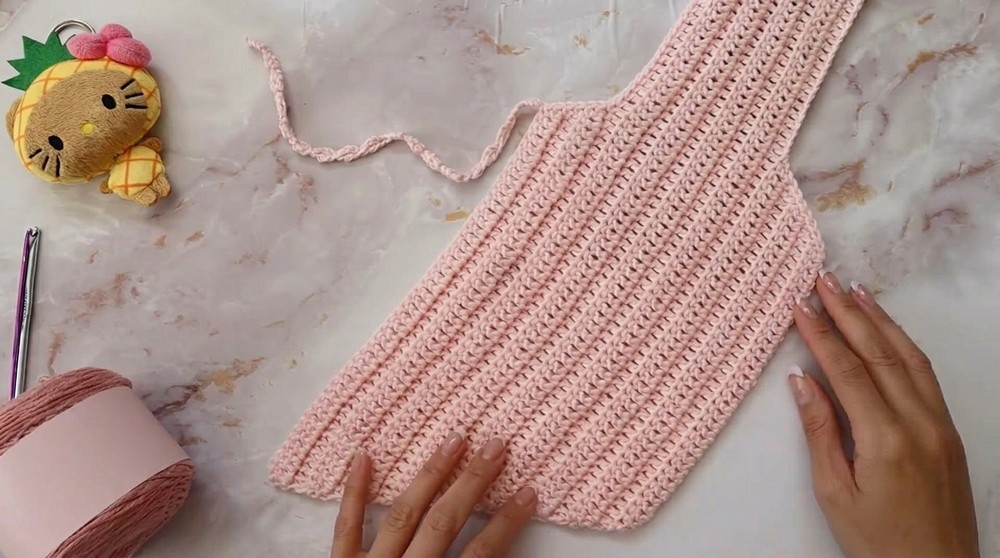
Step 4: Tie Straps
- Switch to the 3mm hook and attach yarn to the neckline corner.
- Chain 3, then place 1 dc in the first chain. Repeat:
- Chain 3, dc in the starting chain. Continue for 10–10.5 inches (~18 repetitions).
- Secure, chain one, and weave in ends.
Step 5: Back Panel
5.1. Construction Similar to Front Panel:
- Start with the same chain length as the front panel (e.g., Chain 32 for Small).
- Increase only at the top (armpit to shoulder) for the first 5 rows.
5.2. Create Straight Rows:
- Continue straight rows (no increases or decreases) after reaching the shoulder. Example: 12 rows straight.
- Ensure this panel aligns perfectly with the width and shoulder of the front panels.
Step 6: Assembly
6.1. Seaming the Back Panels Together:
- Place the two back panels on top of each other (wrong sides facing).
- Slip stitch or single crochet the panels together along one side seam, joining them securely.
- Repeat on the opposite seam to close the back panels.
6.2. Attach the Front Panels to the Back Panel:
- Align the front panels to the back (wrong sides together).
- Slip stitch or single crochet along the shoulder straps to join the front and back.
- Repeat along the side seams of the top where the front and back panels meet under the arms.
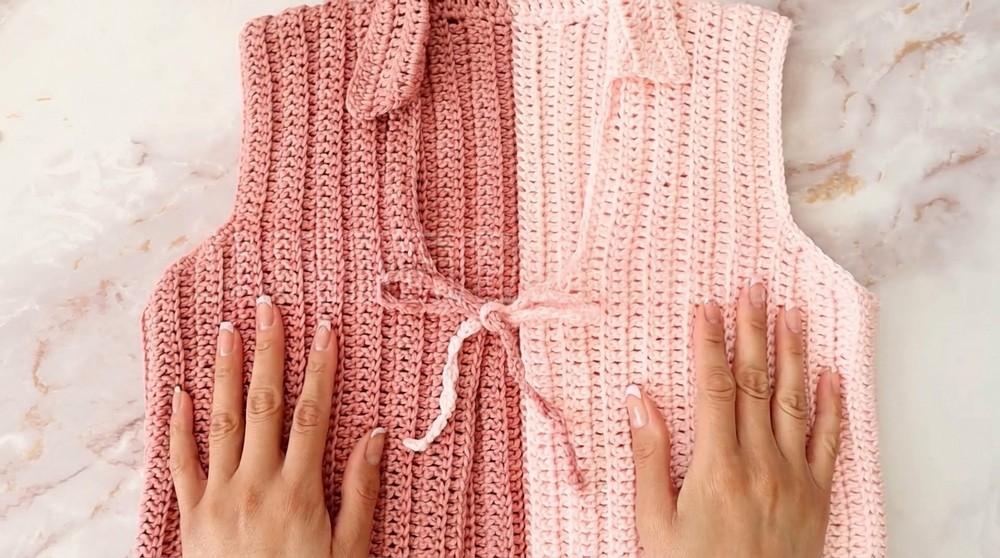
Step 7: Finishing Touches
7.1. Collar (Optional):
- Decide your preferred collar depth (e.g., 3.5 inches or the 14th stitch).
- Use single crochets to work around the neckline in 3 tidy rows with seamless color changes.
7.2. Bottom Edge and Armholes:
- Work 2 single crochets into each dc row around the hemline.
- Add 2 single crochets per row along the armholes for clean edges.
Final Touches
- Weave in all loose ends with the yarn needle.
- Steam block or lightly press your finished top to even out any tension differences.
Tips for Pattern Maintenance:
- Washing Instructions: Hand wash gently in cool water with a mild detergent. Lay flat to dry to maintain the shape.
- Stretching: If your top feels tight, add extra rows (or larger hooks) for a more flexible fit.
- Seam Repairs: Over time, seams can loosen. Reinforce any weak stitches by slip stitching along the damaged edge.
Final Words
This cropped wrap top is a beautiful, timeless piece that you can dress up for warm evenings or layer casually. By using a blend yarn like Kobu, the garment stays breathable while maintaining its structure. Experiment with colors or enlarge the pattern for a longer silhouette.