
Carry a tiny winter friend with this Crochet Penguin Keychain Amigurumi Free Pattern and give your keys or favorite bag a sweet little touch.
Brighten your day with an adorable little penguin inspired by the sweet crochet tutorial from Hooks & Needles By Mita. The Crochet Penguin Amigurumi is a lovable little toy with a round body, tiny wings, and a cheerful face that gives it a friendly personality. Its soft texture and cute features add a playful touch, making it a wonderful choice for anyone who loves small animals.
Quick Crochet Penguin Amigurumi Free Pattern For Winter Gifts
The penguin has a beautiful black and white color combination that gives it a classic appearance. Its white belly stands out against the darker body, while a small orange beak adds a lovely pop of color. Two little feet help complete its familiar shape, and bright eyes give the character a lively expression. The smooth stitches keep everything neat, giving the finished toy an attractive finish.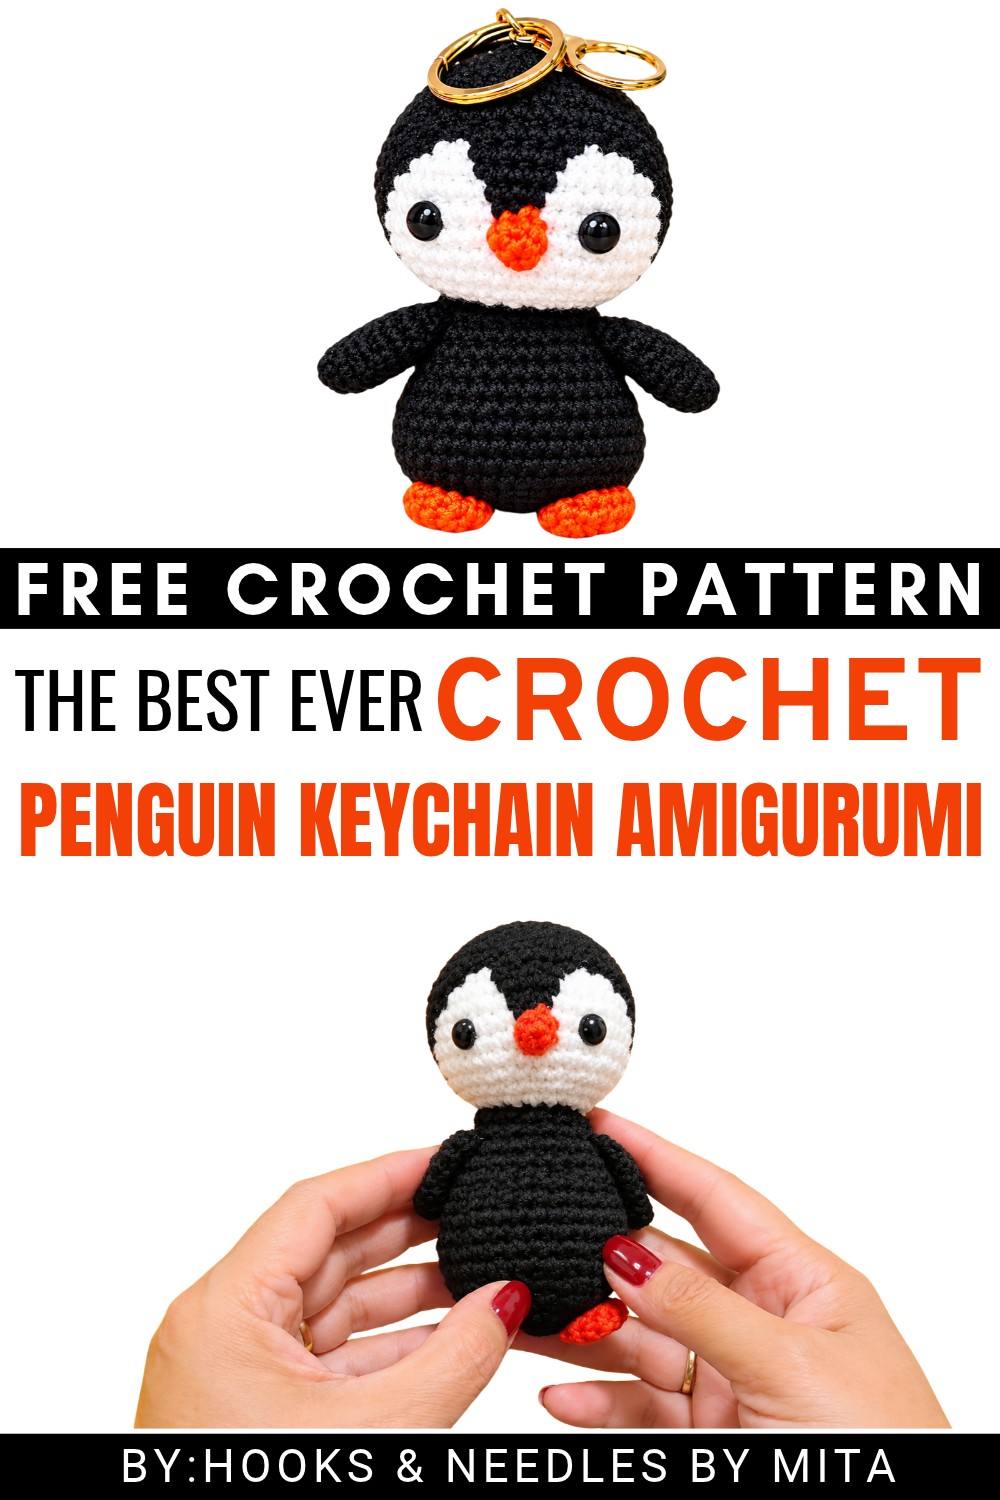 This little penguin can sit on a bedroom shelf, office desk, or beside other stuffed animals. It is also a thoughtful birthday present for children, a sweet surprise for animal lovers, or a cute decoration for a winter-themed room. Its compact size allows it to fit easily into small spaces without taking up much room.
The main body can be worked using basic crochet stitches, with soft stuffing added to form its rounded shape. Smaller parts, including the wings, beak, and feet, can be prepared separately and attached in their proper places.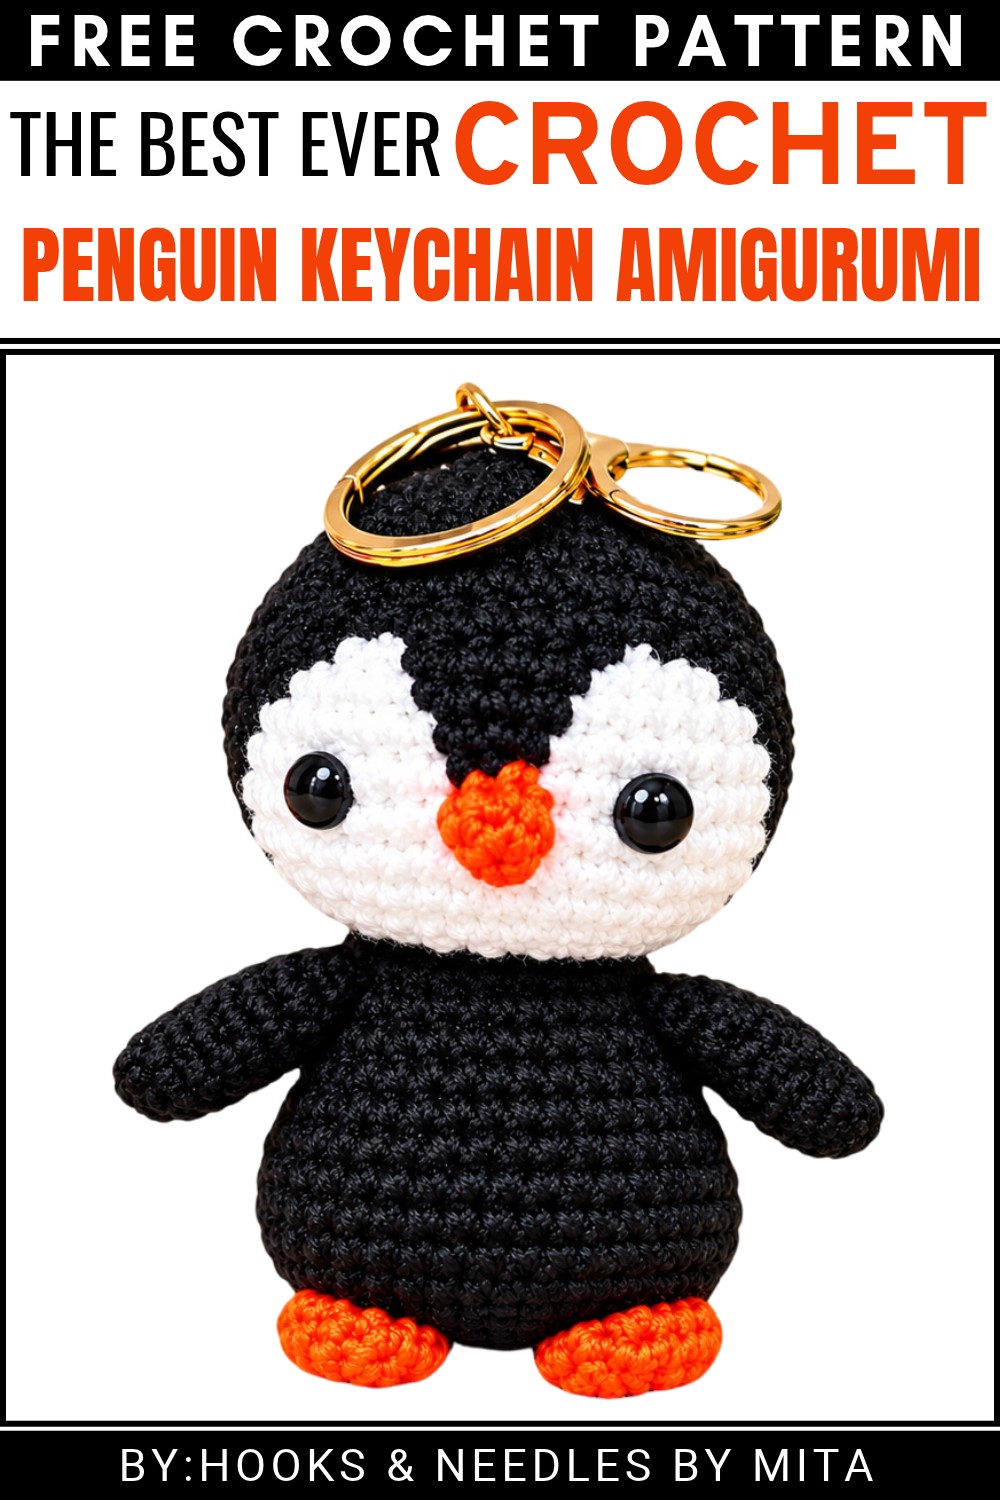 Its gentle expression and adorable features give this tiny penguin a warm personality that children and adults can appreciate.
Penguin Keychain Crochet Pattern
About the Pattern
The penguin keychain amigurumi pattern is structured to form a small, rounded penguin in a colorful and recognizable style. The design is made up of several basic pieces: a two-layered head for depth and character, a shapely body, flat wings, and simple beak and feet elements. The figure is carefully assembled for durability as a charming keychain, with defined color separation and minimal seams for a seamless, appealing look. This pattern uses logical increases and decreases to establish the penguin shape and relies on straightforward joining for a clean finish.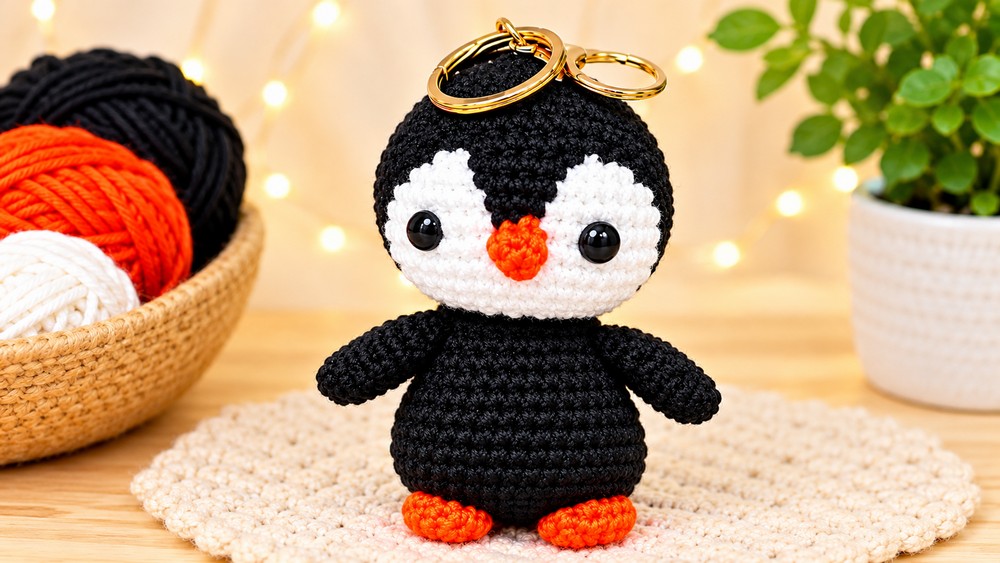
Pattern at a Glance
- Parts Included: Dual-layered head, overlay crest, body, flat wings, beak, and feet.
- Construction Method: Amigurumi in the round (with some shaped rows and panels), then joined by hand sewing.
- Key Features: Well-shaped structure, three-dimensional layering, and stable assembly for the keychain.
Important Notes
- Work all parts in continuous rounds where indicated; use a stitch marker at the round’s start to avoid losing your place.
- Maintain even tension; stitches should be tight enough so the stuffing does not show.
- Seam placement and careful assembly are important for the finished look.
- Secure all attachments (especially the keychain and small parts) tightly for strength and safety.
Difficulty Level
- Easy to Intermediate
- Familiarity with the magic ring, single crochet, increases, decreases, crocheting flat panels, and basic sewing is recommended.
Supplies Needed
- Yarn: Worsted weight or cotton/amigurumi yarn in black, white, and orange
- Crochet hook: 2.5–3.0 mm or as recommended by your yarn
- Yarn needle for sewing parts together
- Stitch markers
- Fiberfill stuffing
- Scissors
- Keychain ring
Size & Measurements
The finished penguin measures approximately 7–9 cm (2.75–3.5 inches) tall. Width across the body is about 4 cm (1.5 inches). Actual size may vary based on yarn, tension, and stuffing.
Gauge & Stitch Details
- Amigurumi gauge should be tight; thinner hook sizes produce better results.
- Sample gauge: 8 sc x 8 rounds = 2×2 cm (unstuffed, worked in the round).
Crochet Abbreviations
- sc: single crochet
- inc: increase (2 sc in one stitch)
- dec: decrease (single crochet two together)
- MR: magic ring
- st(s): stitch(es)
Special Stitch Guide
- Magic Ring (MR): Form a loop, hold the tail, and crochet into the ring, pulling tight to close.
- Increase (inc): 2 sc in a single stitch.
- Decrease (dec): Single crochet two stitches together.
- Crocheting Flat Across: For wings, after increasing to the specified width, crochet across to make a flat panel, then fold and close with sc through both edges.
Complete Crochet Pattern
Head – Part 1 (White)
- R1: Create a Magic Ring (MR), work 6 sc into ring. (6 sts)
- R2: inc in each st around (2 sc in each st). (12 sts)
- R3: 1 sc, 1 inc, repeat around. (18 sts)
- R4: 2 sc, 1 inc, repeat around. (24 sts)
- R5: 3 sc, 1 inc, repeat around. (30 sts)
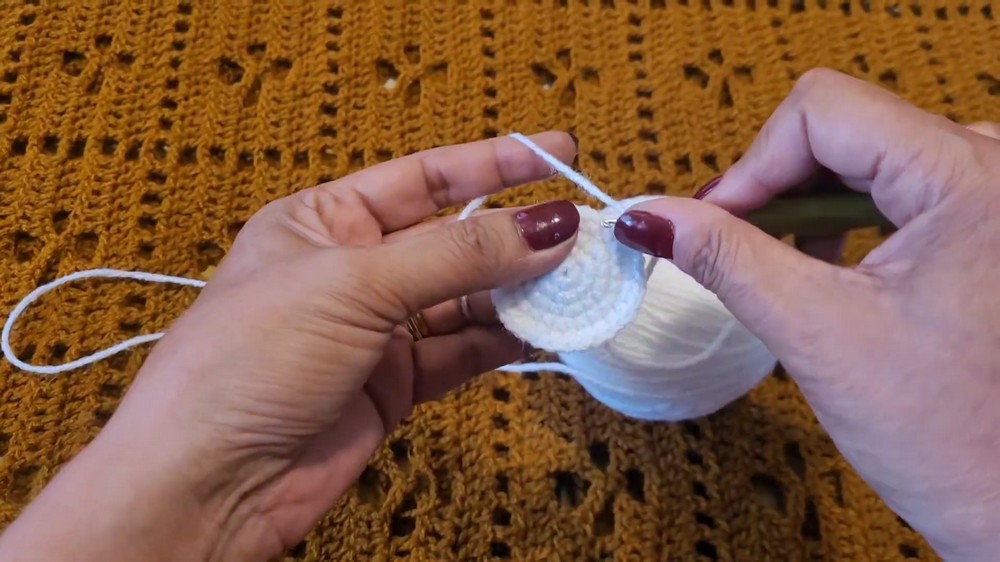
- R6: 4 sc, 1 inc, repeat around. (36 sts)
- R7–R12: Work even (1 sc in each st) for 6 rounds. (36 sts per round)
- R13: 4 sc, 1 dec, repeat around. (30 sts)
- R14: 3 sc, 1 dec, repeat around. (24 sts)
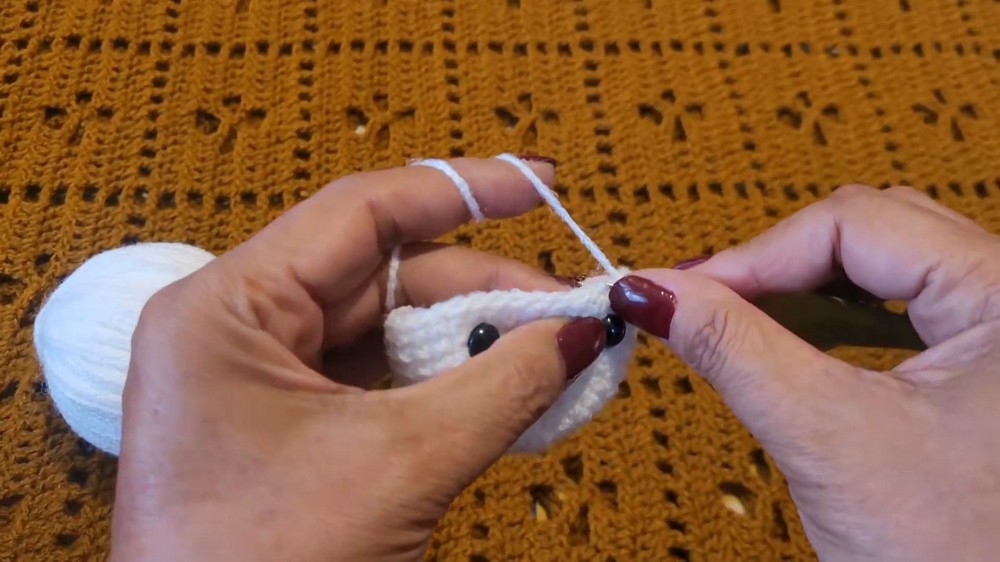
- R15: 2 sc, 1 dec, repeat around. (18 sts)
- Fasten off, leaving a tail for sewing.
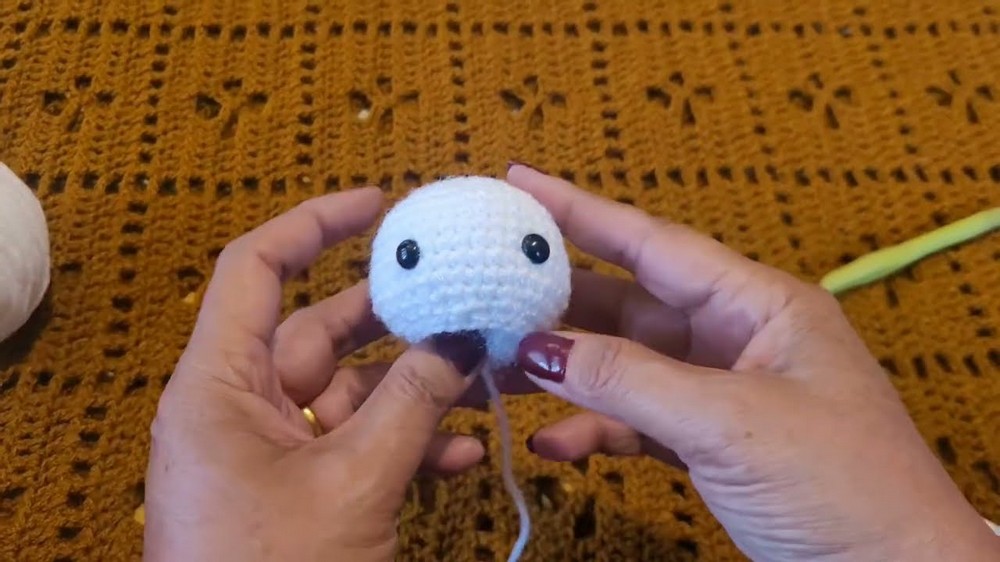
Head – Part 2 (Black Overlay & Crest)
- R1: MR, 6 sc. (6 sts)
- R2: inc in each st. (12 sts)
- R3: 1 sc, 1 inc, repeat around. (18 sts)
- R4: 2 sc, 1 inc, repeat around. (24 sts)
- R5: 3 sc, 1 inc, repeat around. (30 sts)
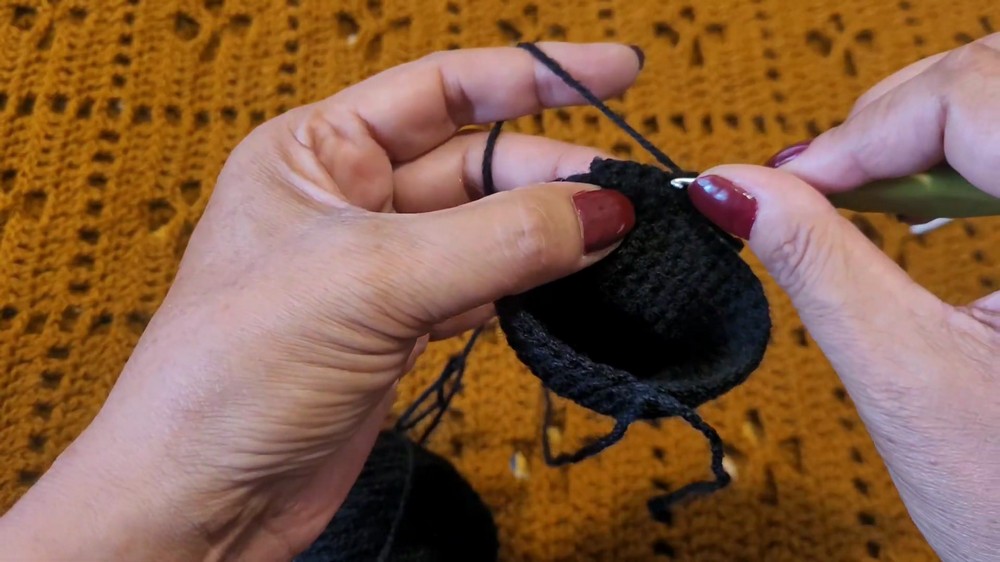
- R6: 4 sc, 1 inc, repeat around. (36 sts)
- R7–R12: Work even (36 sts per round) for 6 rounds.
- For the crest: Join at the 17th st. Crochet back-and-forth rows to create a flat panel extending over the head to form the crest. Each row may decrease slightly to curve naturally. Cut and leave a long sewing tail.
Body (Black)
- R1: MR, 6 sc. (6 sts)
- R2: inc in each st. (12 sts)
- R3: 1 sc, 1 inc, repeat around. (18 sts)
- R4: 2 sc, 1 inc, repeat around. (24 sts)
- R5: 3 sc, 1 inc, repeat around. (30 sts)
- R6: 4 sc, 1 inc, repeat. (36 sts)
- R7–R10: Work even (36 sts per round) for 4 rounds.
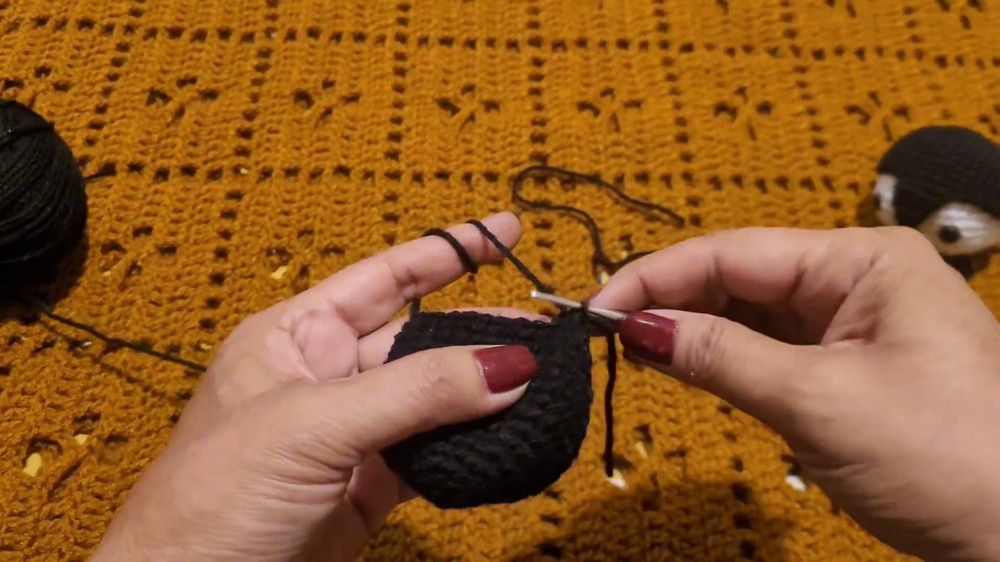
- R11: 10 sc, 1 dec, repeat around. (33 sts)
- R12: 9 sc, 1 dec, repeat around. (30 sts)
- R13: 8 sc, 1 dec, repeat around. (27 sts)
- R14: 7 sc, 1 dec, repeat around. (24 sts)
- R15: 2 sc, 1 dec, repeat around. (18 sts)
- R16–R18: Work even (18 sts per round) for 3 rounds.
- Fasten off, leaving a sewing tail. Stuff firmly before closing.
Wings (Black, make 2)
- R1: MR, 6 sc. (6 sts)
- R2: 1 sc, 1 inc, repeat around. (9 sts)
- R3: 2 sc, 1 inc, repeat around. (12 sts)
- R4: 3 sc, 1 inc, repeat around. (15 sts)
- R5: Work even (15 sts).
- R6: Work even (15 sts).
- Fold the wing flat.
- Single crochet through both layers to close the flat edge. Fasten off, leaving a long sewing tail.
Beak (Orange)
- R1: MR, 6 sc. (6 sts)
- R2: Work even (6 sc). Fasten off, leave sewing tail.
Feet (Orange, make 2)
- R1: MR, 6 sc. (6 sts)
- R2: 1 sc, 1 inc, repeat around. (9 sts)
- R3–R4: Work even (9 sc each round).
- Flatten and crochet across to close, fasten off and leave a tail for sewing.
Assembly & Finished Size
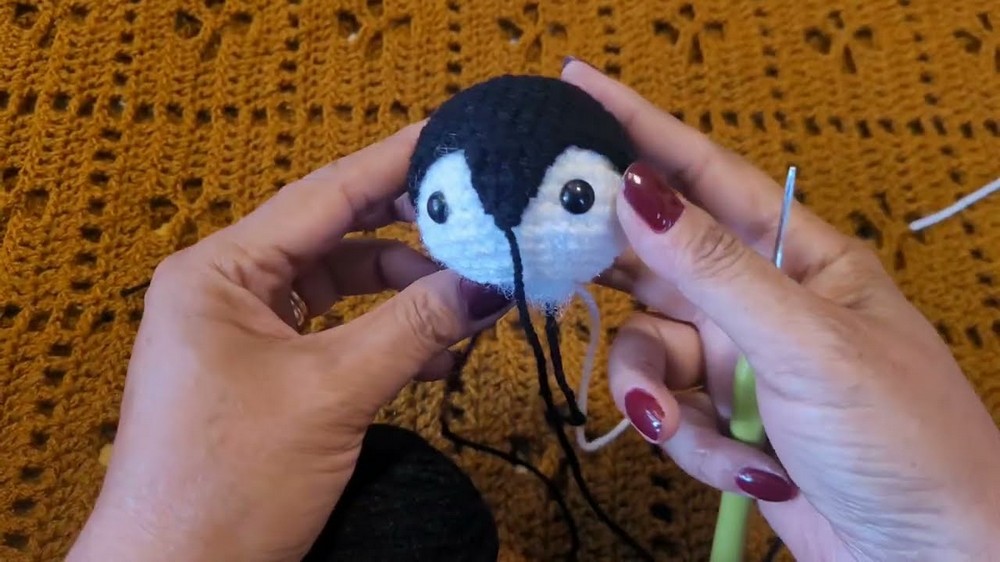
- Head: Align and sew the black overlay with crest onto the white head piece. Make sure the flat crest panel sits properly on the top and back for a neat fit.
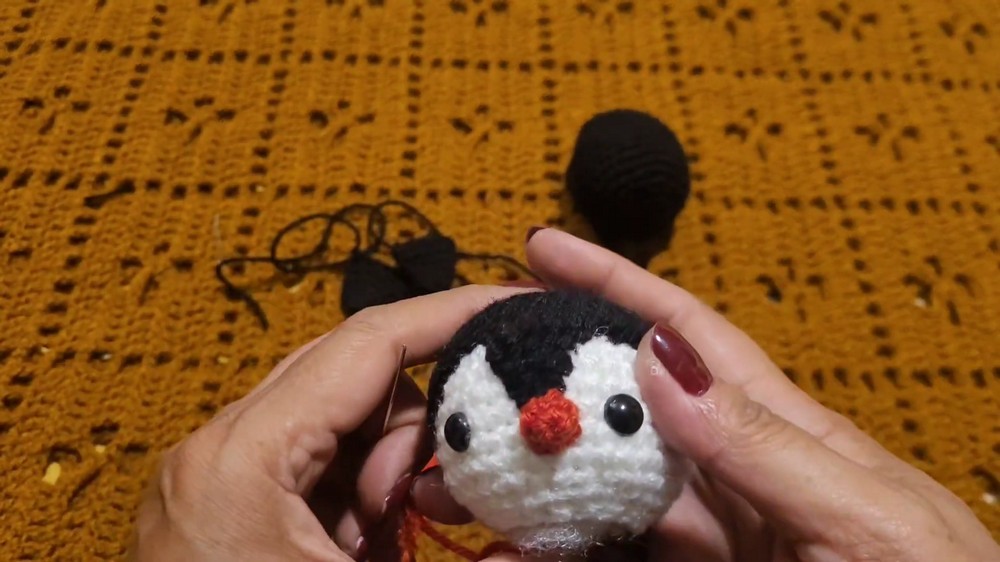
- Beak: Center on the lower face of the white head section. Pin in place and sew securely.
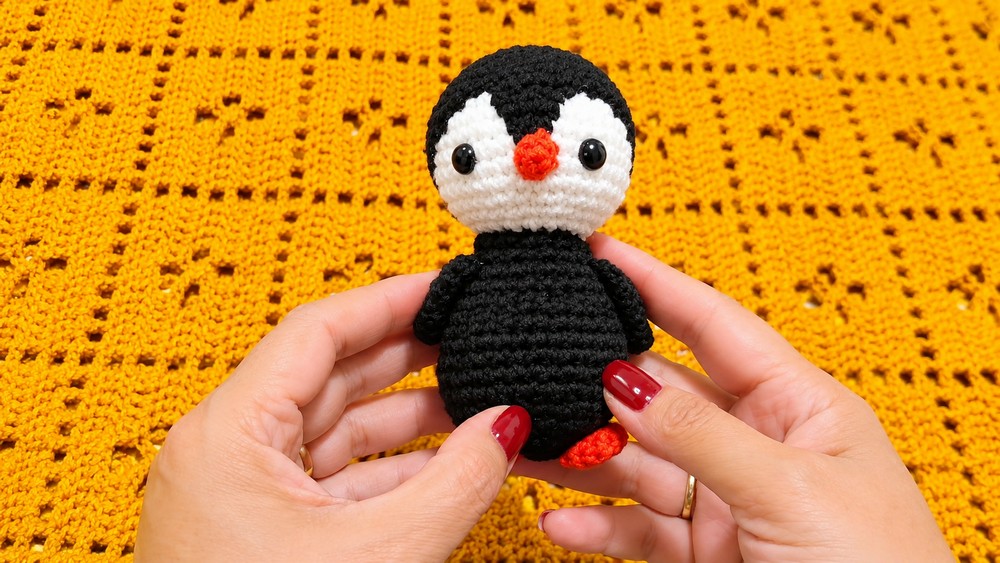
- Body & Wings: Attach the head to the body, then sew each wing two rounds beneath the neck join on each side of the body, curving slightly outward for natural placement.
- Feet: Stitch feet directly to the bottom of the body, spacing evenly and ensuring they are securely fastened.
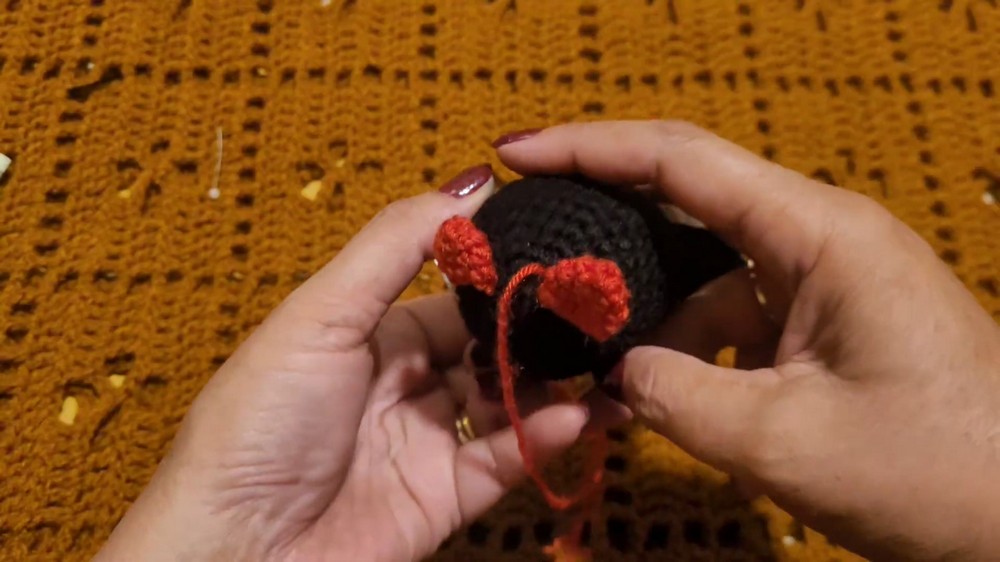
- Keychain: Thread a strong length of yarn through the top center of the head. Sew through several stitches multiple times. Attach the keyring by looping yarn through and knotting firmly, hiding ends inside the head.
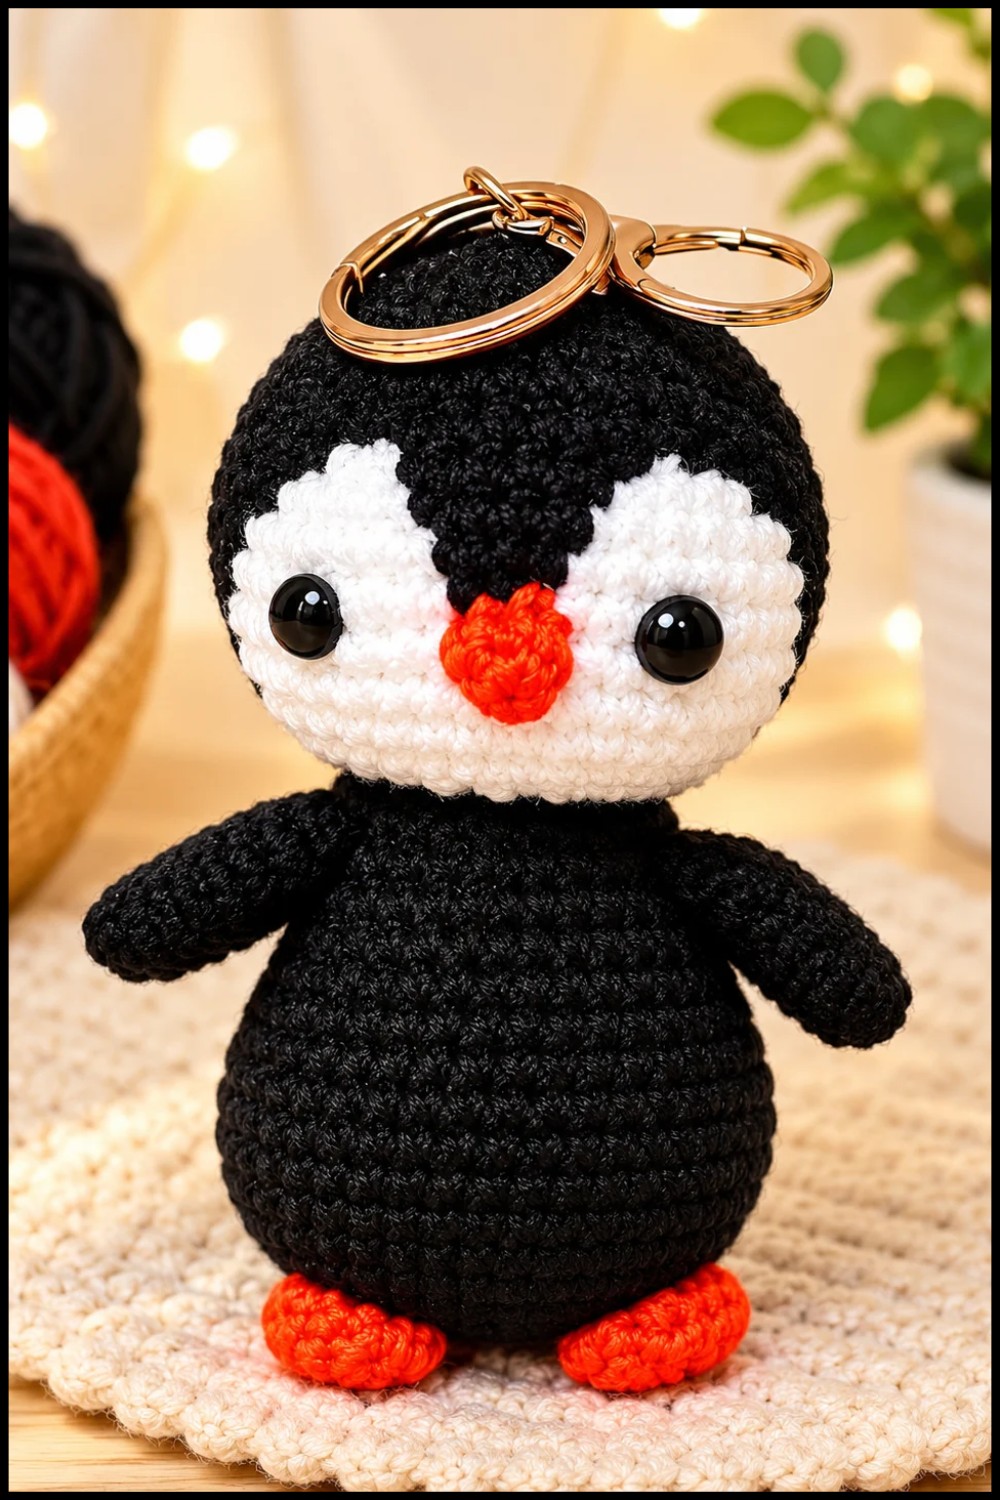
The assembled penguin should stand about 7–9 cm tall. All seams should be smooth, and small parts should be attached firmly to avoid accidental detachment during use.
Conclusion
The penguin keychain pattern delivers a playful, compact figure through clear structural steps and minimal assembly complexity. The layered head and simple shaping make it both attractive and durable for everyday use as a keychain. Final assembly ensures secure parts, and the resulting project makes a cheerful accessory or thoughtful handmade gift.
