
Bring warmth and charm into your home with this free crochet teddy bear pattern featuring easy-to-follow steps for a soft and cuddly handmade friend.
The original YouTube tutorial that inspired this charming project comes from the talented Hooks & Needles By Mita, whose creativity shines through every stitch. This project features a Crochet Teddy Bear that is soft, cuddly, and perfect for adding a touch of warmth to any space. It’s a simple and enjoyable crochet that welcomes both beginners and experienced crocheters alike.=
Soft Crochet Teddy Bear Free Pattern For Nursery Shelves
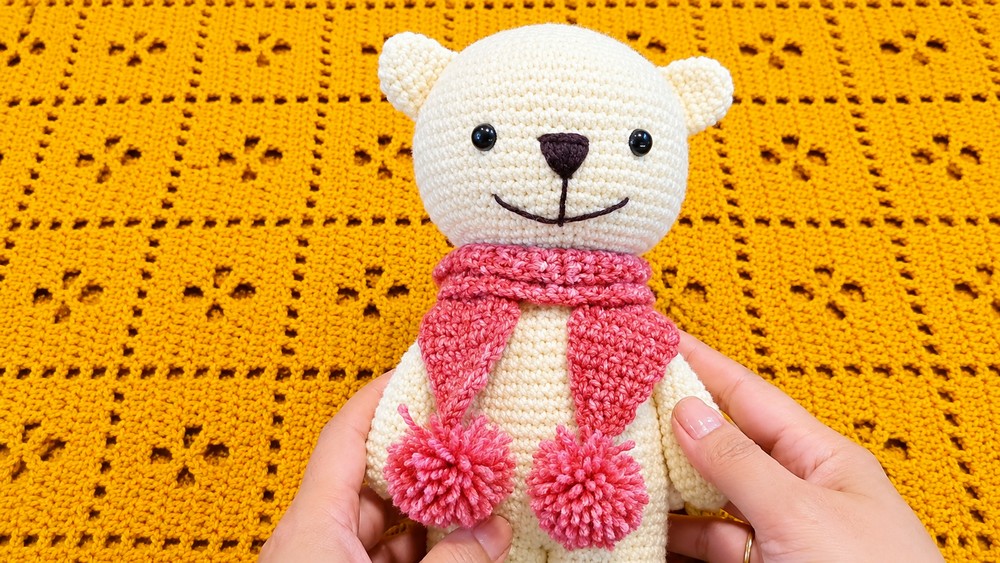
The teddy bear has a classic round head, cute ears, and a plump body, all crocheted with gentle, soft yarn that feels comforting to hold. This delightful creation makes a lovely decoration for a nursery, a cozy bedroom, or a heartfelt gift. One of the special things about this project is its versatility—different yarn colors or accessories like scarves or tiny buttons can be added to give each bear its own personality.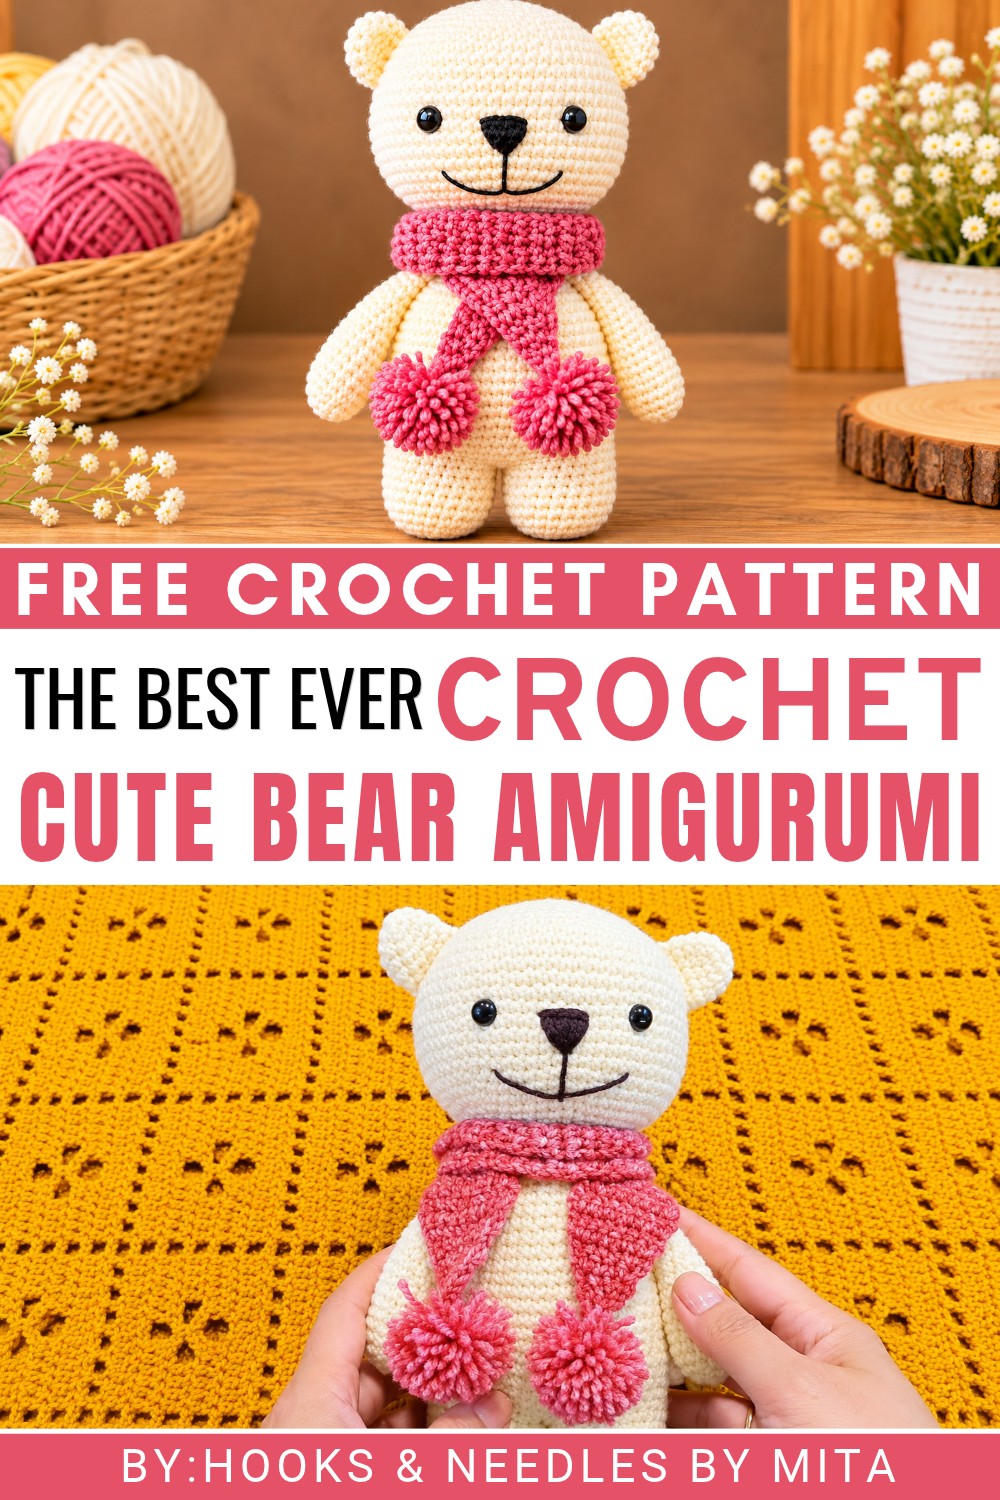 The process begins with a magic ring to form the head, worked in rounds while gradually increasing stitches for a rounded shape. The body is worked similarly but larger, giving the bear a soft, huggable form. The ears are crocheted separately as small circles and attached afterward. Simple embroidery for the nose and eyes adds character and charm to the bear’s face.
Overall, this Crochet Teddy Bear is a sweet and friendly project that delivers warmth and joy with every completed stitch, making it a delightful addition to your crochet creation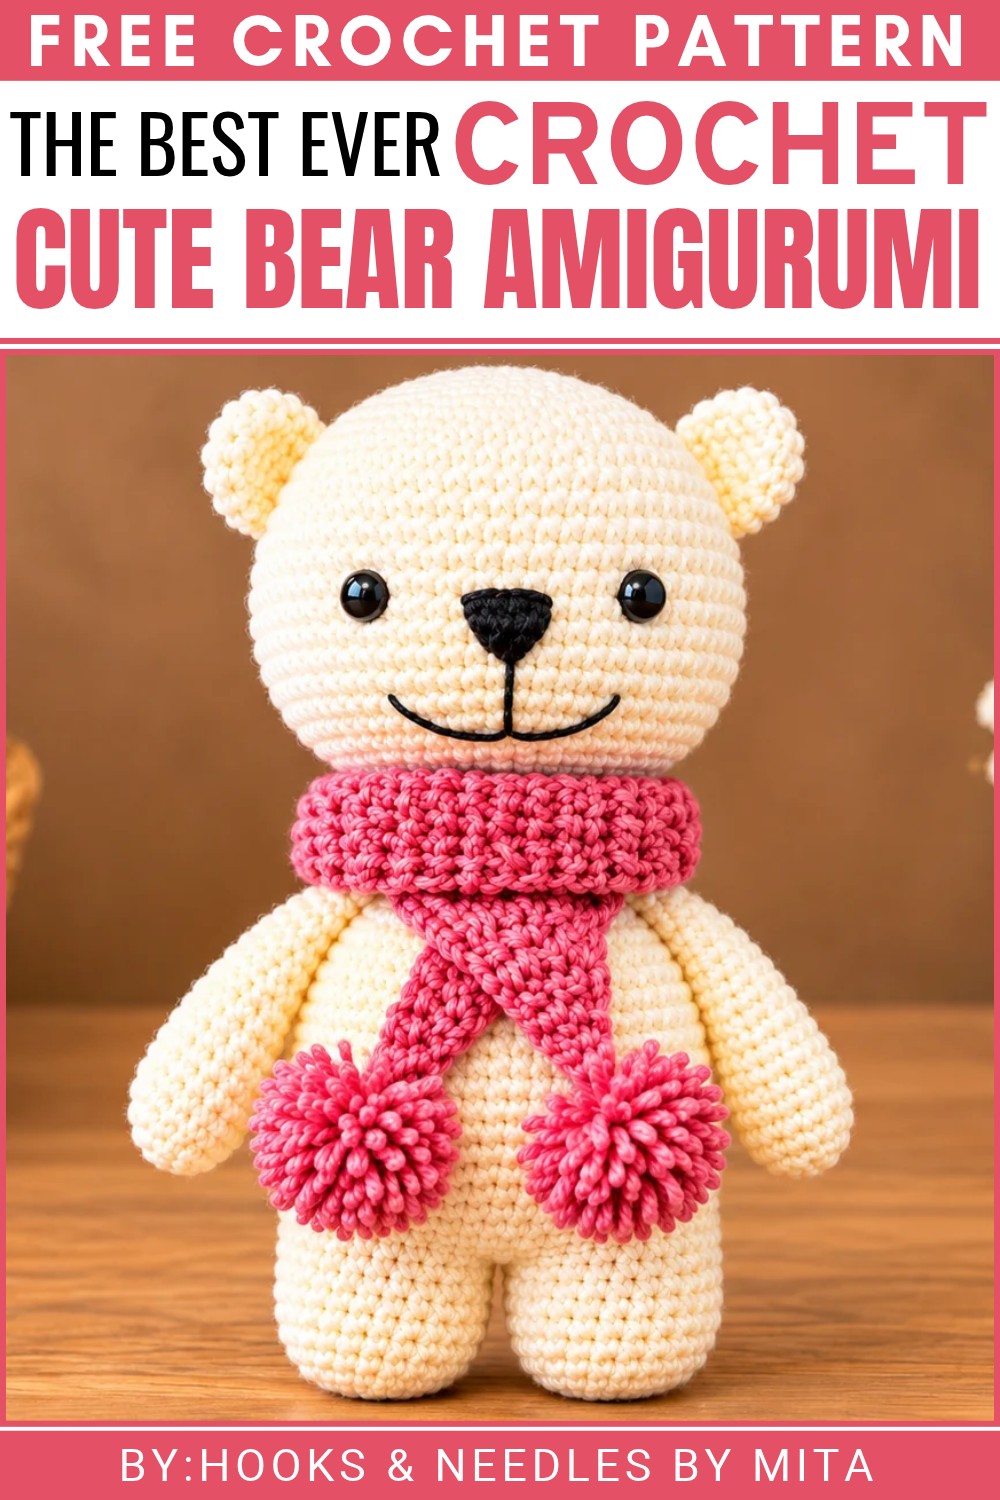
About the Pattern
This detailed amigurumi pattern provides a seamless and structured approach to creating a crochet bear, focusing on anatomical accuracy, smooth shaping, and secure assembly. Each body part is crocheted in-the-round to avoid seams, with classic increases and decreases forming the signature rounded features of amigurumi. Strategic assembly and embroidery techniques lend expressive character and a professionally finished appearance.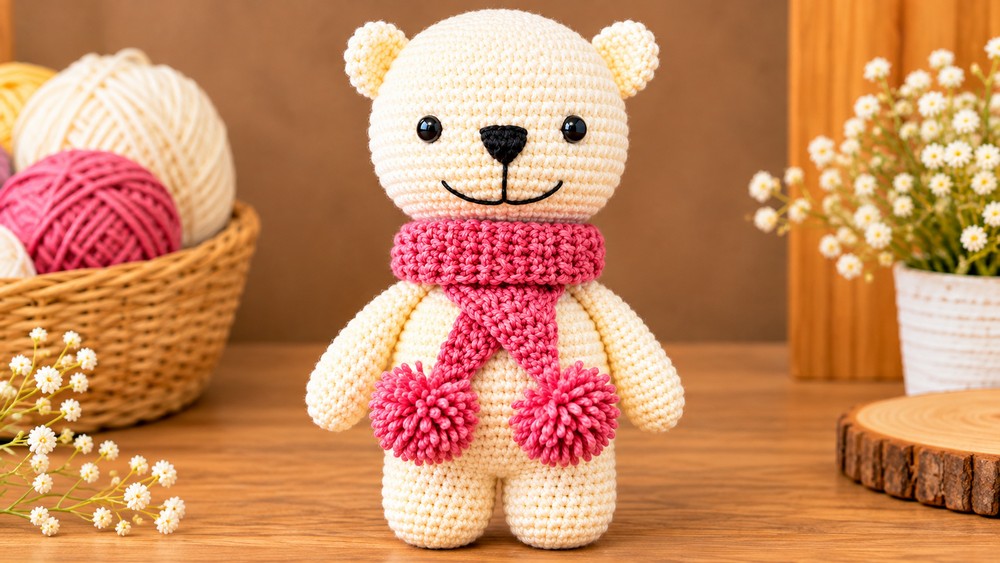
Pattern at a Glance
- Modular construction: Crocheted in parts (head, legs, body, arms, ears, and tail) and sewn together.
- Dense fabric: Ensures the bear holds its shape, stuffing does not show through.
- Embroidery: Nose and face details added with simple hand stitches.
- Assembly: Follows a top-down approach for symmetry and ease of alignment.
Important Notes
- Use tight stitches to create a dense, even fabric for a polished look.
- Stuff each part firmly as you crochet. This maintains shape and prevents sagging.
- Safety eyes may be used or embroidered for a child-safe result.
- Mark your rounds with a stitch marker to easily track counts.
- Follow joining and placement instructions carefully for optimal proportions and a balanced appearance.
Difficulty Level
Upper beginner to intermediate. Proficiency in the magic ring, single crochet, increases, and decreases is recommended. Basic embroidery skills are helpful for facial features.
Supplies Needed
- Yarn: Worsted or DK weight in bear color and a contrasting shade for muzzle/embroidery.
- Hook: Size appropriate for yarn (commonly 2.25–3.5 mm).
- Polyester fiberfill stuffing.
- Tapestry needle for sewing parts and embroidery.
- (Optional) Safety eyes (2).
- Scissors, stitch markers.
Size & Measurements
- Finished bear measures approximately 7–9 inches (18–23 cm) seated, depending on yarn, hook, and tension.
Gauge & Stitch Details
- Work with a tight gauge to prevent stuffing from showing through stitches.
- Each round is joined in continuous spirals; do not join unless specified.
- Check that single crochet rounds remain flat and do not ripple or cup.
Crochet Abbreviations
- MR: Magic Ring
- sc: single crochet
- inc: increase (2 sc in same stitch)
- dec: decrease (single crochet 2 together)
- st(s): stitch(es)
- x: times (repeat instructions in parentheses this many times)
- R: round/row
Special Stitch Guide
- Invisible Decrease (dec): Insert hook in the front loop of each of the next two stitches, yarn over, pull through both loops, yarn over, pull through remaining loops.
- Increase (inc): 2 sc in the same stitch.
Complete Crochet Pattern
Head
- R1: In a MR, 6 sc (6)
- R2: Inc in all 6 sts (12)
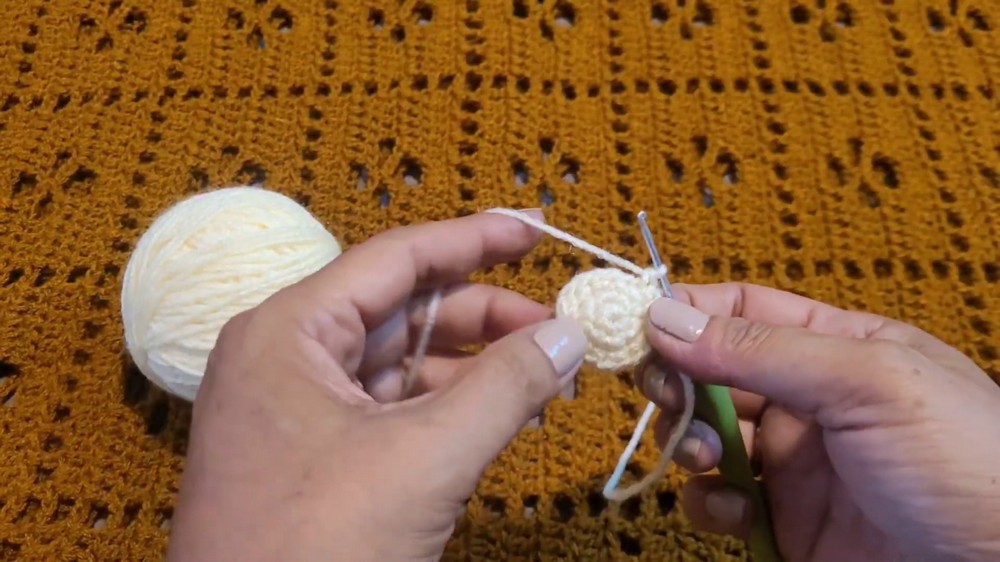
- R3: (1 sc, inc) x 6 (18)
- R4: (inc, 2 sc) x 6 (24)
- R5: (3 sc, inc) x 6 (30)
- R6: (inc, 4 sc) x 6 (36)
- R7: (5 sc, inc) x 6 (42)
- R8: (inc, 6 sc) x 6 (48)
- R9: (7 sc, inc) x 6 (54)
- R10: (inc, 8 sc) x 6 (60)
- R11: (9 sc, inc) x 6 (66)
- R12–21: 66 sc (work 10 rounds even)
- R22: (dec, 9 sc) x 6 (60)
- R23: (8 sc, dec) x 6 (54)
- R24: (dec, 7 sc) x 6 (48)
- R25: (6 sc, dec) x 6 (42)
- Eyes: Place safety eyes between R17–18, 12 sts apart. Stuff head firmly.
- R26: (dec, 5 sc) x 6 (36)
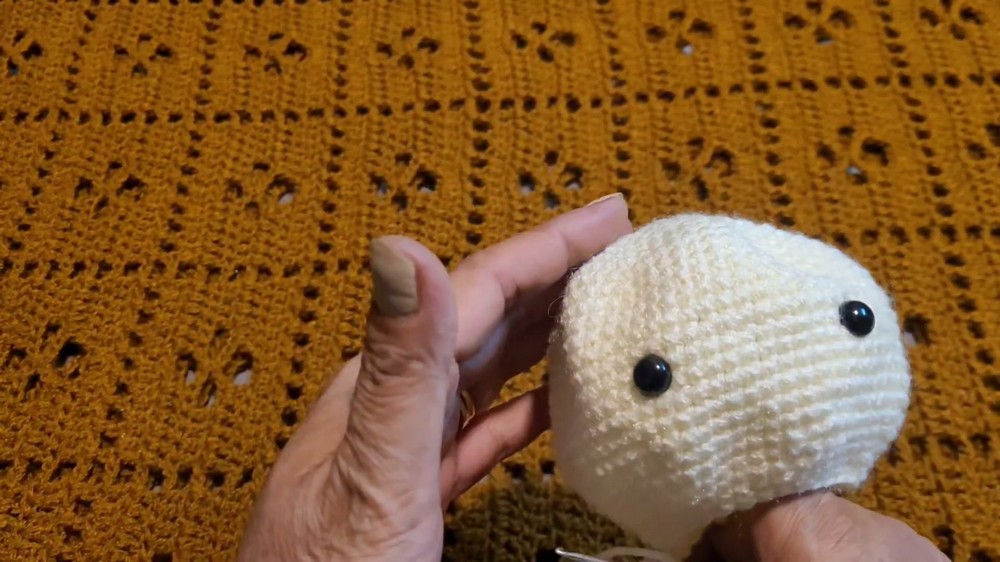
- R27: (4 sc, dec) x 6 (30)
- R28: (dec, 3 sc) x 6 (24)
- Fasten off, leaving a long tail for sewing.
Legs (Make 2)
- R1: In a MR, 6 sc (6)
- R2: 6 inc (12)
- R3: (inc, 1 sc) x 6 (18)
- R4: (2 sc, inc) x 6 (24)
- R5–10: 24 sc (6 rounds even)
- Fasten off first leg. After finishing second, do not cut yarn.
Body
- Joining the Legs: With yarn still attached to second leg, ch 3 and join to first leg’s last stitch.
- Work 21 sc around first leg, 3 sc across chain, 21 sc around second leg, 3 sc across other side of chain (42)
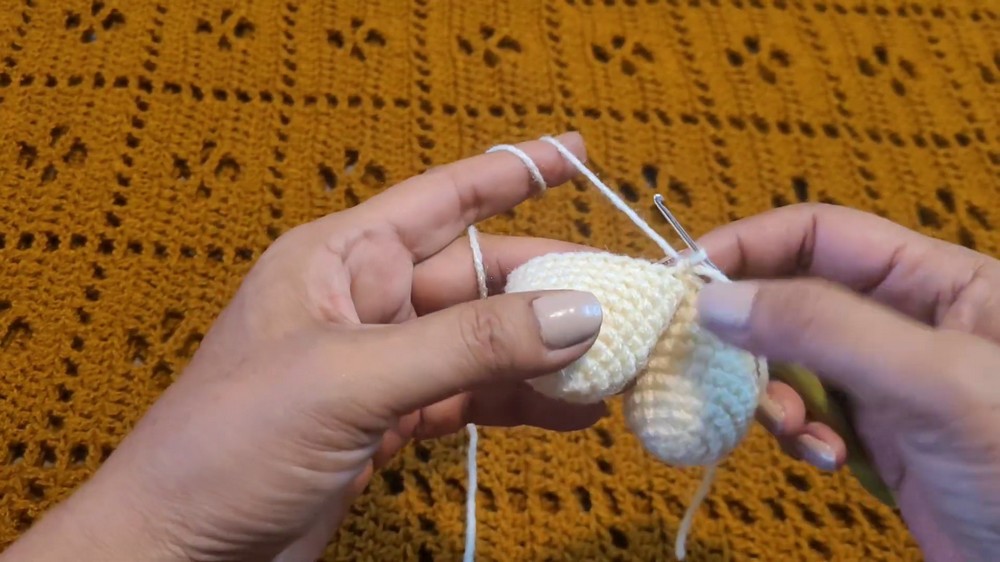
- Work 21 sc around first leg, 3 sc across chain, 21 sc around second leg, 3 sc across other side of chain (42)
- R12: (inc, 13 sc) x 3 (45)
- R13: (14 sc, inc) x 3 (48)
- R14: (inc, 15 sc) x 3 (51)
- R15: (16 sc, inc) x 3 (54)
- R16–23: 54 sc (8 rounds even)
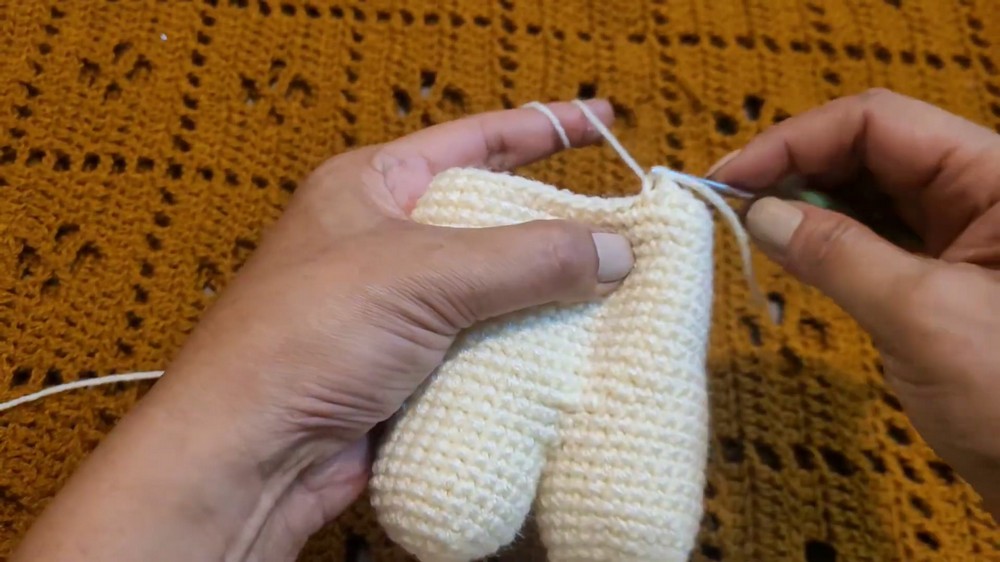
- R24: (dec, 16 sc) x 3 (51)
- R25: 51 sc
- R26: (15 sc, dec) x 3 (48)
- R27: 48 sc
- R28–33: Continue as established, decreasing by 3 stitches each round to shape (see timestamps for decrease pattern).
- R34: (dec, 3 sc) x 6 (24)
- Fasten off, leaving a tail for sewing. Stuff firmly.
Arms (Make 2)
- R1: In a MR, 5 sc (5)
- R2: 5 inc (10)
- R3: (inc, 1 sc) x 5 (15)
- R4–10: 15 sc (7 rounds)
- R11–20: Decrease pattern (decrease by 1 st every other round to reach 10 sts)
- Stuff only the lower part. Fasten off, leaving a sewing tail.
Ears (Make 2)
- R1: 6 sc in MR (6)
- R2: 6 inc (12)
- R3–5: 12 sc (3 rounds)
- Fasten off, flatten, and leave tail for sewing.
Tail
- R1: 6 sc in MR (6)
- R2: 6 inc (12)
- R3: (1 sc, inc) x 6 (18)
- R4–5: 18 sc (2 rounds)
- Fasten off, stuff lightly, leave sewing tail.
Assembly & Finished Size
- Nose: Embroider with contrasting yarn or thread, centered 3 rows below eyes.
- Ears: Attach symmetrically, starting 8 rows from the top of the head.
- Head to Body: Sew head and body together, aligning centers for a balanced look.
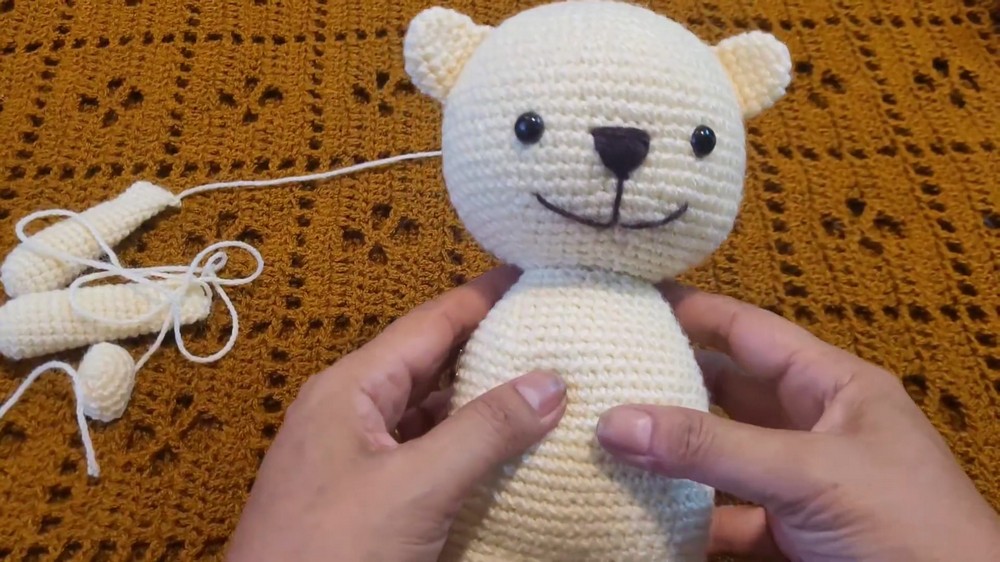
- Arms: Pin and sew to body, 3 rows below the head-body join, aligning with legs for symmetry.
- Tail: Position and sew to back, 5 rows above leg join.
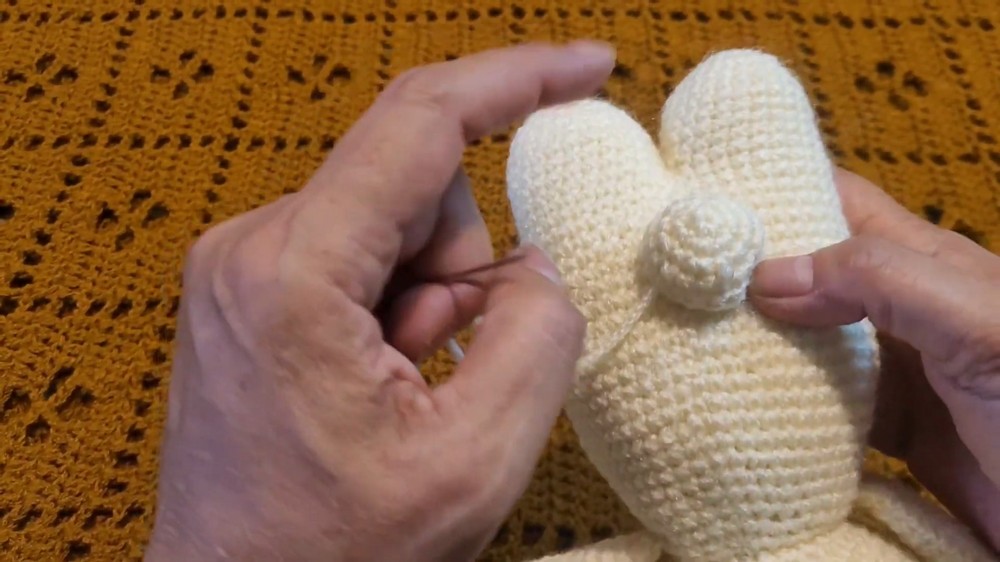
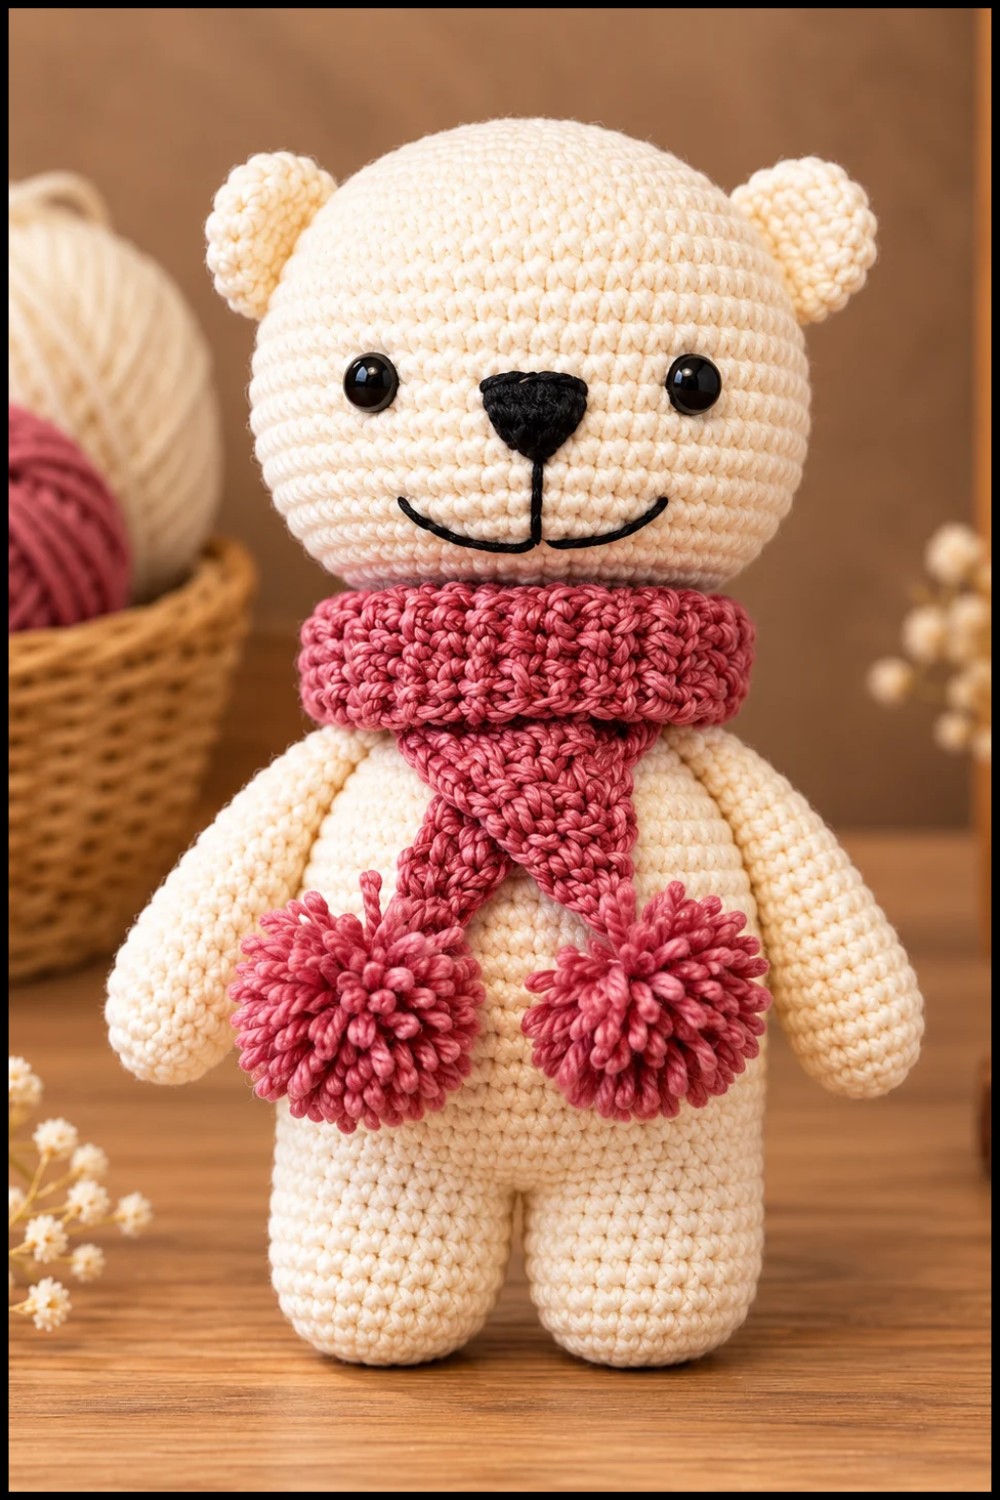
- Weave in all yarn ends securely, shape, and fluff bear as desired. Finished bear should sit upright with balanced features.
Conclusion
This bear pattern offers clear modular construction and detailed shaping instructions for a classic amigurumi style. Each part, assembled with careful placement and secure stitches, creates a stuffed animal both charming and durable. The techniques incorporated support personalization and adaptation, resulting in a bear suitable for gifting, collecting, or as a memorable handmade keepsake.
