
Store your little items with this Crochet Granny Square Pouch Free Pattern and enjoy a colorful accessory for bags, travel, and daily use.
Calm & Crochet by Kajal shares a helpful tutorial for making a colorful pouch that keeps small belongings together in a simple and attractive way. This Crochet Granny Square Pouch is a handy little bag made with square crochet pieces joined together. Its pretty stitch design, open spaces, and tidy edges give it a fresh appearance. The squares form an interesting pattern across the surface, while the gentle yarn texture adds a nice feel. Its compact shape makes it easy to carry without taking up much room.
Free Crochet Granny Square Pouch Pattern For Everyday Storage
One useful feature of this pouch is its simple storage space. You can keep coins, hair clips, small makeup items, or other daily essentials inside. It fits nicely in a handbag and helps prevent tiny belongings from getting lost. You can also use it as a travel accessory or place it on your dressing table.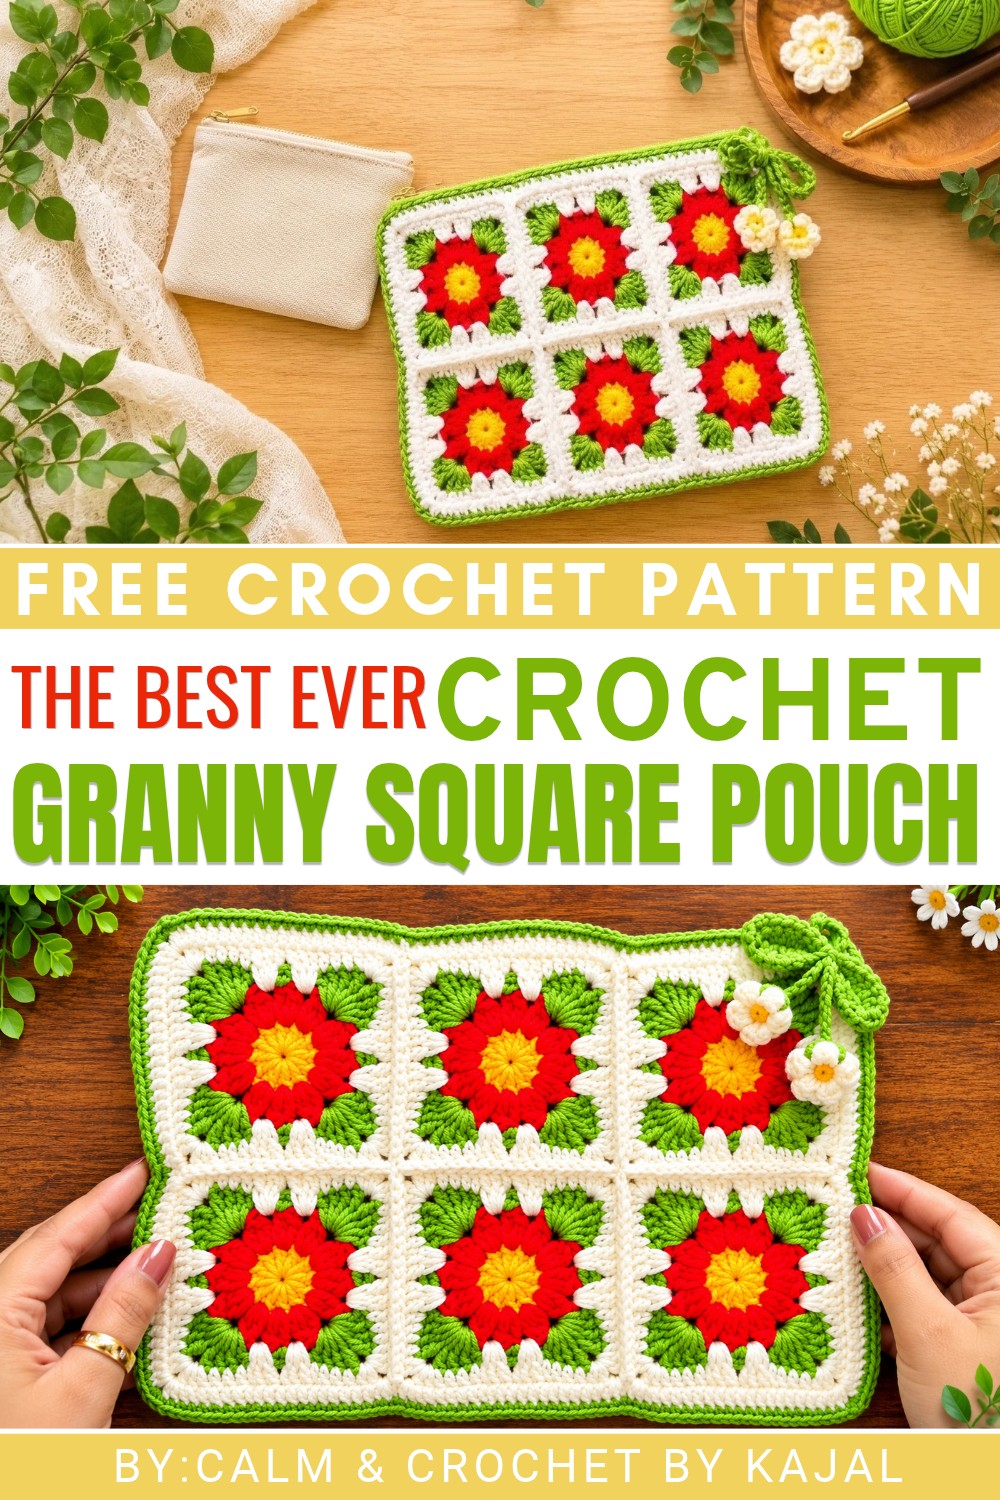 Colorful granny squares give you plenty of room to try different styles. Matching shades offer a calm look, while contrasting colors can highlight each square. A neat joining line around the pieces helps give the pouch a well-finished shape.
To prepare this project, crochet the required squares, arrange them together, and join their sides to form the pouch. Finish the opening and edges carefully for a clean result.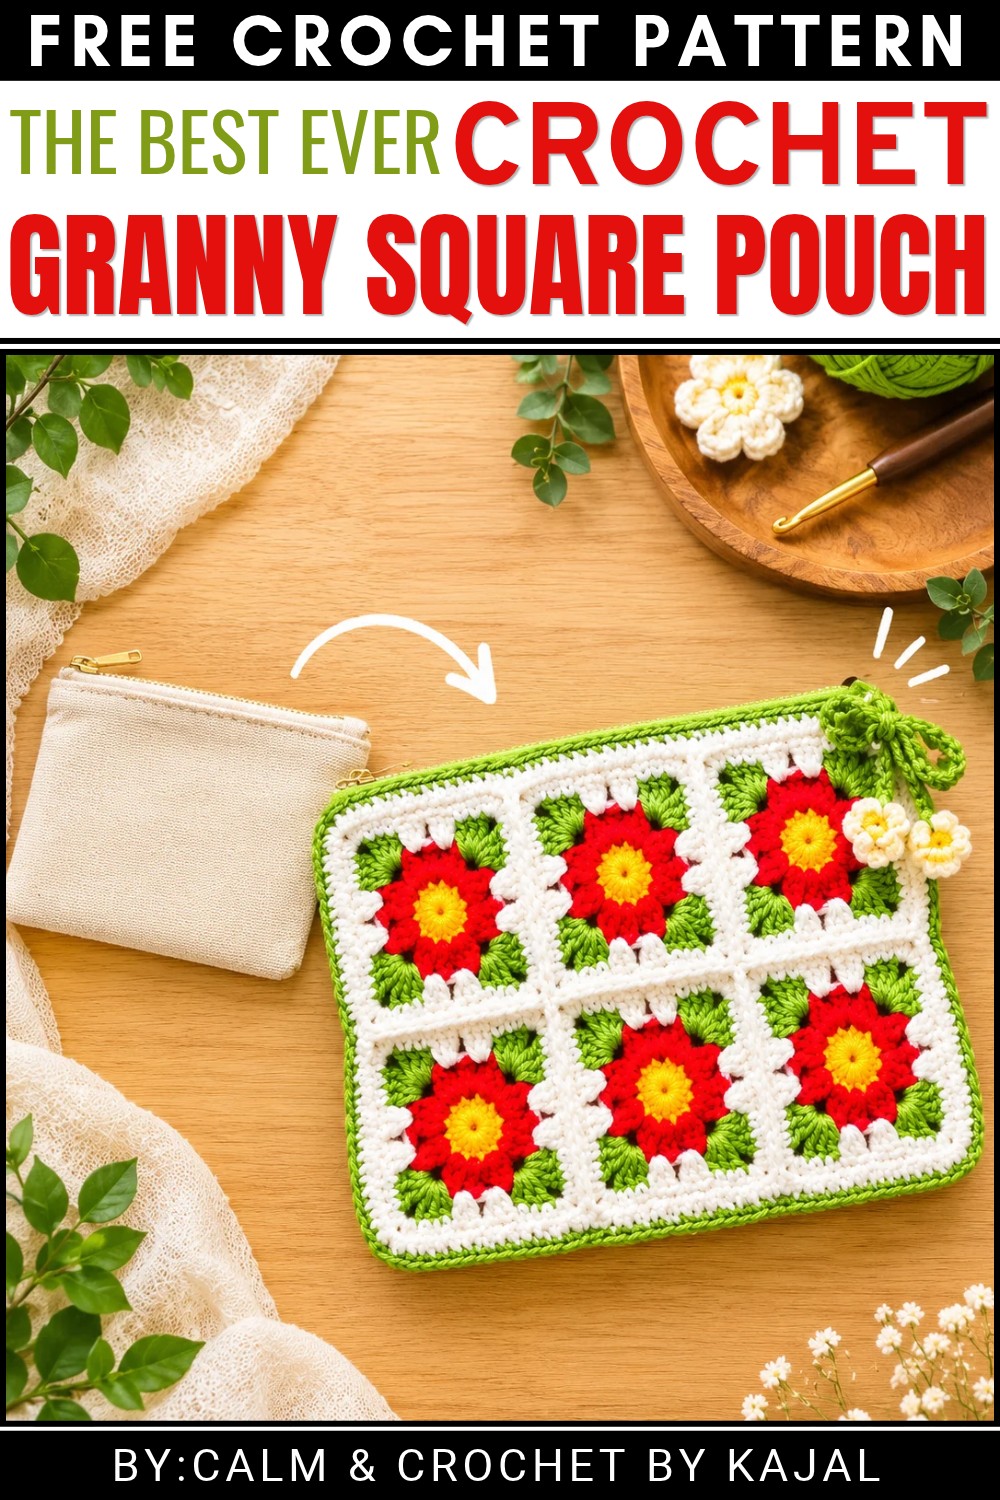 This pouch is also a thoughtful handmade present for friends or family. Give this free granny square pouch pattern a try and prepare something useful for everyday life!
About the Pattern
The granny square pouch is a versatile project combining elegant floral motifs and practical construction techniques. Featuring twelve individual floral granny squares arranged and joined with clean seams, the pouch maintains both structure and decorative appeal. Panels are reinforced with a continuous border, and the finished case is lined for durability. The blend of visually rich motifs with functional assembly creates a pouch suitable for accessories, essentials, or as a gift.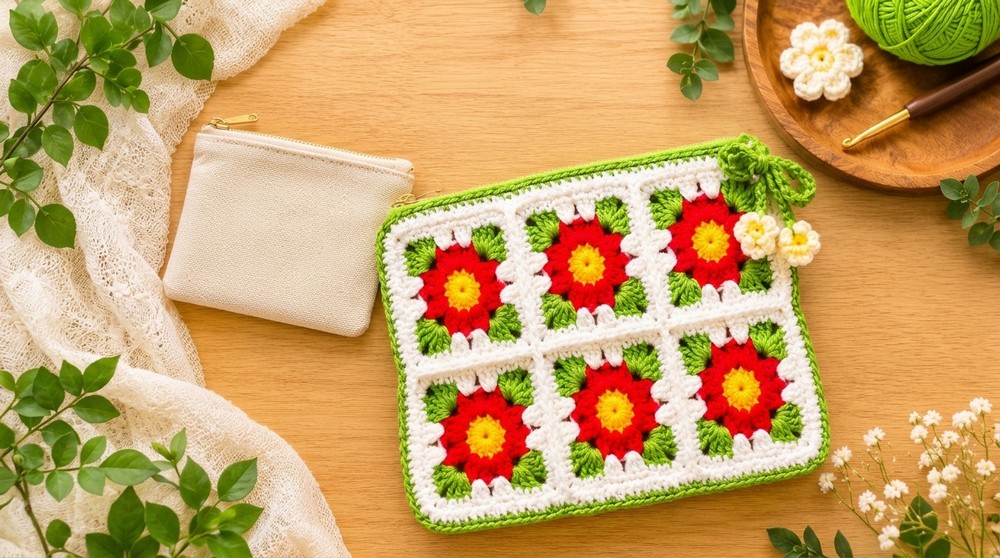
Pattern at a Glance
- Two six-square panels, each configured in a 2×3 rectangle.
- Joined using a neat, secure seam technique for minimal bulk and maximum structure.
- Borders and seaming add detail and sturdiness.
- Finished with a fitted canvas lining for function and longevity.
Important Notes
- Accurate alignment of squares during seaming is essential for straight sides.
- All joins are worked with right sides facing in (wrong sides out).
- Use stitch markers at panel corners to maintain shape.
- The Back Loop Only (BLO) single crochet seam provides flexibility while keeping join areas flat.
- Corners require precise stitch and chain placement for crisp edges.
- Border and final seams add shape retention and a polished look.
- Ensure glue is set before proceeding with final hand-stitching of the lining.
Difficulty Level
Intermediate. Experience with granny square crochet, joining techniques, multiple finishing strategies, and simple sewing is helpful.
Supplies Needed
- Crocheted granny squares: 12 floral motifs (instructions not covered here; use any 4″ – 4.5″ square motif).
- Yarn: Same weight and fiber used for squares; enough for joining and borders.
- Hook: 3 mm crochet hook.
- Notions: Stitch markers, sharp scissors, large-eye tapestry needle.
- Lining: Canvas pouch to fit finished granny square dimensions.
- Adhesives: B7000 glue (fabric-safe).
- Sewing needle & thread: For securing lining.
Size & Measurements
- Each square: approx. 4″ – 4.5″ (10 – 11.5 cm) per side.
- Pouch (assembled): approx. 8″ x 6″ (20 x 15 cm), finished dimensions depend on tightness and motif size.
Gauge & Stitch Details
- Gauge: Each granny square should be flat, with well-defined edges.
- Joins and borders worked snugly but not tight to avoid puckering.
Crochet Abbreviations
- ch = chain
- sl st = slip stitch
- sc = single crochet
- dc = double crochet
- st(s) = stitch(es)
- sp = space
- BLO = back loop only
Special Stitch Guide
- BLO Single Crochet Join: Insert hook only through back loop of each square when joining, yarn over and pull through all loops for a flexible seam.
- Granny Border Corner: (2 dc, ch 2, 2 dc) in one corner space.
- Single Crochet Decorative Border: One sc in each stitch; at corners, (2 sc, ch 2, 2 sc).
Complete Crochet Pattern
Panel Assembly (Two Panels)
- Lay out 12 finished granny squares, dividing into two sets of 6.
- For each set, arrange 2 rows of 3 squares:
- Top Row: Square 1, Square 2, Square 3
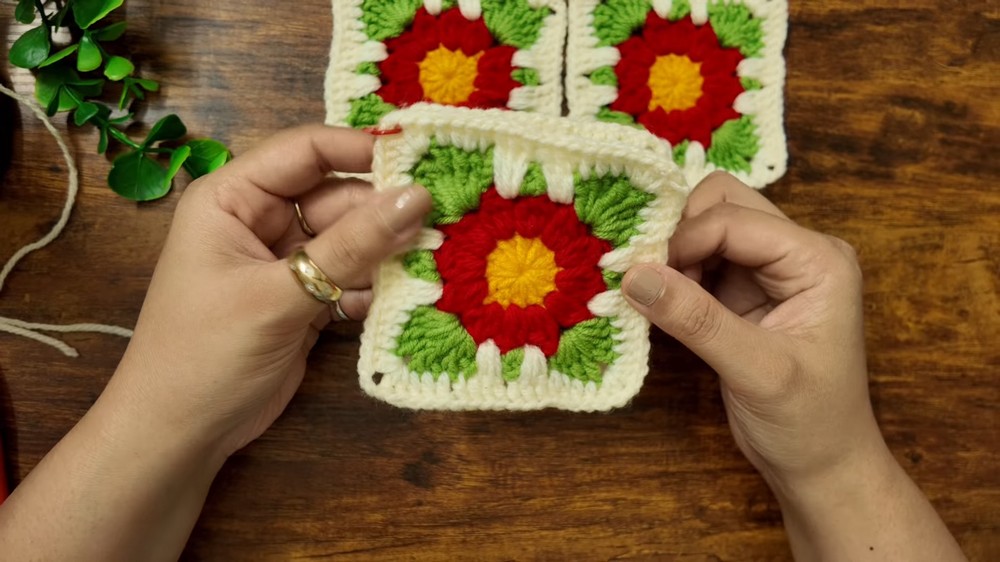
- Bottom Row: Square 4, Square 5, Square 6
- Top Row: Square 1, Square 2, Square 3
- Preparation: Place two squares with right sides facing each other and edges aligned. Secure outer corners with stitch markers.
- Joining (BLO single crochet seam):
- With 3 mm hook and matching yarn, insert hook through back loop of first square and back loop of corresponding stitch on adjoining square.
- Work single crochet across the entire seam (edge of square).
- Repeat for all seams, joining three squares per row.
- Join top and bottom rows along their respective edges in the same fashion.
- Repeat to assemble second panel.
Joining the Six-Square Panel Edges
- With panels assembled, keep working yarn attached.
- Continue across the length of the entire 6-square panel by joining adjacent sides as described—inserting hook into back loops only, always keeping right sides facing in.
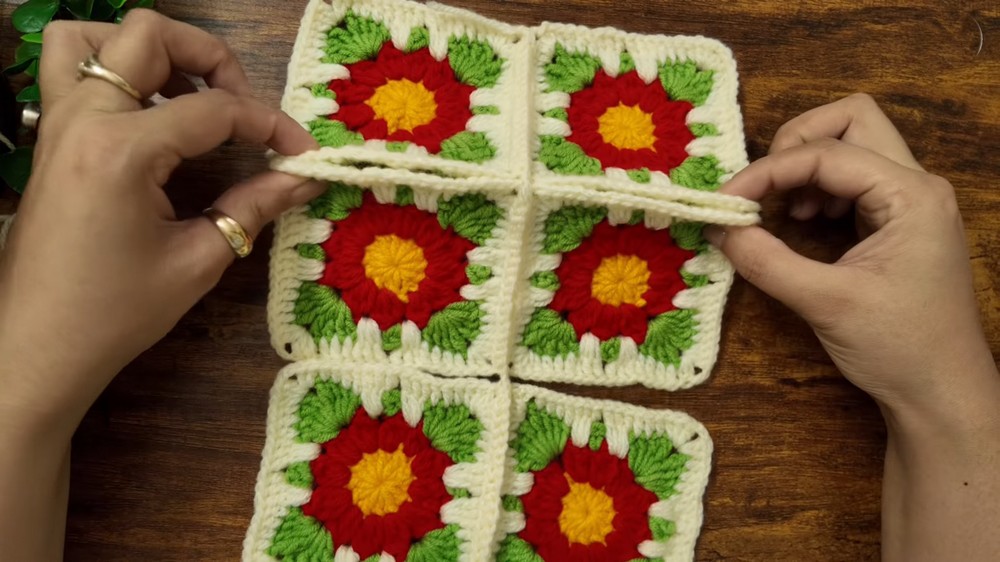
- At each corner intersection, insert 1 or 2 single crochets, ch 1 before continuing into the next join, ensuring corners stay crisp and flat.
Adding the Granny Border to Each Panel
- Do not fasten off after panel assembly.
- Begin the border: Work double crochet stitches evenly around all four sides of each panel.
- In each corner space, insert (2 double crochet, ch 2, 2 double crochet) to maintain a squared edge and defined shape.
- For uniformity, space dc stitches evenly along the sides, inserting in the ends of rows or stitches as needed.
- When complete, sl st to the first dc of the round and fasten off.
Joining the Two Panels
- Place the two completed, bordered panels together, wrong sides facing out and right sides together but on the inside.
- Use a single crochet seam along the edges, aligning squares and corners.
- At each corner, work (2 single crochet, ch 2, 2 single crochet) to reinforce the shape.
- Repeat along both sides and across the bottom, leaving the top (opening) unjoined.
- When joining is complete, fasten off yarn.
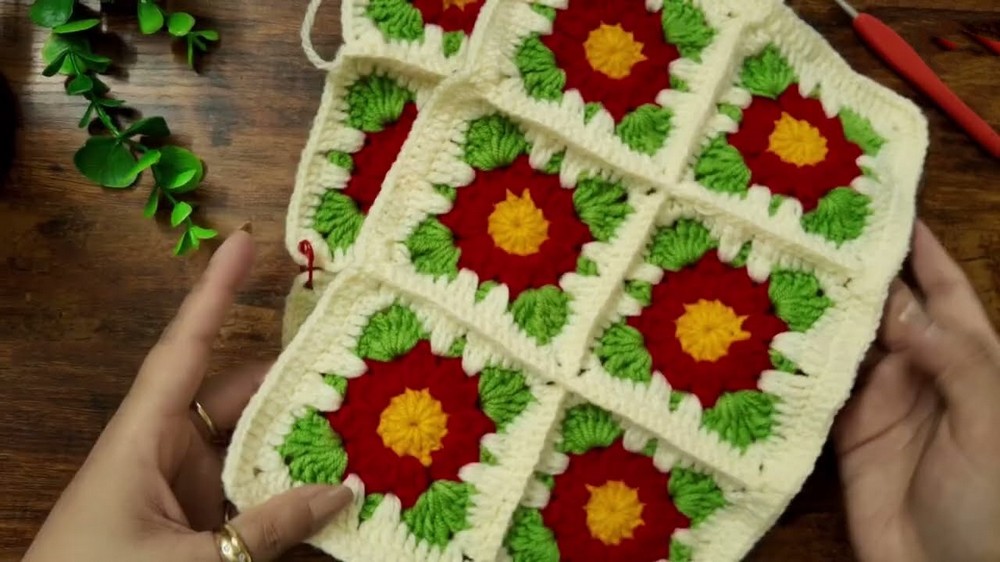
Top Opening Decorative Border
- With pouch right side out, attach yarn at any top edge.
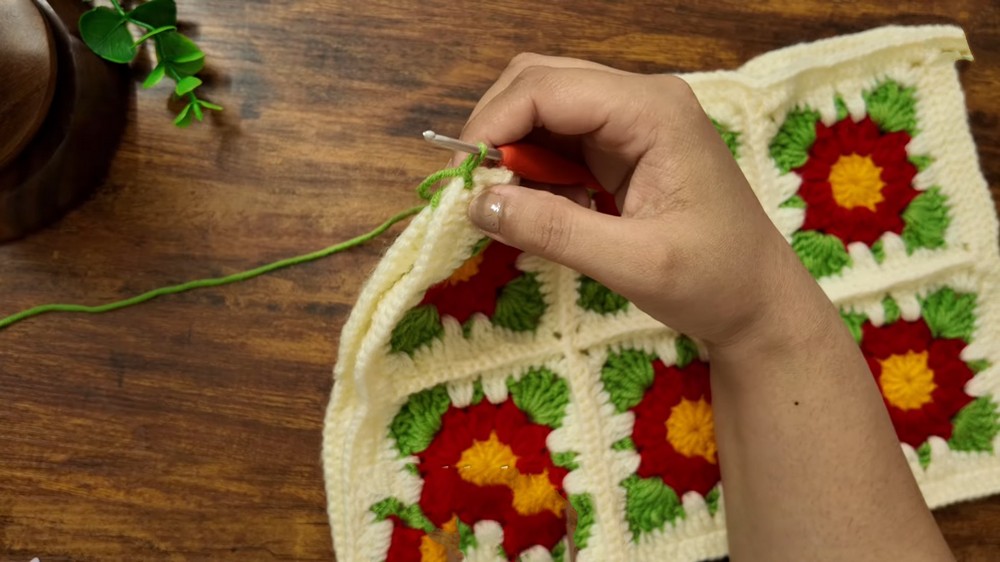
- Work single crochet evenly around the top opening, ensuring that stitches are snug but not tight for a polished finish.
- Complete with one single crochet in each stitch; no increases required unless you wish to reinforce corners with an extra sc or ch 1.
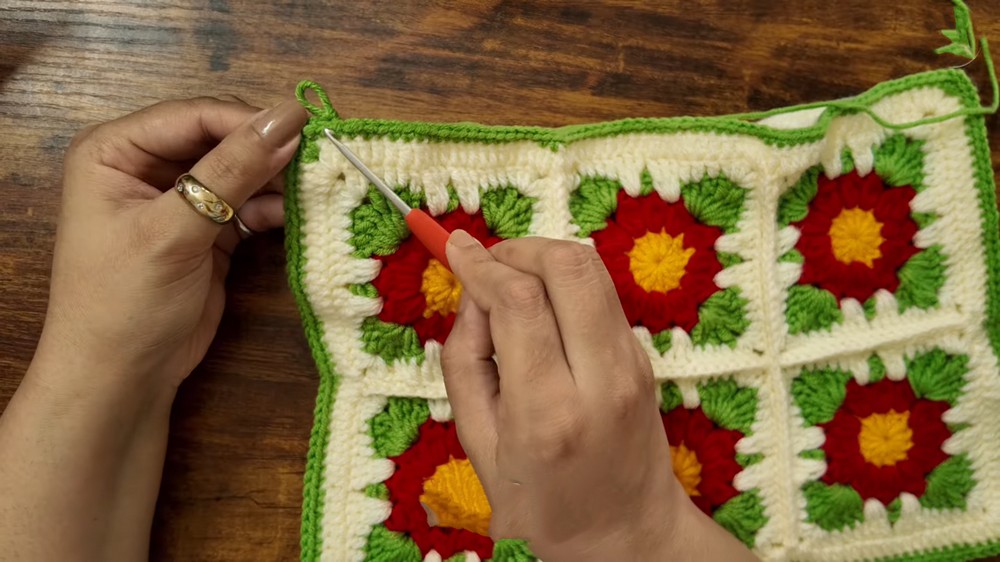
- Join with a slip stitch to start, fasten off, and weave in all ends.
Lining and Final Assembly
- Fit canvas lining pouch inside crocheted case, aligning corners and base.
- Use B7000 glue to attach fabric securely to the inner crochet edge, smoothing corners and sides for a flush fit.
- Allow glue to cure thoroughly (best left overnight for maximum strength).
- Using a large-eye sewing needle and matching thread, hand-stitch through canvas and the crochet top edge, spacing stitches evenly for clean attachment and lasting durability.
- Check for secure fit at all points; reinforce as needed.
Assembly & Finished Size
The fully assembled pouch features crisp sides and sturdy panels, with the floral squares forming a striking decorative surface. Consistent seams and squared corners create a rectangular pouch, lined for additional structure. The pouch will comfortably hold everyday essentials, and the border adds both beauty and practical shape.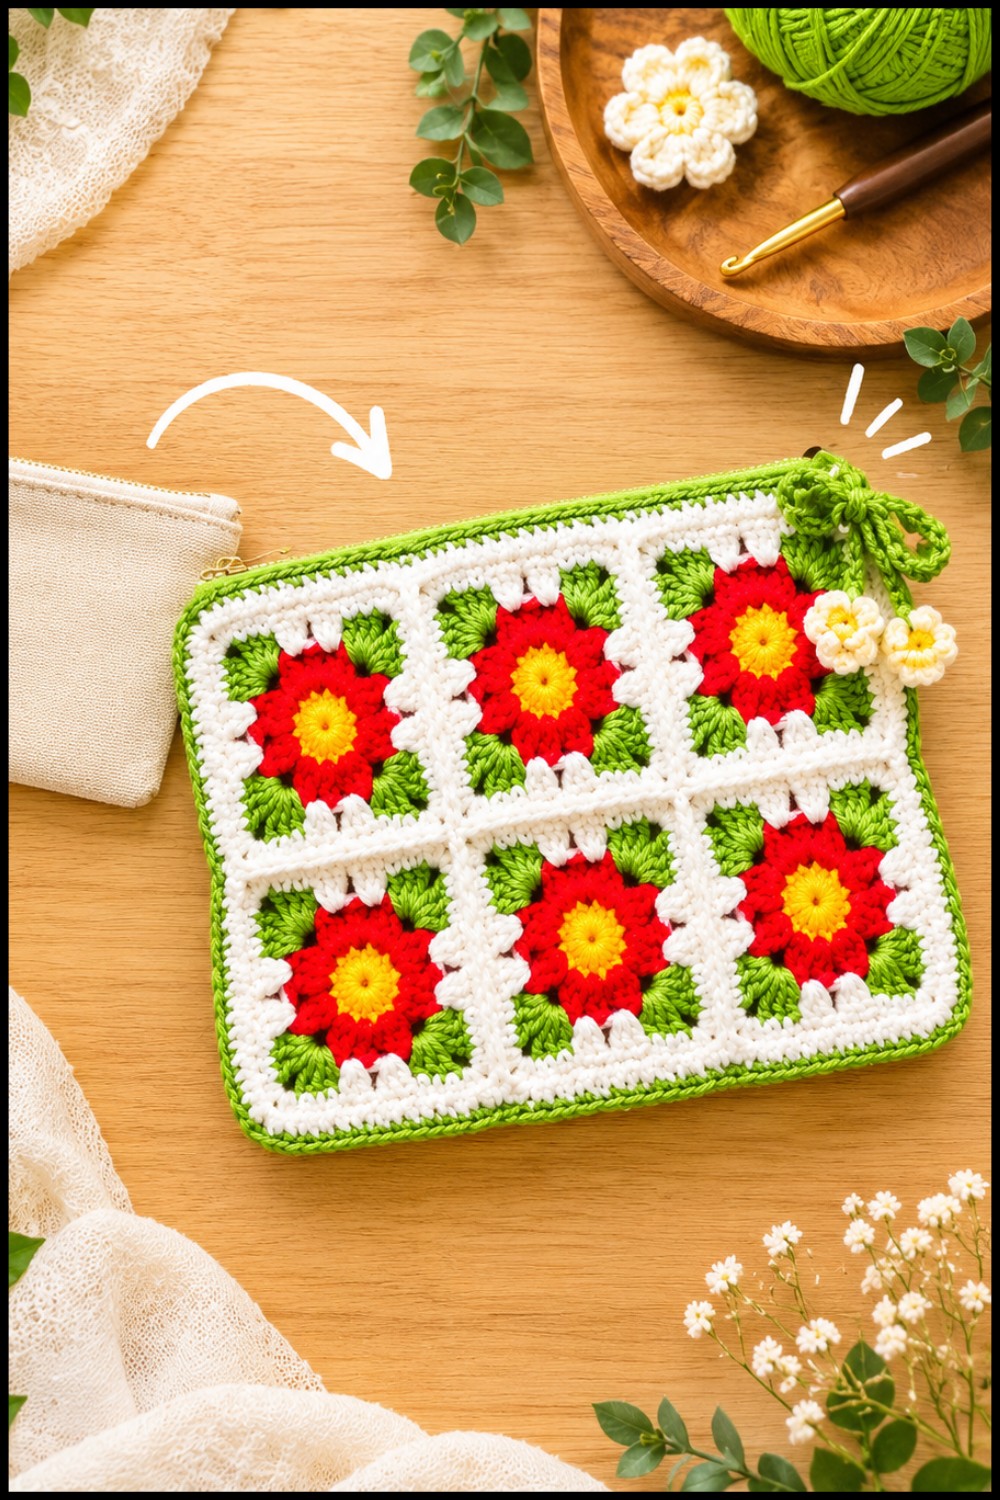
Conclusion
The granny square pouch seamlessly combines classic crochet motifs with structured, modern finishing techniques. Strong seams, bold borders, and thoughtful lining ensure a durable and beautiful accessory. Careful alignment, smooth joins, and attention to tidy edges result in a project that is both practical and aesthetically pleasing, making this a timeless addition to personal accessories or handcrafted gifts.
