
Brighten your table with the cozy charm of a Crochet Carrot Charger Plate that adds a unique and delightful touch to every meal and celebration.
Add a bright and fun touch to your dining table with a handmade accessory. The Crochet Carrot Charger Plate created by Márcia Souza Crochê looks like a fresh carrot with orange yarn and a green top. It feels soft but firm, giving your table a cozy and cheerful look.
Unique Crochet Carrot Charger Plate Free Pattern For Easter Tables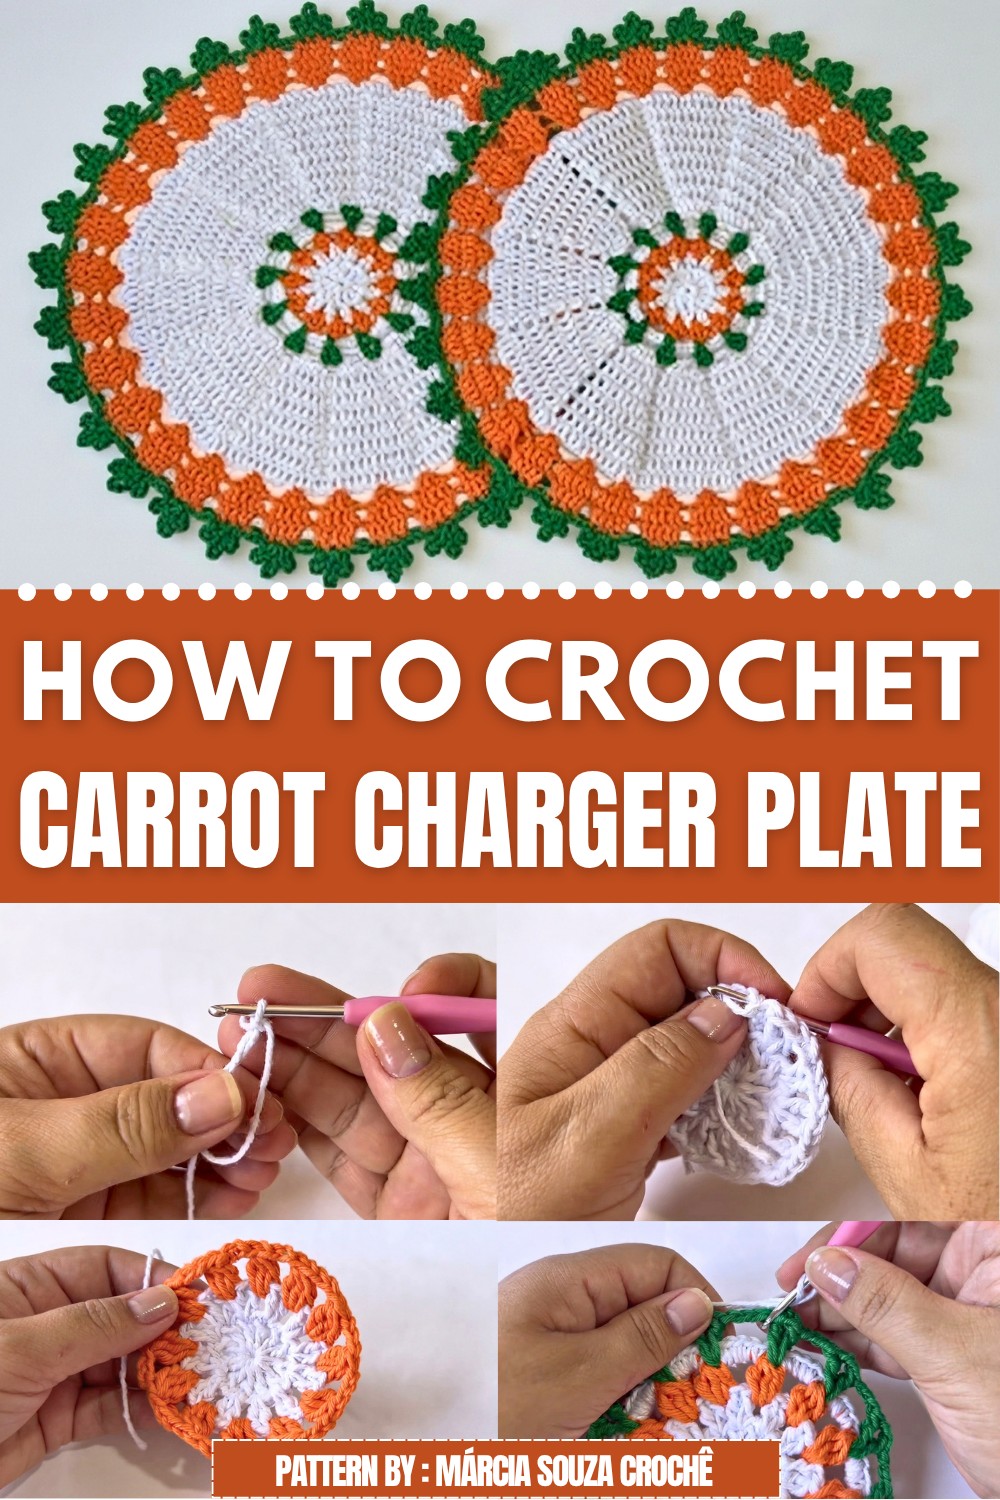

To make this charger plate, you start by crocheting a round orange base using simple stitches to create the carrot body. Then, you add green leaves at the top with crochet techniques that give a nice texture and shape. The process is easy to follow, even for beginners, and allows you to create a colorful and charming piece for your home.
This charger plate is great for special occasions like spring or Easter, but it also works well for everyday meals. You can use it under your dishes or as a colorful mat for seasonal decorations. It adds color and warmth to any table setting.
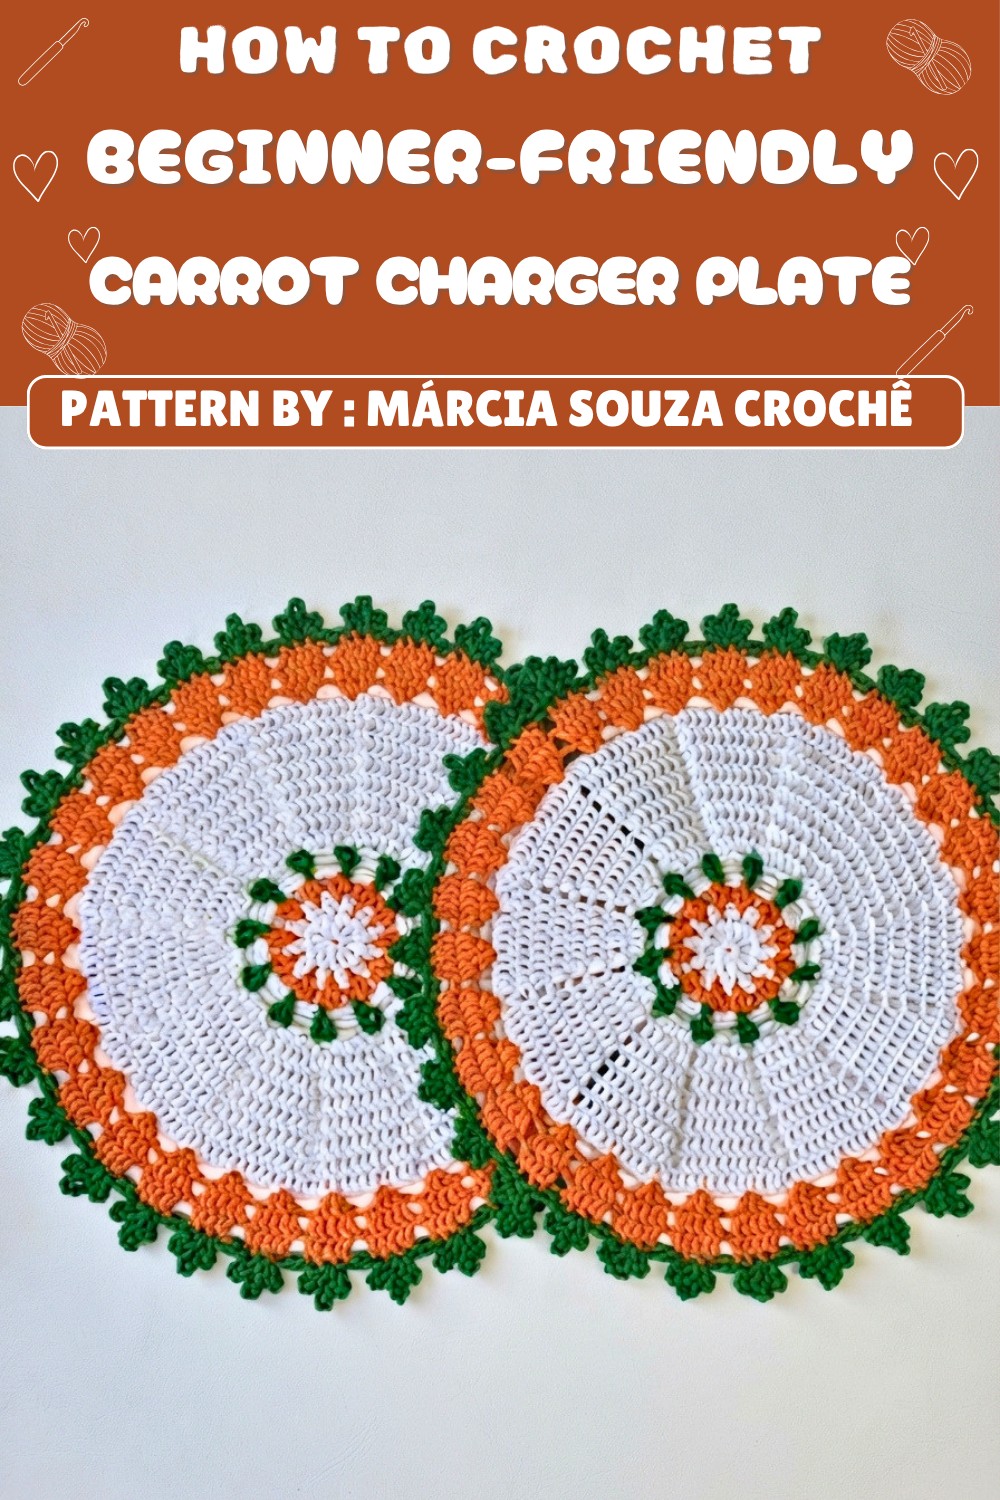 This piece makes a lovely gift for anyone who likes unique and natural decorations. It shows how crochet can turn simple materials into something both useful and beautiful.
Márcia Souza Crochê’s design brings a bit of the garden inside your home. The carrot shape adds a fresh and playful touch without being too much. It’s an easy way to brighten your space with a charming, handmade item that stands out for its style and personality.
Crocheted Easter Carrot Placemat
This carrot-shaped placemat is a charming and functional accessory that can brighten up any spring table, children’s meal setting, or festive dining. Drawing its unique appeal from the carrot motif, the placemat skillfully uses color changes and texture to add visual interest and playful character. Each step of this project is constructed with simple stitches, making it both inviting and practical for crocheters who want an efficient yet decorative piece for their home.
Pattern Basic Points
The Carrot Placemat offers:
- A vibrant table accent in the shape of a carrot, enhanced with leafy green edging.
- Step-by-step construction, including color changes, motif expansion, and leaf shaping.
- Adaptability in size—easily adjusted for different needs.
- Use of accessible stitches and clear shaping.
Key Construction Features:
- Begins with a magic ring and rounds of double crochet.
- Multiple color changes for authenticity: white as a base, orange for the carrot, and green for the leaves.
- Creative finishing with leaf motifs and seamless endings.
Special Notes
- Work is primarily in the round with increasing stitch counts per round.
- Tension and yarn weight can alter the finished size; adjust accordingly.
- All ends should be securely woven in and, if desired, sealed with fabric glue to ensure durability.
- The pattern is easily customizable; add or subtract rows for placemats of different dimensions.
Skill Level
Beginner to Intermediate:
Familiarity with working in the round, simple increases, basic joining, frequent color changes, and crocheting into chain spaces is required. Suitable for those comfortable with foundational crochet stitches.
Materials
- Yarn: Size 6 (worsted or aran weight recommended)
- White (placemat base)
- Orange (carrot body)
- Green (leaf edge)
- Specifics used: Apolo yarn in white, Barroco yarn in orange and flag green
- Crochet Hook: 3.5 mm
- Notions: Small scissors, tapestry needle
- Optional: Fabric glue for securing ends
- Measuring tape
Measurements / Sizing
- Length (base of carrot to start of leaves): approx. 40 cm
- Full width (leaf tip to leaf tip): approx. 45 cm
- Weight (finished): 179g
Sizes may vary with yarn type and tension. Adjust number of rounds for altering finished dimensions.
Gauge
- Gauge is not critical; the motif grows outward in rounds.
- After the first few rounds, measure for approximate fit:
- After first three rounds, placemat should lay flat without curling.
- To adjust size, add or subtract from the white double crochet rounds.
Stitch Abbreviations
- ch: chain
- sc: single crochet
- dc: double crochet
- hdc: half double crochet
- sl st: slip stitch
- tr: treble crochet
- st(s): stitch(es)
- sp: space
Special Stitches
- Magic Ring: Create a loop, work initial stitches into loop, and pull closed.
- Cluster of 3 dc together: Yarn over, insert hook in sp, yo, pull up, pull through two, repeat 2 more times, yo and pull through all loops on hook.
- Perfect Finish: After last stitch, use needle to sew end through both top loops of adjacent stitch for an invisible join (improves professional look).
- Leaf Petals: Chains worked into one stitch, joined back for dimensional small and large leaf tips.
Pattern Instructions
Placemat Center and Building Outward
Round 1: Magic Ring & First Motif
- With white yarn, make a magic ring.
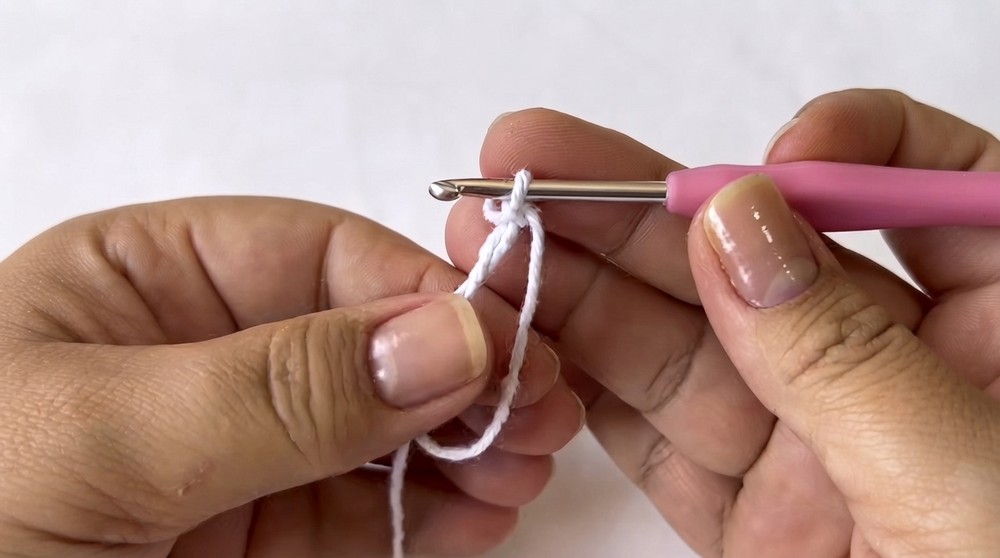
- Into the ring:
- Ch 1 (counts as first dc), dc, * ch 1, dc *, repeat from * to * until you have 12 dc (each separated by a ch 1).
- Join with sl st to starting ch 1.
- Pull ring tight and weave in end by running through adjacent loops.
Round 2: Expanding the Motif
- Ch 2 (counts as dc), dc in same sp (first dc group).
- Ch 1, * 2 dc in next ch-1 sp, ch 1 *; repeat until you have 12 clusters of 2 dc separated by ch 1.
- Join with sl st to starting ch 2.
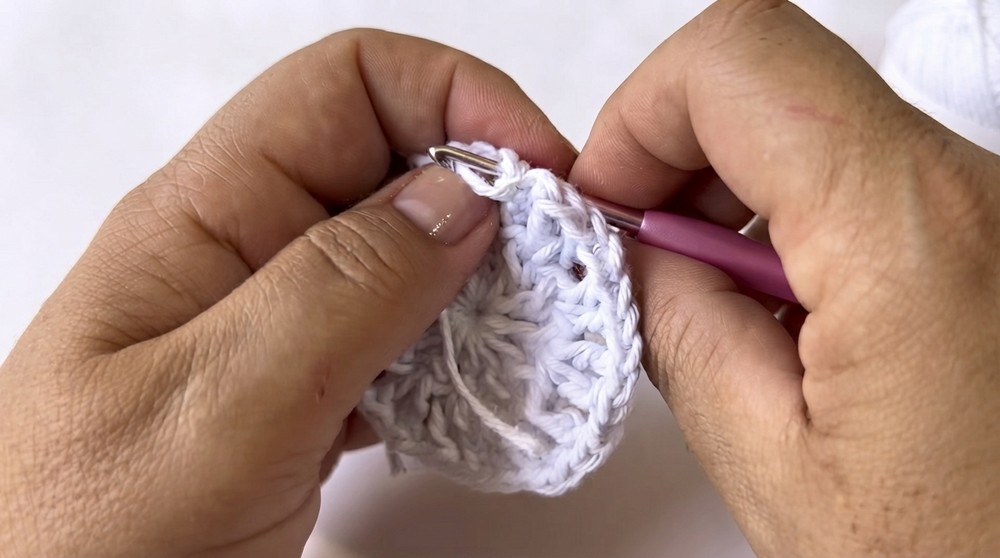
- Cut yarn, pull through, and tidy end by weaving through back loops.
Round 3: Carrot Body (First Orange Round)
- Attach orange yarn in any ch-1 sp.
- Cluster: * [Yo, insert in sp, pull up, yo, pull through 2], repeat for a total of 3 times in same sp (leaving final loops on hook), yo and pull through all loops (3-dc cluster).
- Ch 3 for separation, repeat cluster in each ch-1 sp all the way around.
- Join with sl st to top of first cluster.v
- Cut and finish off orange end, weaving through back loops.

Round 4: White Single Crochet Filler
- Attach white yarn in any ch-3 sp.
- Work 5 sc in each ch-3 sp around.
- Join with sl st.
- Cut and finish off white end by weaving through stitches on the back of the work.
Round 5: Carrot Top (Leaves, Green)
- Attach green yarn at side of any cluster (top center of a carrot “segment”).
- Into each top center: tr, ch 2, tr (for each, stretch these tall for elongated look).
- Between leaves, ch 3, skip to next “carrot top.”
- Repeat for the full round.
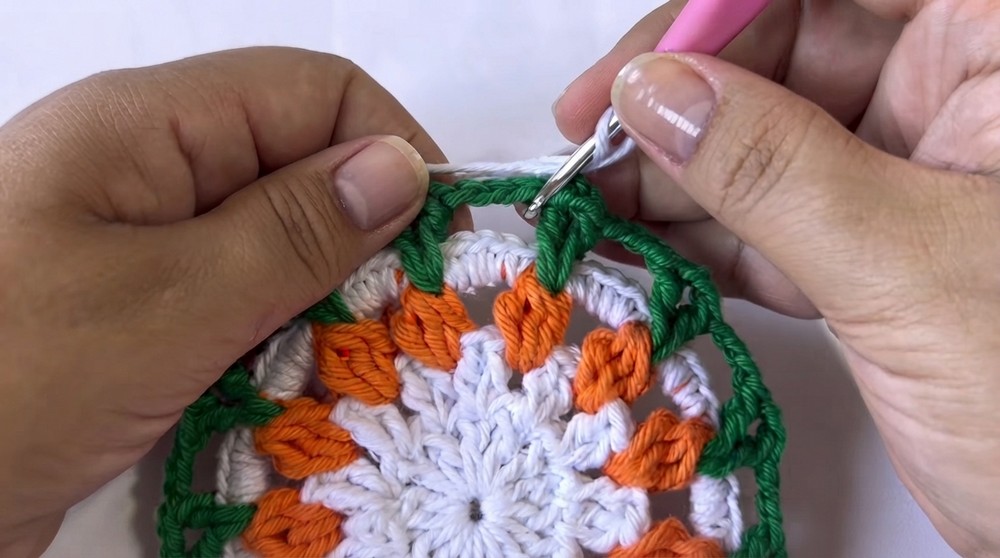
- Finish with sl st and weave ends in securely.
Main Carrot Expansion (White Section with Increases)
Round 6: White dc Expansion
- Attach white yarn in any ch-3 sp (between leaves).
- In each ch-3 sp: work 5 dc.
- Ch 1 between each group.
- Repeat around, join with sl st.
Rounds 7–12: Increases
- Each round: Ch 2 (counts as dc), dc in each dc across, and, in last dc of each group, work 2 dc in same st (an increase at each end of group).
- Ch 1 separation between groups.
- Continue for as many rounds as needed, adding one more stitch per group each round, until you reach 11 dc per group.
- Last expansion round: In place of the ch 1 separator, work 1 dc (solid round) for 12 dc per group.
Perfect Finish:
After last round, finish with a needle join for a seamless look. Weave in ends tidily.
Final Border: Carrot Edge (Orange Rounds)
Round 13: Orange Motif
- Attach orange yarn, ch 2 as a fake dc, in same stitch dc two more times (group of 3 dc).
- Ch 2, skip 4 sts, group of 3 dc in fifth st.
- Repeat: * 3 dc, ch 2, skip 4, 3 dc in fifth * to end.
- If you have extras at the end, balance as needed—ends can be skipped unevenly for symmetry.
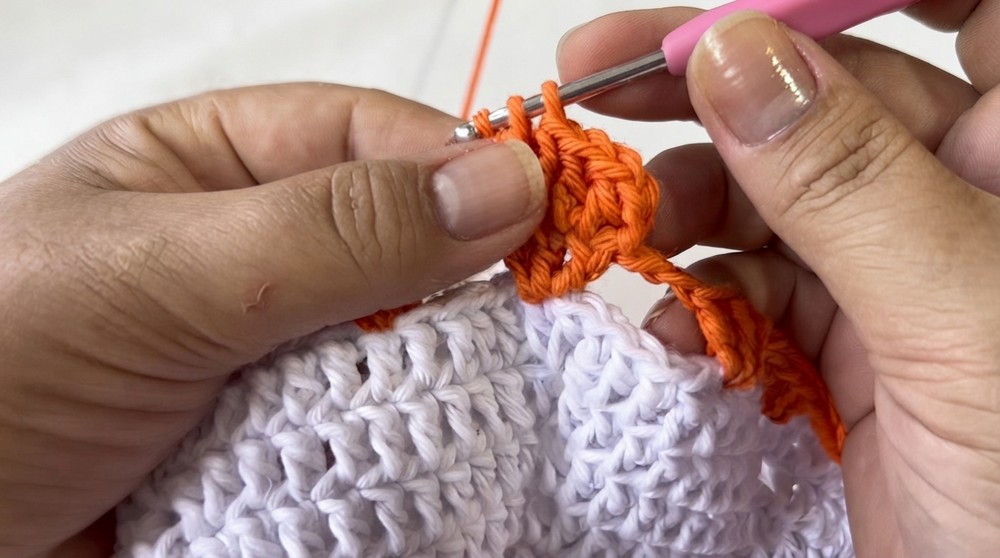
Round 14: Orange Increase and Shape
- Ch 2 as a fake dc, dc in same st.
- Next st: 1 dc.
- Next: 2 dc in next st.
- End up with 5 dc per motif.
- Ch 1, repeat group motif in each cluster space.
Round 15: Cluster Decrease
- For each motif:
- [Hdc next 2 sts together], dc, [hdc next 2 sts together]
- Ch 3 between motifs.
- Finish motif all around, join with sl st and weave off.
Leafy Edging (Green Leaves)
Round 16: Green Leaf Edging
- Attach green at chain space.
- In each ch sp: 2 sc.
- In each decrease: sc in each of next 2 sts, (work leaf: ch 5, sl st in same, ch 7, sl st in same, ch 5, sl st in same), sc in next st.
- 2 sc in next ch sp; continue all the way around.
- At end, join with sl st or perfect finish.
- Secure all yarn ends.
Assembly & Finished Size
- After final round, check placemat for symmetry and adjust leaf shapes by hand.
- Weave in or glue all loose yarn ends on the reverse side for durability.
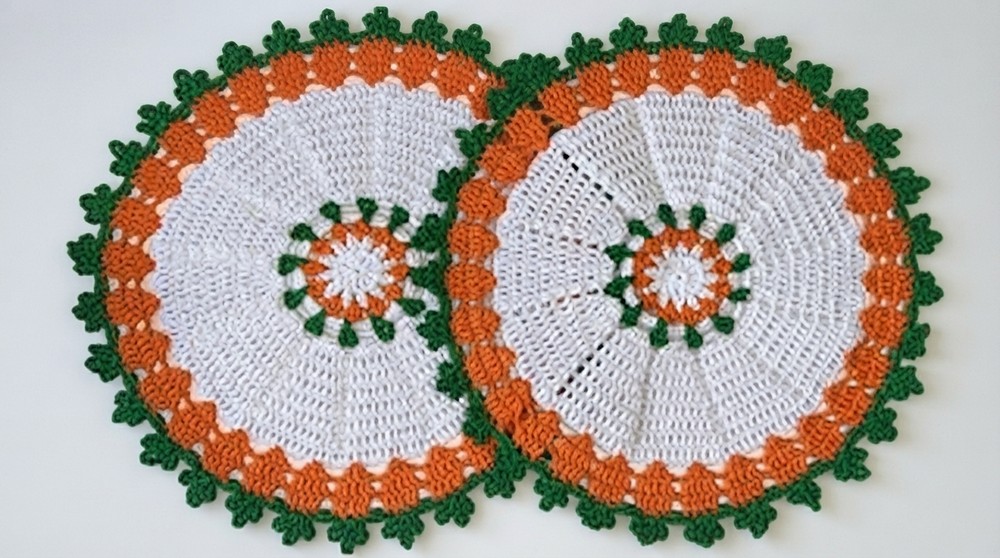
- Finished size: Center body approx. 40 cm, tip-to-tip (with leaves) approx. 45 cm, weight ~179g.
Conclusion
The carrot placemat is a delightful project offering practical use and festive style, created with simple stitches and basic techniques suitable for beginners wishing to advance their color work and shaping skills. With careful color changes, cluster stitches, and leafy details, this piece is both creative and durable. Adjust the size or colors as needed to match your decor or event, resulting in a versatile, attractive accessory for any table setting or celebration.
