Bring a touch of snowy fun to your room with a tiny bird using this Free Crochet Penguin Amigurumi Pattern that helps you make a wonderful and lucky plush.
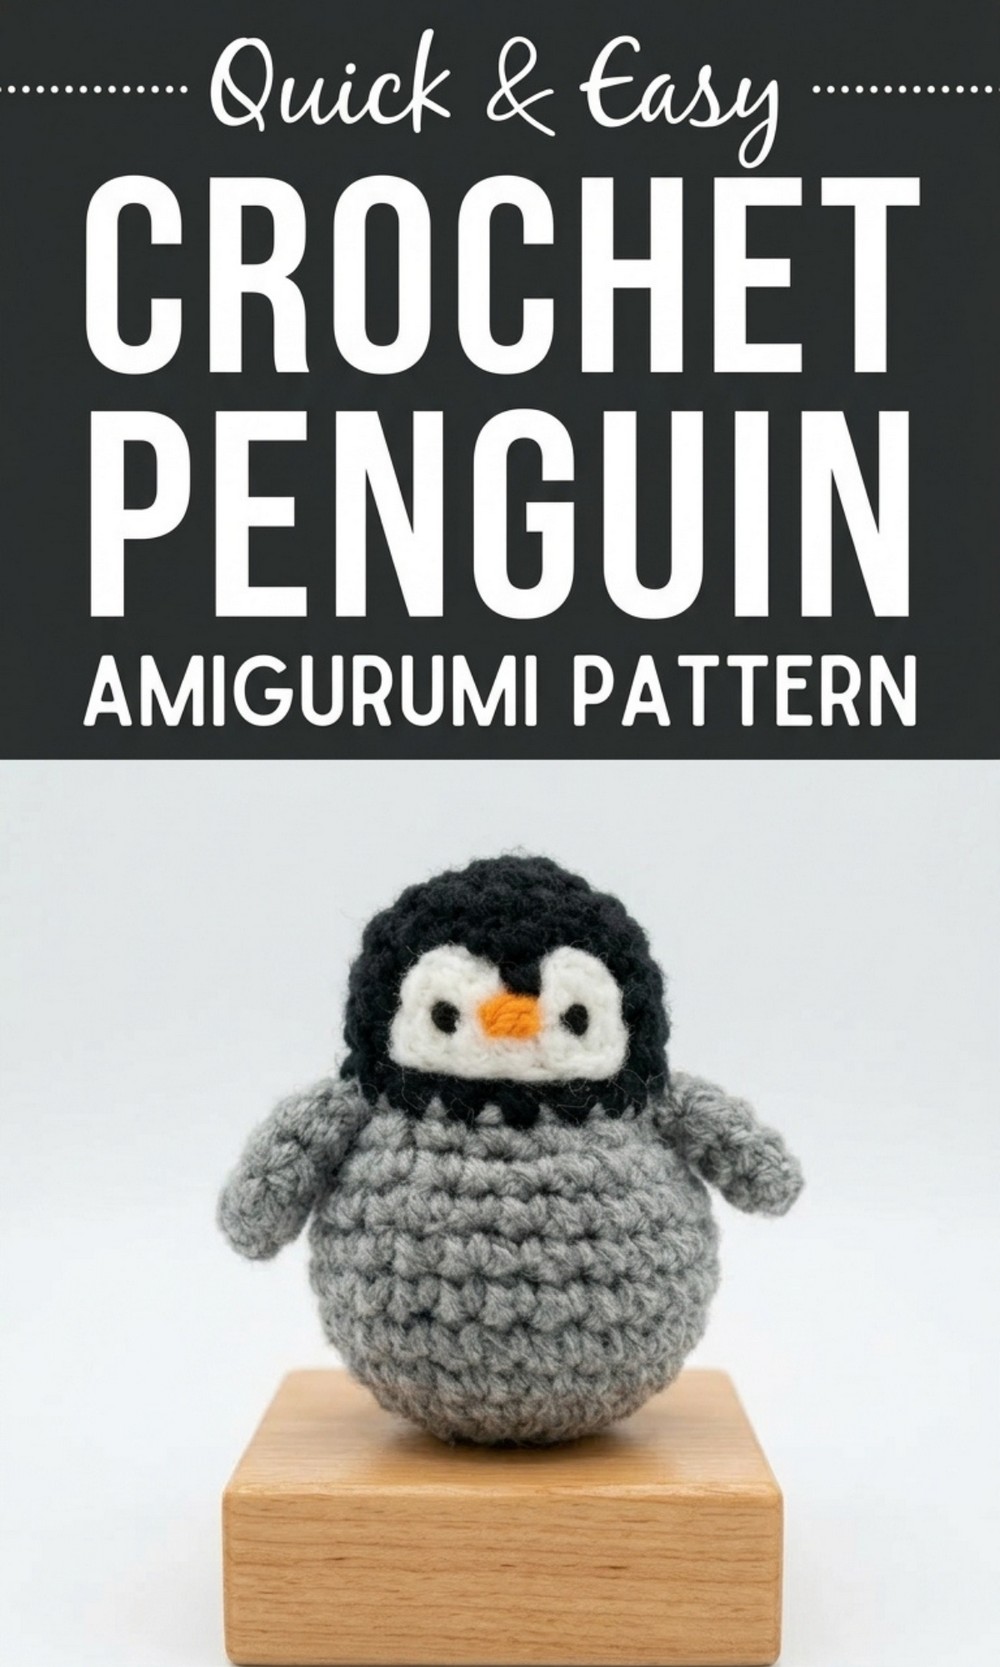
Playful Free Crochet Penguin Amigurumi Pattern Perfect for Gifting
If you love cute crochet, this free crochet penguin amigurumi pattern is perfect for you. It’s a fun project where you can create a small, adorable penguin using simple crochet techniques. The penguin is made with soft yarn in gray, black, and white, with a tiny orange beak that makes it even cuter. Its design includes tiny wings, a rounded body, and sweet details like felted eyes that give it personality. This penguin can be a cute toy, a handmade gift, or even a decoration for your desk or shelf.
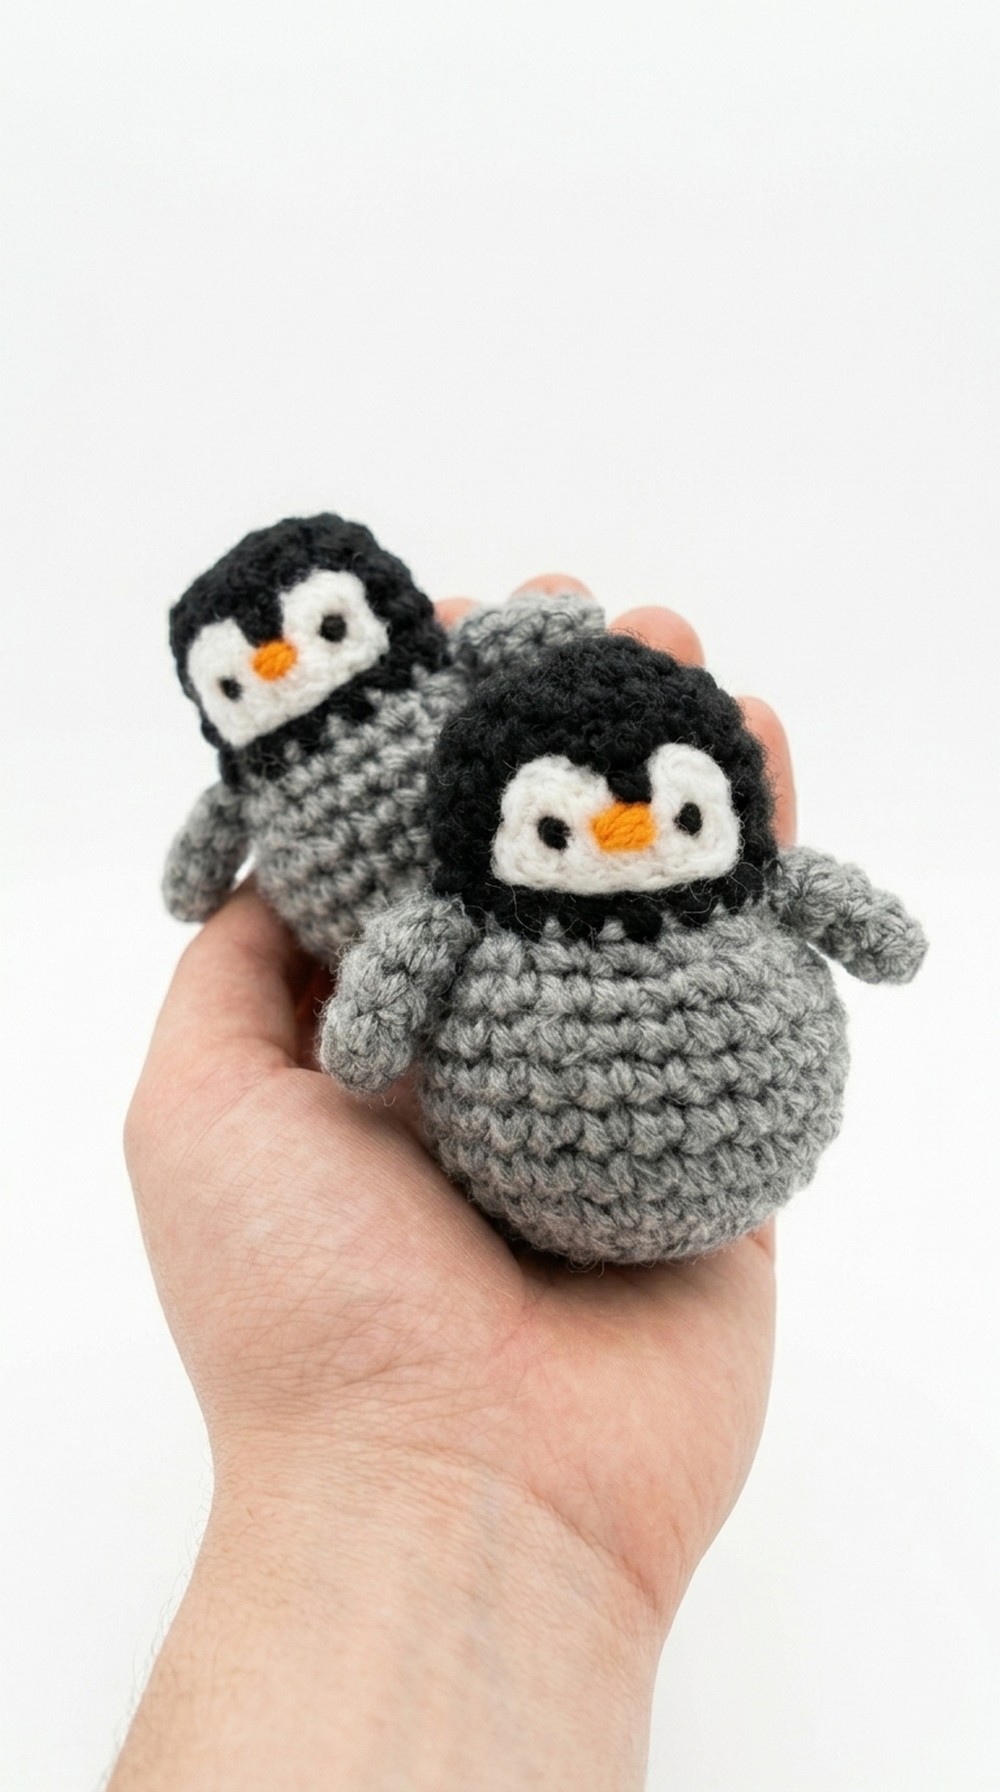 The pattern is easy to follow, starting with basic stitches like single crochet and a magic circle, making it beginner friendly. Children and adults alike will love this adorable penguin for its charm and uniqueness. With this pattern, you’ll make not just a toy but a cheerful little friend to brighten your day.
Crochet Penguin Amigurumi Pattern
Materials Needed
- Yarn
- Worsted weight yarn in gray, black, white, and a small scrap of orange for the beak.
- Crochet Hook
- A 2.75mm crochet hook.
- Additional Tools
- Scissors.
- Tapestry needle.
- Sewing pins.
- Felting mat (or sponge).
- Wire bristle brush for fluffing yarn scraps.
- Felting needle for attaching eyes and face details.
- Stuffing
- Polyester fiberfill or any soft filling for stuffing the penguin.
Abbreviations Used
- sc: Single crochet
- inc: Increase (2 sc in 1 stitch)
- dec: Decrease (crochet 2 stitches together)
- BLO: Back loop only
- mc: Magic circle
Pattern Instructions
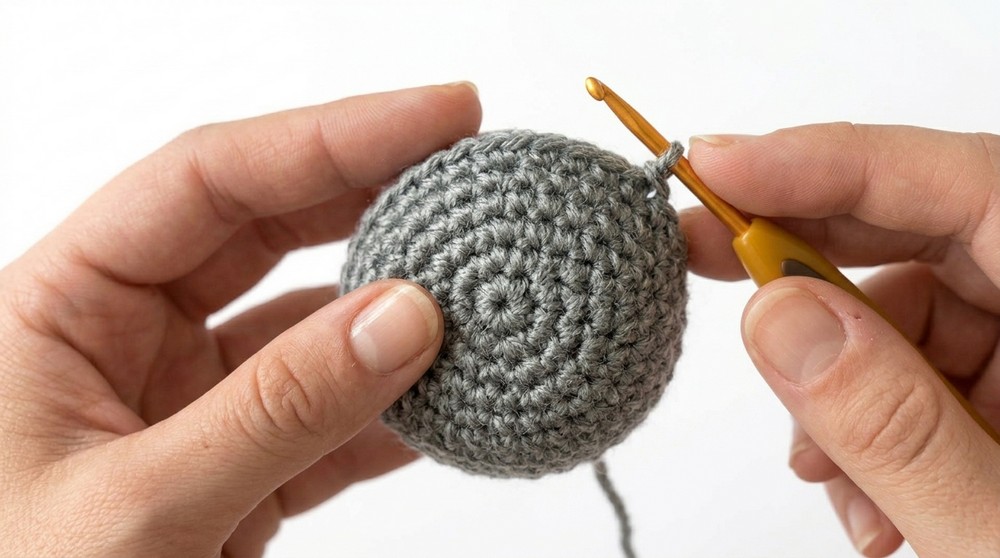
Body
Row 1:
- Create a magic circle (mc) and work 6 single crochets (sc) in the circle.
- Pull the circle closed and secure it. (6 stitches)
Row 2:
- Chain 1, work 1 increase (inc) in each stitch around. (12 stitches in total)
Row 3:
- Work 1 sc, inc, repeat this sequence 6 times around. (18 stitches)
Row 4:
- Work entirely in the back loops only (BLO): 2 sc, then BLO inc, repeat 6 times. (24 stitches)
Row 5:
- Work 6 sc, inc, 10 sc, inc, 6 sc. (26 stitches)
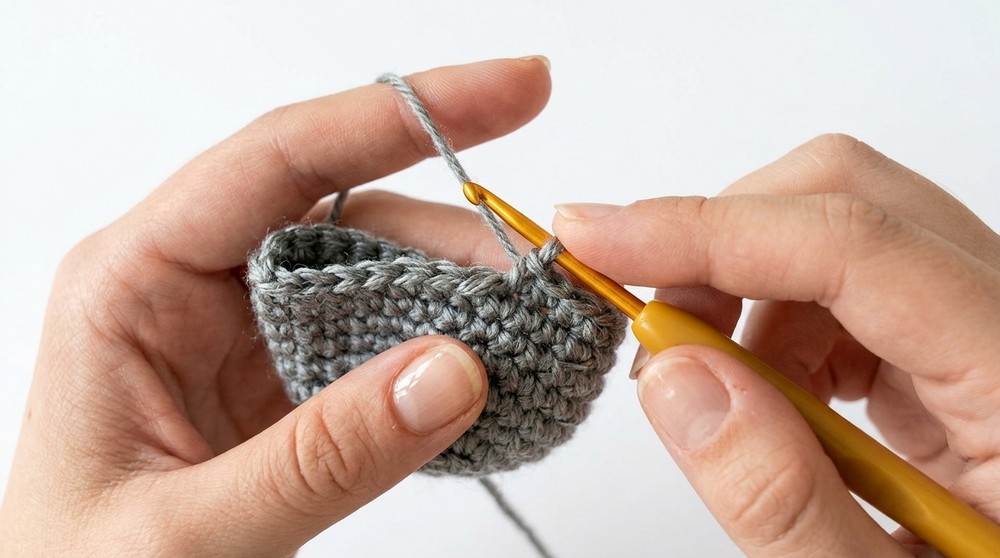
Rows 6 to 9:
- Crochet 1 sc in each stitch around. Do this for 4 rows to create the body height. (26 stitches per row)
Row 10:
- Work 6 sc, dec (decrease), 10 sc, dec, 6 sc. (24 stitches)
Row 11:
- Work 2 sc, dec and repeat that sequence 6 times. (18 stitches)
- Finish off: Leave a long tail to close the top later.
Head
- Switch to black yarn:
- Attach the black yarn with a slip stitch in the first stitch of the last row.
- Attach the black yarn with a slip stitch in the first stitch of the last row.
Row 12:
- Work 2 sc, inc and repeat 6 times. (24 stitches)
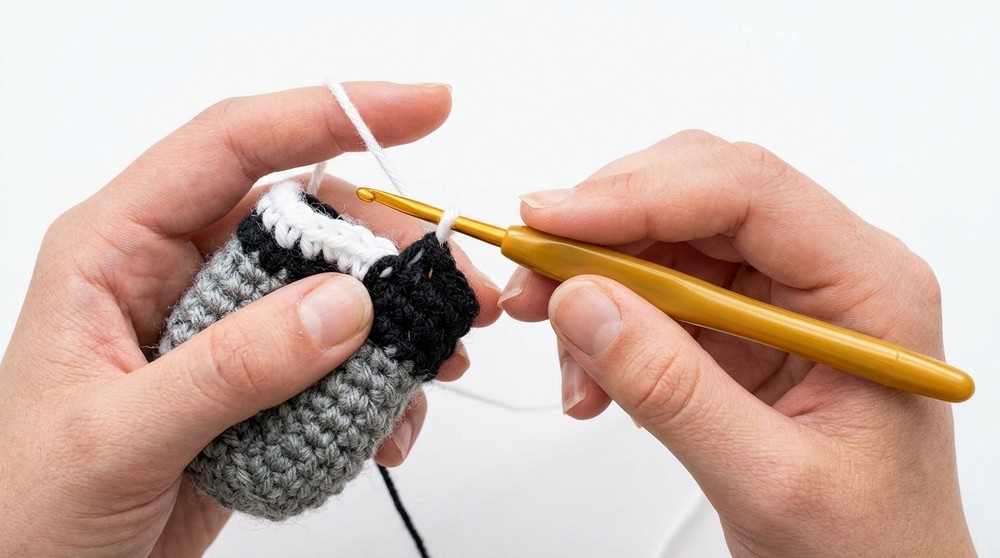
Row 13 (using tapestry crochet):
- Work 9 sc (black), 7 sc (white), 8 sc (black).
Tip for Color Changes in Tapestry Crochet:
To switch colors, insert your hook into the stitch, yarn over and pull through a loop, then yarn over with the new color and pull it through to finish the stitch cleanly.
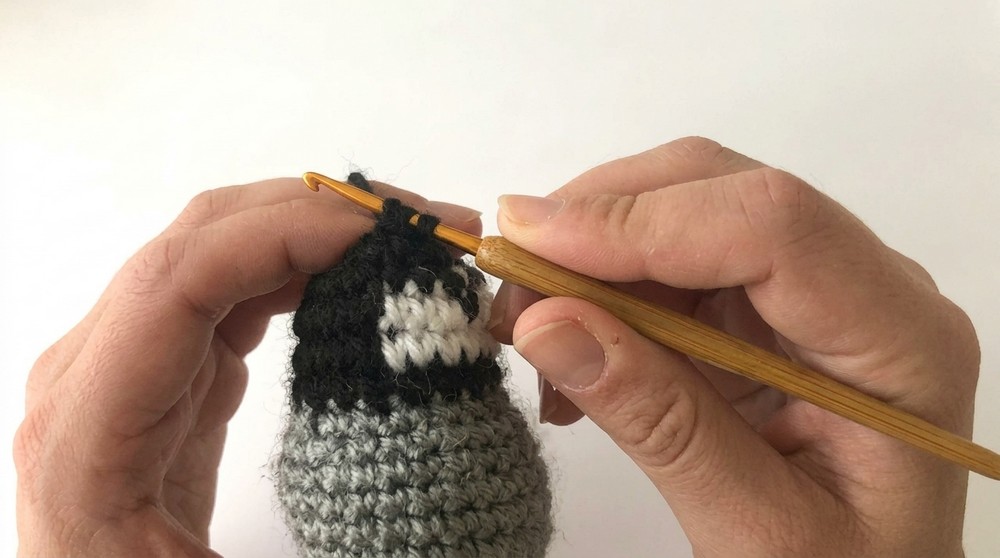
Row 14 (tapestry crochet):
- Work 9 sc (black), 3 sc (white), 1 sc (black), 3 sc (white), 8 sc (black).
Finish off White Yarn
- Cut the white yarn and knot it securely to prevent unraveling.
Row 15:
- Work sc, dec (decrease) for 4 sets, finishing with an additional sc at the end. (19 stitches)
Row 16:
- Repeat dec, 2 sc for 2 sets, then finish with dec, sc, dec. (13 stitches)
Stuff the Penguin
- Before moving to the final row, stuff the penguin with fiberfill or any soft stuffing material.
Row 17 (closing):
- Work 6 decreases (dec), and skip the last stitch. (6 stitches)
- Finish off the body: Cut the yarn with a long tail, use a tapestry needle to weave through the last 6 stitches, pull tightly to close like a drawstring, and secure.
Beak
- Thread the orange scrap yarn with a tapestry needle.
- Embroider a small triangle at the front of the penguin, just beneath the black area of the face.
Wings
Wing Pattern
Row 1:
- Using gray yarn, create a magic circle and work 4 sc into the circle.
Row 2:
- Work sc, inc and repeat twice. (6 stitches)
Rows 3 to 4:
- Work 1 sc in each stitch around for 2 rows.
- Finish off: Leave a long tail for sewing onto the body.
Attaching the Wings
- Use sewing pins to align the wings symmetrically on both sides of the penguin.
- Stitch each wing securely between the gray body section and the black head section, ensuring they are evenly placed.
Face and Eyes
- Creating the Eyes:
- Use the wire bristle brush to fluff up small black yarn scraps into felt like pieces. Roll the black fluff into two tiny balls for eyes.
- Creating the Eye Base:
- Use the same method with white yarn to create a small felt backing for the eyes.
- Attaching the Eyes:
- Place the white felt on the face and attach it using a felting needle until smooth.
- Attach the black eyes on top using the same method, poking gently with the felting needle to secure.

Finishing Touches
- Once all pieces are securely attached, double check for any loose ends or adjustments.
- Weave in any remaining yarn tails and trim them cleanly.
Final Words and Tips
- Stitch Tightness: Ensure your stitches are consistent and firm to prevent gaps where stuffing might show.
- Color Changes: Practice smooth yarn color changes to keep the transitions seamless and tidy.
- Felting Tips: When creating eyes, use light poking motions with the felting needle to prevent damaging the yarn.
- Customization: Feel free to use different yarn colors to make unique penguins for gifts or decor.
With this detailed guide, you’re ready to create an adorable crochet penguin with personality and charm.