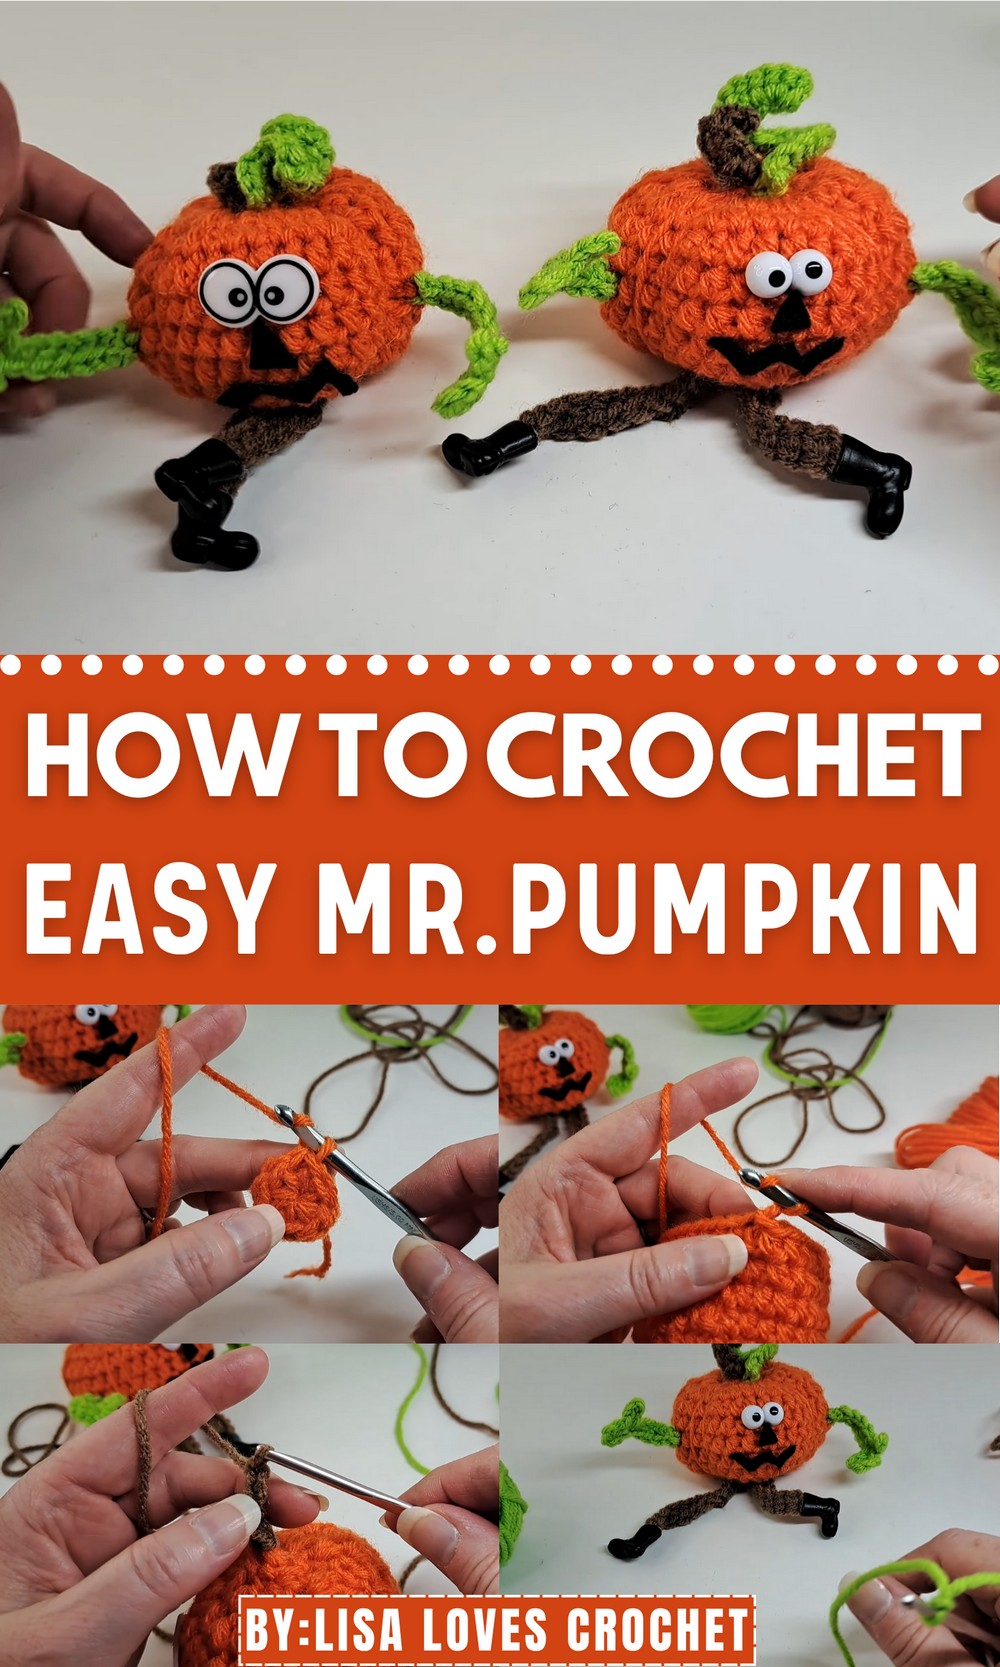
Brighten your autumn décor with the Free Crochet Mr. Pumpkin Pattern, a fun, beginner-friendly project that adds charm to any space.
Bright and cheerful, this “Free Crochet Mr. Pumpkin Pattern” brings a festive burst of autumn charm to your space. The Free Crochet Mr. Pumpkin Pattern offers a delightfully simple build‑up: you’ll crochet a round, full‑bodied pumpkin with charming details that make it more than just another décor piece.
Cozy Crochet Mr. Pumpkin Pattern to Spruce Up Your Home
The finished pumpkin works beautifully as seasonal décor, a playful accent for Halloween, or even as a soft toy or photo prop. The benefit of using the Free Crochet Mr. Pumpkin Pattern is that you gain a satisfying handmade piece in just a few enjoyable hours, no pricey store purchase required, and you’ll walk away with both a charming accent and a sense of accomplishment.

Mr. Vine Pumpkin Head Free Crochet Pattern
Finished Size
The finished pumpkin is approximately 4–6 inches tall, depending on your yarn weight, stuffing, and tension.
Materials Required
- Yarn:
- Orange yarn for the pumpkin body (Medium/4 weight yarn recommended, acrylic is ideal).
- Brown yarn for the pumpkin stem.
- Green yarn for the vine arms and embellishments.
- Crochet Hooks:
- H/5mm hook (for the pumpkin body).
- G/4mm hook (for the stem and vine).
- Safety Eyes:
- 2 safety eyes of your choice (purchased online or from craft stores).
- Optional: Black felt for additional facial features (if desired).
- Other Supplies:
- Tapestry needle for weaving in ends.
- Stuffing to fill the pumpkin (fiberfill recommended).
- Small items (like gems or pebbles) to add weight to the pumpkin.
- Scissors.
- Hot glue or fabric glue (for adhering facial features or boots).
- Optional Accessories:
- Mini boots (purchased from online marketplaces).
- Additional decorative materials (googly eyes, pom-poms, etc.).
Gauge
Gauge is not crucial for this project. However, your tension should result in a tight fabric to ensure the stuffing does not show.
Pattern Instructions
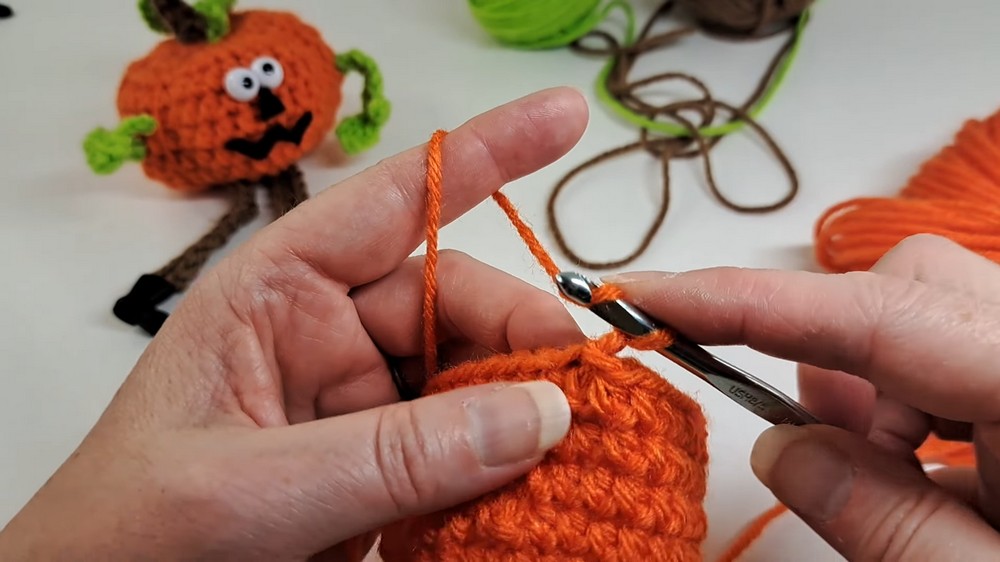
1) Pumpkin Body
Round 1: Start the Base
- Using the orange yarn and H/5mm hook, create a magic ring.
- Chain 1.
- Work 8 half-double crochets (hdc) into the magic ring.
- Pull the ring closed and slip stitch to the first hdc to join. (8 stitches).

Round 2: Increasing
- Chain 1.
- Work 2 hdc into the same stitch (increase).
- Work 2 hdc into each stitch around.
- Slip stitch to join. (16 stitches).
Round 3: Increasing
- Chain 1.
- Work 1 hdc in the same stitch.
- Work 1 hdc in the next stitch, 2 hdc in the next stitch around.
- Slip stitch to join. (24 stitches).
Round 4: Increasing
- Chain 1.
- Work 1 hdc in the same stitch.
- Work 1 hdc in the next 2 stitches, 2 hdc in the next stitch around.
- Slip stitch to join. (32 stitches).
Rounds 5–8: Build the Body
- Chain 1.
- Work 1 hdc in each stitch around. (32 stitches).
- Repeat for Rounds 5, 6, 7, and 8.
- Slip stitch to join after every round.
Round 9: Decreasing
- Chain 1.
- Work 1 hdc in the same stitch, 1 hdc in the next stitch, hdc decrease in the next 2 stitches (pull up a loop in one stitch, pull up a loop in the next, yarn over, pull through all loops) all the way around.
- Slip stitch to join. (25 stitches).
Round 10: Decreasing
- Chain 1.
- Work hdc decreases across every 2 stitches around.
- Slip stitch to join. (16 stitches).
Round 11: Closing with a Tight Decrease
- Chain 1, and work another round of hdc decreases. (12 stitches).
- Place stuffing inside the pumpkin. Add small weight (e.g., gems, pebbles) at the bottom for stability.
- Once stuffed, continue sewing the remaining opening closed using a tapestry needle.
- Create 6–8 horizontal indentations for the pumpkin by threading orange yarn from the bottom to the top repeatedly and pulling tightly to form grooves.
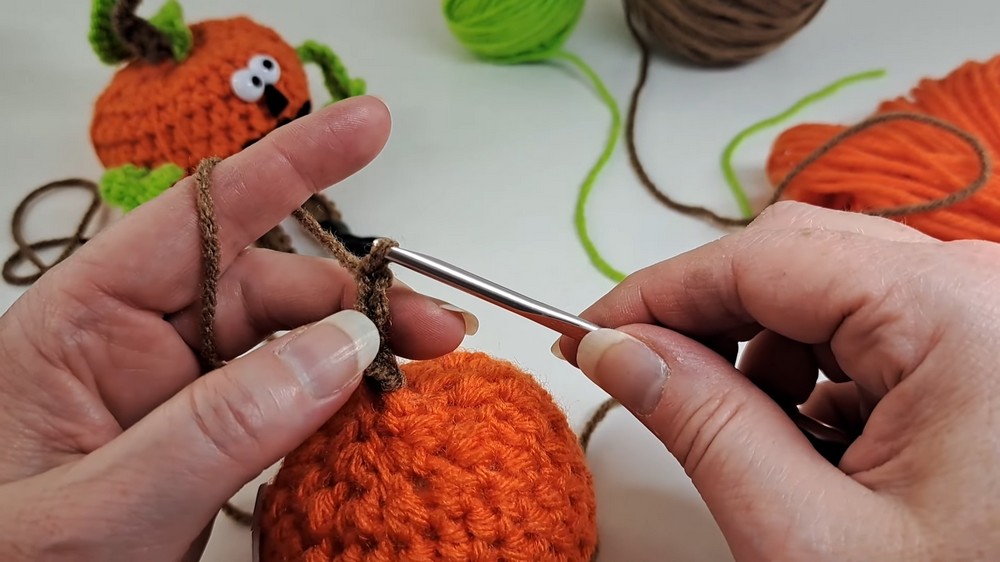
2) Pumpkin Stem
Stem
- Attach brown yarn to the center top of the pumpkin.
- Chain 5.
- Starting from the second chain from the hook:
- Work sl st in the first stitch.
- Work sc in next 3 chains.
- Slip stitch back into the starting point, fasten off, and weave in the ends.
Vine
- Tie a slip knot with green yarn.
- Attach the green yarn to the side of the stem with a sl st.
- Chain 8 (or more for a longer vine).
- Work 3 sc into each stitch along the chain to create the curly texture.
- Slip stitch back into the base of the vine at the stem and fasten off.
- Weave in ends securely.
3) Face and Embellishments
- Attach Safety Eyes:
- Use safety eyes of your choice. Insert the eye pins into the desired stitches, securing them tightly with the provided safety backs.
- Add hot glue to the back of the eyes for additional stability if needed.
- Optional Felt Features:
- You can cut small black felt shapes and glue them onto the pumpkin for a mouth, eyebrows, or other details.
- Decorative Features:
- Use red yarn to form a mini mouth or pink felt to create rosy cheeks. Add mini pom-poms or sequins for added sparkle.
4) Legs and Boots
Legs
- Attach orange yarn to one side of the pumpkin’s base with a sl st.
- Chain 12 (or longer depending on desired leg length).
- Work 1 sc into each chain back to the starting point. Slip stitch to secure.
- Fasten off and repeat on the opposite side for the second leg.
Boots
- Apply a small amount of hot glue into a pre-purchased boot.
- Insert the end of each leg into the boot, ensuring it is snug and points upward.
- Use a tapestry needle or crochet hook to push the end of the yarn inside the boot, securing it with glue.
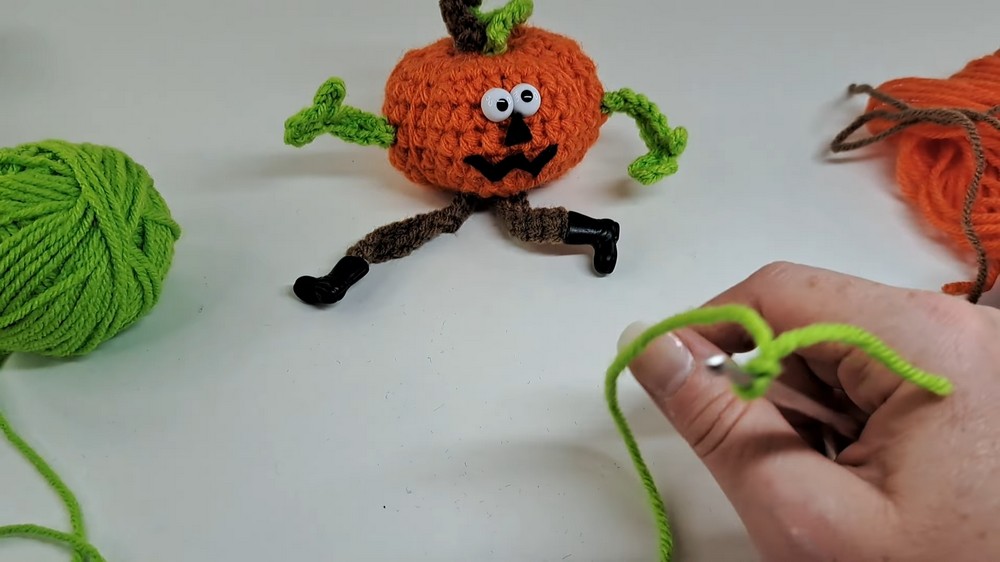
5) Arms and Vine
- Using the same green yarn, attach it to the side of the pumpkin.
- Chain 10 (or more, depending on desired arm length).
- Attach to the pumpkin’s side with a sl st. Repeat for the second arm.
- Optional: Use a small amount of green yarn or felt to add extra vines or leaf details.
Finishing the Pattern
- Securely weave in all loose ends.
- Add any final embellishments or details (e.g., tiny bows, glitter, or patterns).
- Enjoy your adorable Halloween-themed Mr. Vine Pumpkin!
Final Words
Congratulations on completing your Mr. Vine Pumpkin! This little crochet pumpkin makes a perfect festive decoration, gift, or playful Halloween companion.
Tips for Maintaining Your Pumpkin
- To clean your pumpkin, spot-clean it with a damp cloth. Avoid submerging in water.
- For long-term use, ensure the ends are tightly woven to prevent unraveling.
- To preserve the shape, consider using a denser stuffing material and adding weights as recommended.