
Cuddle adorable charm with Free Crochet Teddy Bear Amigurumi Pattern perfect for nurseries shelves cozy corners and cheerful everyday decor.
When I first saw the tiny crocheted teddy bear, I couldn’t believe how sweet and soft it looked. The Free crochet Teddy Bear Amigurumi Pattern, shared by the talented Radhe krishna crochet YouTube channel, helped me create this little treasure easily. If you love cute and cuddly toys, this project is a perfect way to start your crochet journey.
This teddy bear has a round, chubby shape that makes it look extra huggable. Its small ears, little arms, and legs are just the right size to hold in your hands. The soft yarn gives it a gentle, smooth feel, while the simple stitches add a neat texture that looks really nice. Usually, it’s made in warm brown or cream colors, but you can pick any shade you like to make it your own. The tiny nose and eyes add a sweet and friendly face that brings the bear to life.
Teddy Bear Amigurumi Crochet Free Pattern You’ll Want to Try
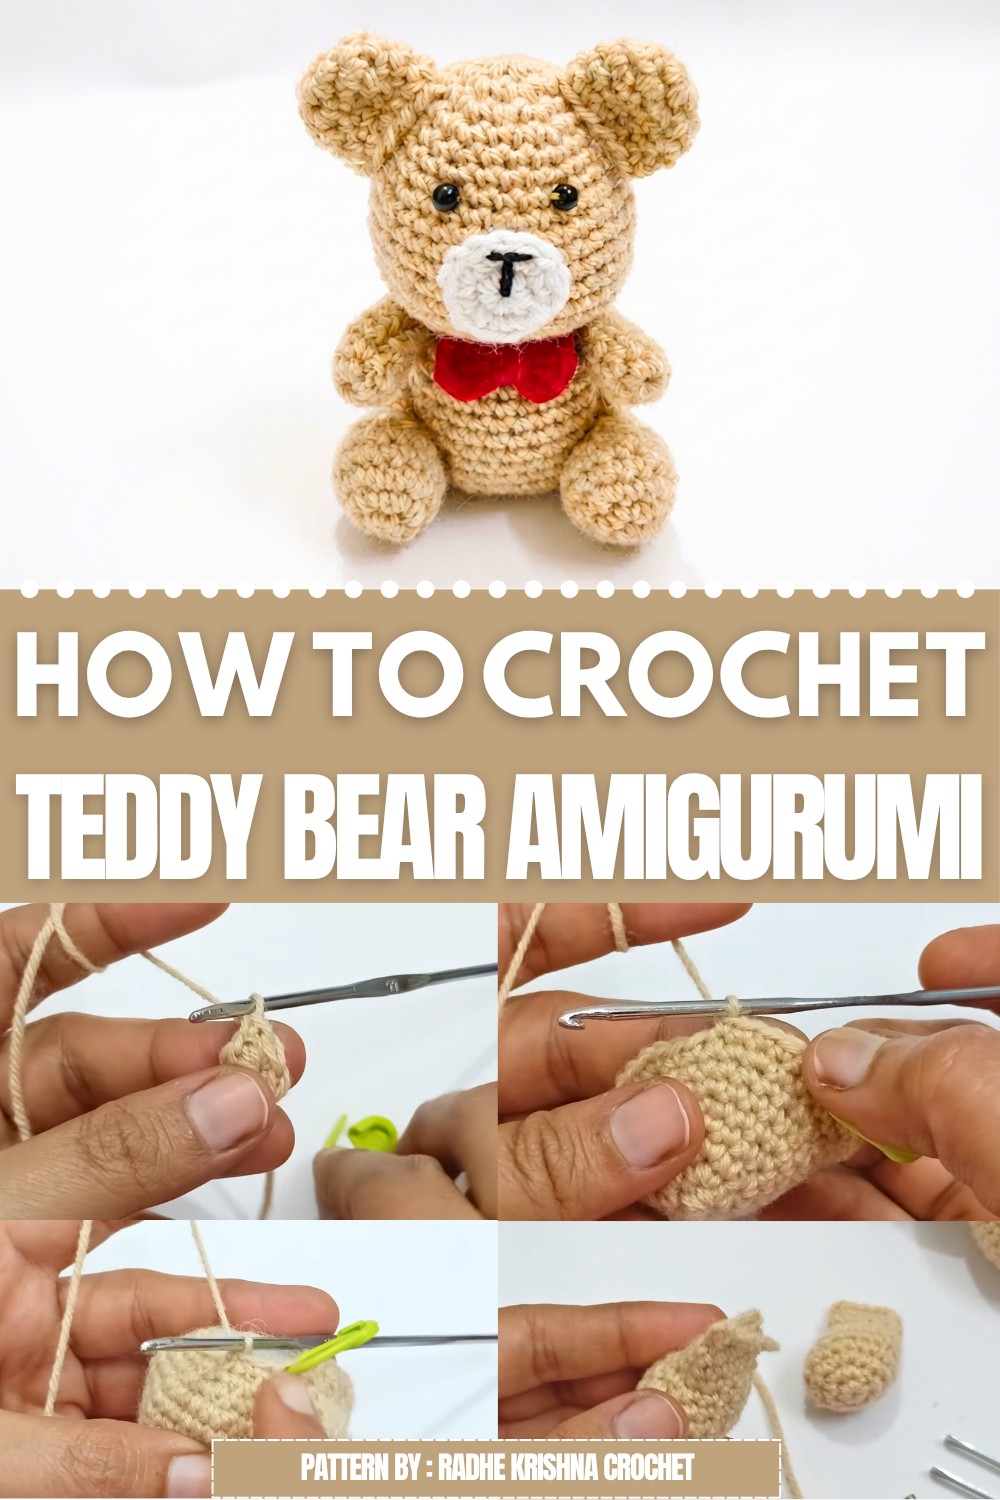
You can use this cute teddy bear in many ways. It makes a lovely gift for birthdays or holidays and looks great as a decoration on a shelf or desk. You can even attach it to your backpack or keys as a fun charm. This Free crochet Teddy Bear Amigurumi Pattern is perfect if you want to make something special to keep or give away. If you enjoy easy and enjoyable crocheting that ends with a soft, adorable toy, this project is just right for you!
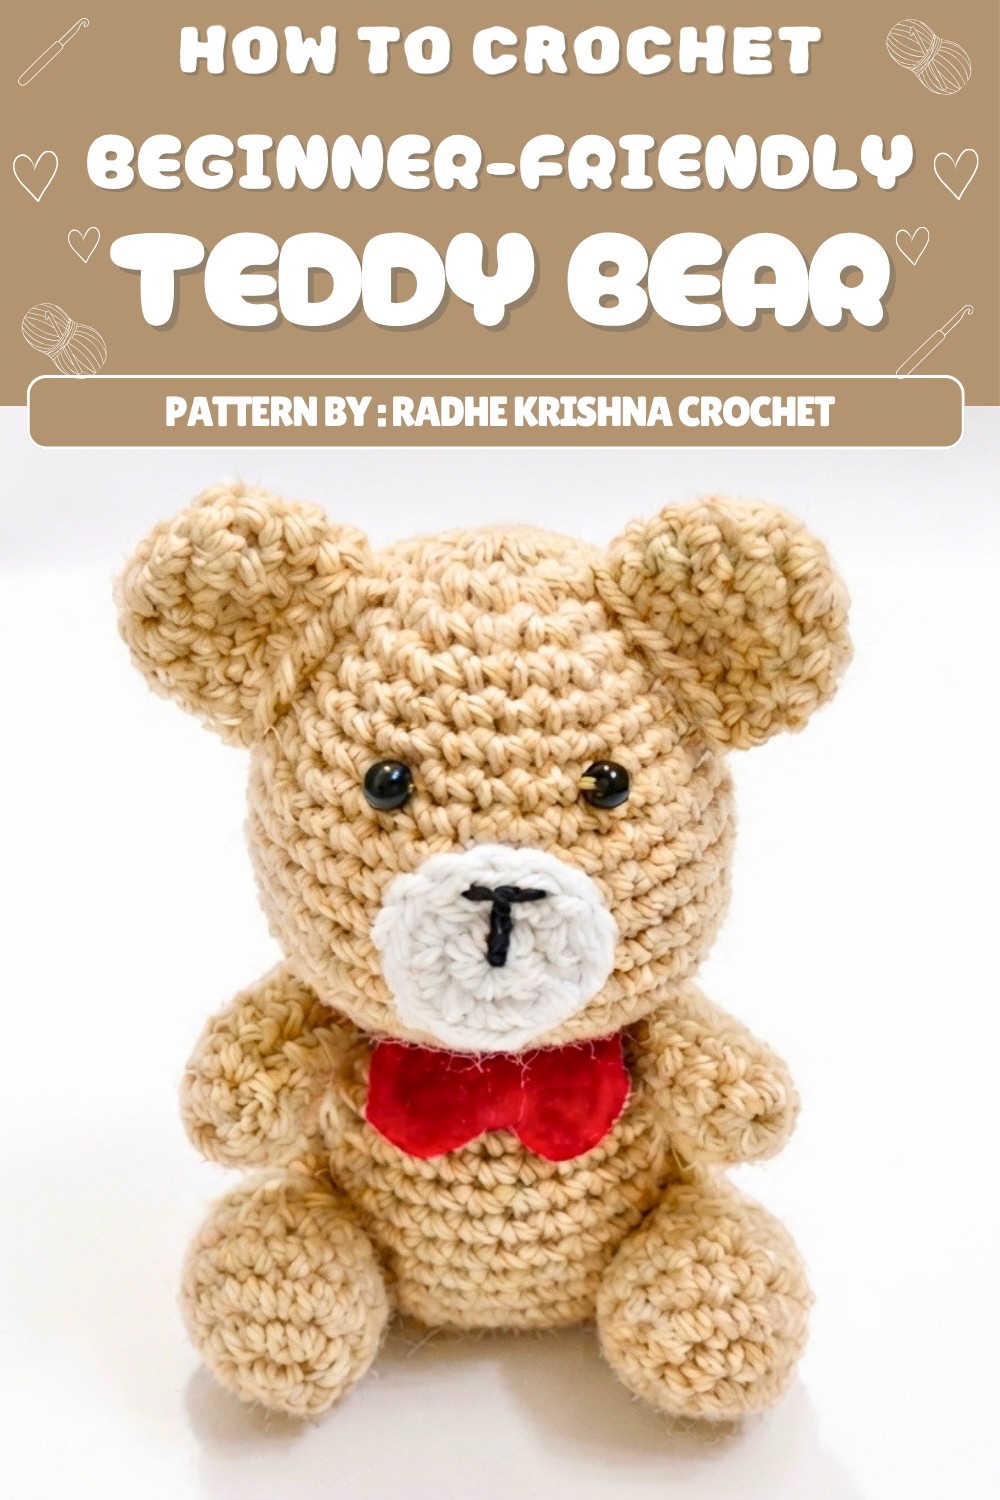
Crochet Teddy Bear Pattern (4-ply yarn, 3mm Hook)
This detailed crochet teddy bear pattern is designed for use with four-ply yarn and an 11-number crochet hook, approximately 3mm in size. The pattern combines both the body and head worked as one piece, followed by individual parts for ears, face, hands, legs, and a charming bow tie. Each section is described round by round to ensure clarity and ease of understanding. Whether you are a confident intermediate crocheter or an adventurous beginner, this guide will help you create a delightful teddy bear complete with stitched limbs and cute bead eyes.
Pattern Highlights
- Body and head combined in one continuous piece (30+ rounds).
- Use of magic ring to start most components for a tight, seamless round.
- Mix of increasing, decreasing, and single crochet (SC) rounds.
- Individual parts include ears, muzzle, hands, legs, and bow tie.
- Detailed instructions for assembly and finishing touches.
- Black beads for eyes or recommended stitch placement.
Notes
- This pattern uses standard US crochet terms.
- Work rounds in a spiral unless otherwise indicated.
- Use a stitch marker to track the beginning of each round.
- Stuff firmly but not excessively after specified rounds to shape the teddy bear.
- Secure loose ends as you finish each section.
- Adjust stuffing amount to achieve desired plushness.
Skill Level
Intermediate: Requires knowledge of magic ring, increases, decreases (SC2tog), and basic joining techniques.
Materials
- 4-ply yarn in teddy bear main color (brown or your choice)
- White 4-ply yarn for muzzle
- Small amount of contrasting yarn (black) for eye stitching or beads
- Crochet hook size 3mm (11-number)
- Fiberfill stuffing
- Stitch marker
- Tapestry needle for sewing parts
- Black beads for eyes (optional)
- Hot glue gun or needle & thread for assembly
Measurements / Sizing (Optional Schematic)
Finished teddy bear approximately 20cm tall when stuffed and sewn properly (a schematic can be made based on rounds and final counts)
Gauge
- Gauge is flexible to suit toy dimensions.
- Approximately 4 SC per cm using 3mm hook and 4-ply yarn.
- Adjust hook size to alter toy size if necessary.
Stitch Abbreviations
- SC: Single Crochet
- INC: Increase (2 SC in same stitch)
- DEC: Decrease (SC2tog)
- MR: Magic Ring
- CH: Chain
- SL ST: Slip Stitch
- DC: Double Crochet
Special Stitches
- Magic Ring: Adjustable loop to begin rounds with no hole in the center.
- SC2tog: Single crochet two stitches together (decrease).
Pattern Instructions
Body and Head (Combined)
All rounds worked in continuous spiral unless specified:
- Round 1: MR, 6 SC into the ring. (6 SC)
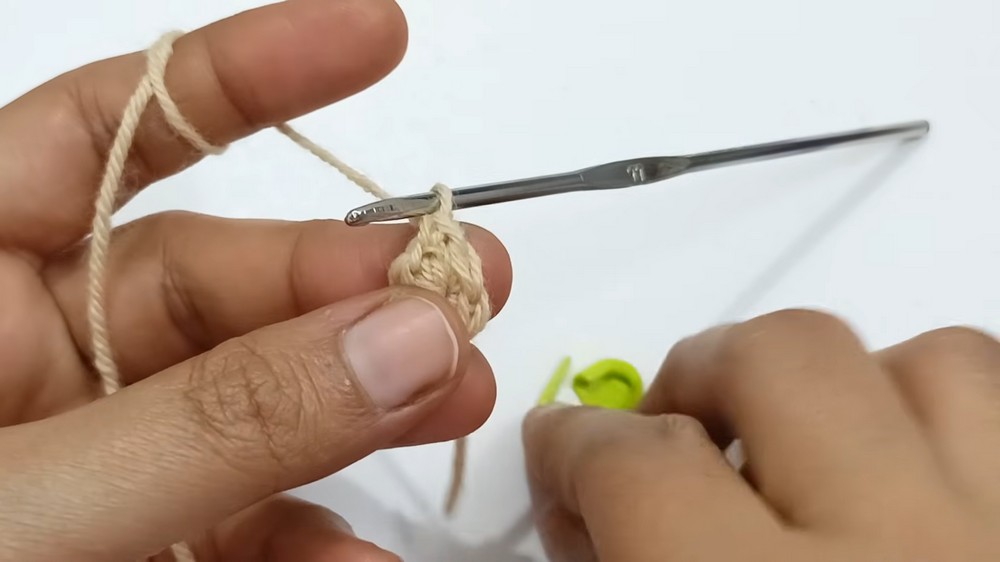
- Round 2: INC in every stitch. (12 SC)
- Round 3: (1 SC, INC) repeat around. (18 SC)
- Round 4: (2 SC, INC) repeat around. (24 SC)
- Round 5: SC around. (24 SC)
- Round 6: (3 SC, INC) repeat around. (30 SC)
- Round 7: SC around. (30 SC)
- Round 8: (4 SC, INC) repeat around. (36 SC)
- Rounds 9-12: SC around. (36 SC each round)
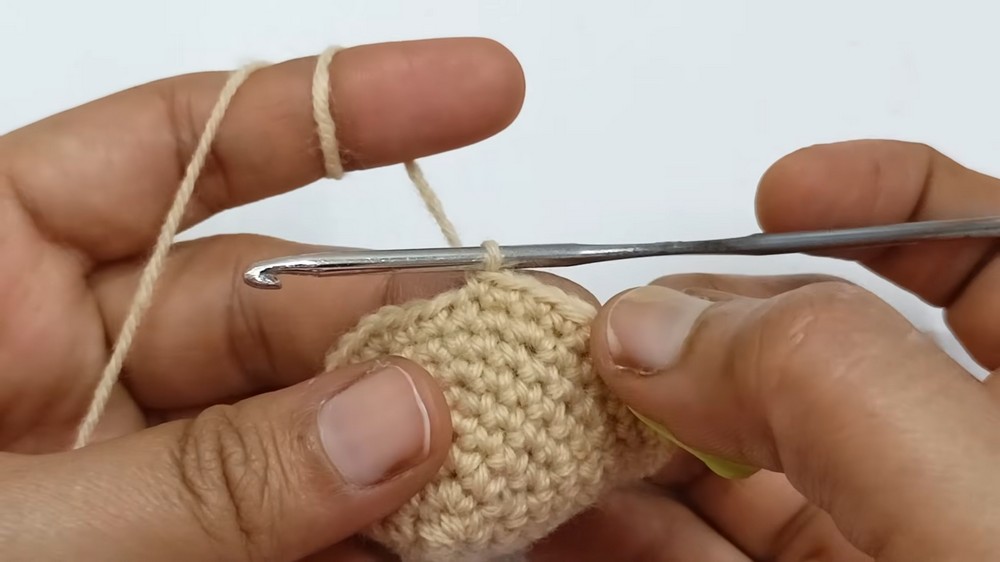
- Round 13: (5 SC, INC) repeat around. (42 SC)
- Round 14: SC around. (42 SC)
- Round 15: (5 SC, DEC) repeat around. (36 SC)
- Round 16: (2 SC, DEC) repeat around. (27 SC)
- Round 17: (1 SC, DEC) repeat around. (18 SC)
- Stuff with cotton stuffing firmly at the end of this round.
- Round 18: DEC around. (9 SC)
- Add more stuffing for shaping.
- Round 19: INC in every stitch. (18 SC)
- Round 20: (1 SC, INC) repeat around. (27 SC)
- Rounds 21-29: SC around. (27 SC per round)
- Round 30: (1 SC, DEC) repeat around. (18 SC)
- Add stuffing again.
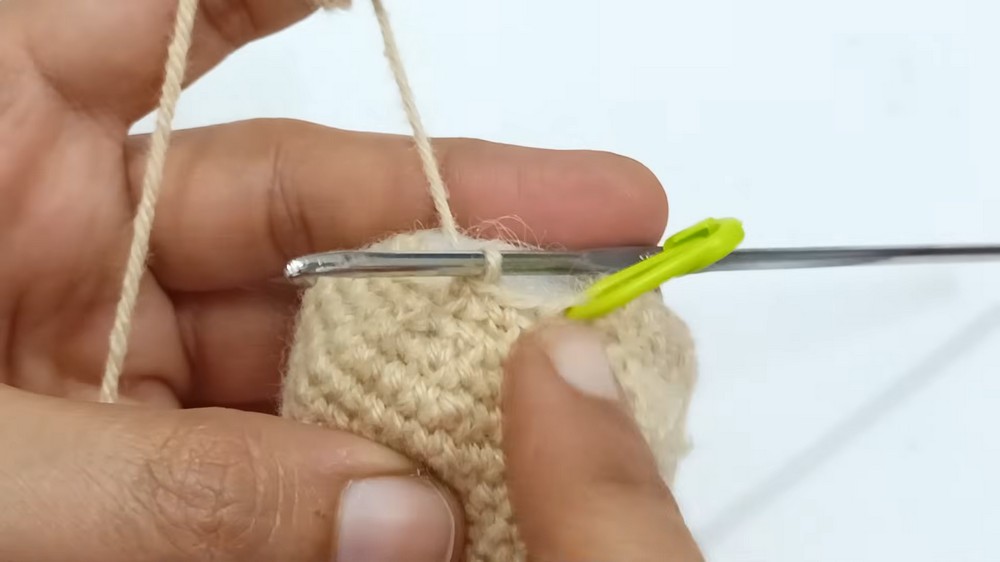
- Add stuffing again.
- Final Round: DEC around to close. (9 SC)
- Final stuffing and close the opening carefully.
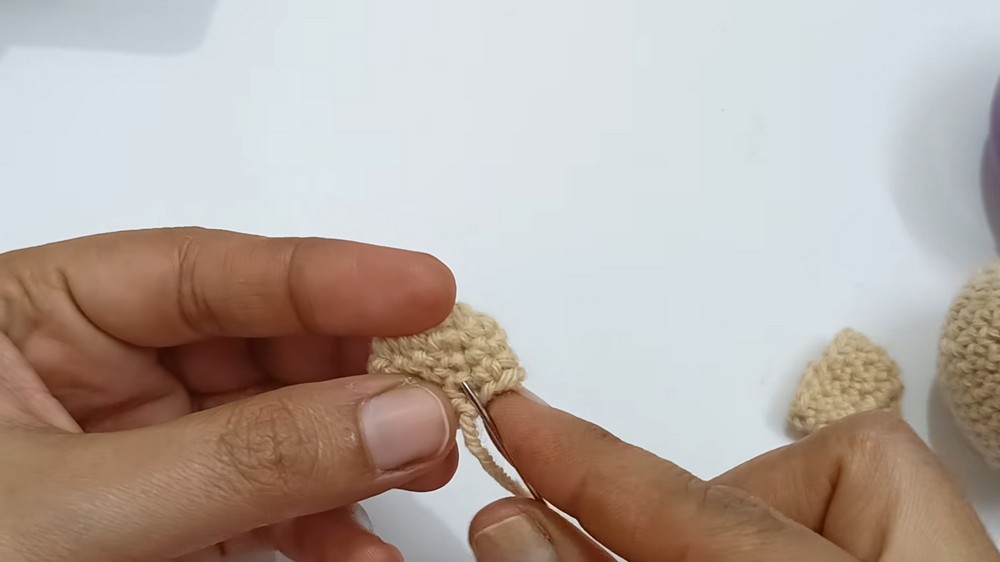
Ears (Make 2)
- MR, 6 SC into ring. (6 SC)
- INC in every stitch. (12 SC)
- SC around (12 SC) for 3 rounds.
Face / Muzzle (White)
- MR, 6 SC into ring. (6 SC)
- INC in every stitch. (12 SC)
- This creates a slightly smaller circle than ears; sew centered on face.
Hands (Make 2)
- MR, 6 SC into ring. (6 SC)
- Increase to 9 SC by adding INC rounds. (9 SC)
- SC around for 7 rows (9 SC each row).
- Shape as hands.
Legs (Make 2)
- MR, 6 SC into ring. (6 SC)
- INC to 12 SC. (12 SC)
- SC around for 1 round (12 SC).
- Increase to 18 SC by adding INCs. (18 SC)
- SC around 2 rows (18 SC each).
- DEC to 11 SC. (11 SC)
- SC around 2 rows (11 SC each).
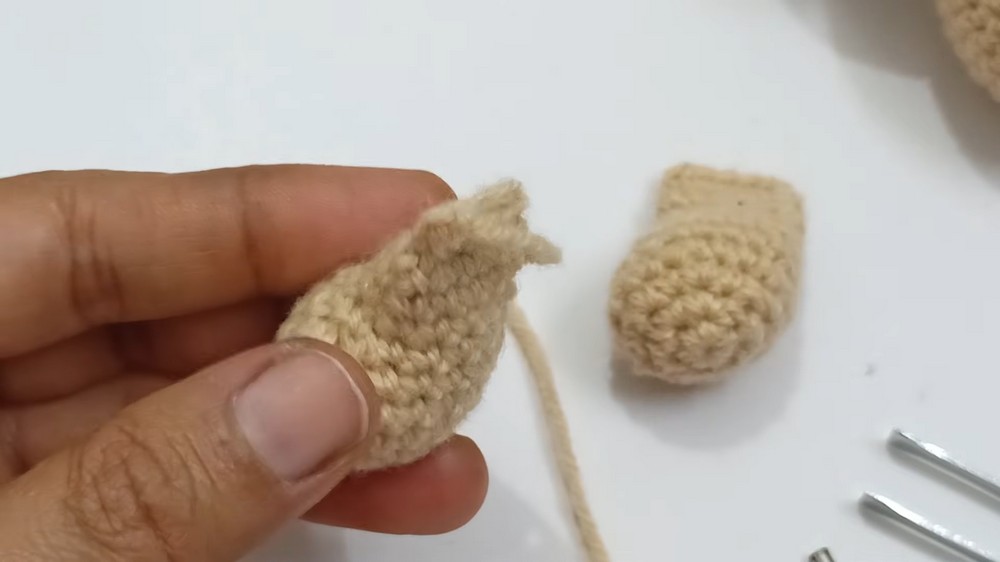
- Legs should be stuffed and shaped as you finish.
Bow Tie
- MR, CH 3, 2 DC, CH 3, SL ST to ring.
- Repeat the sequence on the opposite side to form bow shape.
- Sew or glue at neck area for decoration.
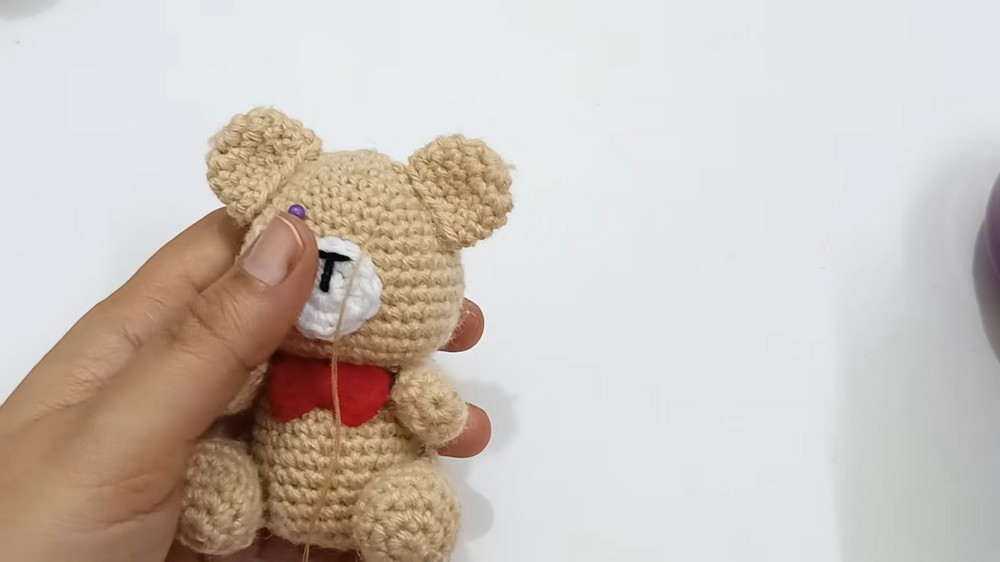
Assembly & Finishing
- Mark the positions of eyes and limbs carefully on the body/head section.
- Attach ears symmetrically at the top corners of the head using needle and yarn or glue gun for secure hold.
- Position muzzle on the lower center of the head and sew tightly.
- Sew hands on sides below the neck area.
- Attach legs at the lower body part, slightly forward, for sitting balance.
- Attach the bow tie snugly around the neck area; secure with glue or stitches.
- Use black beads for eyes or embroider black yarn onto indicated eye positions.
- Weave in all ends securely and trim excess yarn.
- Final fluff and shaping of the teddy bear ensure a cuddly, adorable toy.
Conclusion
This crochet teddy bear pattern provides a comprehensive, detailed step-by-step guide to create a charming handmade bear, combining fundamental crochet techniques and careful shaping. With dedicated rounds for shaping the body and head, as well as neatly crocheted limbs and accessories, this project encourages precision and creativity. The final product is a lovable plush toy suitable as a gift or cherished keepsake. Enjoy your crochet journey as you bring this adorable teddy bear lovingly to life!
Should you require any assistance, always remember to revisit each round carefully, maintain consistent tension, and take pleasure in your work stitch by stitch.
