
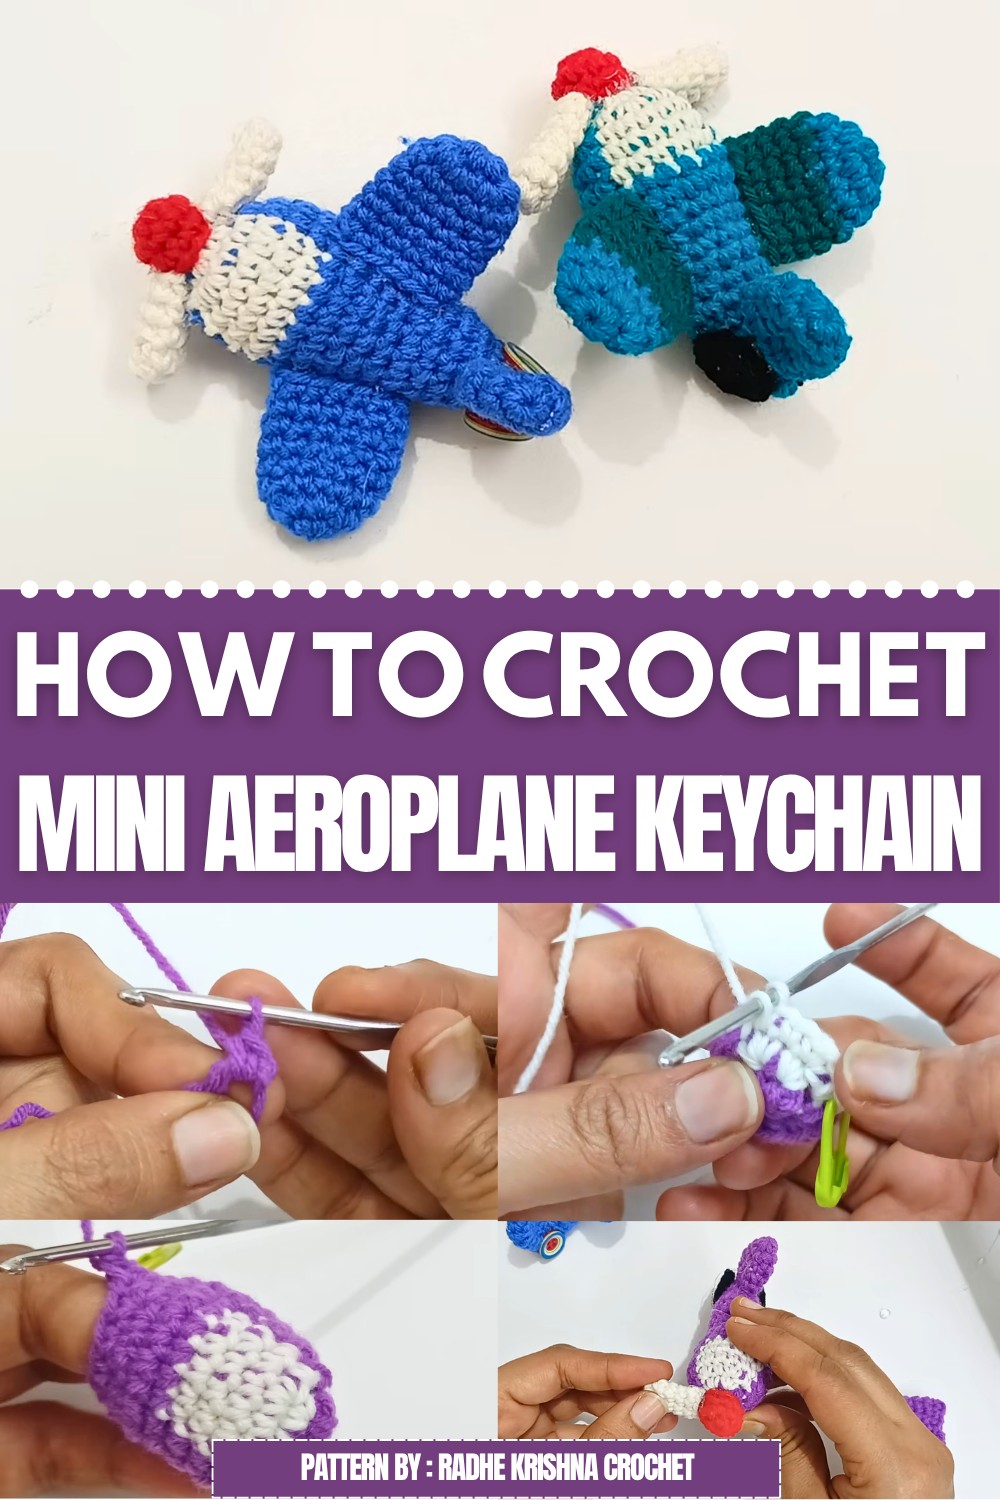
The Free crochet Aeroplane Keychain Pattern is not only fun to make but also a great gift idea. You can give it to kids who love airplanes or friends who appreciate handmade project. It looks cute hanging on a backpack or purse, adding a little joy to everyday things. If you want a quick project that results in a useful and pretty accessory, this pattern is perfect for you. Give it a try, and you’ll enjoy creating a sweet little airplane that’s ready to fly with you wherever you go!
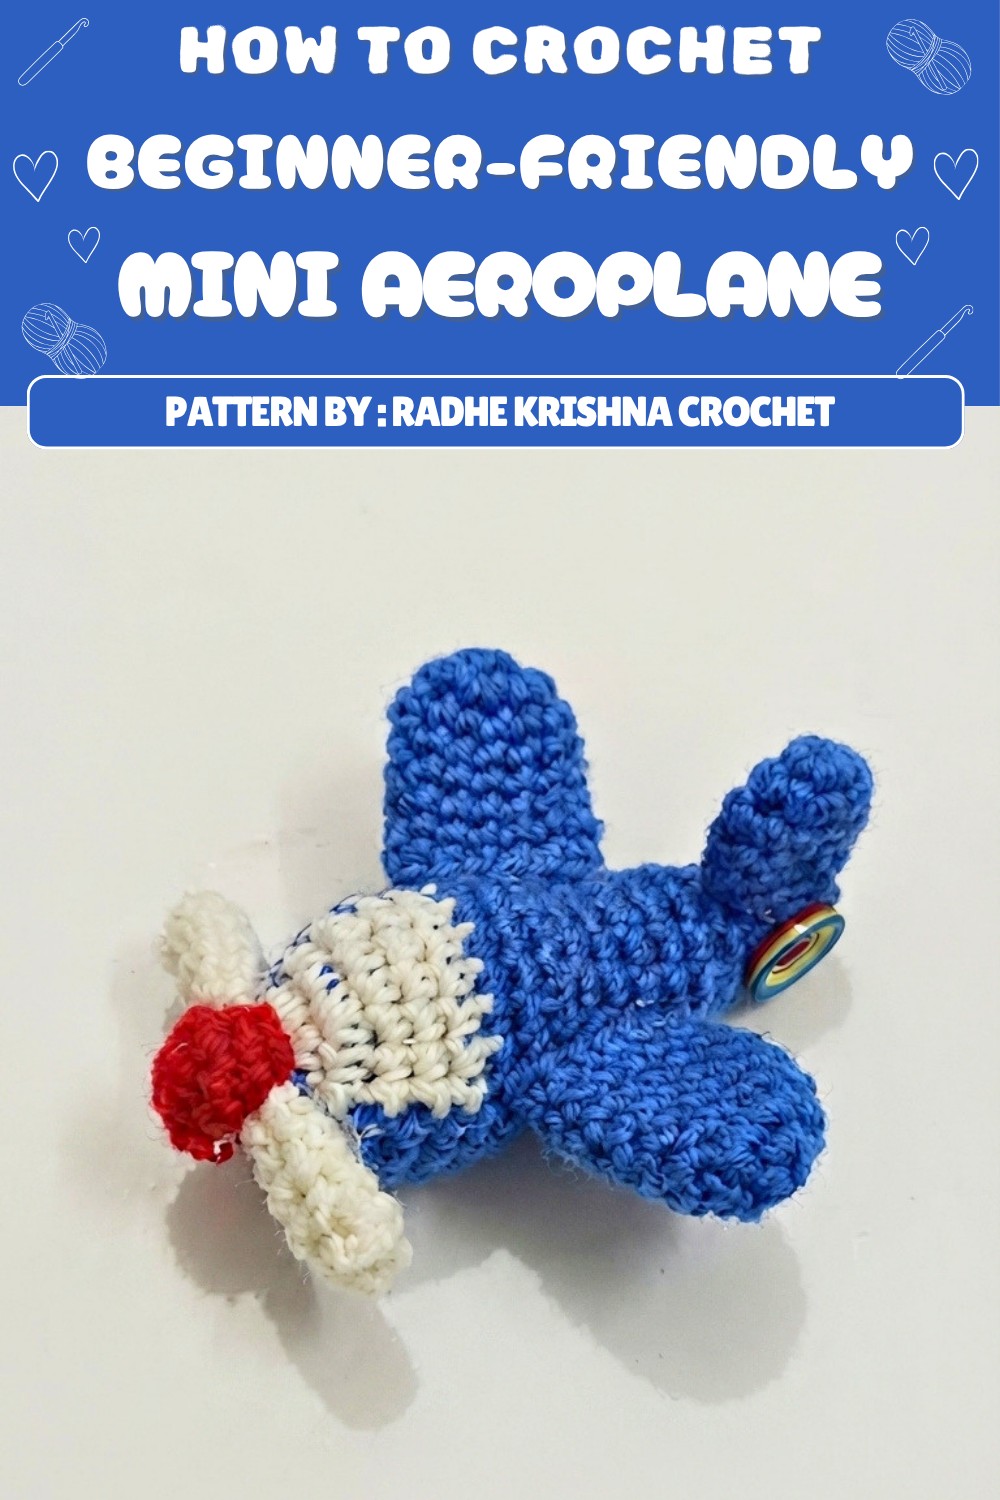
Crochet Mini Aeroplane Keychain Pattern
Create a charming mini aeroplane keychain using simple crochet stitches! This step-by-step pattern uses 4-ply yarn and a 3mm hook. Each part is worked individually and then assembled for an adorable finished piece. Perfect for beginners with basic crochet knowledge.
Quick Pattern Overview
- Main Body: Color changes included, shaped with increases and decreases
- Front Engine: Small red cylindrical piece
- Front White Details: Two identical small circles
- Side Wheels: Two round pieces
- Rear Stabilizer: Tail fin part
- Assembly: Glue all parts to airplane body
Notes for Beginners
- Work in continuous rounds (spiral fashion).
- Use a stitch marker to mark the start of each round.
- Begin most parts with a Magic Ring (MR) to avoid holes.
- Fibrefill stuffing keeps the body firm—stuff as directed.
- When changing yarn colors, do so carefully to avoid loose loops.
- Weave in ends neatly after finishing each piece.
Skill Level
Beginner to Intermediate: You should know how to:
- Make a magic ring (MR)
- Single Crochet (sc)
- Increase (inc = 2 sc in same stitch)
- Decrease (dec = sc 2 stitches together)
- Change yarn color
Materials
- 4-ply yarn in main color, white, and red
- Crochet hook 3mm (11-number)
- Fiberfill stuffing
- Yarn needle
- Craft glue or hot glue gun
- Keychain ring (optional)
Gauge
- Approximate gauge: Four single crochet (sc) stitches per cm with 3mm hook.
- Adjust hook size if needed for larger or smaller toy.
Stitch Abbreviations
- MR = Magic Ring
- ch = Chain
- sc = Single Crochet
- inc = Increase (2 sc in one stitch)
- dec = Decrease (sc two stitches together)
- st(s) = Stitch(es)
Special Stitches
- Magic Ring (MR): Start your rounds with an adjustable loop, so no hole remains in the center.
- Increase (inc): 2 sc in the same stitch to widen rounds.
- Decrease (dec): Crochet 2 stitches together to narrow rounds.
Crochet Pattern
1. Plane Body
Worked in spiral rounds with color changes
- Round 1:
- MR, ch 1, work 6 sc into the ring (6 sts)
- Do not complete the last stitch fully to switch yarn color
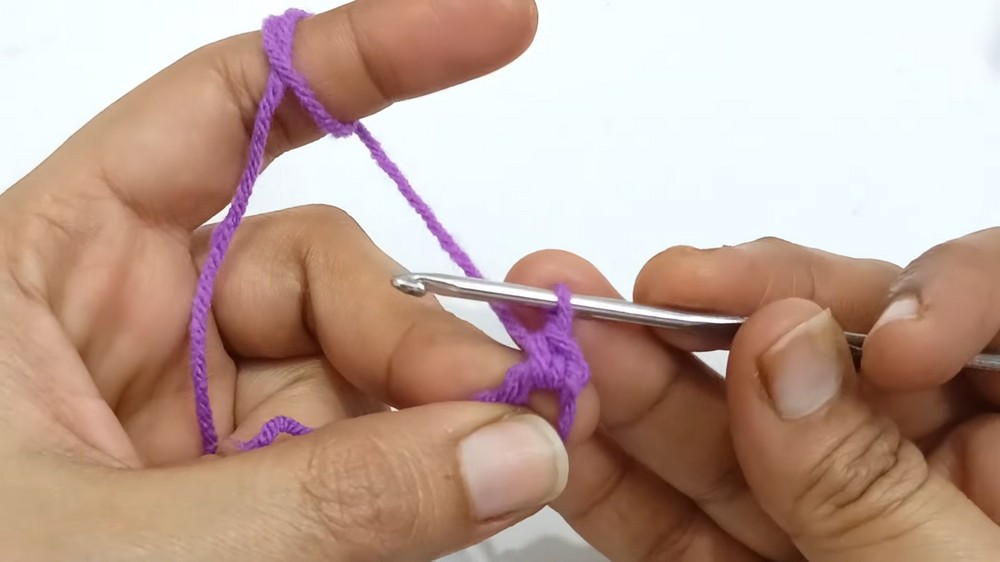
- Change yarn color here from main color to white.
- Round 2:
- Join with 1 sc in first stitch
- Increase: 2 sc in each stitch (inc) around (12 sts)
- Follow color pattern for alternating stitches
- Round 3:
- Increase pattern: (1 sc, 2 sc in next stitch) repeat around (18 sts)
- Round 4:
- Work 18 sc per round in color pattern (white)
- Round 5:
- Work 18 sc per round in color pattern (main color)
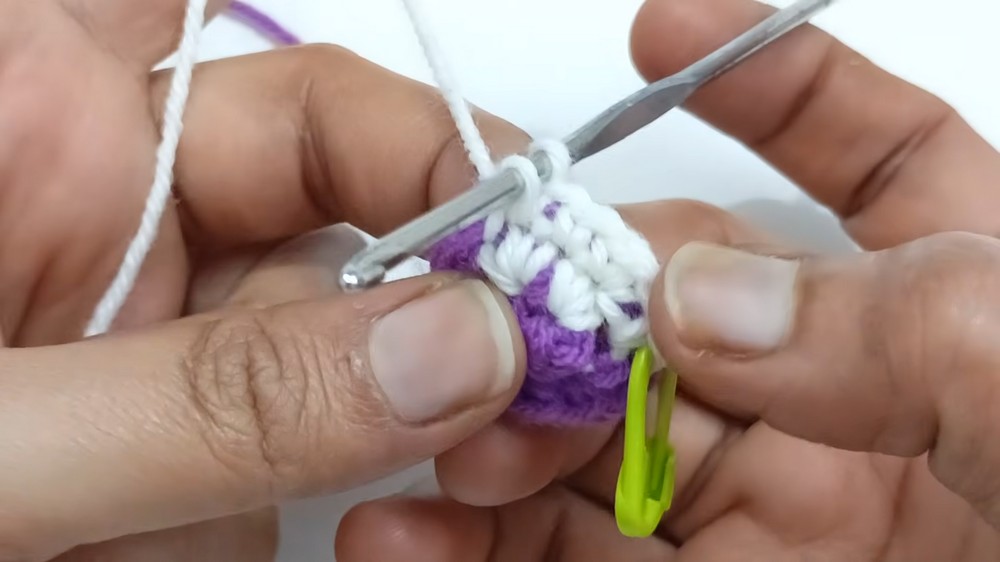
- Work 18 sc per round in color pattern (main color)
- Round 6:
- Work 18 sc per round in color pattern (white)
- Cut white yarn to end white section
- Round 7:
- Work 18 sc per round with main color only
- Round 8:
- Work 18 sc per round with main color only
- Round 9:
- Decrease round: (1 sc, dec) repeat around (12 sts)
- Round 10:
- Work 12 sc per round (12 sts)
- Round 11:
- Work 12 sc per round (12 sts)
- Round 12:
- Work 12 sc per round (12 sts)
- Round 13:
- Work 12 sc per round (12 sts)
- Round 14:
- Work 12 sc per round (12 sts)
- Stuff the body firmly with fiberfill.
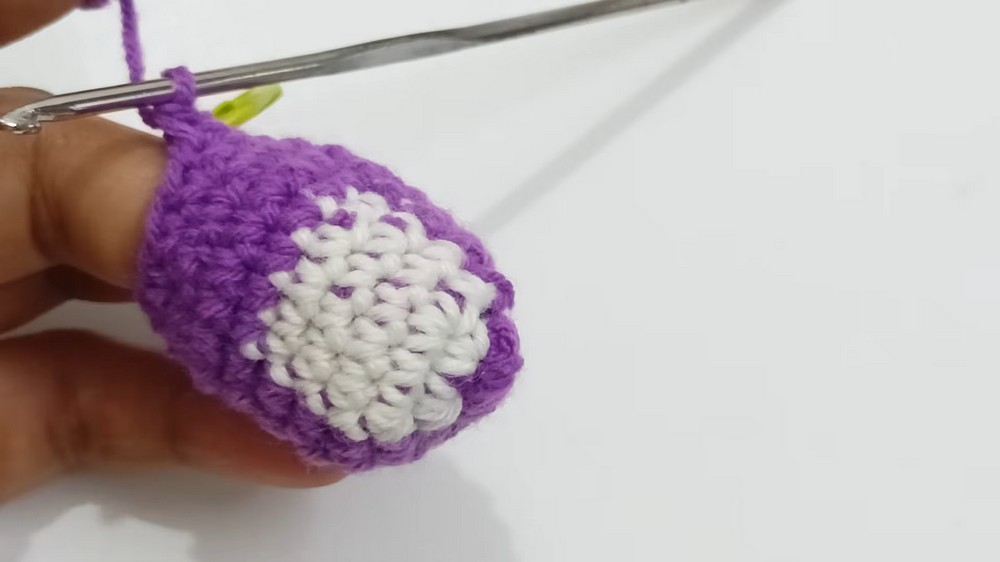
- Round 15:
- (1 sc, dec) repeat around (9 sts)
- Round 16:
- Work 9 sc per round (9 sts)
- Round 17:
- Work 9 sc per round (9 sts)
- Closing:
- Flatten end
- Work 4 sc through both sides to seal the opening
2. Front Engine (Red)
- Round 1:
- MR, 8 sc in ring (8 sts)
- Round 2:
- Work 8 sc per round to form a small cylinder
- Round 3:
- Work 8 sc per round to form a small cylinder
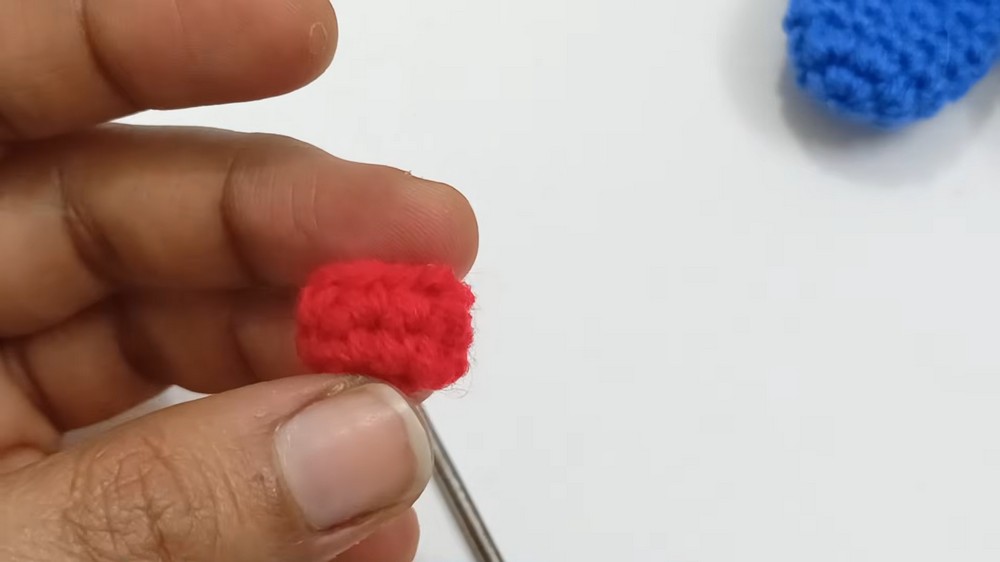
- Work 8 sc per round to form a small cylinder
3. Front White Details (Make 2)
- Round 1:
- MR, 6 sc in ring (6 sts)
- Round 2:
- Work 6 sc per round (6 sts)
- Round 3:
- Work 6 sc per round (6 sts)
- Round 4:
- Work 6 sc per round (6 sts)
- Round 5:
- Work 6 sc per round (6 sts)
4. Side Wings / Parts (Make 2)
- Round 1:
- MR, 6 sc (6 sts)
- Round 2:
- Increase: 2 sc in each stitch around (12 sts)
- Round 3:
- Work 12 sc per round (12 sts)
- Round 4:
- Work 12 sc per round (12 sts)
- Round 5:
- Work 12 sc per round (12 sts)
- Round 6:
- Work 12 sc per round (12 sts)
- Round 7:
- Work 12 sc per round (12 sts)
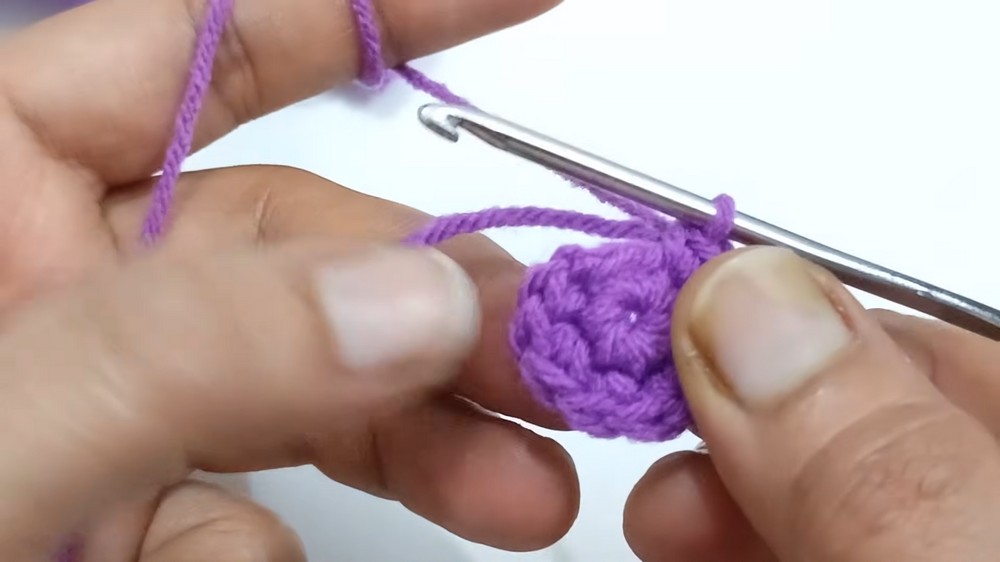
- Work 12 sc per round (12 sts)
5. Rear Stabilizer
- Round 1:
- MR, 6 sc in ring (6 sts)
- Round 2:
- Increase to 9 sts evenly (9 sts)
- Rounds 3 to 5:
- Work 9 sc per round (9 sts)
Assembly & Finishing
- Use craft glue or hot glue gun for parts attachment:
- Glue the front engine to the body’s front tip.
- Attach the two front white details on either side of the engine.
- Glue the two side wheels symmetrically on each side, near the bottom.
- Attach the rear stabilizer at the back center of the plane.
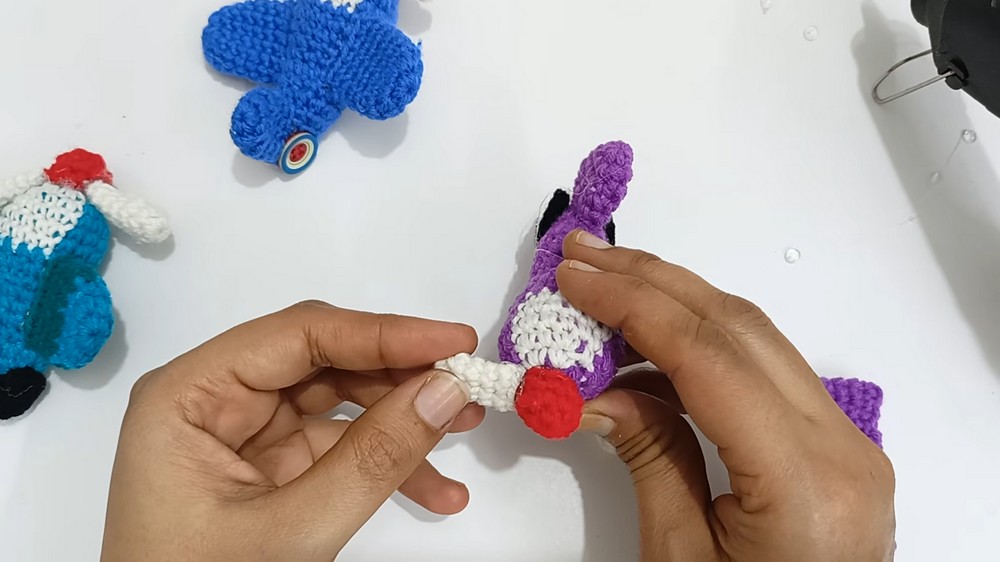
- Allow glue to dry fully before use.
- Attach a keychain ring to the rear or a convenient spot.
Finished Size
- Length: Approx. 8–10 cm
- Width with wings and wheels: Approx. 4–5 cm
Perfect size for keychains or bag charms.
Conclusion
This mini aeroplane keychain combines simple crochet stitches with fun colorwork and shaping. The use of magic rings for seamless edges, along with increases and decreases, shapes a neat and compact airplane body and parts. Individual components like the engine, wheels, and stabilizer give the plane character and dimension. Assembly is quick and easy with glue, making this a satisfying project for crocheters with some basic skills. Once completed, you’ll have an adorable airplane keychain—ideal as a gift, handmade accessory, or a keepsake.
