
Follow this free Crochet Cat Amigurumi pattern to build a charming toy that adds personality and warmth to your home or gift collection.
Finding a cute little gift that feels special can be difficult, especially when you want something soft, sweet, and full of personality. The Crochet Cat Amigurumi is a lovely choice for anyone who loves tiny animals with adorable faces. Its small body, rounded head, pointed ears, and gentle expression give it a friendly look that catches attention right away.
This sweet little cat comes from Hooks & Needles By Mita, who shares this lovely idea with crochet lovers.
Adorable Crochet Cat Amigurumi Free Pattern To Try At Home
One of the nicest things about this cat is its simple yet charming appearance. The tiny paws, curved body, and sweet facial details give it a playful character. You can use soft yarn in white, gray, brown, or any favorite shade to give your cat a different look. Small eyes and a neat nose add personality without needing too many extra details
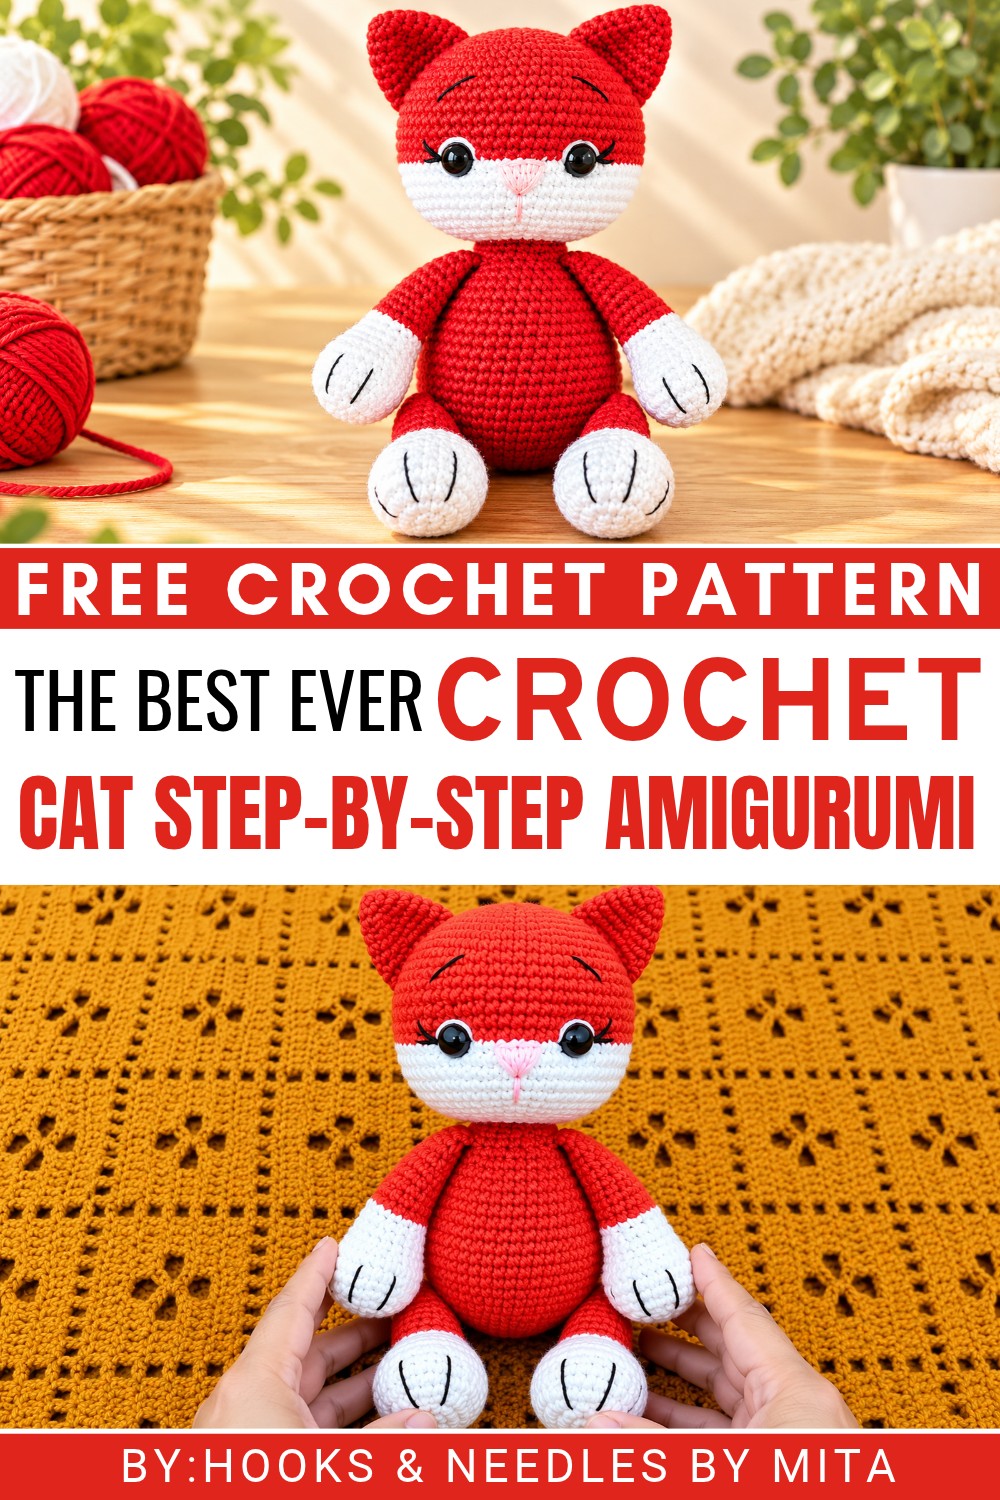 This little cat is a nice choice for birthday presents, children’s toy collections, or a small surprise for someone who loves pets. It can also sit on a bedroom shelf, beside a photo frame, or on a study table as a cheerful decoration.
The cat is worked with basic crochet stitches, starting with small rounds that gradually form its shape. Filling the body carefully helps it stay soft while keeping its rounded appearance. The ears and other tiny parts give the finished cat its recognizable look.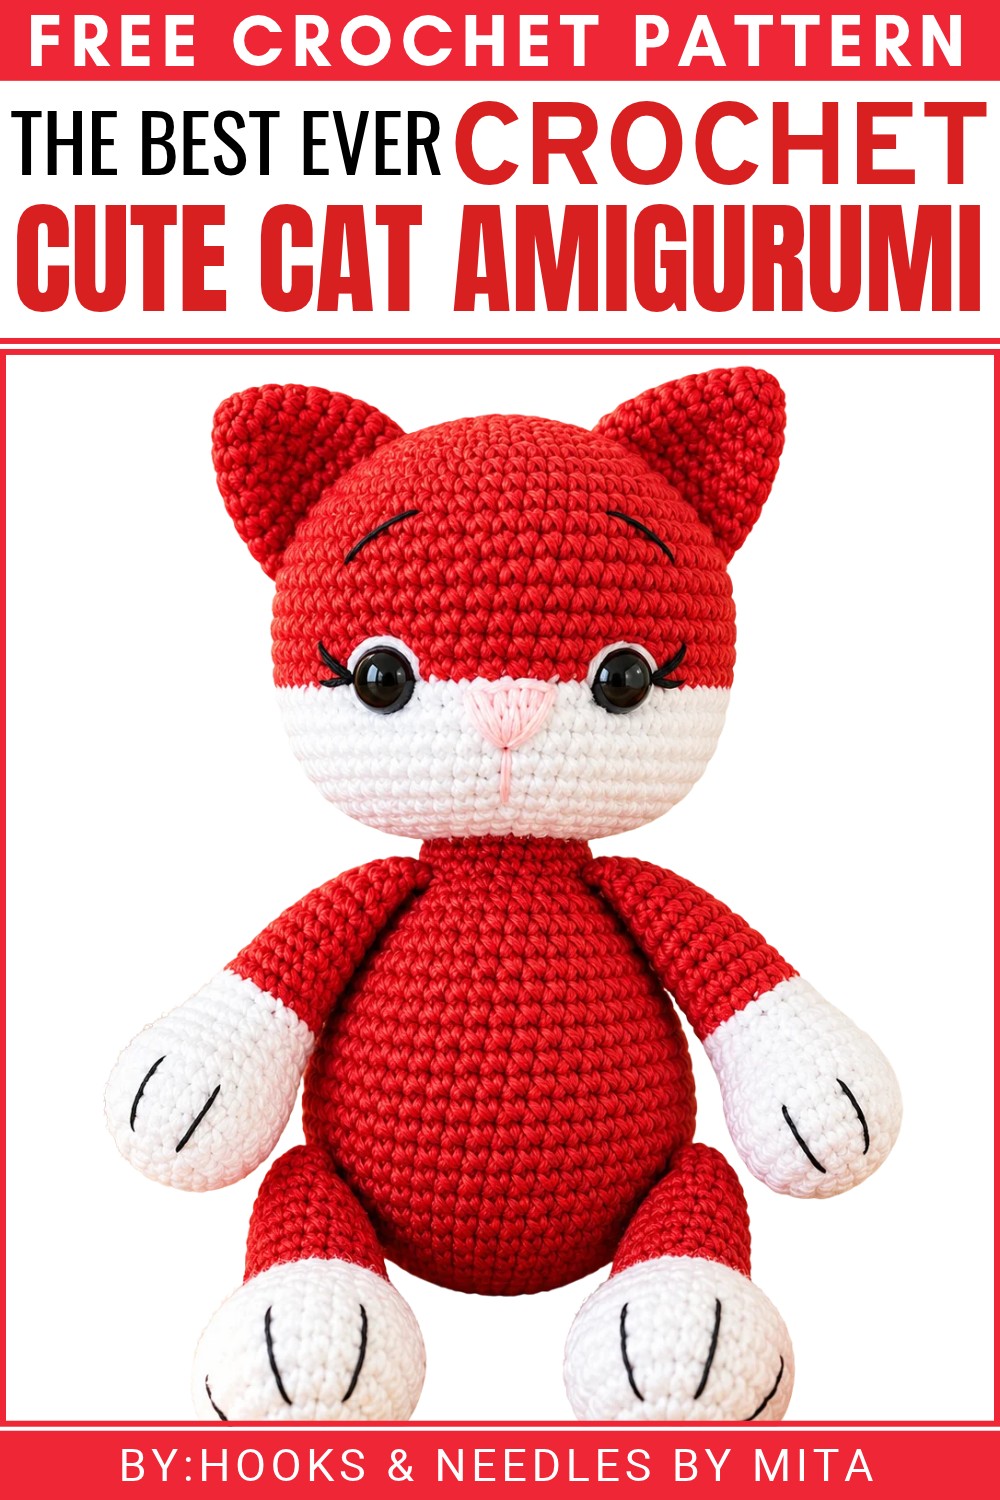 Its friendly face and little size are what set this cat apart. Whether you keep it at home or give it to a friend, this adorable animal adds a sweet personal touch.
Crochet Cat Amigurumi Pattern
About the Pattern
This crochet cat amigurumi is crafted in distinct sections: head, body, ears, arms, legs, and tail. The head and body are worked in continuous rounds, shaping with regular increases and decreases for a fully three-dimensional form. Different color changes allow for classic cat details, such as a white snout and paws, and the overall shape is both traditional and expressive. Once the individual parts are complete, they are assembled using basic hand-sewing techniques. The included embroidered features add character, making this pattern suitable as a soft toy or keepsake.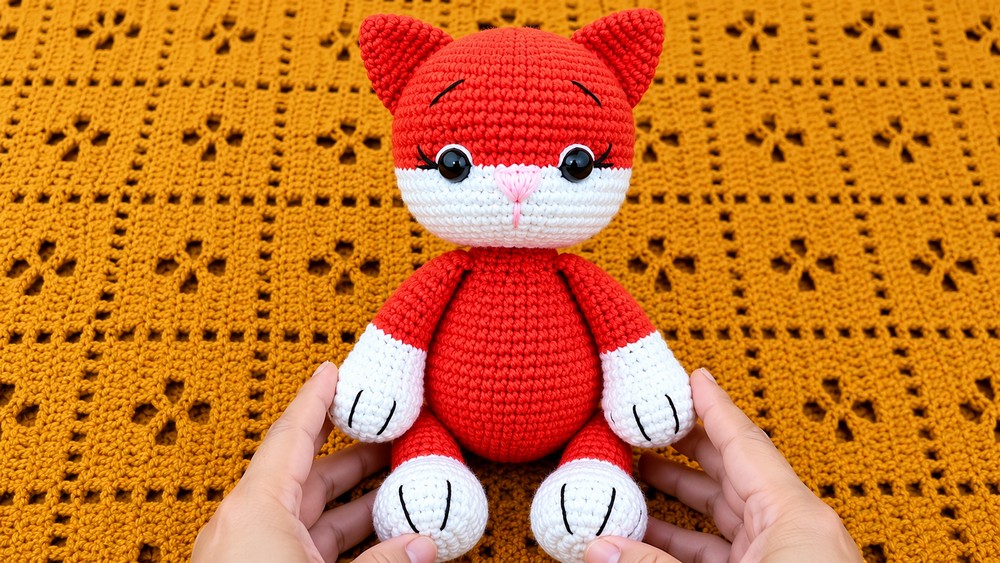
Pattern at a Glance
- Sections: Head, body, ears, arms, legs, tail
- Techniques: Amigurumi rounds, color changes, basic sewing, and embroidery
- Finished Look: Classic chubby cat with paw, face, and ear detailing
Important Notes
- The pattern is worked in continuous spirals; always use a stitch marker to keep track of your rounds.
- Change colors carefully, especially at the transition between white and orange for paws and face.
- Stuff work as you go for easier shaping.
- Ensure even increases and decreases for symmetry.
- Pieces are sewn together after all parts are crocheted.
Difficulty Level
- Suitable for advanced beginner to intermediate levels
- Requires knowledge of amigurumi techniques: magic circle, single crochet, increasing, decreasing, color change, and basic embroidery
Supplies Needed
- DK or worsted weight yarn in orange, white, and small amounts of black (for embroidery)
- Crochet hook: 2.5 – 3.0 mm (or size to achieve tight gauge)
- Yarn needle for sewing and embroidery
- Stitch marker
- Fiberfill stuffing
- Scissors
- Safety eyes or black embroidery floss
Size & Measurements
- Height: Approximately 17–21 cm (7–8 inches) subject to tension, yarn, and stuffing
- Body width: About 7–8 cm (2.5–3 inches)
Gauge & Stitch Details
- Gauge is not critical, but stitches should be tight to prevent stuffing from showing.
- Sample swatch: 8 sc and 8 rows = 3 cm x 3 cm.
Crochet Abbreviations
- sc: single crochet
- inc: increase (2 sc in same stitch)
- dec: decrease (single crochet 2 together)
- MR: magic ring
- st(s): stitch(es)
Special Stitch Guide
- Magic Ring (MR): Form a loop, crochet into the ring, pull tail to close.
- Increase (inc): Work 2 sc into the same stitch.
- Decrease (dec): Single crochet two stitches together (sc2tog).
- Color Change: On last pull-through of a stitch, switch to new color.
Complete Crochet Pattern
Head
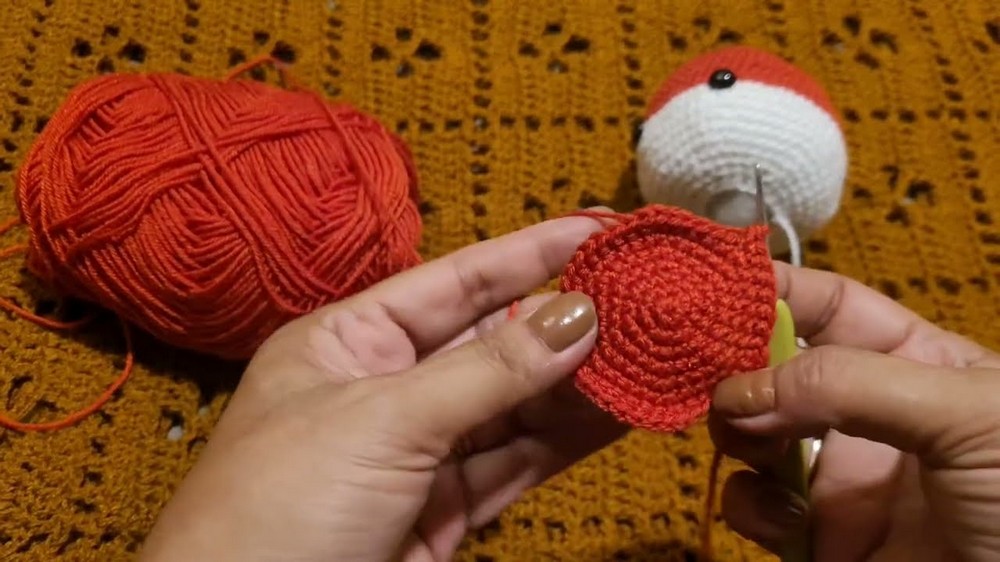
- R1: MR, 6 sc (6)
- R2: inc in each st around (12)
- R3: (1 sc, inc) x 6 (18)
- R4: (2 sc, inc) x 6 (24)
- R5: (3 sc, inc) x 6 (30)
- R6: (4 sc, inc) x 6 (36)
- R7: (5 sc, inc) x 6 (42)
- R8: (6 sc, inc) x 6 (48)
- R9: (7 sc, inc) x 6 (54)
- R10–R11: 54 sc each round
- R12: (8 sc, inc) x 6 (60)
- R13–R16: 60 sc each round
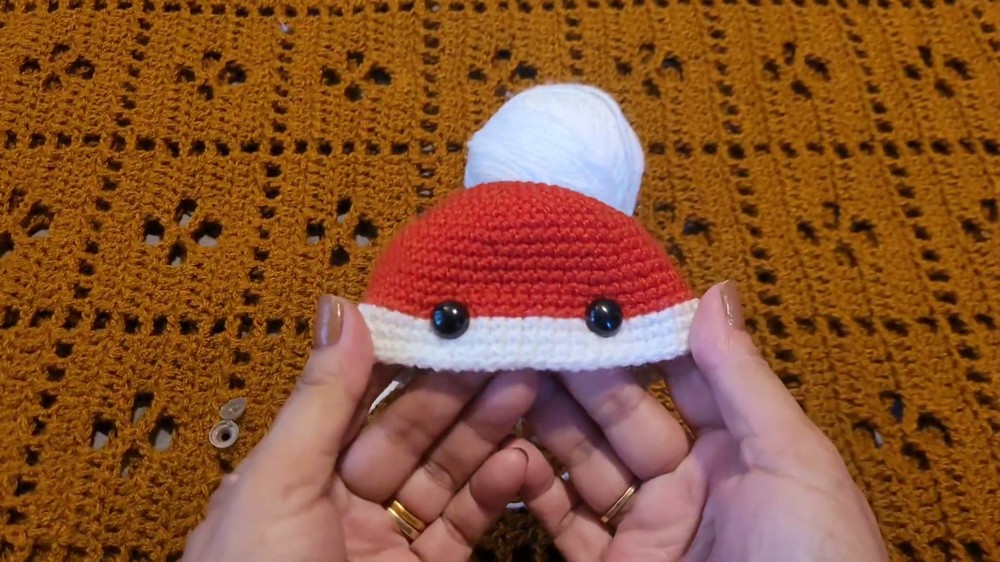
- R17–R20: Change to white, 60 sc each round
- R21: (8 sc, dec) x 6 (54)
- R22: (7 sc, dec) x 6 (48)
- R23: (6 sc, dec) x 6 (42)
- R24: (5 sc, dec) x 6 (36)
- R25: (4 sc, dec) x 6 (30)
- R26: (3 sc, dec) x 6 (24)
- R27: (2 sc, dec) x 6 (18)
- Fasten off, leaving a tail for sewing. Stuff firmly.
Body
- R1: MR, 6 sc (6)
- R2: inc in each st around (12)
- R3: (1 sc, inc) x 6 (18)
- R4: (2 sc, inc) x 6 (24)
- R5: (3 sc, inc) x 6 (30)
- R6: (4 sc, inc) x 6 (36)
- R7: (5 sc, inc) x 6 (42)
- R8: (6 sc, inc) x 6 (48)
- R9: (7 sc, inc) x 6 (54)
- R10–R19: 54 sc each round
- R20: (7 sc, dec) x 6 (48)
- R21: 48 sc
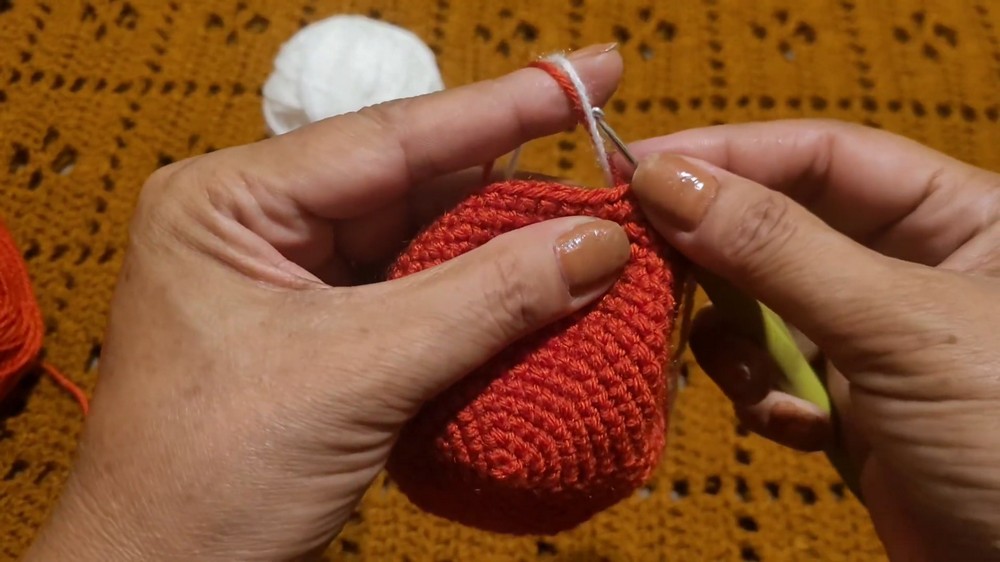
- R22: (6 sc, dec) x 6 (42)
- R23: 42 sc
- R24: (5 sc, dec) x 6 (36)
- R25: 36 sc
- R26: (4 sc, dec) x 6 (30)
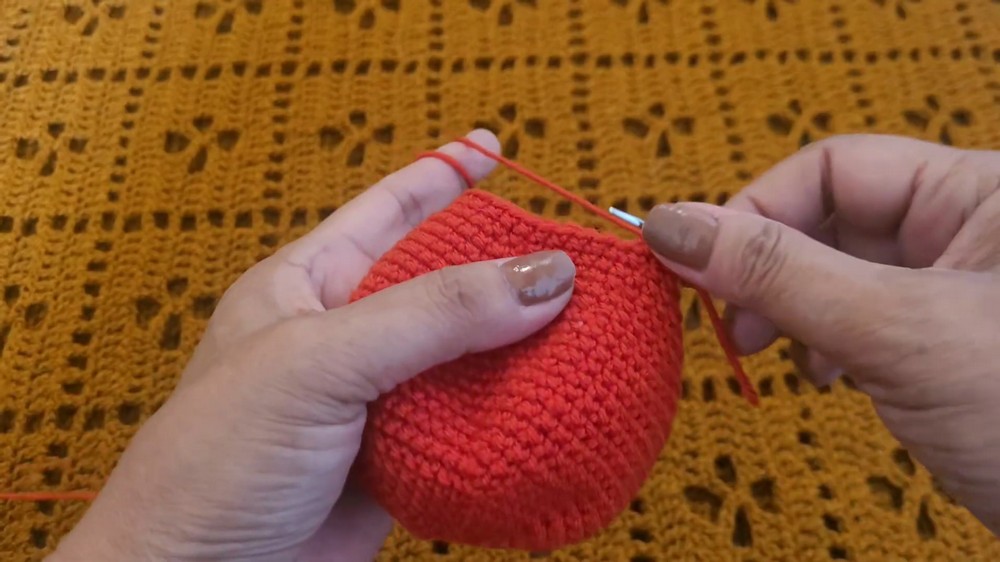
- R27: 30 sc
- R28: (3 sc, dec) x 6 (24)
- R29: 24 sc
- R30: (2 sc, dec) x 6 (18)
- R31–R32: 18 sc each round
- Fasten off, leaving a long tail for sewing. Stuff body firmly.
Ears (make 2)
- R1: MR, 6 sc (6)
- R2: inc in each st (12)
- R3: (1 sc, inc) x 6 (18)
- R4: (2 sc, inc) x 2, 12 sc (20)
- R5–R7: 20 sc each round
- Fasten off, leave a tail. Lightly stuff or leave flat as desired.
Arms (make 2)
- R1: With white, MR, 6 sc (6)
- R2: inc in each st (12)
- R3: (1 sc, inc) x 6 (18)
- R4: (2 sc, inc) x 2, 12 sc (24)
- R5–R8: 24 sc each round
- R9: 6 sc, 6 dec, 6 sc (18)
- R10–R11: 18 sc
- R12: (7 sc, dec) x 2 (16)
- R13–R22: Change to orange, 16 sc each round
- R23: (2 sc, dec) x 4 (12)
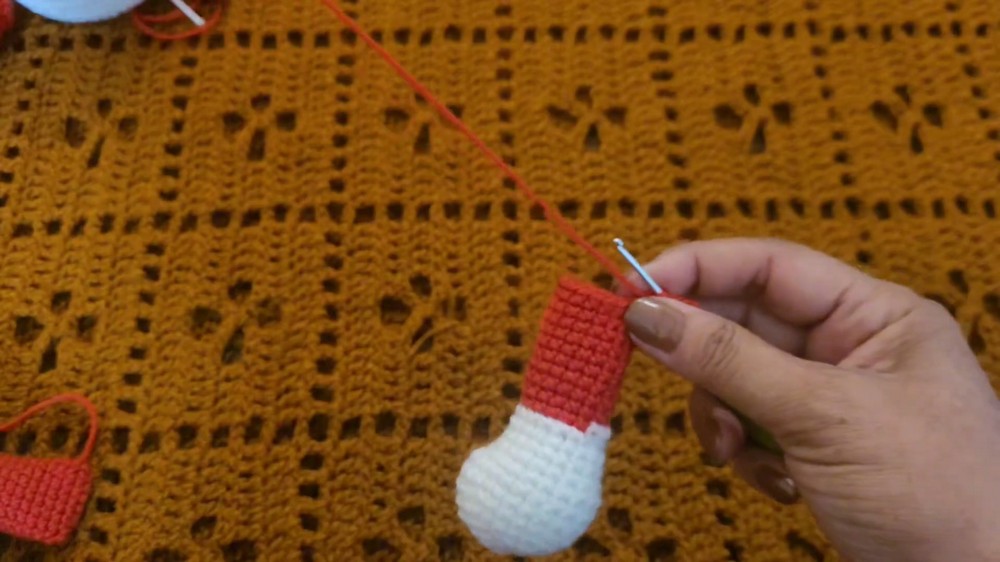
- Fasten off, leave a tail. Stuff lightly.
Legs (make 2)
- R1: MR, 8 sc (8)
- R2: inc in each st (16)
- R3: (3 sc, inc) x 4 (20)
- R4: (4 sc, inc) x 2, 8 sc (24)
- R5: 24 sc
- R6: 6 sc, 6 dec, 6 sc (18)
- R7: 5 sc, 4 dec, 5 sc (14)
- R8–R17: 16 sc each round (adjust if needed for your increases/decreases)
- Fasten off, leave tail for sewing. Stuff firmly.
Tail
- R1: MR, 8 sc (8)
- R2–R20: 8 sc each round
- Fasten off, leave a tail. Optionally stuff or leave unstuffed for flexibility.
Assembly & Finished Size
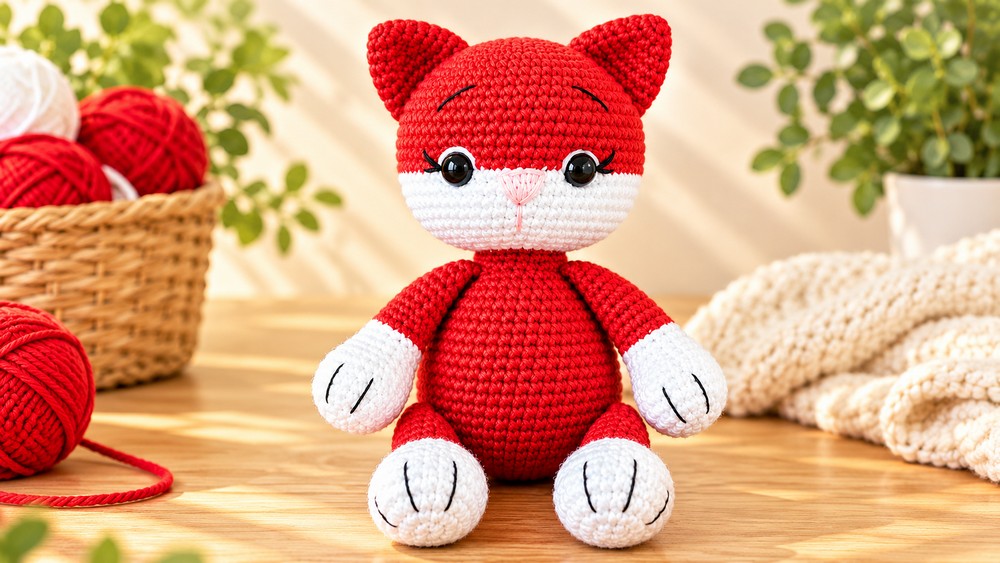
- Eyes: Attach safety eyes to head after R16, or embroider with black yarn.
- Nose: Embroider centered between the eyes with black yarn.
- Ears: Sew onto head symmetrically after stuffing.
- Arms: Align and sew to each side of upper body.
- Legs: Attach at the base of body for a seated effect.
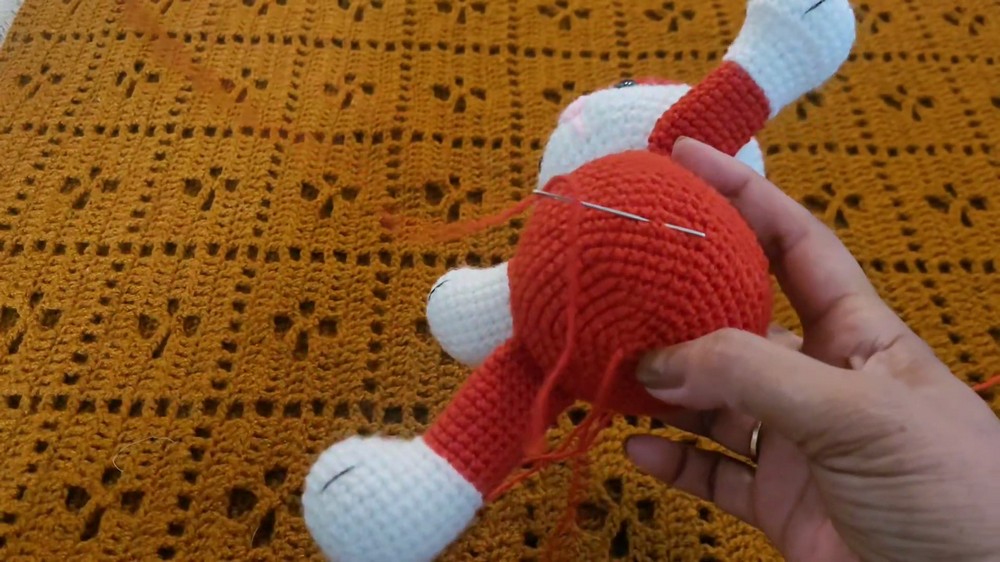
- Tail: Sew to the back base. Ensure it curves cute or stands up.
- Paws: Embroider with black yarn on the ends of arms and legs for detail.
Finished height is about 17–21 cm (7–8 inches), depending on yarn and stuffing. Use photo references to guide face additions and body symmetry.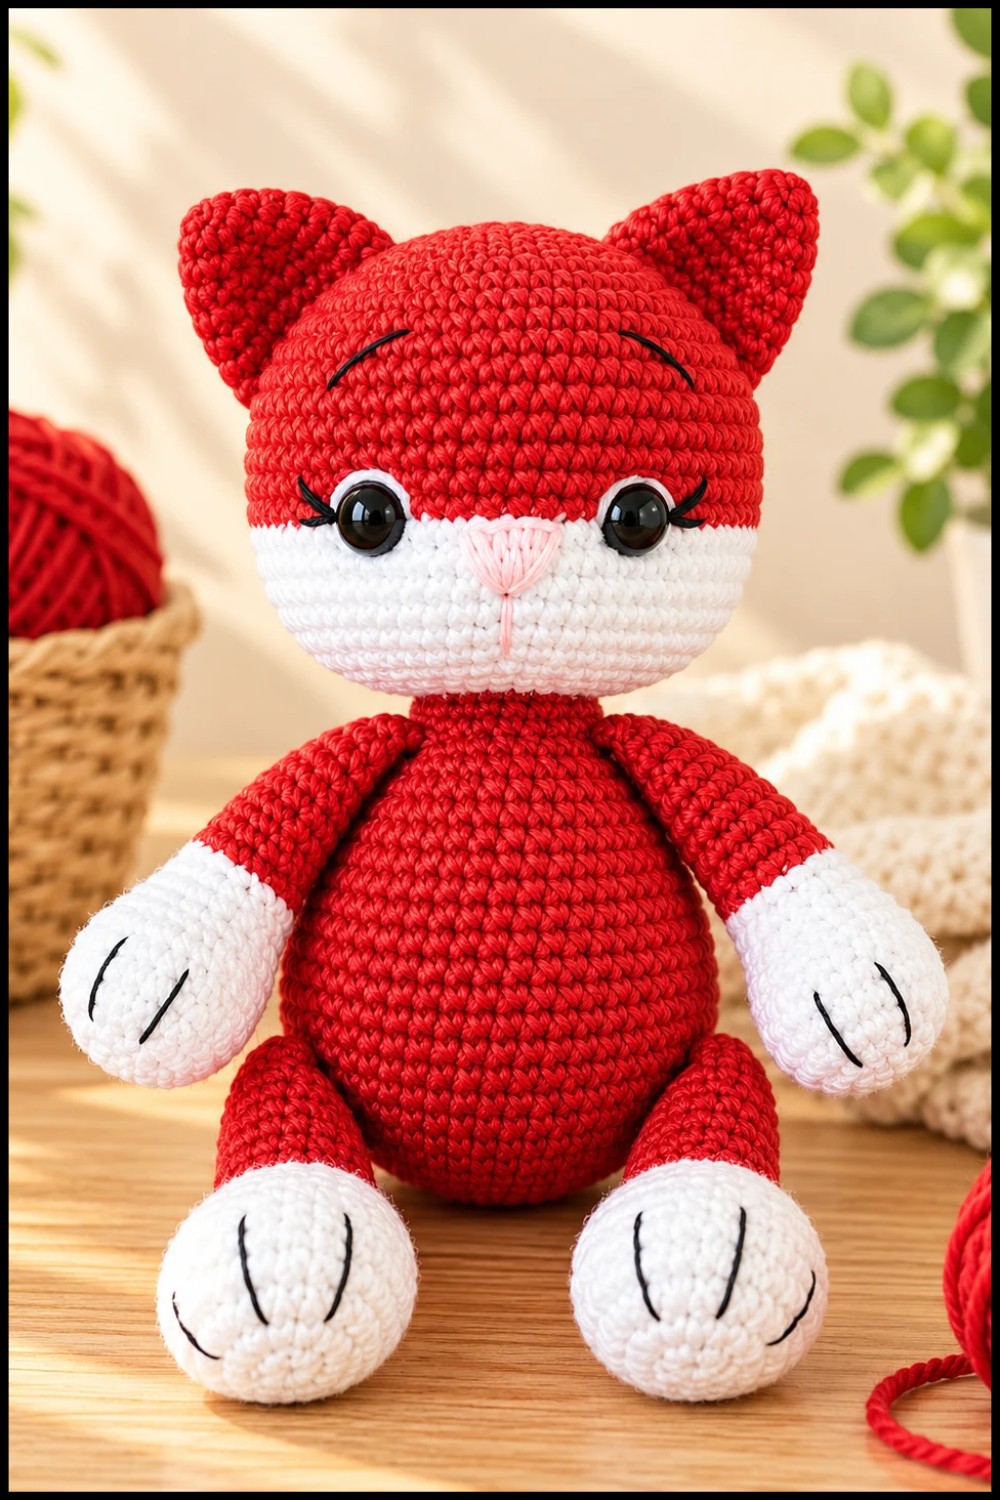
Conclusion
This crochet cat is built from classic amigurumi shapes, color changes, and simple embroidery, delivering a whimsical feline ready for cuddles or display. Tight shaping through methodical increases and careful assembly yields a polished, endearing stuffed animal. The clear round structure and stepwise assembly lead to consistent, charming results every time.
