
Refresh every hairstyle with Free Crochet Scrunchie Pattern featuring soft stylish comfort that keeps hair neat while adding playful everyday flair.
A colorful hair accessory can brighten your whole day with just one simple touch. The Free Crochet Scrunchie Pattern helps you create a soft and pretty scrunchie that looks lovely with many hairstyles. Designed by Katie, whose crochet with katie YouTube channel shares creative crochet ideas, this charming project is perfect for anyone who enjoys making useful and stylish handmade accessories.
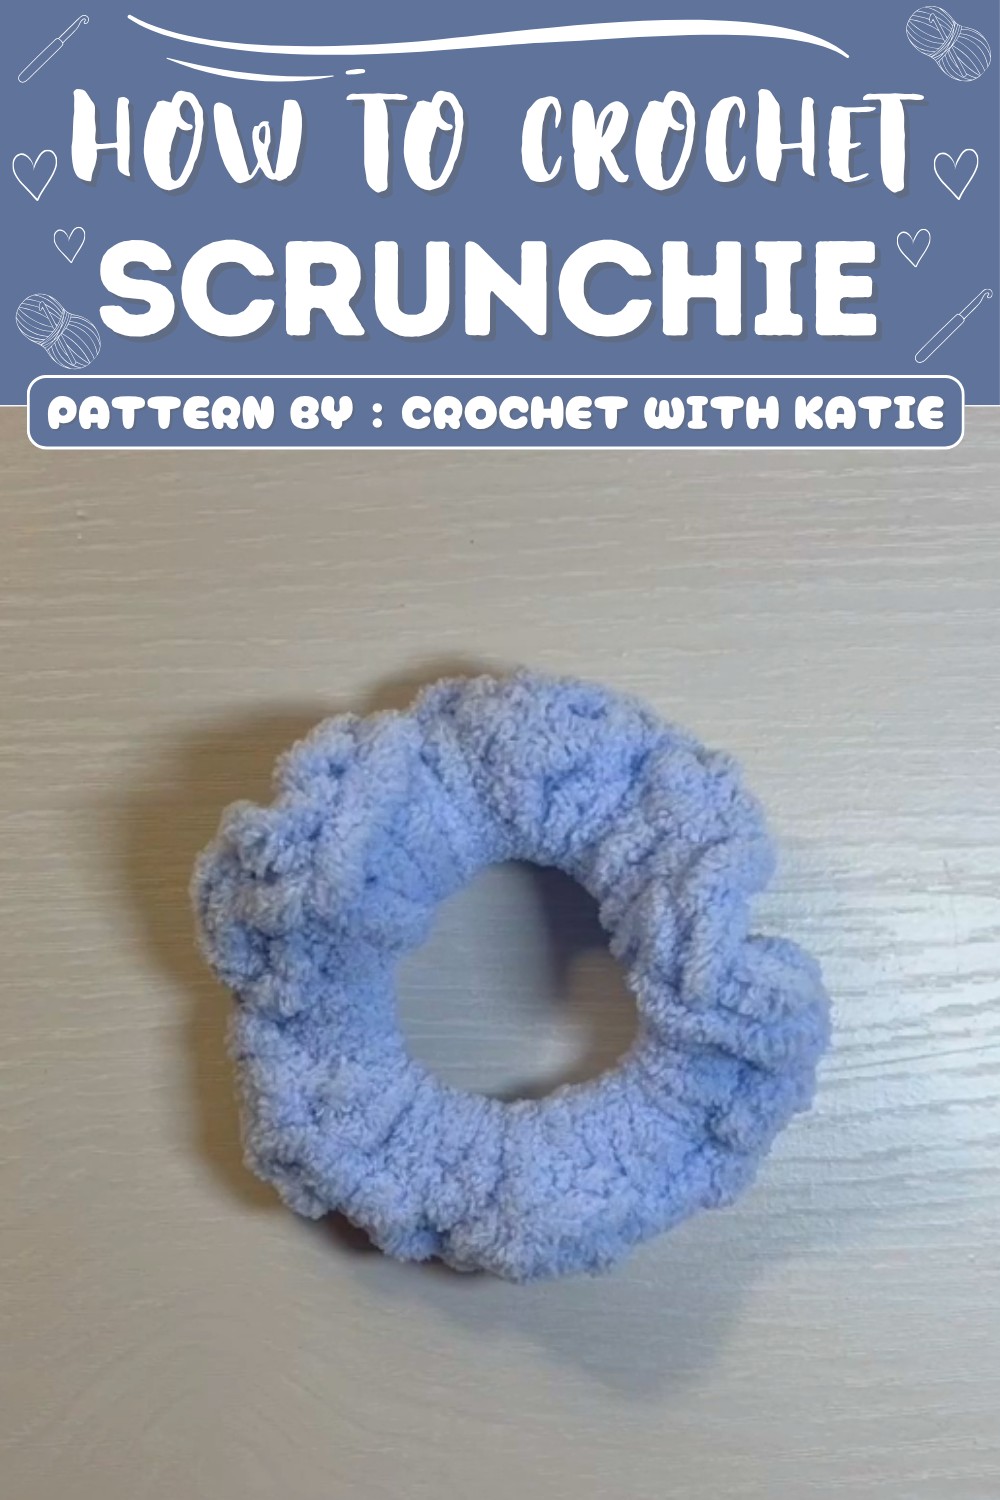
The finished scrunchie has a full, fluffy shape with soft gathers that give it a beautiful look. It feels gentle on the hair and adds a fun handmade touch without being too heavy. You can choose bright colors for a playful style, soft pastel shades for a sweet look, or classic colors like black, white, or cream for everyday wear. It looks wonderful with ponytails, buns, braids, or worn around your wrist as a cute accessory. Whether you are going to school, work, a party, or spending a relaxing day at home, this scrunchie fits almost every outfit and occasion.
Free Scrunchie Crochet Pattern for Stylish Accessories
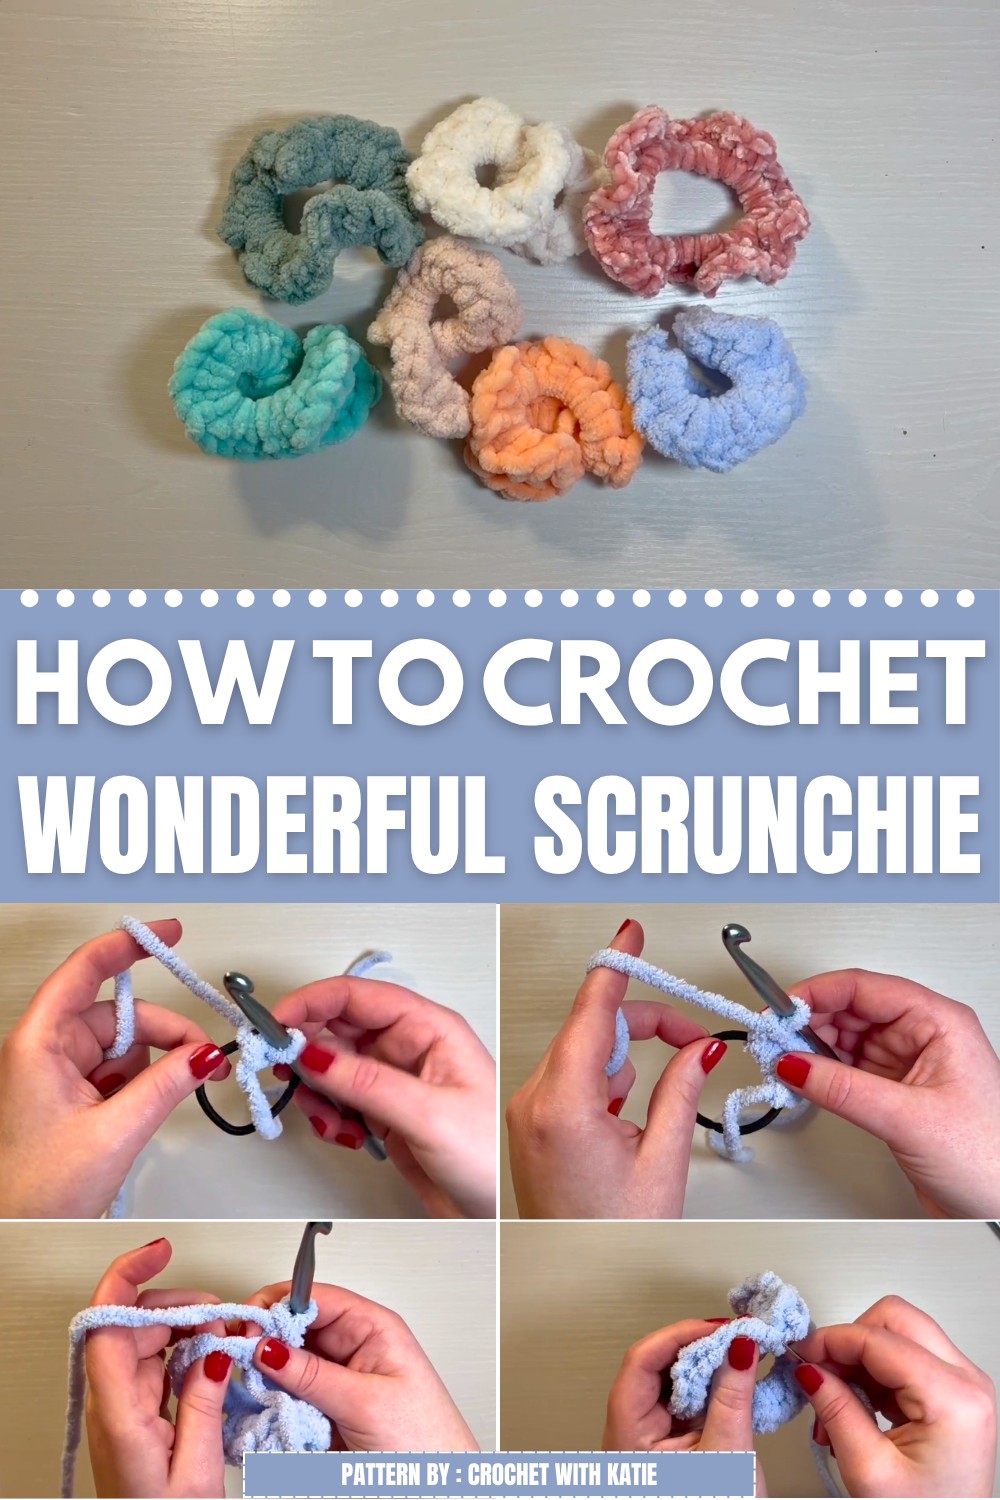
Making crochet scrunchies because they are both pretty and useful. They are easy to match with different clothes and can be made in many colors for every season. A small collection lets you choose a different style each day. They also look lovely in gift baskets, on crochet tables, or displayed with other handmade accessories. Every finished scrunchie has its own special charm, making each one feel unique and personal.
This handmade scrunchie is also a thoughtful gift for birthdays, holidays, friends, sisters, daughters, or anyone who loves cute hair accessories. It is something people can wear often and enjoy for a long time. If you like crochet projects that are simple, beautiful, and practical, the Free Crochet Scrunchie Pattern is a wonderful choice that adds color, comfort, and handmade charm to everyday life.
Crochet Scrunchie Pattern
This tutorial will guide you through the complete process of crocheting a scrunchie to cover a hair elastic. Using simple stitches and working directly on the elastic, you will learn how to make a stylish and functional accessory. The pattern covers every step, from making the slip knot to finishing the ends securely, ensuring your scrunchie is neat, durable, and professional-looking.
Pattern Highlights
- Worked in rounds directly on a hair elastic
- Uses basic crochet stitches: slip knot, single crochet (sc), and slip stitch (slst)
- Tightly covers a hair elastic with 30-40 stitches depending on yarn thickness
- Ends are woven vertically for a secure, hidden finish
- Quick and efficient pattern suitable for beginners
Notes
- You can adjust the number of single crochet stitches depending on your hair elastic size and yarn thickness.
- Pushing stitches closer tightly allows accommodating more stitches and achieving neat coverage.
- Weaving the yarn ends vertically through the stitches is crucial to prevent ends from popping out when the scrunchie is stretched.
- Maintaining consistent tension throughout improves the scrunchie’s elasticity and appearance.
Skill Level
Beginner
This pattern requires minimal crochet knowledge: chaining, slip knot, single crochet, slip stitch, and weaving in ends. It is ideal for those new to crochet who want an accessible project that results in a practical accessory.
Materials
- Medium weight yarn (worsted weight recommended) in a color of your choice
- Standard hair elastic (approximately 5-6 cm diameter)
- Crochet hook suitable for your yarn (typically 4.0 mm / G-6)
- Tapestry needle for weaving in ends
- Scissors
Measurements / Sizing (Optional)
- Standard hair elastic circumference around 15-18 cm (6-7 inches)
- Finished scrunchie diameter approximately 6-7 cm (2.5-2.75 inches)
- Size can vary depending on yarn weight, hook size, and number of stitches.
Gauge and Stitch Pattern
- Gauge is flexible in this project, but consistent tension producing compact stitches is preferred for good elasticity.
- Scrunchie is crocheted in a round of single crochet (sc) stitches worked directly around the elastic.
Stitch Abbreviations
| Abbreviation | Term | Description |
|---|---|---|
| ch | Chain | Yarn over hook, pull through loop |
| sc | Single Crochet | Insert hook, yarn over, pull through both loops on hook |
| slst | Slip Stitch | Insert hook, yarn over, pull through both loops on hook |
Special Stitches
- Slip Knot: Starting knot adjustable to the crochet hook size—foundation for the first loop.
- Slip Stitch Join: Works to close the round connecting the last stitch with the first, creating a seamless round.
The Crochet Pattern: Step-by-Step Instructions
Step 1: Preparation and Slip Knot
- Begin by making a slip knot with the yarn:
- Wrap the yarn around your fingers.
- Cross the yarn loops over each other.
- Pull a loop through the first loop with your hook.
- Tighten until the knot fits snugly on your crochet hook.
Step 2: Attaching to the Elastic
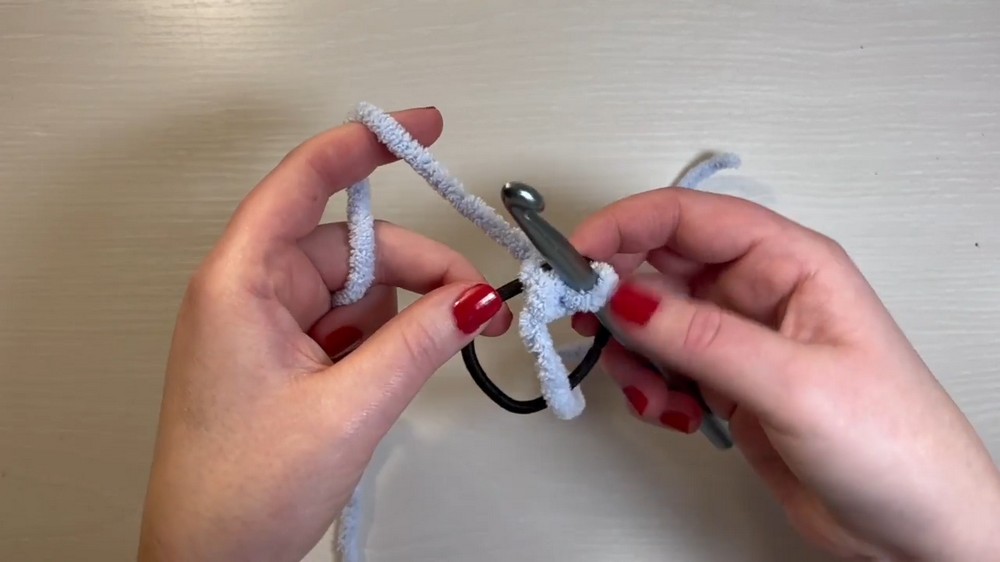
- Place your crochet hook underneath the hair elastic, holding it stable.
- Yarn over (wrap yarn around your hook).
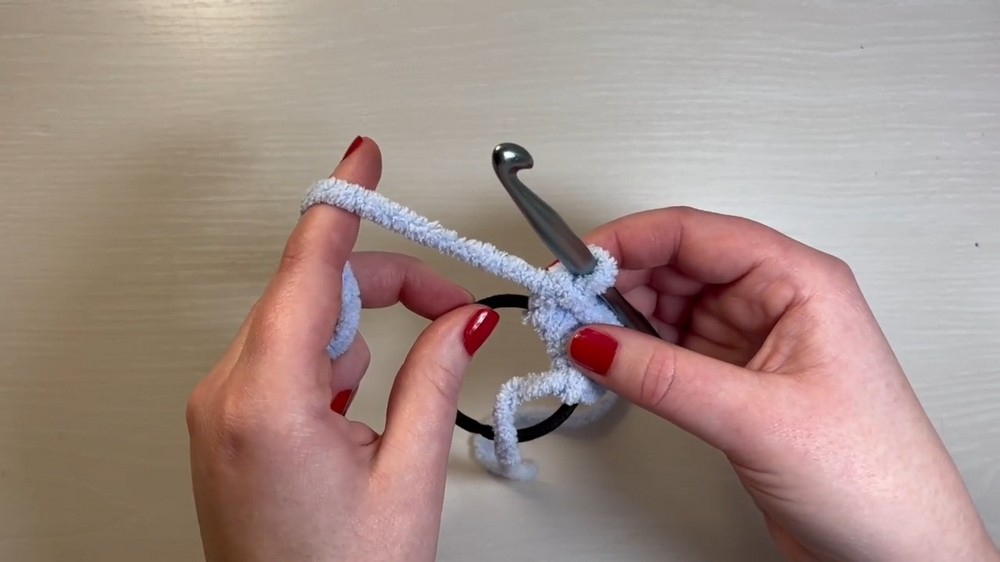
- Pull the yarn under the elastic and through the loop of the slip knot already on your hook.
- This action secures the yarn to the elastic and counts as your first stitch.
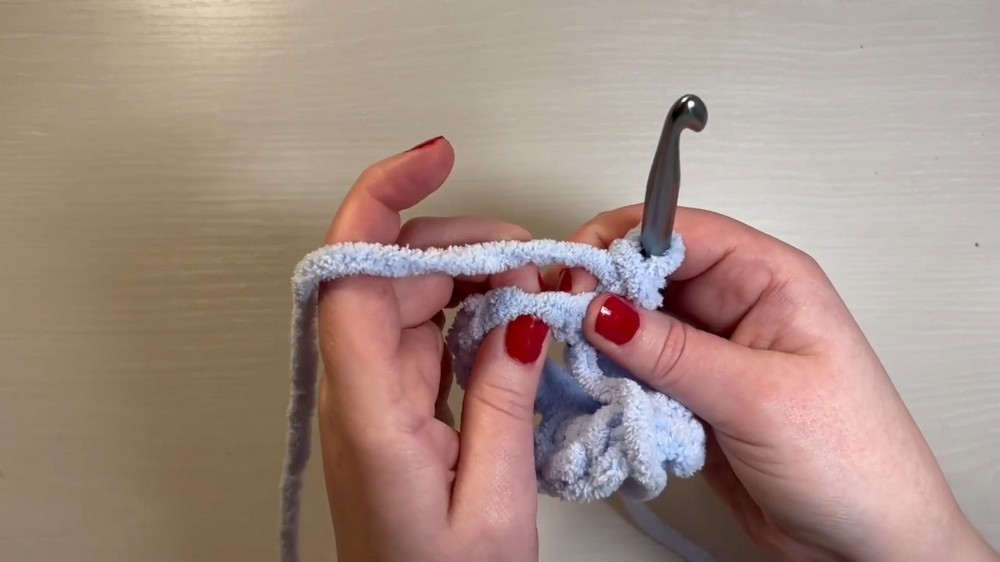
Step 3: Working the Single Crochets Around the Elastic
- Continue to work single crochets (sc) around the elastic as follows:
- Insert your hook under the elastic.
- Pull up a loop of yarn through the elastic.
- Yarn over again and pull through both loops on the hook to complete the stitch.
- Repeat this single crochet stitch all around the elastic to cover it fully.
- The typical number of stitches needed is between 30 to 40 single crochets, depending on the thickness of your yarn and size of the elastic.
- While crocheting, you can push the stitches together tightly to add more stitches in the same round if needed. This ensures the elastic is completely covered without gaps.
Step 4: Closing the Round
- After your single crochet stitches have covered the entire hair elastic, close the round by working a slip stitch (slst) into the very first stitch you made.
- This join completes the round, creating a continuous and seamless coverage around the elastic.
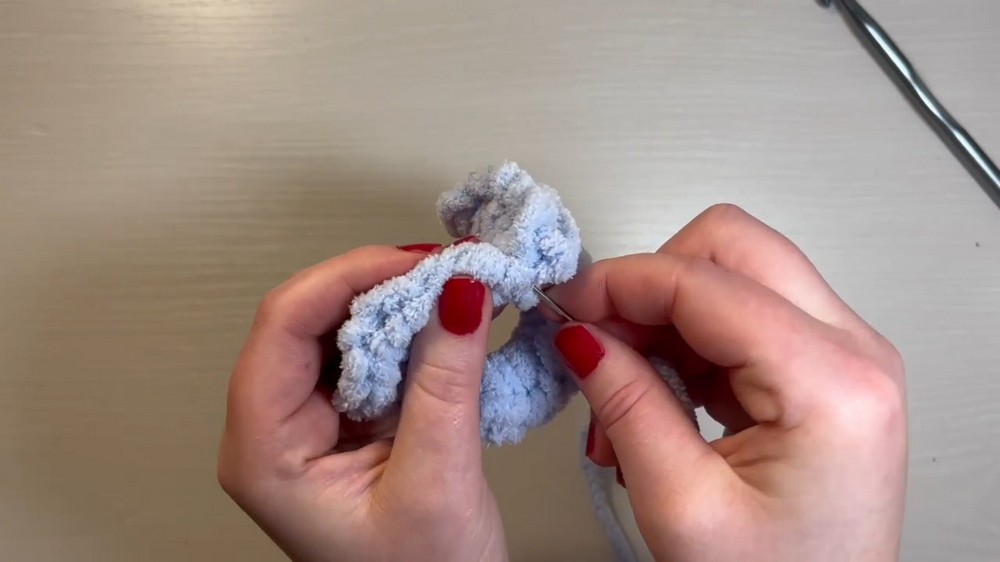
Step 5: Finishing and Weaving in Ends
- Cut your yarn, leaving a long enough tail to weave in neatly.
- The most important finishing step is how you weave in the ends:
- Use a tapestry needle to weave the yarn tail vertically — that is, up and down through the stitches rather than horizontally.
- Weaving vertically helps keep the ends secure when the scrunchie is stretched, so the ends do not pop out or become visible through the stitches.
- Repeat the vertical weaving process on both the tail from your yarn cut and the starting tail from the slip knot.
- When both ends are securely woven and hidden, trim any excess yarn flush with the stitches.
- Your crochet scrunchie is now complete, neat, and ready to use.
Assembly & Finished Size
- This scrunchie fits standard sized elastics, approximately 5-6 cm in diameter.
- Finished dimensions approximate: 6-7 cm diameter, but will stretch comfortably when worn.
- The tight, consistent single crochet stitches ensure durability and elasticity.
- Because it is crocheted directly on the elastic, no additional sewing or assembly is needed beyond weaving in ends.
Conclusion
With just a few simple steps and a basic understanding of crochet stitches, you can make a beautiful and functional crochet scrunchie. This project serves as a perfect introduction to crocheting in rounds and working on non-traditional foundations like hair elastics. The key to success lies in maintaining even tension, tightly packing your stitches around the elastic, and carefully weaving in the yarn ends vertically to secure your work.
Not only will your handmade crochet scrunchie add a charming and personalized touch to your hairstyling accessories, but it also offers a fast and rewarding crochet experience suitable for beginners. Take your time with each step, and enjoy making this practical, stylish piece that withstands everyday use.
